Your videos feel like they were just “edited” rather than looking professional. Maybe something feels off, but you can’t put your finger on it. The problem usually isn’t your camera or your ideas. It comes down to a few small things pro CapCut editors do differently.
Once you see these tricks, you can’t unsee them. If you use just one, your videos get better. If you use all seven, you’ll create content that viewers can’t stop watching.
- Master Smoothness and Eliminate Friction
- Embrace Motion Blur for Cinematic Movement
- Use Professional Audio and Sound Design
- Understand Pacing, Rhythm, and Ruthless Cutting
- Edit with Intent, Not Just Effects
- Obsess Over the Small Details
- Common CapCut Mistakes Beginners Make
- Best CapCut Settings for Professional Videos
- Professional CapCut Workflow
- Frequently Asked Questions
- Final Thoughts
Master Smoothness and Eliminate Friction
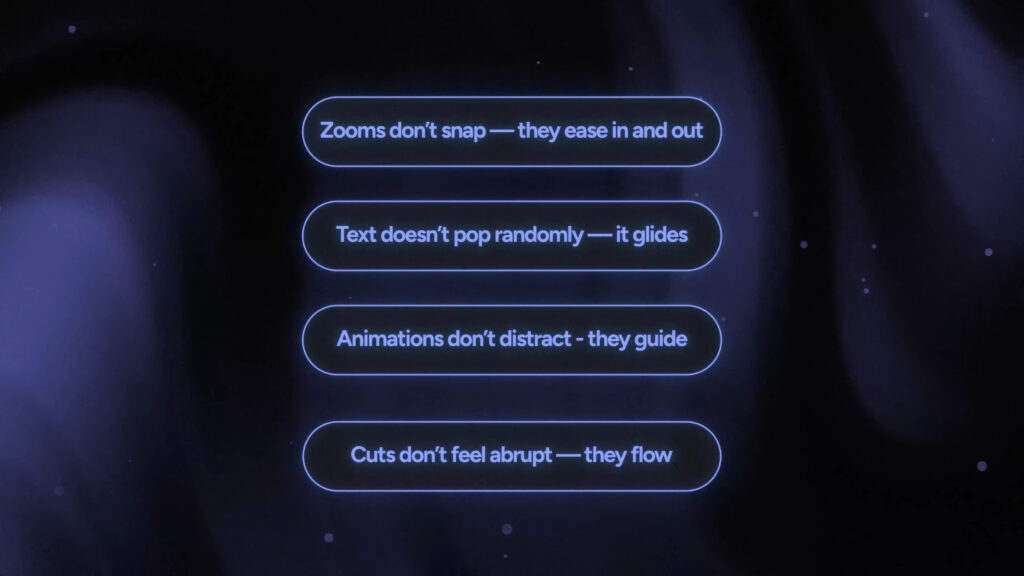
Pro editors make everything feel fluid. In amateur videos, zooms snap and text pops up out of nowhere. In pro videos, zooms glide and animations guide the viewer’s eye. This smoothness comes from easing curves and a consistent direction of motion.
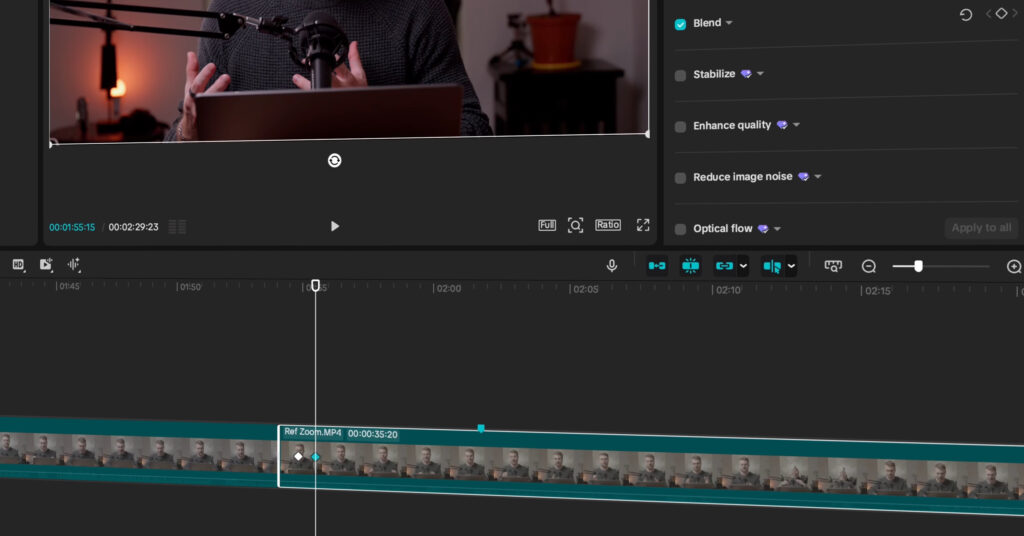
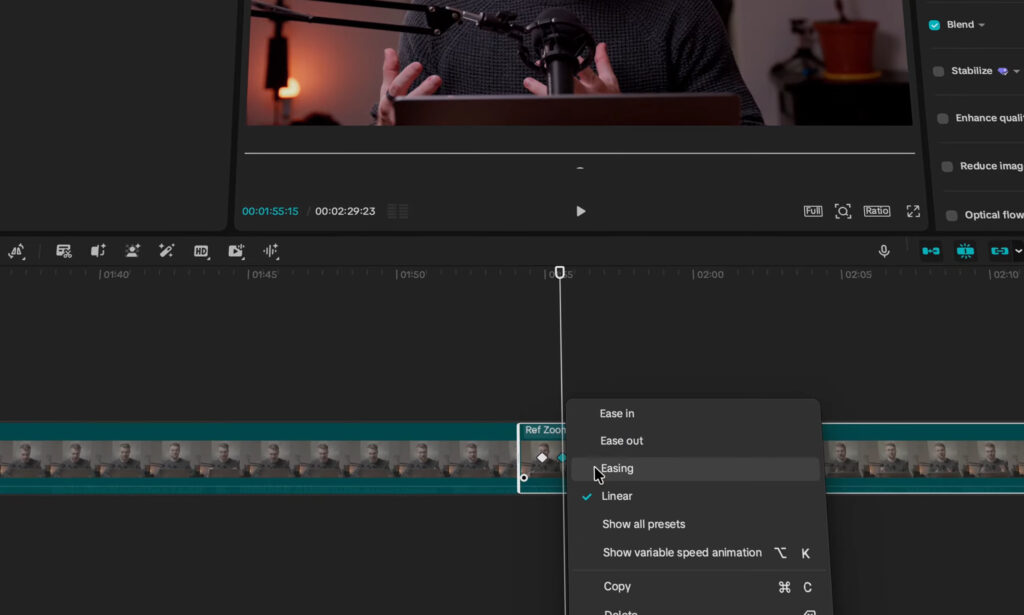
When you create a zoom in CapCut, don’t just use two keyframes. That creates a linear movement that looks robotic. Instead, right-click on your second keyframe and select an easing option. This makes the movement start slow and end smooth, which looks much more natural.
You also need to keep your eye line consistent during cuts. If you make jump cuts to hide pauses or “ums,” the viewer’s eye should stay in the same place.
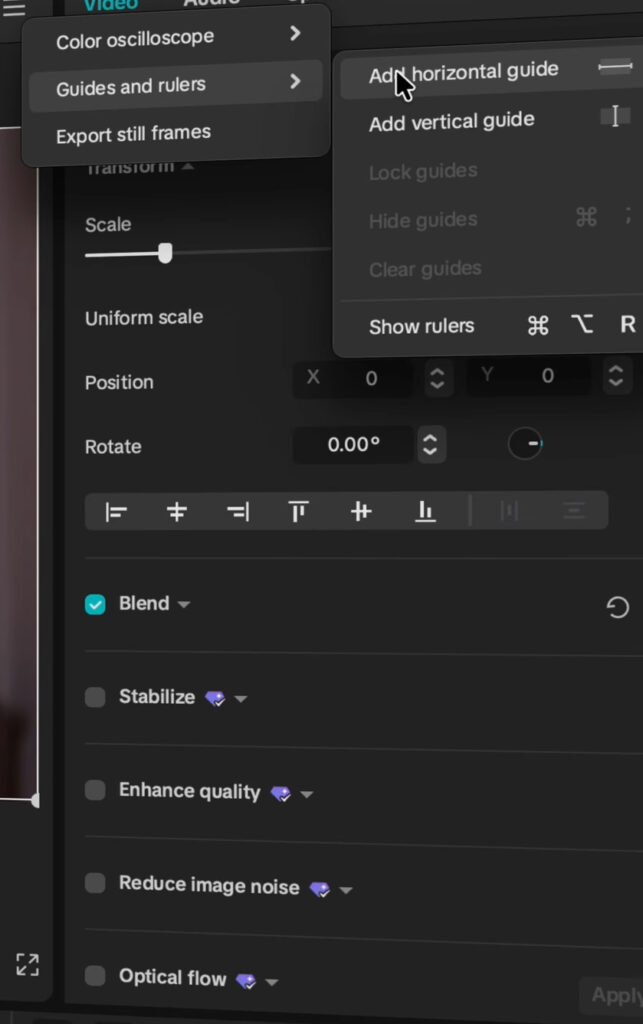
If your head shifts slightly between clips, the cut feels jarring. Use the “Guides and Rulers” feature in CapCut to draw a horizontal line across your eyes. Adjust your second clip so your eyes stay on that line. This makes the cut almost invisible.
Static shots can feel boring, but you can fix that with a slow track-in or track-out. Jade from the YouTube channel Field Life uses this on every talking head shot. Create a keyframe at the start and another at the end of the clip. Add a very slight zoom on the second keyframe and adjust the position to keep the eye line steady. Viewers might not consciously notice it, but they will feel the movement.
Finally, fix your audio pops. When you cut between two clips, you often get a weird clicking sound. Zoom into your timeline, hover over the audio clip until a small dot appears, and drag it one or two frames over the next clip. This creates a tiny crossfade that hides the pop and keeps the sound clean.
Embrace Motion Blur for Cinematic Movement
Real cameras create motion blur. This is the natural streaking you see when something moves fast. Without it, animations look fake and choppy. Adding motion blur makes your text, zooms, and graphics feel like they belong in a movie.
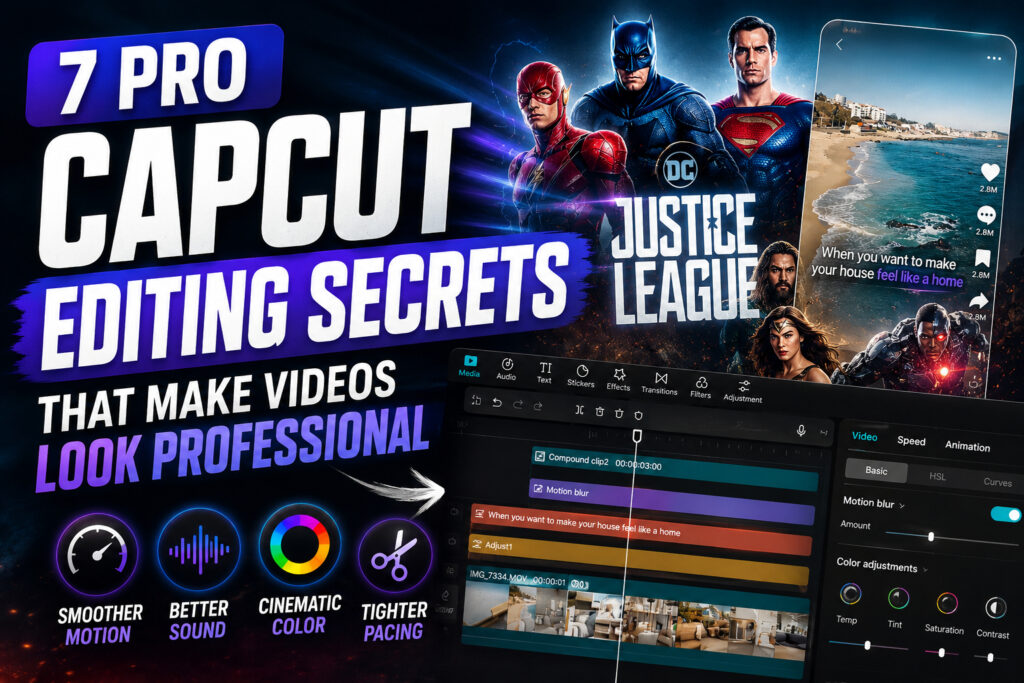
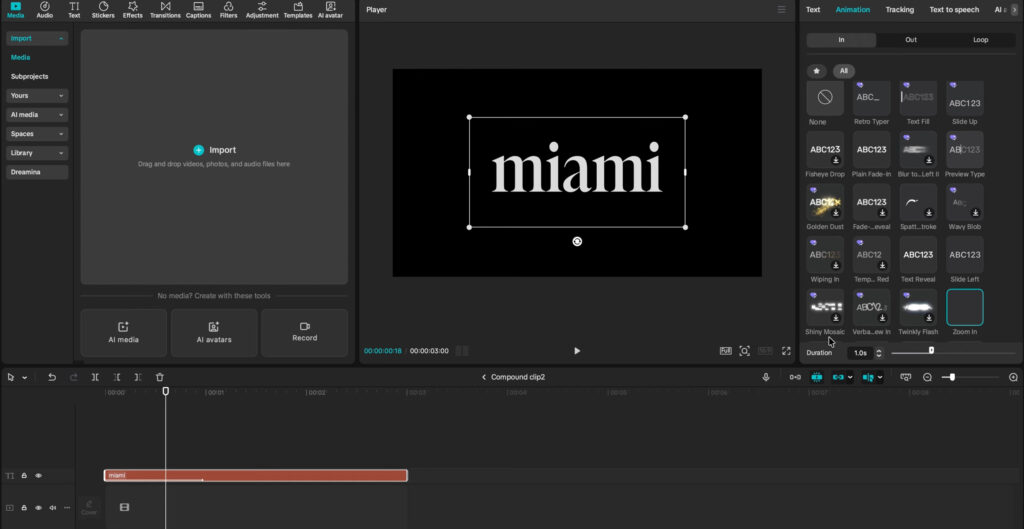
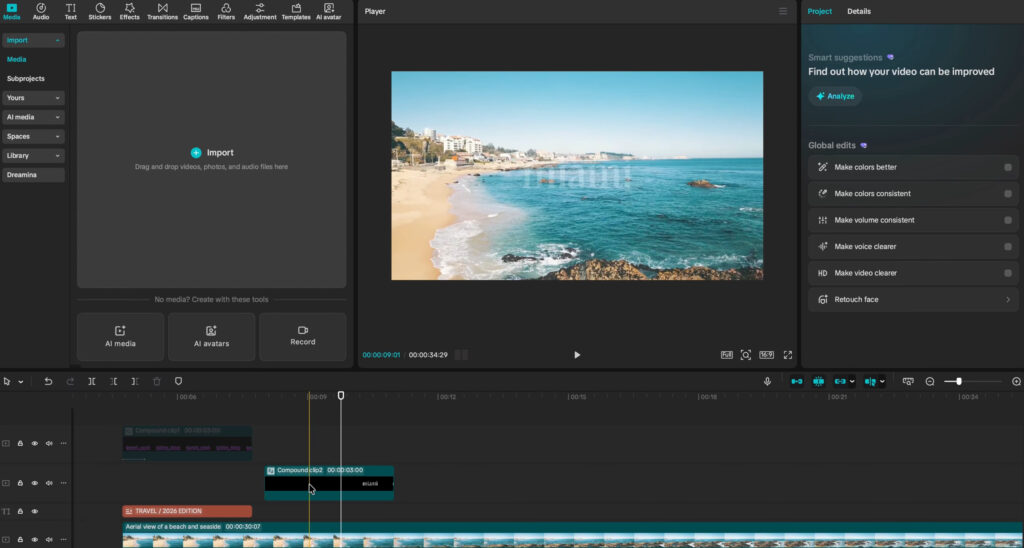
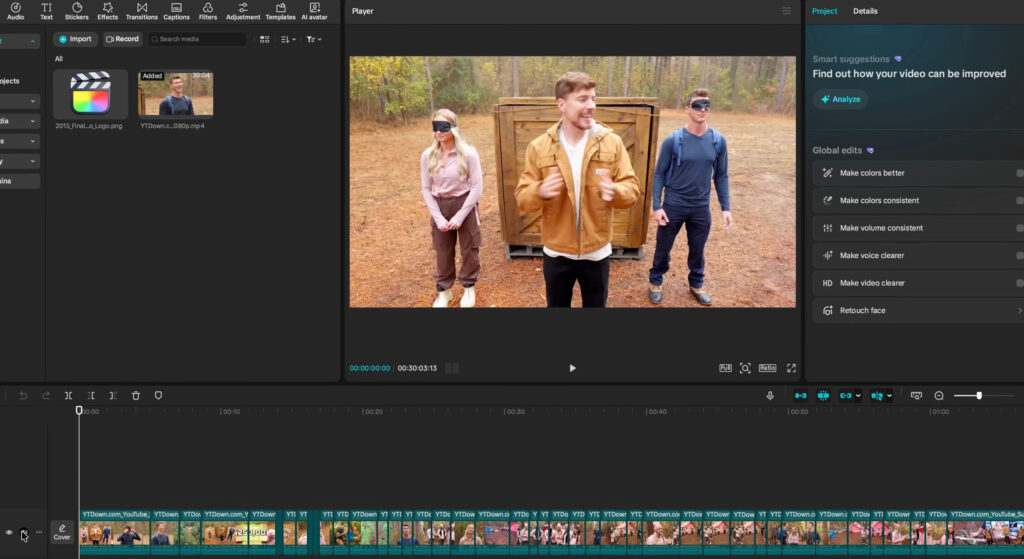
Mr. Beast’s team uses this constantly. If you watch his text animations, the words are blurry as they zoom in and become sharp only when they stop. This is a classic pro move. To do this in CapCut, you can’t just apply the effect to a text layer. You have to compound the clip first. Once it’s a compound clip, go to Video, scroll down, and select Motion Blur.
Sharp movement looks amateur. Blurred movement looks cinematic because it mimics how our eyes actually see the world. Apply this to any fast movement in your video to instantly raise the production value.
Use Professional Audio and Sound Design
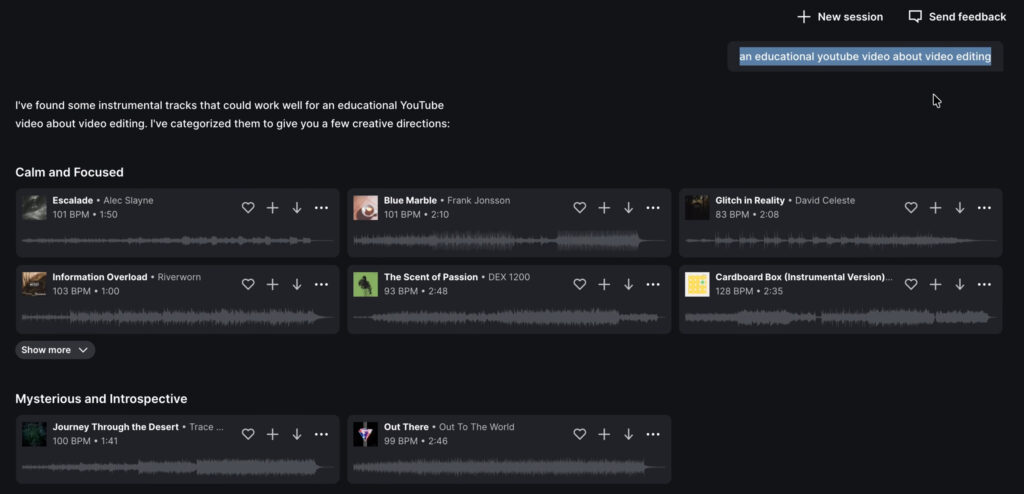
Audio is half the experience. High-quality music and sound effects set the tone and emotion. Many editors start using professional libraries like Epidemic Sound and notice an immediate jump in quality. These tools help you find the right mood without worrying about copyright strikes.
The secret to great sound design is intentional placement. Beginners often put sound effects on every single cut, which becomes annoying. Pro editors only add sound when it has a job to do. A sound should emphasize a point, change the emotion, or signal a shift in the story.
Remember that silence is just as powerful as noise. If every single moment has a “whoosh” or a “ding,” nothing feels important. Let your music breathe. Lower the volume when someone is speaking and remove the music entirely during heavy emotional moments to create more impact.
Understand Pacing, Rhythm, and Ruthless Cutting
Editing is all about rhythm. Fast cuts create a sense of urgency and energy. Longer cuts give the audience room to breathe and let a scene feel heavier.
Mr. Beast is a master of this. His intros have high energy, fast shots, and upbeat music. In the middle of his videos, he slows things down to build the stakes. Then, he ramps the pacing back up for the finale. You need this contrast. If every cut is fast, nothing feels fast. If everything is slow, people leave.
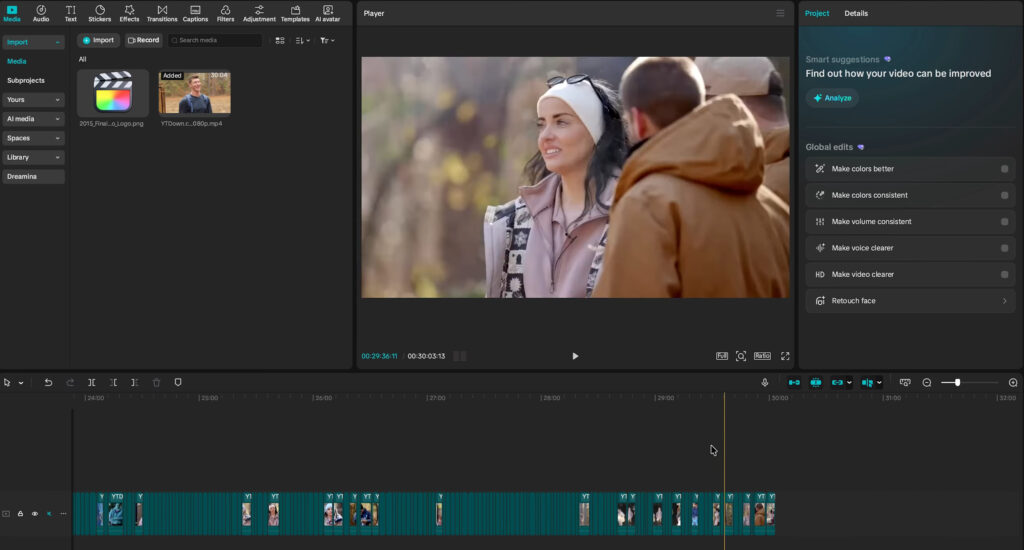
You also have to be ruthless with your footage. Most videos are 15% to 25% too long. Pro editors cut out more than they are comfortable with. Get rid of the long pauses, the repeated words, and the explanations that don’t really matter. If a clip doesn’t add clarity, emotion, or momentum, delete it.
Think of the movie Justice League. The cinema version was two hours, while the director’s cut was over four. The cinema version worked better because it cut the fluff. Be brave and trim your timeline.

Edit with Intent, Not Just Effects
Beginners ask, “What looks cool right now?” Pro editors ask, “What does the audience need to feel right now?” Every zoom, caption, and sound must serve a purpose. If you can’t explain why an effect is there, it shouldn’t be in the video.
Even Mr. Beast admits this. When talking about Beast Games, he mentioned wanting to focus more on storytelling and connection rather than just effects. Editing is not decoration; it is direction. Use your tools to guide the viewer through the story, not just to show off what the software can do.
Obsess Over the Small Details
The difference between a good edit and a pro edit is in the micro-details. These are small mistakes that viewers don’t consciously notice, but they make the video feel “off.”
Check for these common errors:
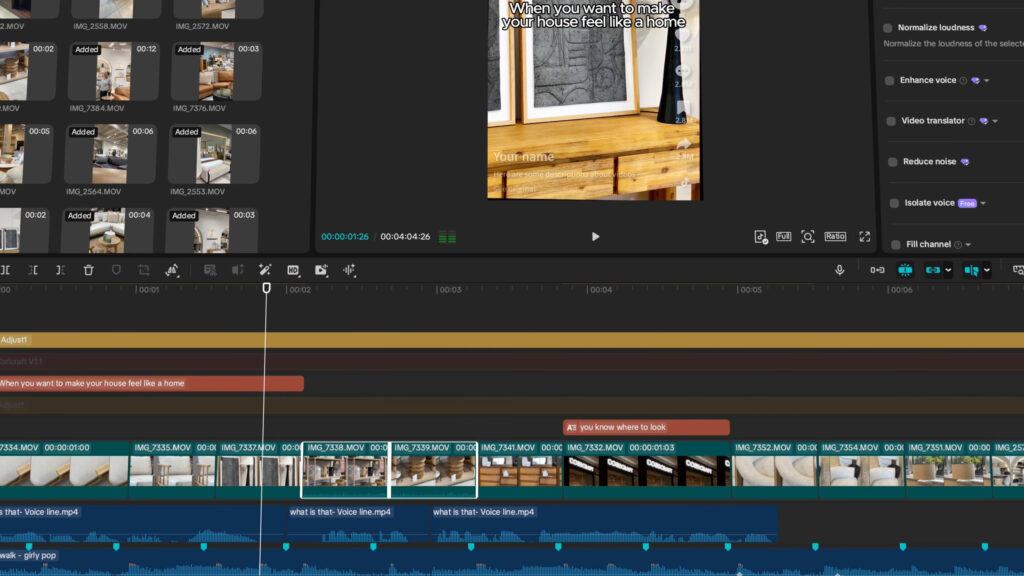
- Text Timing: Make sure your titles don’t linger for a few frames after the shot has changed.
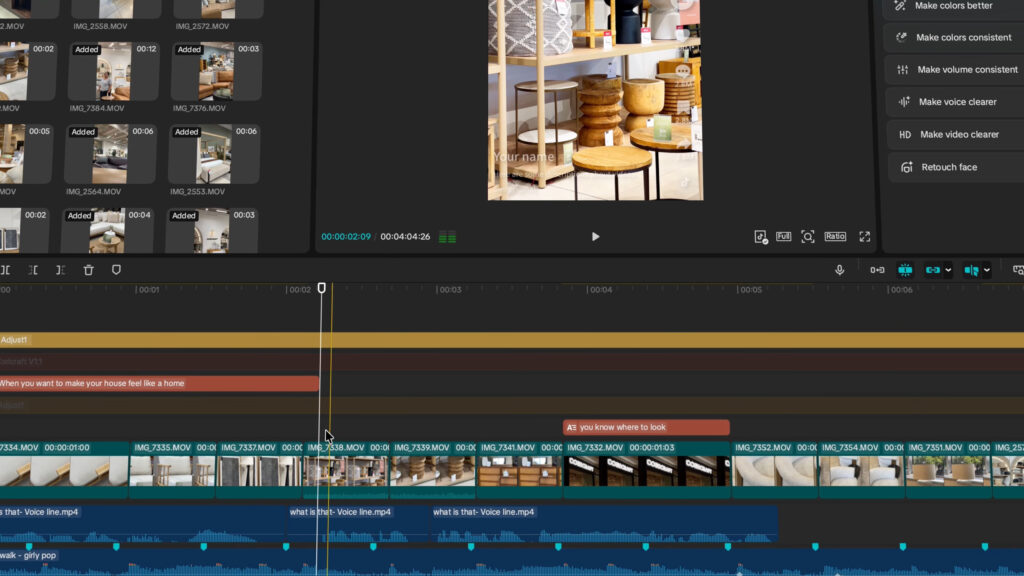
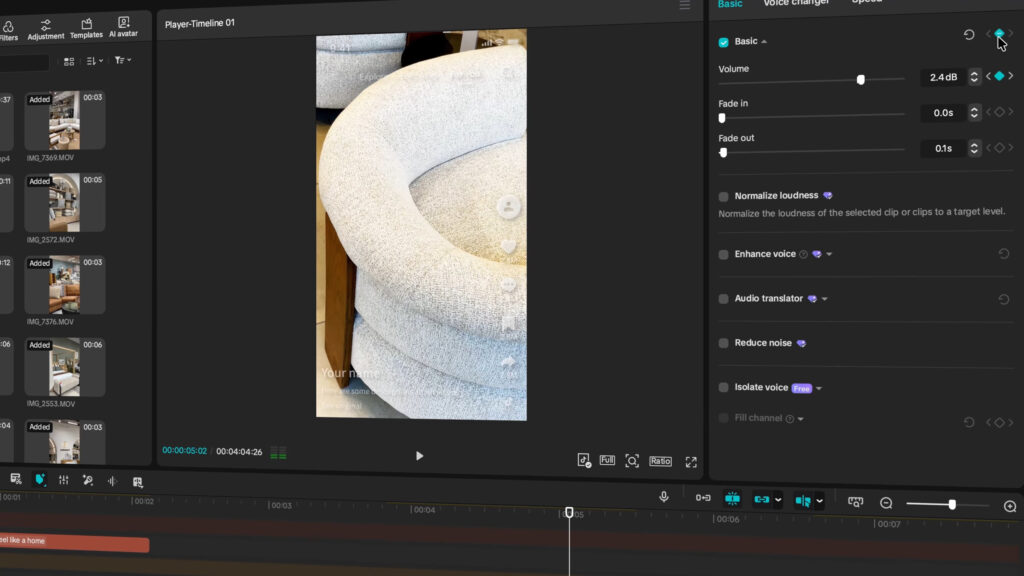
- Audio Levels: Kill background noise on clips where it isn’t needed. Use keyframes to duck the music volume whenever a voice-over starts.
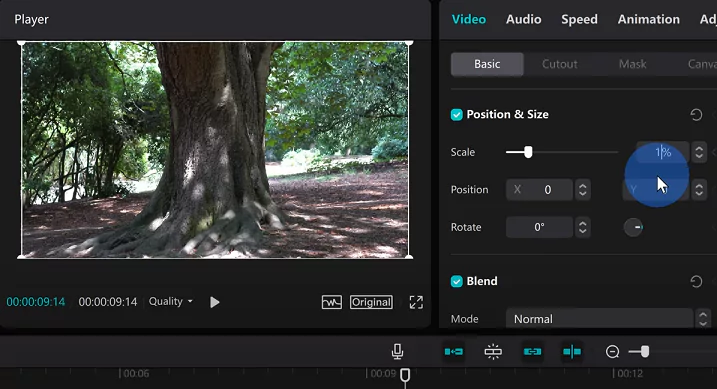
- Visual Alignment: If you rotated a clip to level the horizon, you probably created small black lines on the edges. Zoom in to 107% to hide those borders.
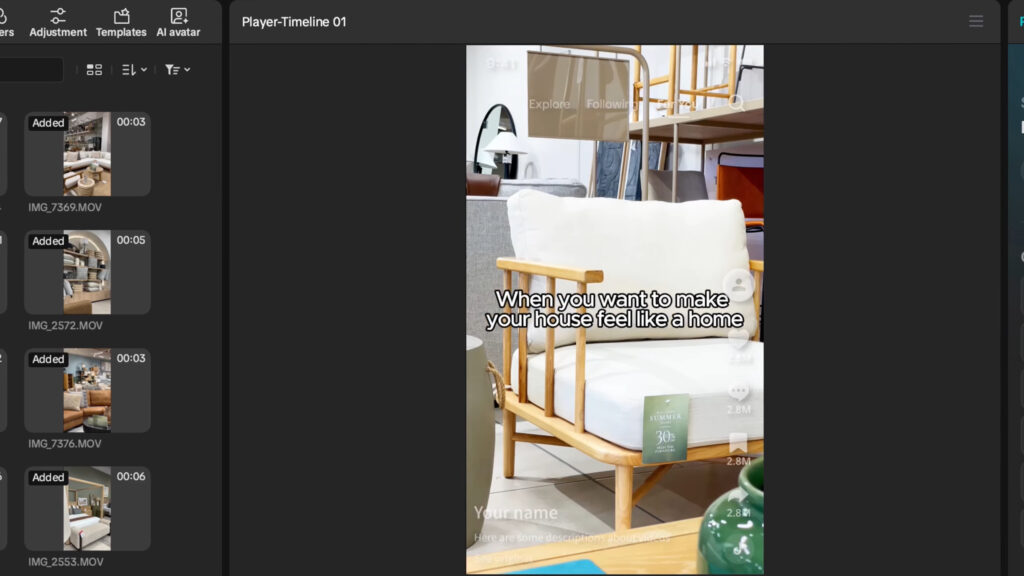
- Safe Margins: Ensure your text stays inside the safe zones for TikTok or Shorts so the UI buttons don’t cover your words.
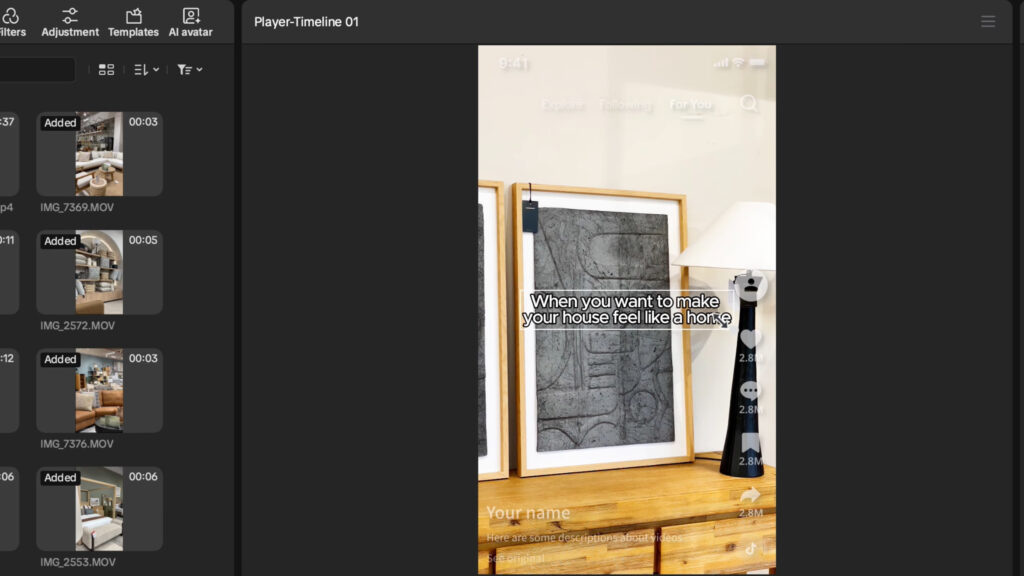
These mistakes stack up. One small error is fine, but five of them make the video feel cheap. Spending an extra ten minutes cleaning up these tiny issues is what makes a video feel high-level.
Common CapCut Mistakes Beginners Make
Learning new editing techniques is important, but avoiding common mistakes can improve your videos just as quickly. Many creators spend hours adding effects when the real issue is that their edits feel cluttered or inconsistent.
One of the biggest mistakes is overusing transitions. A flashy transition might look impressive the first time, but using a different transition between every clip quickly becomes distracting. Professional editors usually rely on simple cuts and only use transitions when they help tell the story.
Another common problem is excessive zooming. Constant zoom-ins and zoom-outs can make viewers feel disoriented. Instead, use camera movement strategically to emphasize important moments.
Many beginners also neglect audio. Background music that is too loud can make dialogue difficult to understand. Sound effects on every cut can become repetitive and annoying. Focus on clarity first and style second.
Text placement is another area where creators often struggle. If captions sit too close to the edge of the screen, they may be covered by TikTok or YouTube Shorts interface elements. Always check that important text stays within safe margins.
Finally, avoid using too many fonts, colors, and visual styles in the same video. Consistency creates a professional appearance. Pick one or two fonts and stick with them throughout your project.
Professional editing is often less about adding more and more about removing distractions.
Best CapCut Settings for Professional Videos
Even the best edit can look poor if it is exported using the wrong settings. Before publishing your video, make sure your export settings match your platform and content type.
For most creators, 1080p resolution is the minimum standard. If your footage was recorded in 4K, exporting in 4K can provide additional sharpness and flexibility for platforms like YouTube.
Frame rate is equally important. If you recorded at 30fps, export at 30fps. If you recorded at 60fps, export at 60fps. Matching your export frame rate to your source footage helps maintain smooth playback.
For the highest quality exports, select the highest available bitrate setting in CapCut. Higher bitrates preserve more visual detail and reduce compression artifacts.

Recommended settings:
- Resolution: 1080p or 4K
- Frame Rate: Match source footage (30fps or 60fps)
- Bitrate: High Quality
- Codec: H.264
- HDR: Enable only if your footage was shot in HDR
Remember that viewers may forgive average visuals, but they immediately notice blurry or poorly compressed videos. Export settings are the final quality checkpoint before publishing.
Professional CapCut Workflow
One reason professional editors work efficiently is that they follow a consistent workflow. Instead of jumping between effects, captions, and sound design, they complete each stage in a logical order.
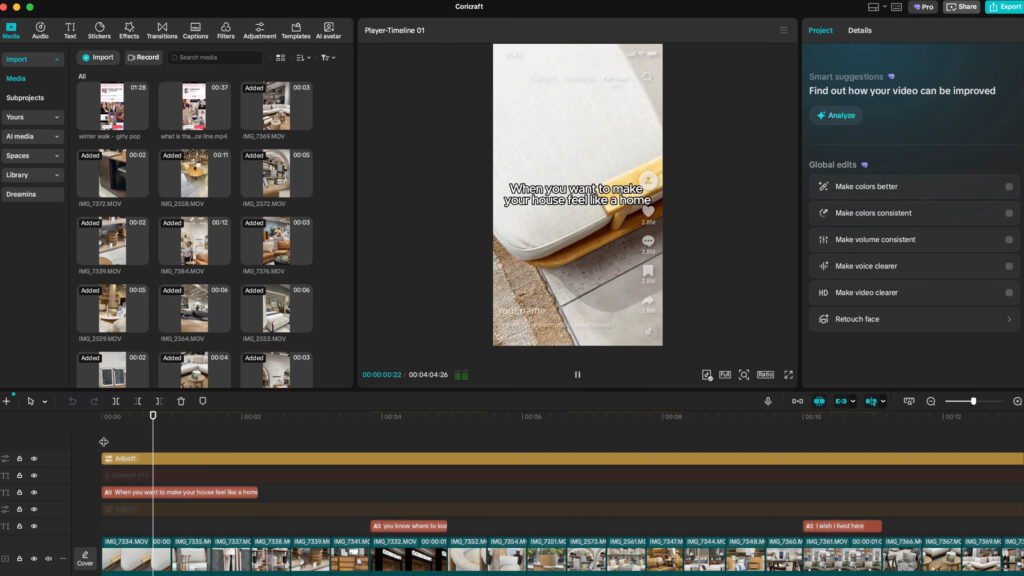
A simple professional workflow looks like this:
1. Organize Your Footage
Import your clips, rename important files, and remove unusable footage before you start editing.
2. Create a Rough Cut
Focus only on the story. Arrange clips in the correct order without worrying about effects.
3. Remove Dead Space
Cut pauses, filler words, mistakes, and unnecessary sections. This is where pacing begins to take shape.
4. Add B-Roll and Visual Support
Insert supporting footage, screenshots, graphics, or animations that reinforce what is being said.
5. Add Captions and Text
Create titles, subtitles, and callouts that improve clarity and viewer retention.
6. Sound Design and Music
Add background music, sound effects, and audio enhancements. Balance levels so dialogue remains clear.
7. Color Correction and Finishing
Adjust exposure, contrast, white balance, and saturation. Apply any creative color grading after correction is complete.
8. Final Review and Export
Watch the video from beginning to end. Look for spelling mistakes, audio issues, awkward cuts, and timing problems before exporting.
Following the same workflow every time helps you edit faster while maintaining consistent quality.
Frequently Asked Questions
Is CapCut professional enough for YouTube?
Yes. Many successful YouTube creators use CapCut for both short-form and long-form content. While advanced software like Premiere Pro offers more features, CapCut is capable of producing professional-quality videos when used correctly.
How do professional editors make CapCut videos look cinematic?
They focus on movement, pacing, sound design, color correction, and storytelling. Cinematic editing comes from decisions and technique, not just effects.
Should I edit in 30fps or 60fps?
Use the frame rate that matches your recorded footage. For most talking-head content, 30fps works well. For gaming, sports, and action footage, 60fps often provides smoother motion.
Does motion blur really make a difference?
Yes. Motion blur helps digital animations feel more natural by mimicking how real cameras capture movement. It can significantly improve the appearance of zooms, text animations, and fast transitions.
What is the most important editing skill to learn?
Pacing. Great pacing keeps viewers engaged and improves watch time. Even simple videos can perform well if the editing rhythm feels natural and engaging.
How long should I spend editing a video?
The answer depends on the project, but professionals often spend more time refining than creating. A strong edit usually comes from careful trimming, sound design, and attention to detail rather than adding more effects.
Final Thoughts
You don’t need a $5,000 camera to make professional videos. You just need to make better editing decisions. By focusing on smoothness, adding motion blur, and using intentional sound design, you can compete with the biggest creators.
Pacing and ruthless cutting keep your viewers engaged, while editing with intent ensures your story is clear. Finally, obsessing over the micro-details removes the “amateur” feel from your work. Try implementing one of these secrets in your next project. Once you see the results, you’ll want to master them all. Stop decorating your videos and start directing them.