Video editors often need animated dashed or dotted lines to guide viewer attention or map out travel routes. Doing this in complex motion design software slows down your work. It can frustrate beginners who want quick results.
CapCut PC has a workaround using basic text tools and keyframes to make smooth line animations in minutes. This method avoids the need for expensive plugins. It gives creators a fast way to upgrade their video editing toolkit.
This walkthrough shows you how to make, animate, and mask custom dashed and dotted line effects inside CapCut PC for professional results.
Set Up your Project and Base Text Line
- Open CapCut PC and start a new project.
- Drop your background video onto the timeline.
- If you use a text template, delete the default text first.
- Starting with a clean slate keeps your formatting consistent.
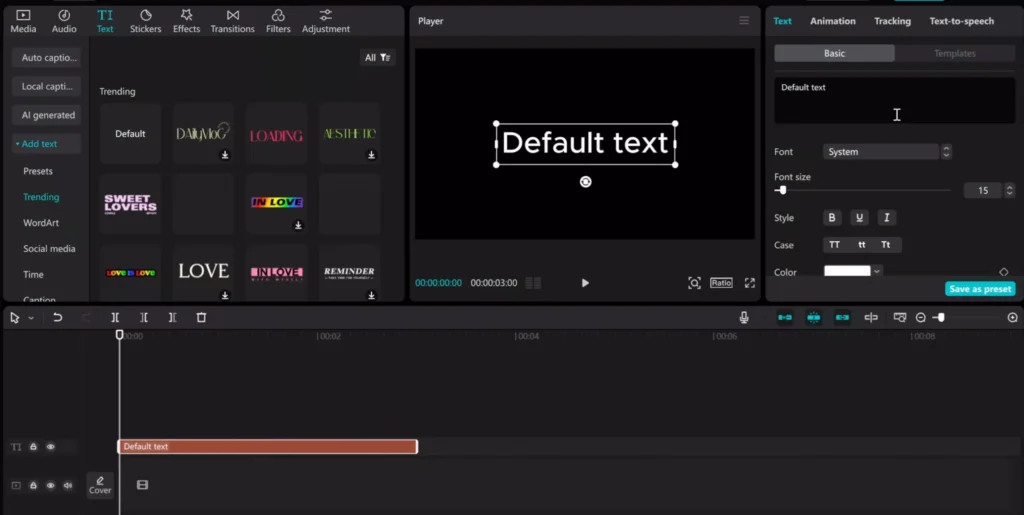
- To make the line, add a text layer to your timeline.
- Instead of words, type a sequence of punctuation marks.
- Use periods for a dotted line or hyphens for a dashed line.
- Type enough of them to span across your screen.
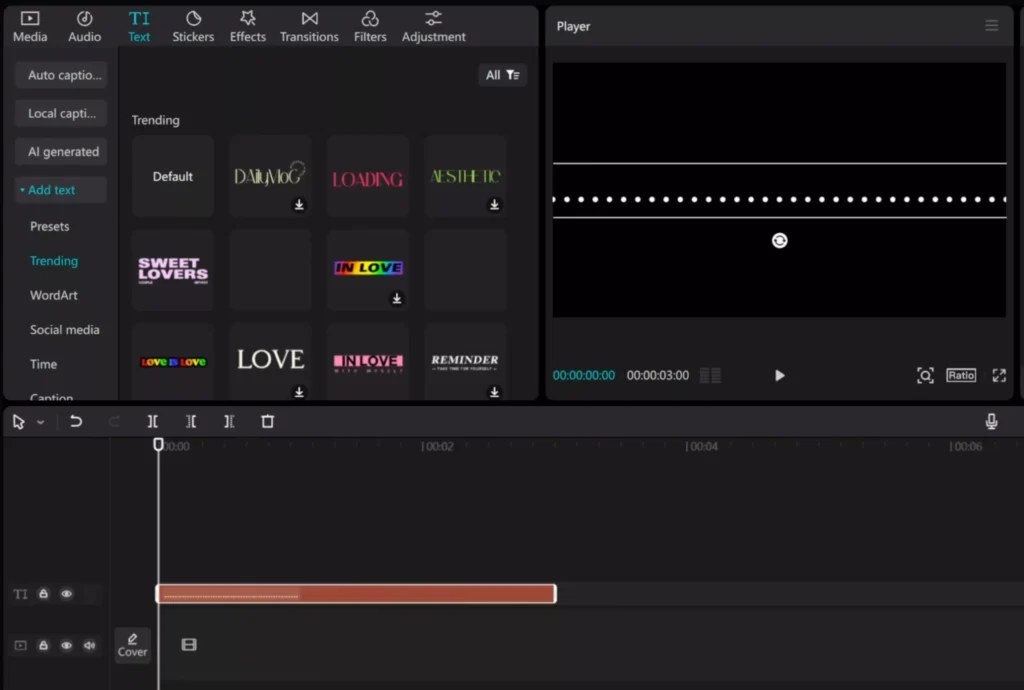
- Now you need to fix the spacing.
- Go to the character settings.
- Adjust the tracking value to increase the space between the dots.
- This makes the line look clean instead of like a solid block of text.
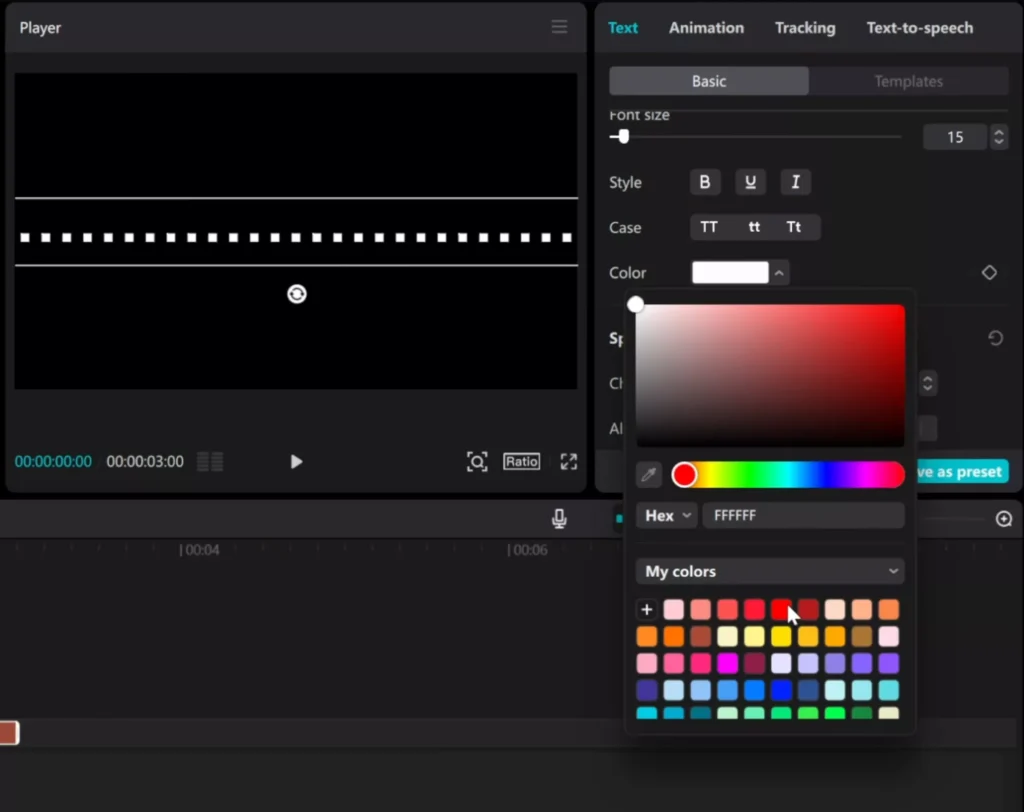
You can change the look of the line in the font styling panel. Pick a color that pops against your footage. You can also change the font weight or add a basic shadow. This ensures the line stays visible regardless of the background.
Apply Keyframes for Smooth Line Movement
- You need to set the timing before you start moving things.
- Stretch your text clip on the timeline to about 20 seconds.
- The length of this clip decides the baseline speed of your animation.
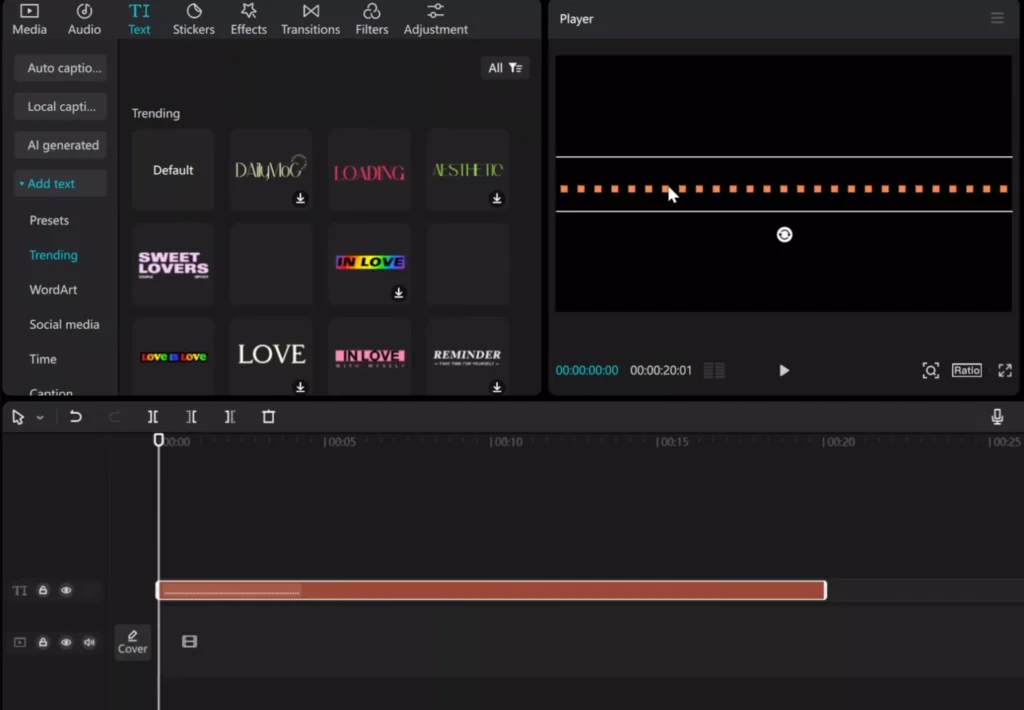
Now we set the starting point. Move the playhead to the very first frame of the clip. Look at the position settings and set the Y-value to zero. This locks the line so it doesn’t drift up or down.
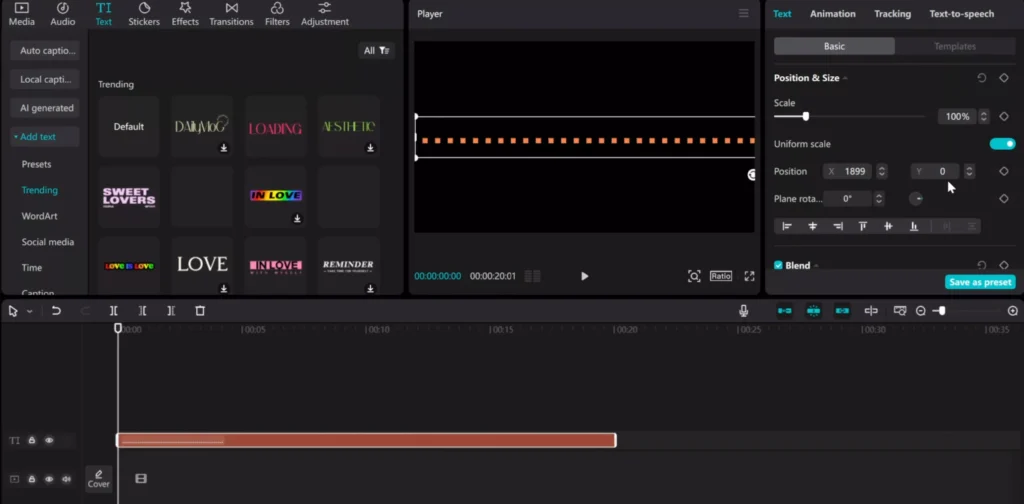
- Click and drag the text clip to the left edge of the screen.
- While the playhead is at frame one, click the keyframe icon next to the position setting.
- This tells CapCut where the animation begins.
Move the playhead to the end of the clip. Drag the text from the right side to the left. Again, keep the Y-value at zero to ensure the line stays perfectly straight. CapCut adds the second keyframe automatically once you move the text.
Adjust Animation Speed and Timing
CapCut uses interpolation to fill the gap between your two keyframes. This creates a steady movement across the frame. If the line moves too slowly, you can change the timing.
- To speed up the animation, shorten the distance between the start and end keyframes.
- Slide the second keyframe closer to the first one on the timeline.
- This forces the text to travel the same distance in less time, which increases the velocity.
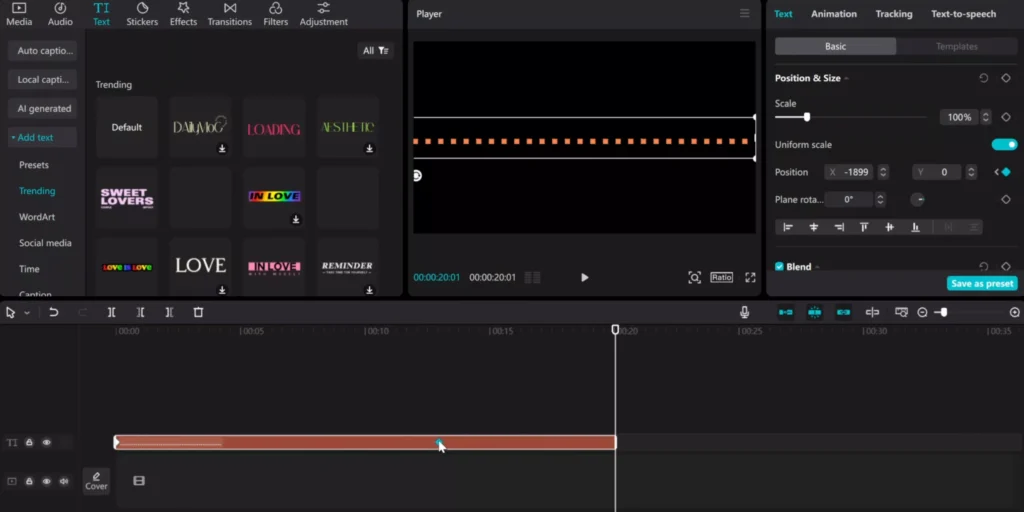
If the movement feels too fast, do the opposite. Increase the length of the clip or pull the keyframes further apart. This creates a slower, more deliberate scrolling effect that is easier for the viewer to follow.
You can fine-tune this by scrubbing through the timeline. Play the clip back several times. Adjust the keyframe positions by a few frames until the speed matches the pace of your video.
Isolate and Crop Line Segments Using Masks
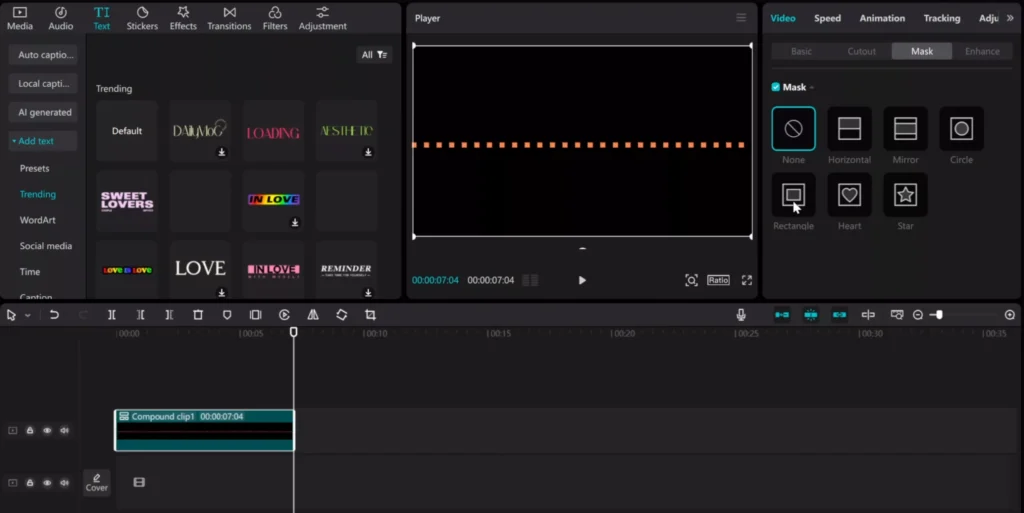
Sometimes you only want the line to appear in a specific area. You can’t mask text directly in the same way you mask video. To fix this, right-click your animated text clip and select the option to create a compound clip.
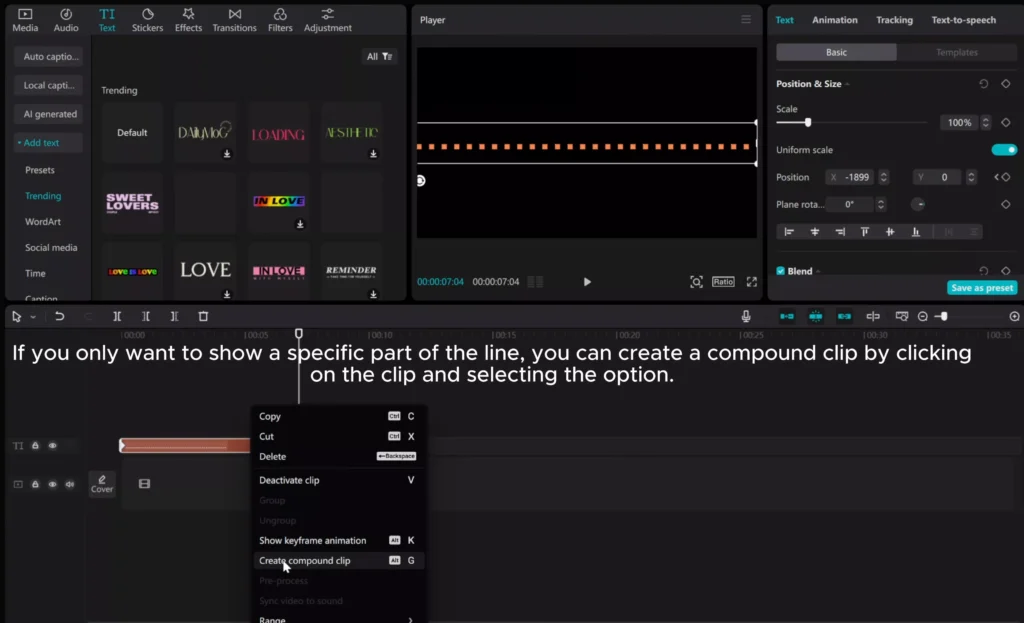
This trick turns the text animation into a video layer. Now you can access the video mask settings. Go to the video tab and find the mask tool.
- Choose a rectangular mask to frame the visible part of the line.
- This hides the parts of the text that enter or exit the screen.
- You can move the mask box to cover only the area where the line should be visible.
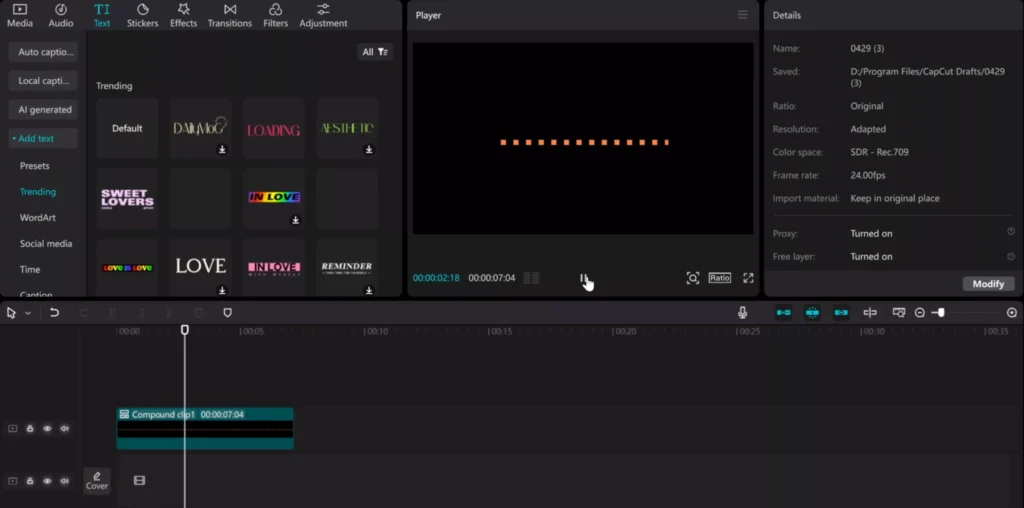
Use the mask handles to resize the crop window. You can also round the corners of the mask for a softer look. This helps the animation blend into the rest of your composition without harsh edges.
Final Thoughts
You don’t need expensive plugins to make clean dash and dotted line animations. By using text tracking, keyframe positioning, and compound clip masking, you can build dynamic visuals quickly. These tools are built right into CapCut PC.
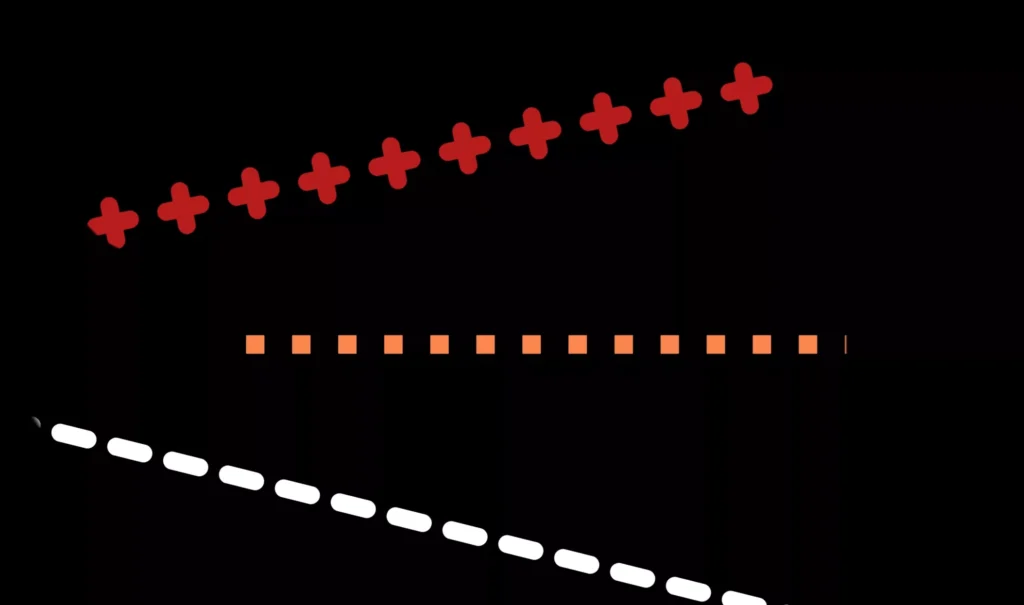
Start by typing your dots, lock your Y-axis, and set your keyframes. Use masks to clean up the edges and adjust your keyframe distance to hit the right speed. This process saves time and keeps your workflow simple.
Try adding these animated lines to your next project to guide your viewers’ eyes. It is a great way to make your videos feel more polished and professional. Go open CapCut and test these steps out today.