Video watching has become a popular kind of entertainment, and we’re all attempting to make clips and reels to spread joy and excitement. There are several video editors available, but CapCut, developed by ByteDance, stands out due to its adaptability and interoperability.
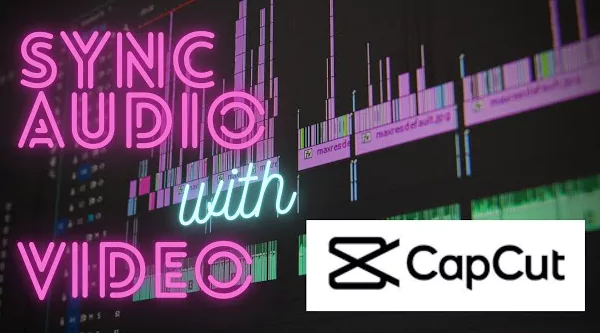
It’s crucial to sync the music rhythm with the visual if you’ve created engaging musical videos. Fortunately, CapCut offers this feature as a freebie for you to utilize. Today’s topic will be how to sync your videos with the music automatically.
How to match the audio to the video using Capcut?
Follow these simple steps in order to sync your music to the videos or photos in Capcut:
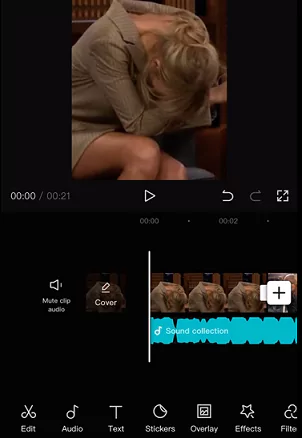
Step 1: Launch Capcut and add the video/photos as well as the audio on to the timeline. Learn how to add audio and sound effects using Cacput. You can extract an audio using an existing video or download audio from online.
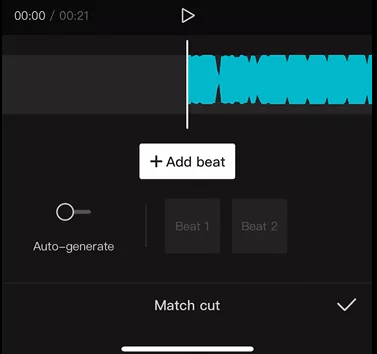
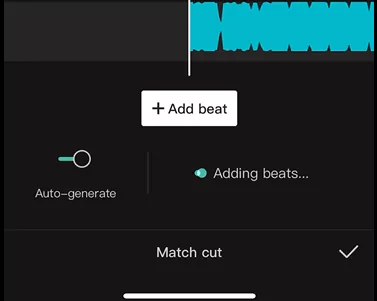
Step 2: Now click on “Match Cut” option from the menu in the bottom of the screen. You will see an option called “Auto Generate“. Click on it. You can also choose to add your own beats manually if you want.
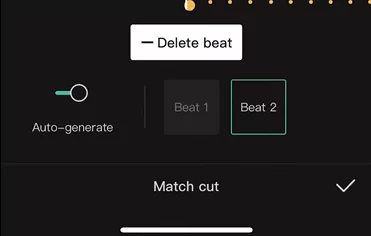
Step 3: Select the Beat and click on the check mark button once you are done.
Step 4: Now carefully observe the dots on the top of the timeline. Select the timeline on lets say the 2nd dot. Click on Split and Delete at this point. Follow the pictures below
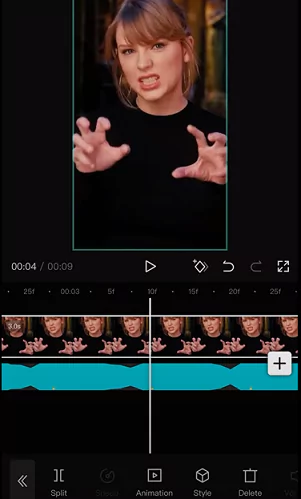
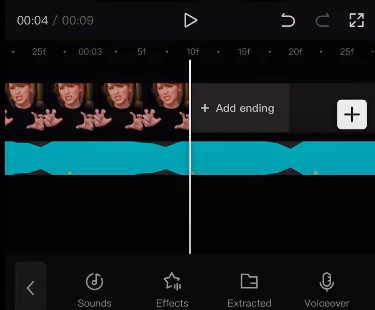
Step 5: Follow the above procedure for all the pics/videos on the timeline multiple times in order to sync your music beat to your video.
Follow the below video in order to understand better:

Automatically sync music using Auto Velocity Function
The most popular video editing tool for videos on social media, CapCut, has a function called Auto Velocity that allows us to instantly modify the pace of our films so that they synchronize with the song we choose. This trend is now quite popular on TikTok.
This feature is incredibly easy to use. You must have the most recent version of the CapCut app in order to begin, so if you are still “dragging” an older version, you must upgrade it in the Play Store (Android) or the App Store (iOS) (Android). You must have the desired video on hand after the CapCut app has been launched. To begin editing the video, click “New project” and then choose the video.
You must choose the song you’ll utilize in your video after picking out your chosen video. To achieve this, select “Add sound” from the editor’s bottom menu. You may select songs from either the app itself under categories like “Vlog,” “Promising,” or “Travel” in the menu that you will see.
You can also upload songs from your device or extract music from one video you already own. Choose a music that you feel complements the style of the clip and what you plan to display.
Once you’ve chosen your song and video, you may apply the Auto Velocity effect. Simply click “Style” and choose “Auto Velocity” to do this.
You will eventually see the fruits of your labor of love (depending on how long your video is, the music you select, and other variables). Keep in mind that you may increase the video or audio effects in your clip to make it the next TikTok hit.
Summary
Above we saw how to sync the audio to the video on Capcut. We saw both manual method by adding beat and splitting and deleting at appropriate points. We also saw how to do auto velocity for automatic audio syncing.
Please share this with your friends and family using the share buttons below. Also, comment about what you liked and did not like using the comment form below.