Imagine turning a blank screen into a polished, eye-catching video in just minutes that’s the power of CapCut templates. They allow you to create professional-looking content without starting from scratch, saving hours of editing time.
These pre-built templates take care of transitions, effects, and timing for you, so you can focus on creativity instead of technical details.
In this guide, you will learn how to use CapCut templates on desktop to create videos quickly and efficiently. You will also discover how to share your own templates through the mobile app, allowing others to use and remix your ideas.
By the end, you’ll be producing standout clips with ease whether for social media or personal projects.
What are CapCut Templates & Why use them?
CapCut templates are ready-made video editing projects designed to save you time. Instead of building edits from scratch, you just swap in your own photos or videos, and the effects, transitions, and timing are already set.
Why use them?
- Speed: Create polished videos in minutes.
- Consistency: Stay on-brand with colors, fonts, or styles.
- Trends: Instantly tap into viral edits popular on TikTok and Instagram.
- Beginner-Friendly: No advanced editing knowledge required.
If you’re new to editing, templates feel like a shortcut. If you’re advanced, they serve as a strong starting point that you can tweak for originality.
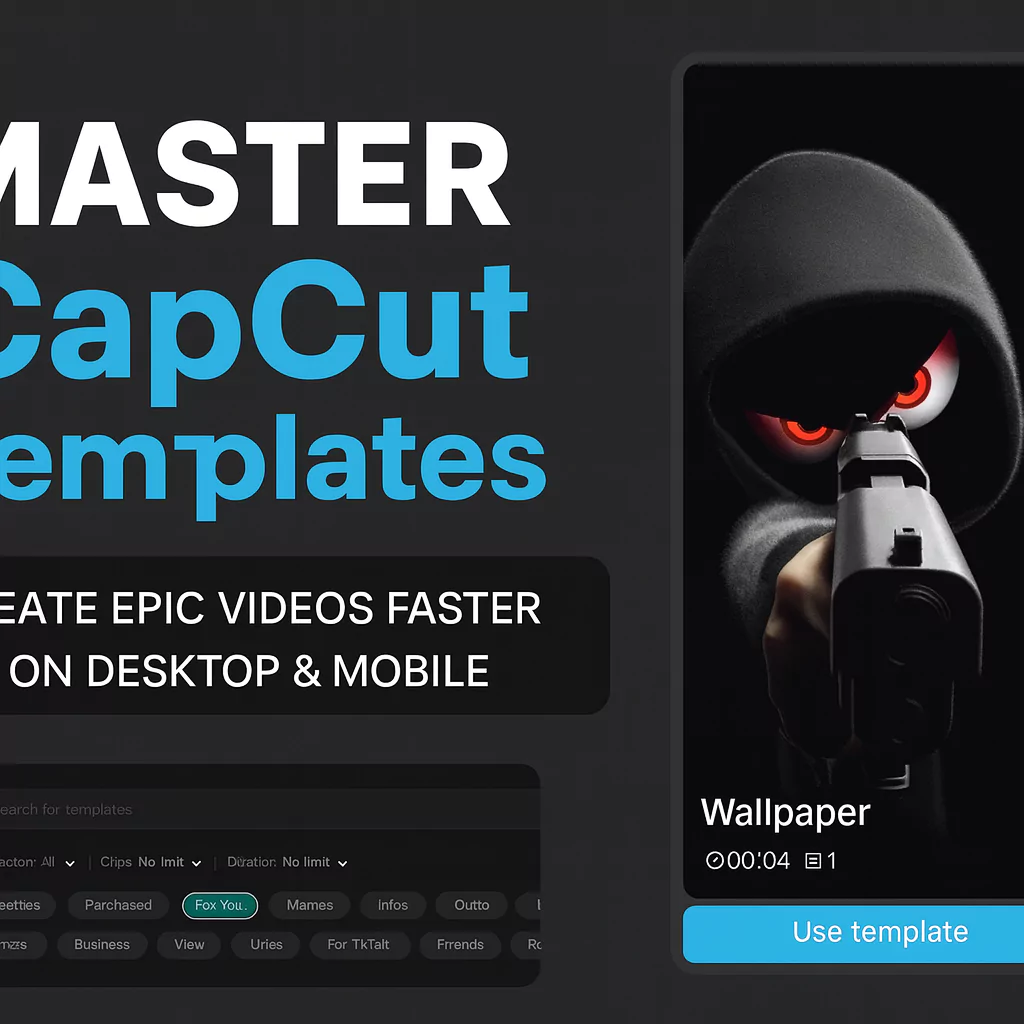
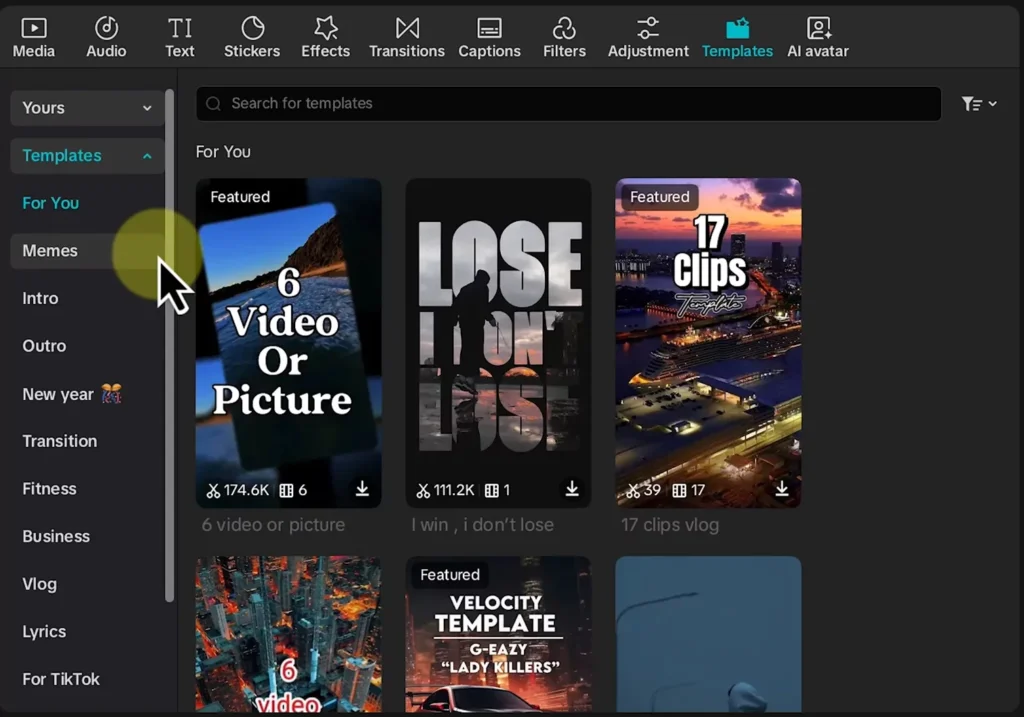
Navigating and Utilizing Existing CapCut Templates on Desktop
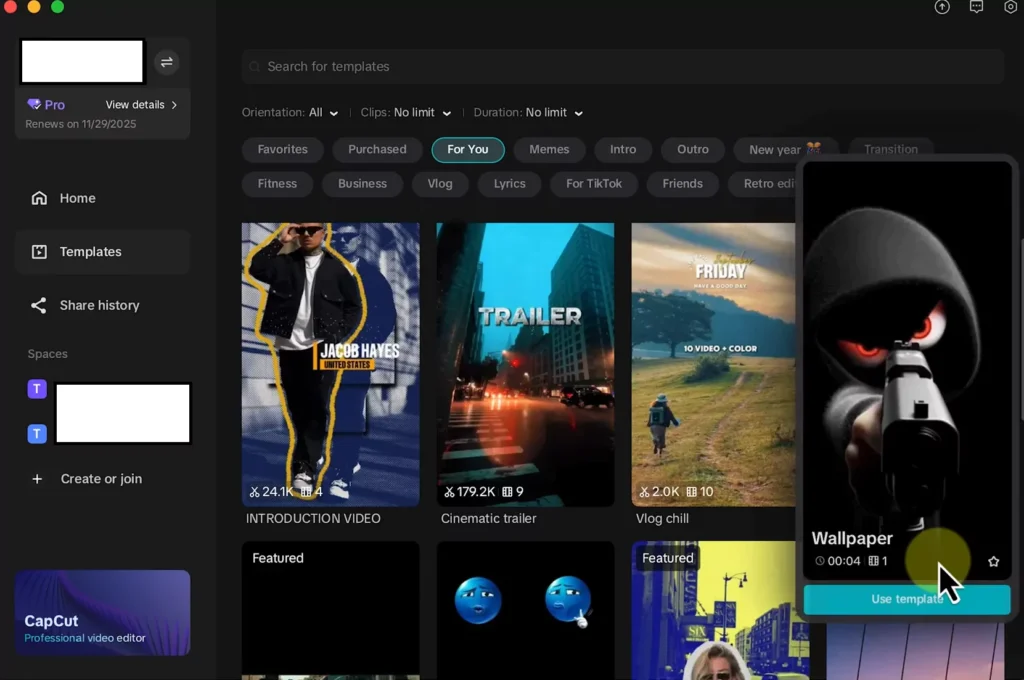
Jump into CapCut on your computer and head to the home screen. You have two easy ways to find templates right away. First, tap the search bar and type what you need, like “travel montage” or “product reveal.” This pulls up matching options fast.
- Or, hit “Create Project” and spot the templates tab in the top left corner.
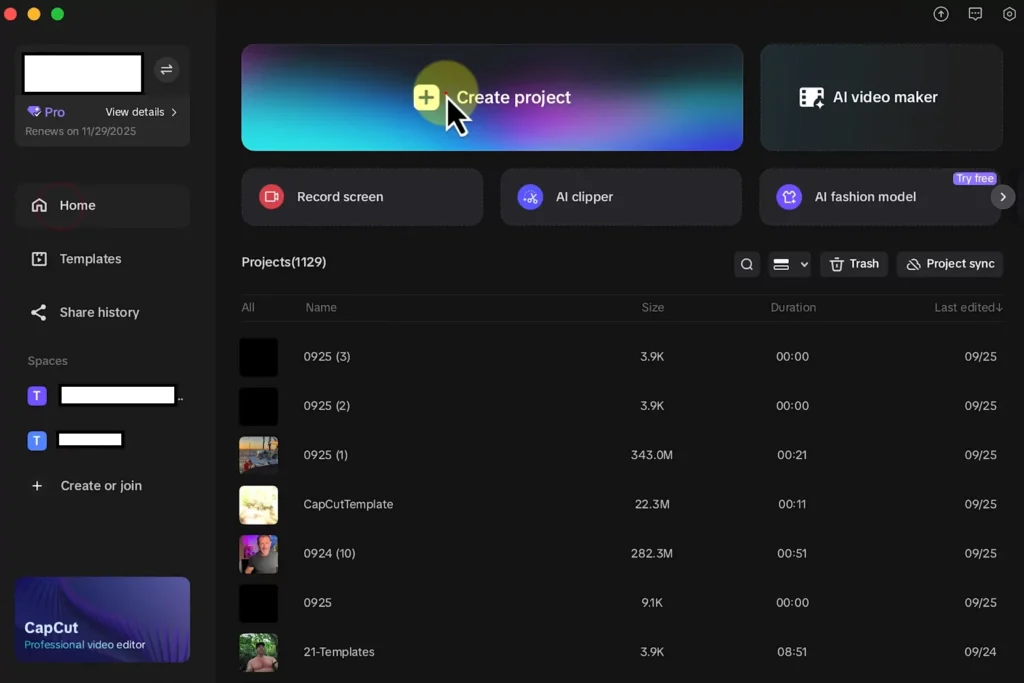
- CapCut sorts them into categories like trends, holidays, or business vibes.
- Scroll through to see ones that fit your style—maybe a quick intro for vlogs or a flashy outro for reels.
- They even suggest picks based on what you’ve done before, making discovery simple.
Once you spot a good one, preview it by hovering; it plays with sound so you get the feel. With so many choices and similar names, things can blur.
That’s why the little star icon shines—click it to favorite any template. Later, find your saved ones under the favorites section, no hunting required.
Finding Popular and Relevant Templates
Popularity helps you pick winners. Look for the scissor icon next to a number, say 174,000 uses—that means tons of folks love it and it’s battle-tested.
High numbers often signal smooth edits and hot trends.
Categories make browsing fun. Dive into “Sports” for action clips or “Music” for beat-synced effects. If you’re after sailing adventures like in our example, search that way too.
Favorites keep your top picks handy; I always star three or four per session to avoid regret.
Pro tip: Mix categories for fresh ideas. A business template with fun twists can surprise your audience.
Understanding Template Metrics and Usage
Metrics tell the story quick. The usage count shows how many creators trust it—bigger numbers equal safer bets for quality. Next, check the media slots: it might say “5 videos” or “3 photos plus text.” This clues you in on what to prep.
To grab one, hit download for offline access, or just drag it straight to the timeline. CapCut loads it on the fly, no waits. As you scroll, previews run, letting you hear the vibe—key for music-heavy ones.
These details cut guesswork. Know the slots upfront, and you’ll import the right files without hiccups.
Read Also: CapCut Buddy Program: Complete Guide to Tasks, Rewards & Monetization
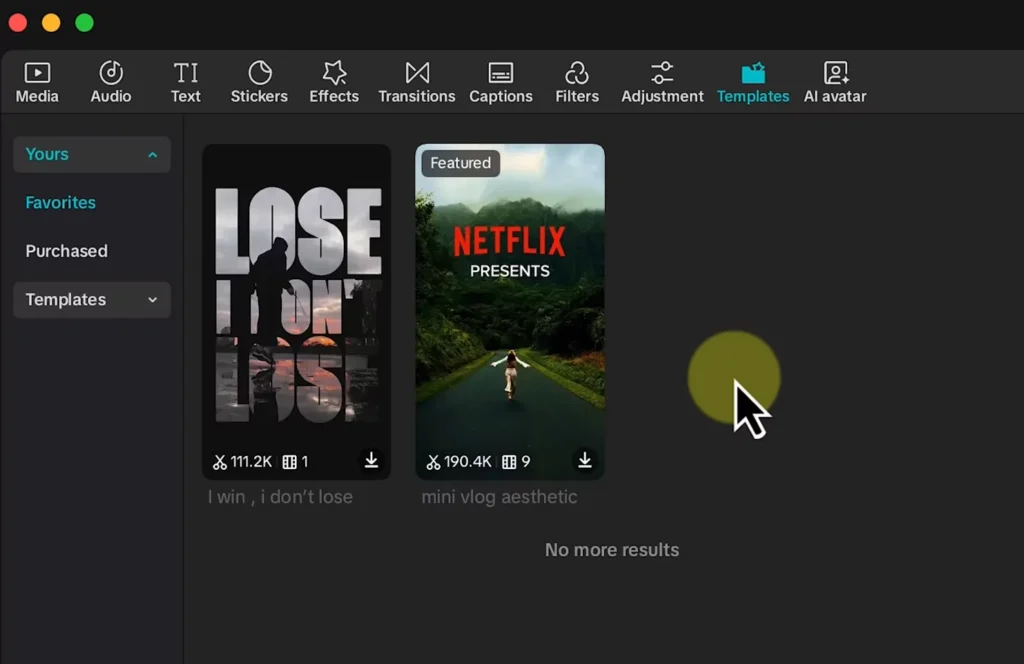
Seamlessly Replacing Media in a Template
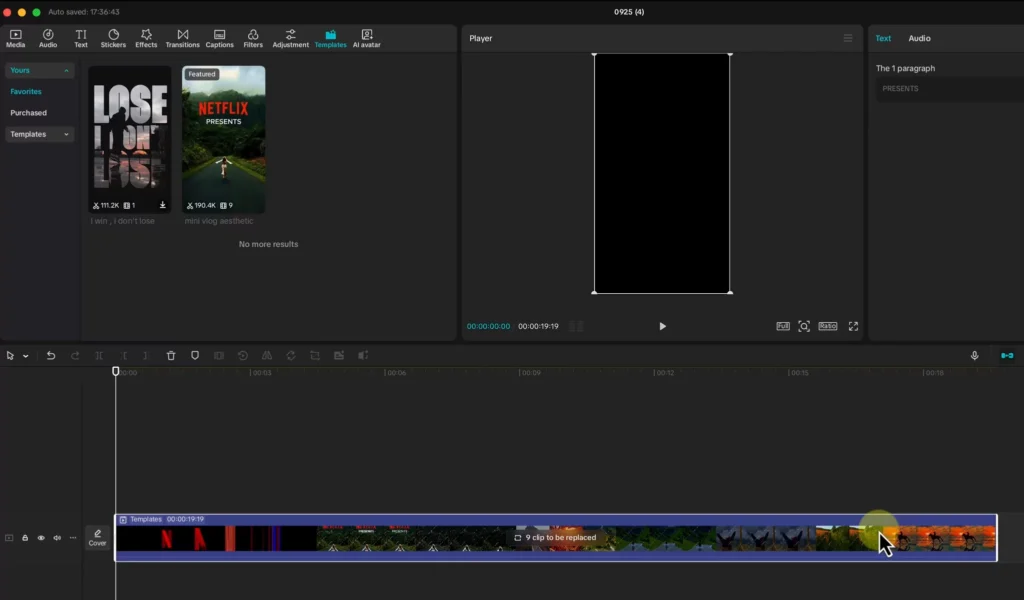
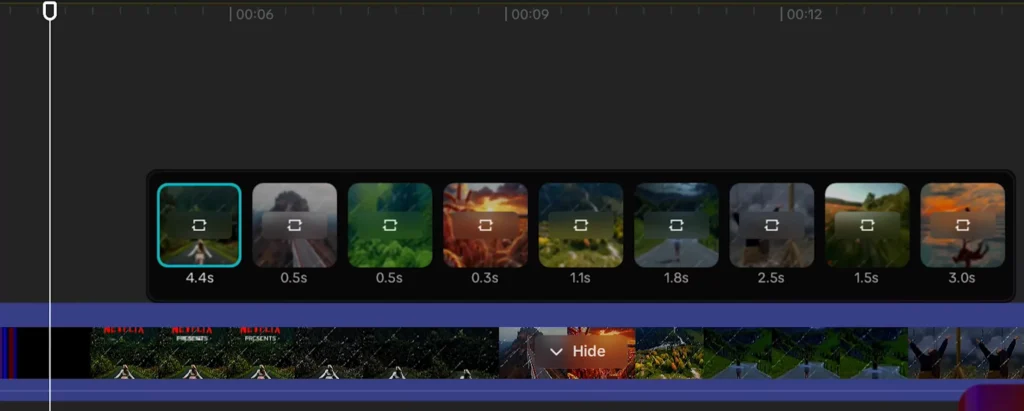
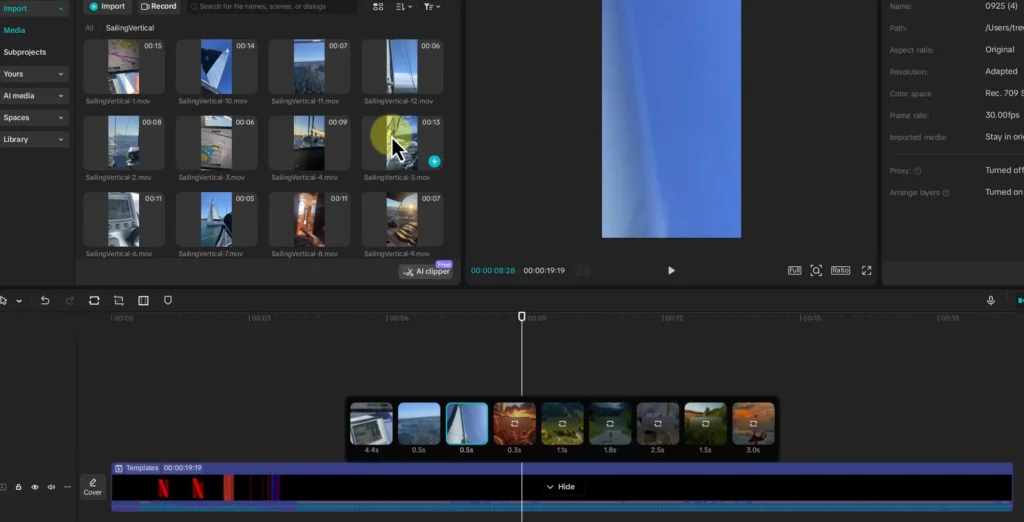
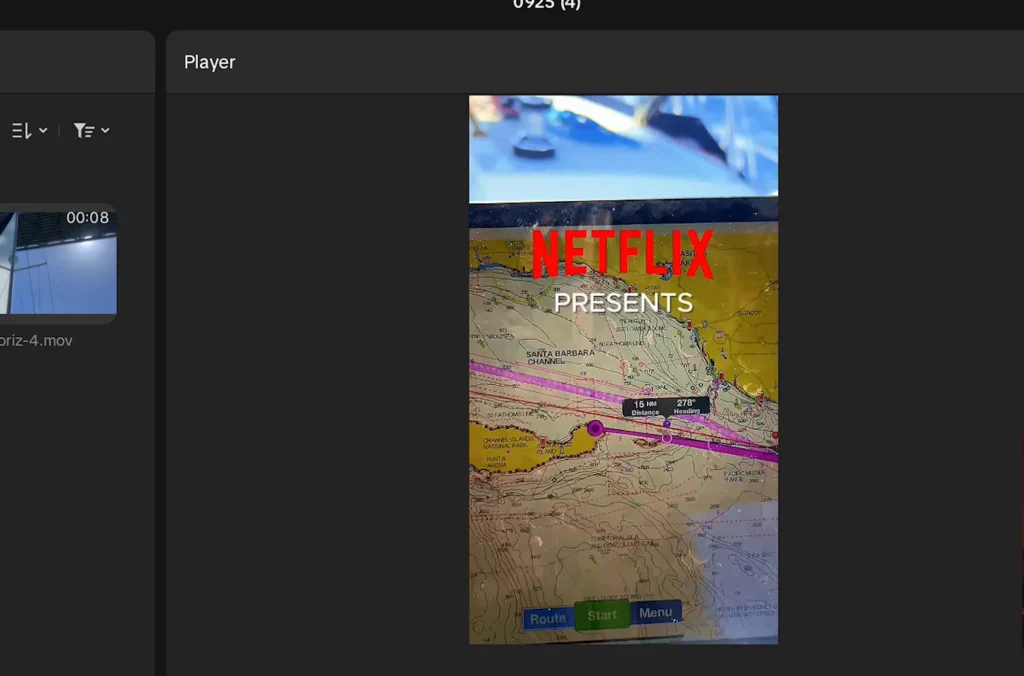
Templates come with placeholders—blank spots waiting for your stuff. Take the “Netflix Presents” style: it has nine slots ready to swap. Click each one, then drag in your video or photo from the media panel.
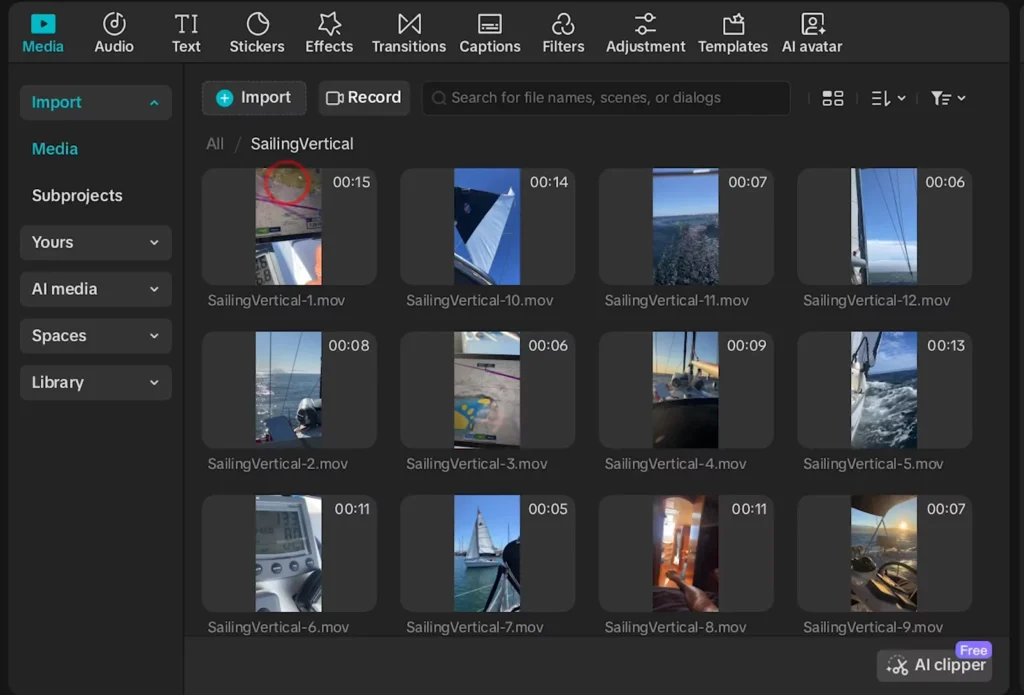
For hands-on practice, grab free footage like mountain biking or sailing clips. Drop a vertical sailing video into the first slot—watch it snap in place. Do this for all nine, building your sequence step by step.
Think story first, even in fast edits. Start with a map shot to set the scene, end with a wow moment like sailing under the Golden Gate.
Avoid repeats; if you drop the same clip twice, just drag a new one over and select “Replace Clip.” It’s that easy to keep things fresh.
Match lengths matter. A 3-second clip won’t fill a 4.4-second slot—CapCut skips it. Pick longer footage and trim later if needed. In real life, plan your imports; sort clips by theme to tell a clear tale.
Precision Editing: Trimming and Aspect Ratio Management
Templates speed things up, but tweaks make them yours. Click the pencil icon on a slot for “Trim Clip.” This lets you pick the exact part of your video—say, the exciting takeoff from a sailboat ride.

Slide the handles to grab just the good bits, like a sunset glow or wave crash. Hit “Replace Clip,” and it updates the timeline. Check each slot this way; short ones might need only a glance, but longer clips deserve a scrub for the best angle.
Aspect ratios can trip you up with mixed footage. Drop a horizontal video into a vertical template, and CapCut often crops it auto to fit 9:16. If not, tap “Crop” in the editor. Choose vertical mode, then drag to focus on the key area—like centering the boat instead of edges.
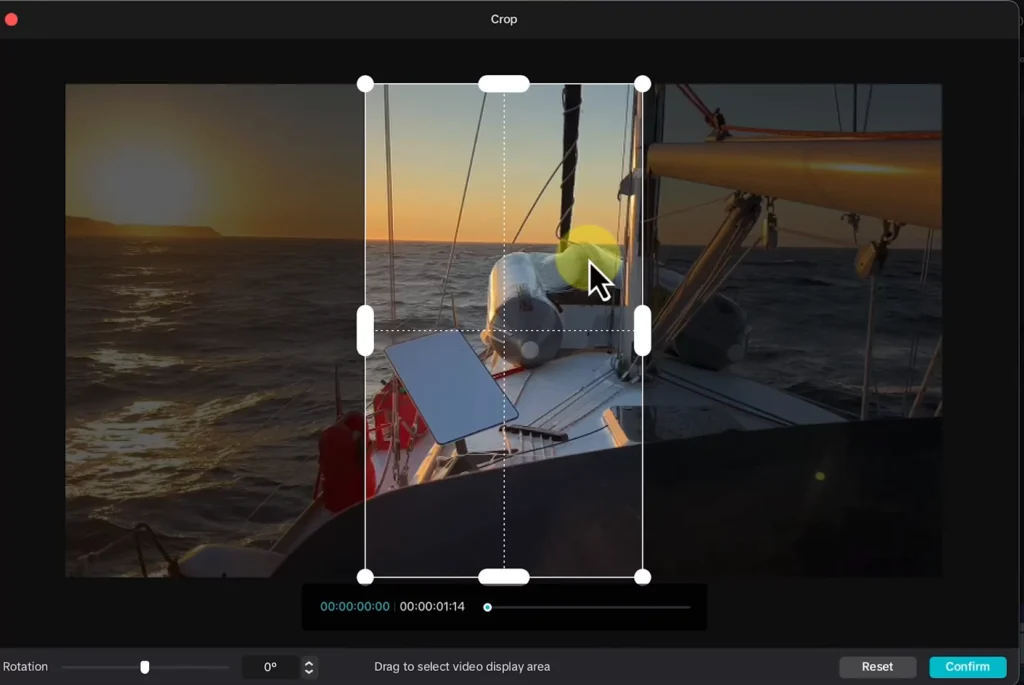
Manual crops give control. Want the sunset? Shift the frame there. This keeps your video full-screen without black bars, looking sharp on phones. Review all placements; a quick playthrough spots any dull spots.
One more thing: test playback. Play a snippet to hear if audio syncs right—templates often mute clips to spotlight music, but we’ll fix that next.
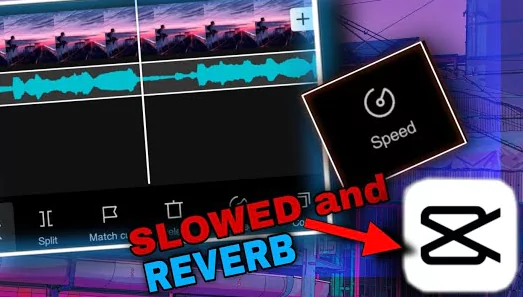
Fine-Tuning Audio Levels Post-Template Application
Many templates quiet your clips to let background tracks shine. Notice no wind or waves in playback? That’s the design. To add them back, click a clip and slide the volume up in the audio tab.
For bulk changes, select the main track—it’s the backbone holding everything. Go to audio settings there. You get sliders for music volume (the beat) and video volume (all clips together). Crank clips to 50% for balance, music to 80%—experiment till it flows.
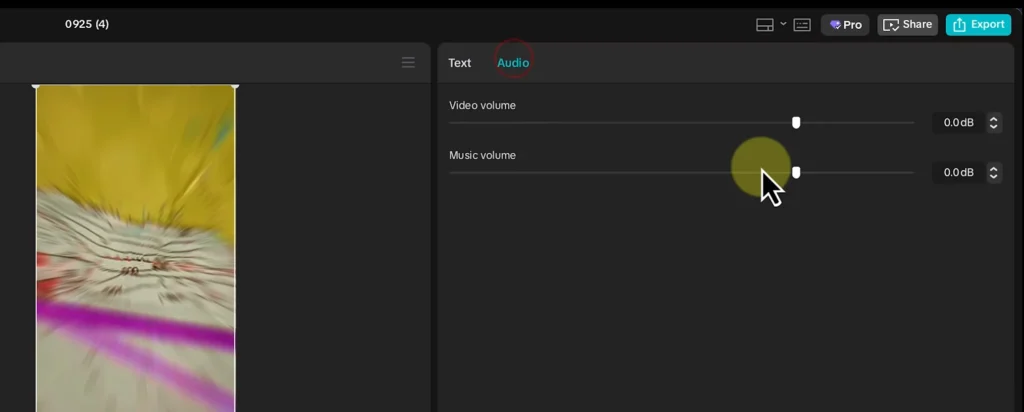
This control prevents muddled sound. Quiet music lets your footage breathe; loud clips drown it out. Play the full timeline after tweaks. If one spot overpowers, dial it solo. Now your epic sail feels alive, not flat.
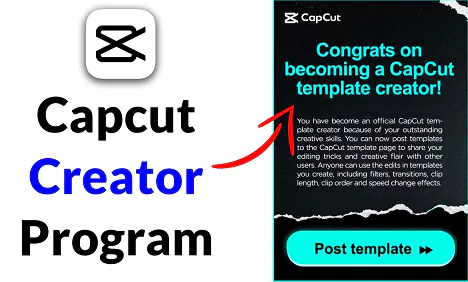
Publishing your Creation: Sharing CapCut Projects as Templates (Mobile Required)
You’ve built something cool on desktop—now share it as a template for others. Start by adding flair: effects, speed ramps, and music from CapCut’s safe library. Avoid outside tracks to dodge copyright woes.
Apply a fade here, a zoom there. Speed up a clip for punch— all this bakes into the template. Users will drag their media into your spots and get the same polish. Test your project; play it to ensure smooth runs.
Name it clear, like “Sailing Adventure Quick Edit,” then right-click and upload to your cloud space. This moves it to CapCut’s servers, ready for mobile access. Effects stick; no loss in translation.
Transferring the Project to the Mobile Environment
Switch to your phone and open CapCut—log in with the same account. Tap “Space” to see your clouds. Pick the folder you uploaded to, like “Templates.”
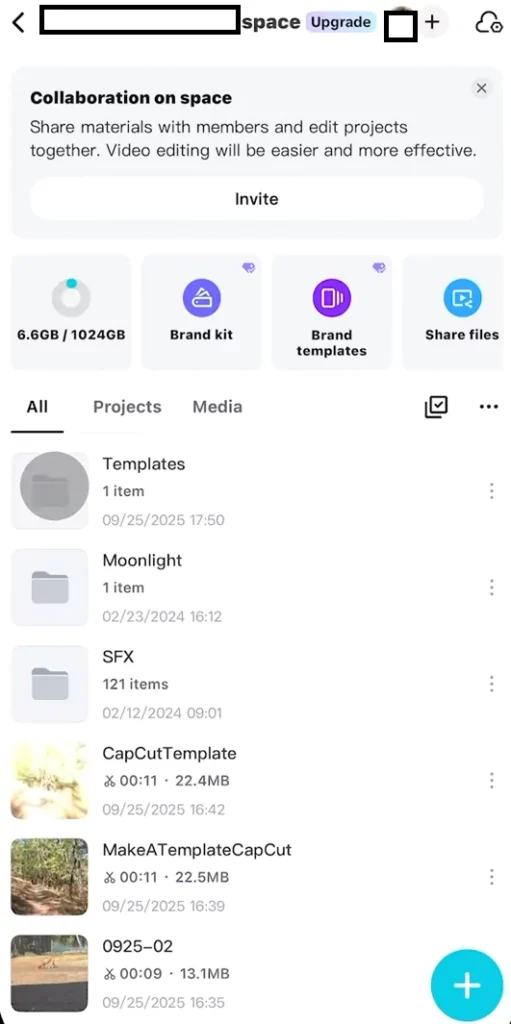
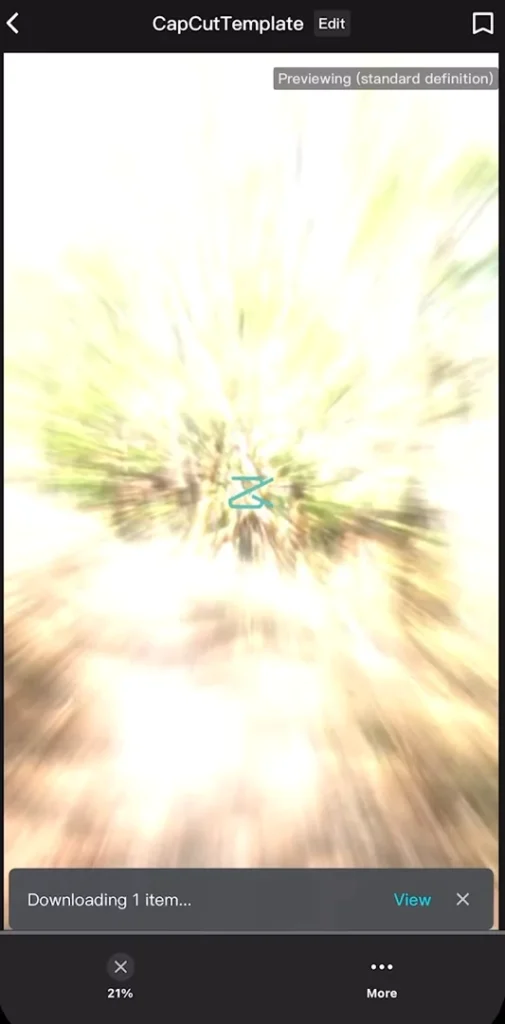
Find your project and download it. This pulls it local, eating some storage but enabling edits. Once down, hit “Edit”—it mirrors your desktop version, effects and all.
Tweak if you spot issues, like a ramp too fast. Mobile’s touch controls make fine adjustments easy. With that set, you’re primed to export and share.
Finalizing and Posting the Template via CapCut Mobile
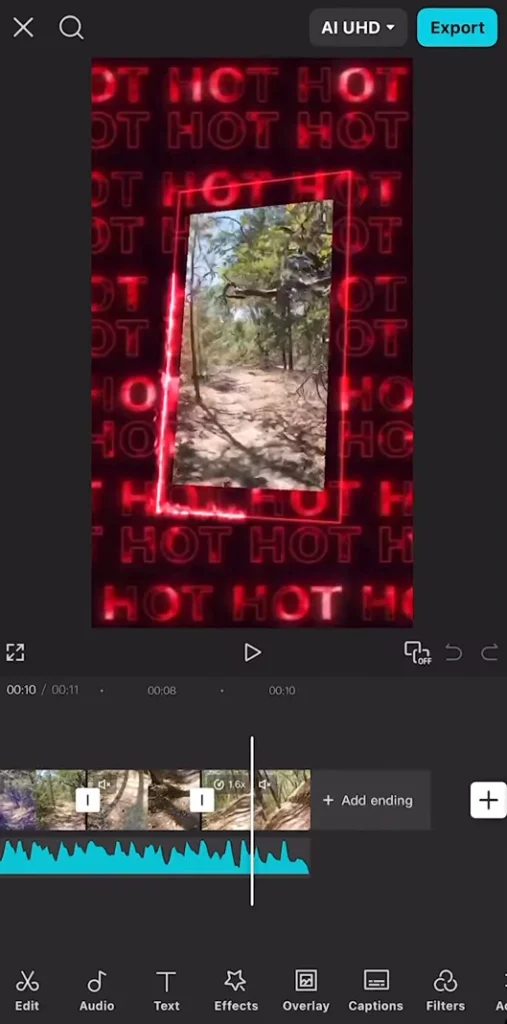
Export the project as a video file first. A prompt pops: “Share as Template.” Tap it, then settings. Name it fun, add hashtags like #CapCutTemplate or #VideoEditHack.
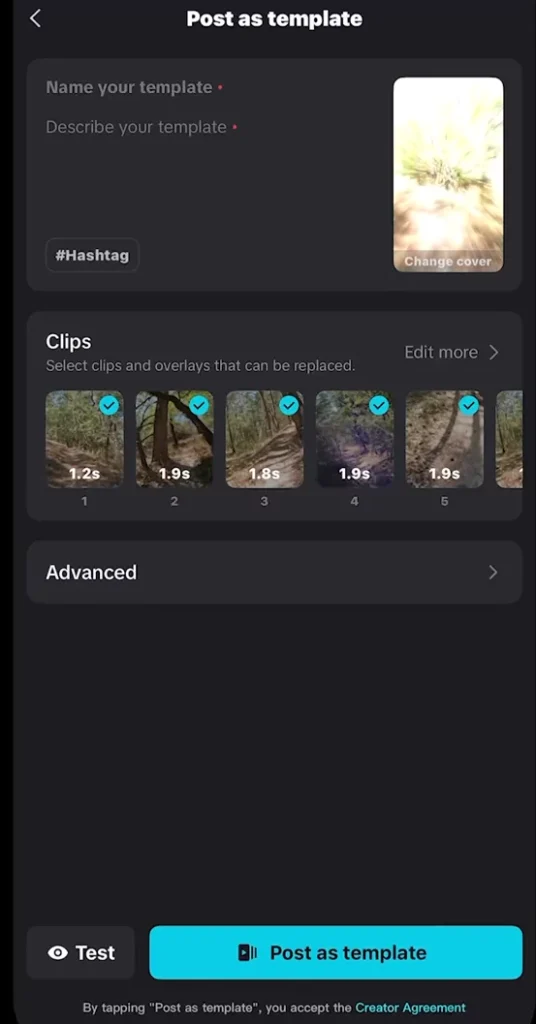
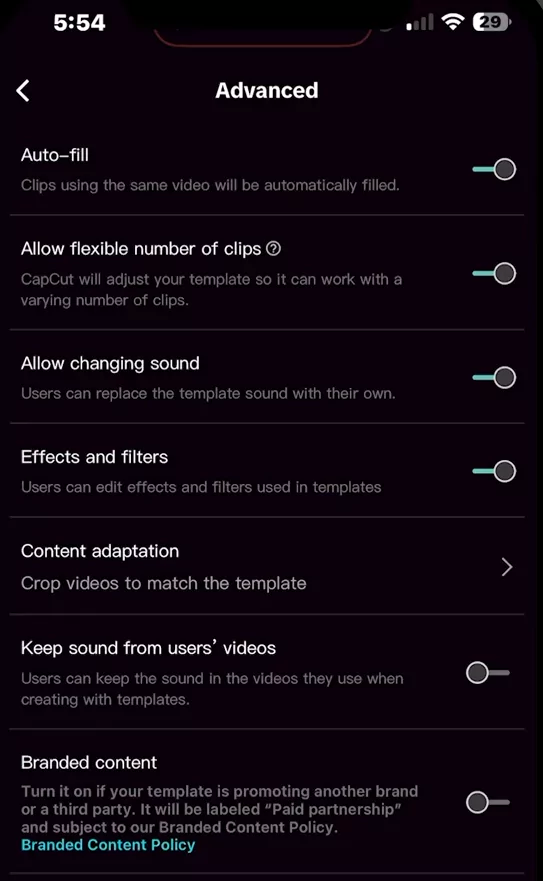
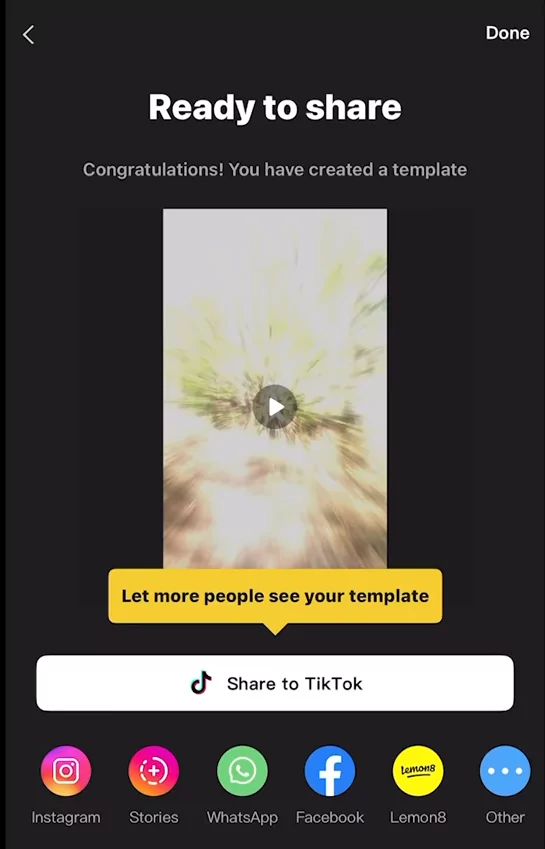
Hit “Test” to verify—drag sample clips in; if they fit without glitches, you’re gold. Adjust advanced options if needed, but defaults work fine for most. Post it, and in seconds, it’s live for the world.
From there, share straight to TikTok or Instagram. Your creation joins millions, potentially going viral.
Tracking Template Performance and Community Engagement
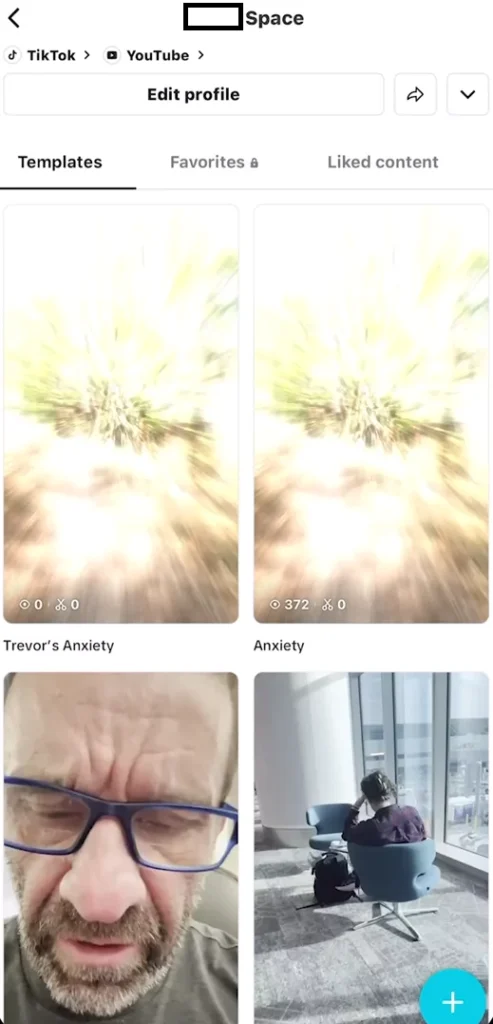
See how your template does by tapping “Me” in the app’s bottom right. Then “View Profile.” It loads your public ones, showing views and uses.
One of mine got 372 views in an hour—cool start, zero uses yet. Others have a few takers, building slow. Track daily; numbers climb as more creators find it.

Make several to test waters. A travel one might pop more than abstract effects. Low uses? Tweak and repost. This boosts your profile, maybe even fame in edit circles. It’s a fun way to gauge what clicks.
Types of CapCut Templates with examples
Not all templates are built the same. CapCut’s library covers many styles:
- Trend-Based: Sync to viral TikTok sounds, dances, or memes.
- Business & Marketing: Product reveals, promo videos, and brand intros.
- Travel & Lifestyle: Montages for vacations, daily vlogs, or adventures.
- Educational & Informative: Text overlays for tutorials or explainers.
- Personal/Creative: Birthday edits, collages, or aesthetic reels.
Example: A “Travel Montage” template uses upbeat music, quick cuts, and transitions—perfect for showcasing a trip in under 30 seconds.
CapCut Templates for Social Platforms
Each platform favors different styles. Here’s how to match templates with your target audience:
- TikTok: Fast-paced, audio-synced edits with trending sounds.
- Instagram Reels: Aesthetic, vertical visuals with stylish transitions.
- YouTube Shorts: Story-focused cuts with captions and hooks.
- Facebook/WhatsApp: More personal edits—family, events, celebrations.
Pick a template based on where you plan to post. What works on TikTok might be too flashy for YouTube Shorts, and vice versa.
CapCut Templates vs. manual editing differences
Templates:
- ✅ Save hours of time.
- ✅ Consistent, polished look.
- ❌ May look generic if overused.
- ❌ Limited flexibility for custom effects.
Manual Editing:
- ✅ Full creative control.
- ✅ Unique, tailored results.
- ❌ Time-consuming.
- ❌ Steeper learning curve.
Best workflow: Use templates for speed, then customize (color grading, music, text) to make them uniquely yours.
How to Customize Templates like a Pro
Don’t just swap clips—add your own flair:
- Change colors & fonts: Match your brand or personal style.
- Add logos/watermarks: Great for businesses or creators who want recognition.
- Mix templates together: Use an intro template + a montage template in one project.
- Replace music: Use copyright-free or licensed tracks to avoid takedowns.
Even small tweaks—like swapping in your brand colors—make a template feel personal and professional.
Where to find the Best CapCut Templates
You don’t need to hunt far—templates are everywhere:
- Built-in Library: Directly inside CapCut (desktop or mobile).
- TikTok Integration: CapCut is owned by ByteDance, so many trending TikTok edits are linked directly to CapCut templates.
- Community Shares: Editing groups on TikTok, Instagram, or Discord often share template links.
- Friends/Collaborators: You can share your own templates with others in one click.
Troubleshooting Common Issues
Sometimes templates don’t work as smoothly as expected. Here’s how to fix common problems:
- Template won’t load: Check internet connection; try updating CapCut.
- Fonts/music missing: Use built-in fonts and licensed tracks for consistency.
- Aspect ratio mismatch: Switch between 9:16 (vertical), 16:9 (horizontal), or 1:1 depending on your footage.
- Export errors: Clear cache, reduce resolution, or split your video into smaller sections.
CapCut Templates for Business & Marketing
CapCut isn’t just for fun—it’s powerful for brands too:
- Product Demos: Show how your product works with quick effects.
- Event Promotions: Highlight conferences, concerts, or launches.
- Social Media Ads: Use trendy formats that stop people scrolling.
- Before/After Edits: Perfect for fitness, design, or makeover industries.
Pro tip: Add your logo watermark to every video to keep branding consistent.
Alternatives to CapCut Templates
If you want more variety, try these:
- Canva Video Templates: Drag-and-drop, good for business branding.
- VN Video Editor Templates: Similar to CapCut but with different effects.
- Adobe Express: Quick templates with professional polish.
CapCut is great for fast, social-first edits, but these alternatives help if you need different styles.
Frequently Asked Questions
Can I create my own CapCut template?
Yes. Build a project, upload it, and share it so others can use it.
Are CapCut templates free to use?
Most are free. Some advanced templates may require CapCut Pro, but the majority cost nothing.
Do CapCut templates work offline?
You can download and edit them offline, but you’ll need internet to initially access them.
Can I use CapCut templates for commercial videos?
Yes, but only with copyright-safe music and media. Stick to CapCut’s built-in music to avoid takedowns.
Conclusion: Exponential Editing Speed Achieved
CapCut templates transform slow grinds into quick wins. You start by grabbing popular ones on desktop, swapping media, and tweaking for perfection. From there, craft and share your own via mobile, turning one idea into community gold.
The payoff? Epic videos in half the time, with stories that hook viewers. Desktop sets the base; mobile launches it wide. Dive in today—download some footage, build a template, and watch your skills soar. Your next viral clip waits; make it happen.