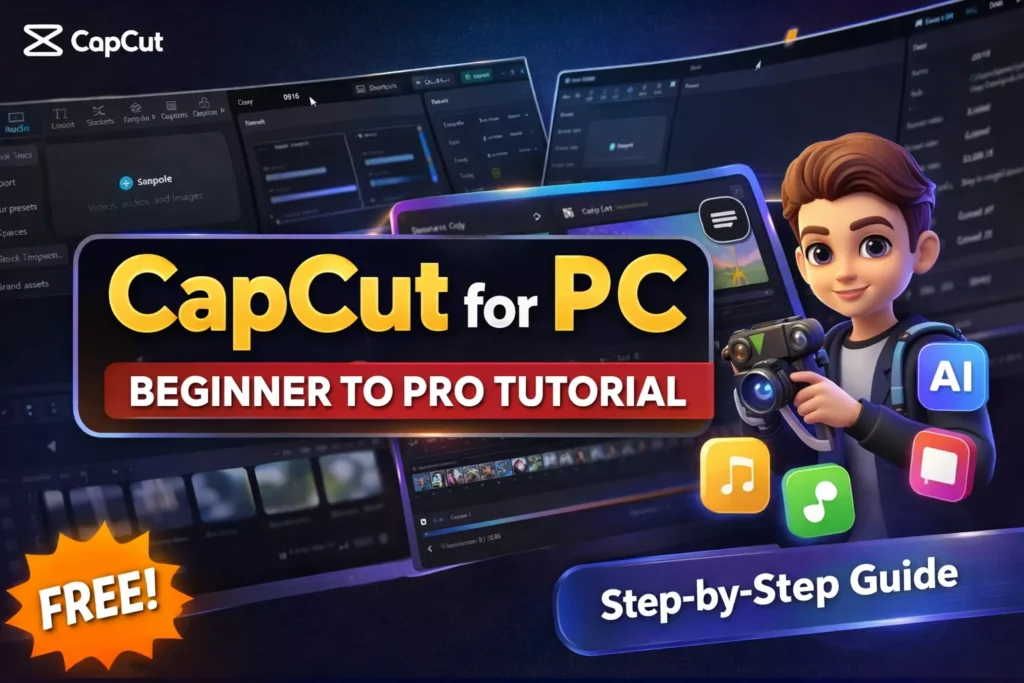
If you are looking for powerful yet free video editing software that doesn’t overwhelm beginners, CapCut for PC is exactly what you need. Designed with a clean interface, powerful AI tools, and professional-grade effects, CapCut desktop bridges the gap between simple mobile editing and advanced pro software.
Whether you are a YouTuber, short-form content creator, small business owner, or just getting started with video editing, this complete guide will walk you through everything — from installation to export settings, performance optimization, and advanced AI features.
By the end, you will know exactly how to use CapCut for PC confidently and efficiently.
Why Choose CapCut for PC?
CapCut has grown rapidly because it offers:
- A free desktop version with powerful tools
- Multi-track timeline editing
- Built-in effects, transitions, and templates
- AI-powered captions, stylizing, and avatars
- High-quality export options (including 4K)
- CapCut Pro with advanced features like no watermark, AI effects, 4K exports and awesome templates
Unlike many free editors, CapCut does not feel limited. It is built for creators who want speed and flexibility without paying monthly fees upfront.
1. How to Download and Install CapCut for PC
System Requirements
Before installing, make sure your system meets these recommendations:
Minimum Requirements:
- Windows 10 (64-bit) or macOS 10.15+
- 8GB RAM
- Intel i5 or equivalent processor
- 2GB free storage
Recommended:
- 16GB RAM
- Dedicated GPU
- SSD storage
If you plan to edit 4K footage, higher specs will dramatically improve performance.
Installation Steps
- Download CapCut from the capeditcut.com website.
- Run the installer.
- Sign in or create an account.
- Allow necessary permissions.
- Launch the desktop application.
Once installed, you are ready to start creating.
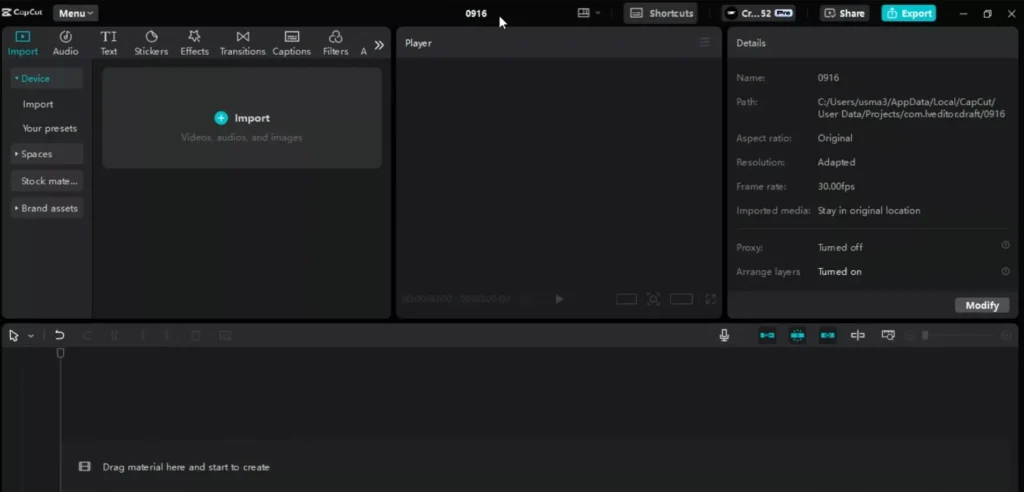
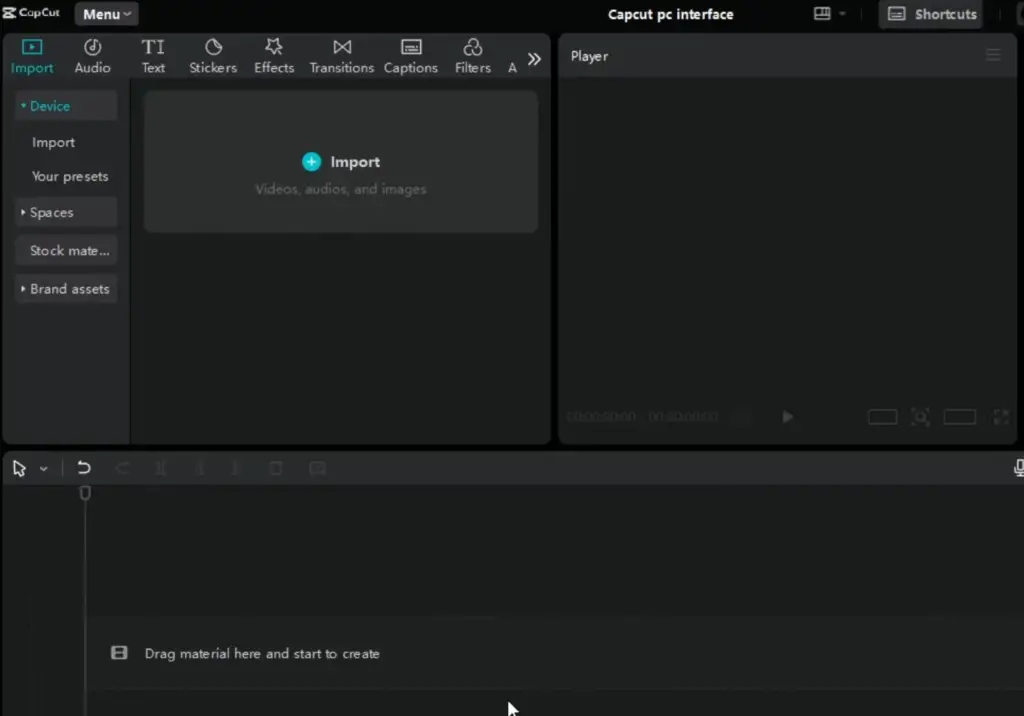
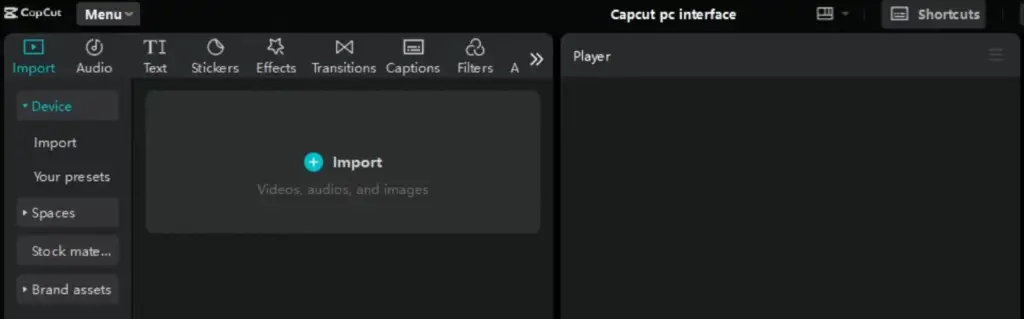
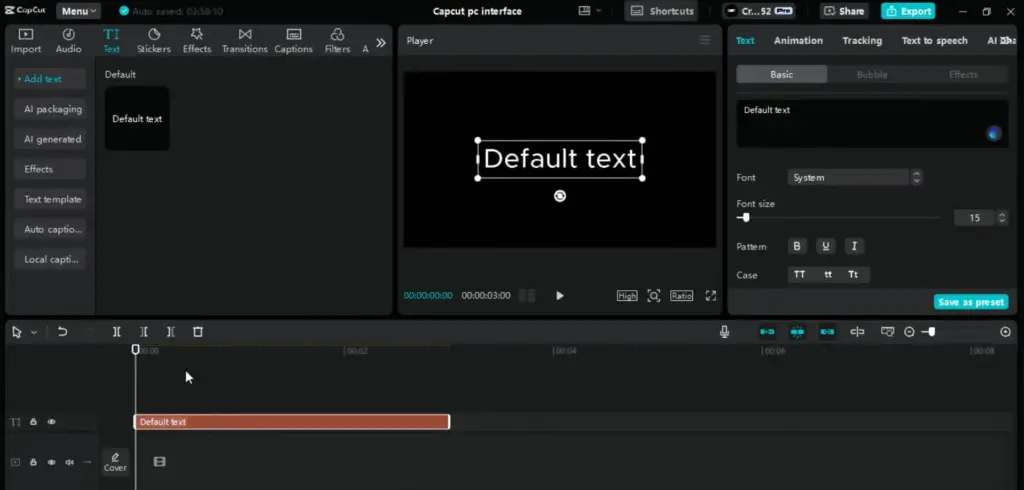
2. CapCut PC Interface Overview
When you open CapCut for PC, you will notice a clean and intuitive workspace divided into key sections.
Main Layout Breakdown
1. Left Panel – Media & Creative Assets
This is where you:
- Import video, audio, and images
- Access effects, transitions, text templates
- Browse stock assets
2. Center – Preview Window
Displays your video in real time as you edit.
3. Bottom – Timeline
Your main editing area where clips are arranged and adjusted.
4. Top Bar – Project & Account Controls
Rename projects, adjust settings, and manage your account here.
Everything is positioned logically to minimize confusion — ideal for beginners.
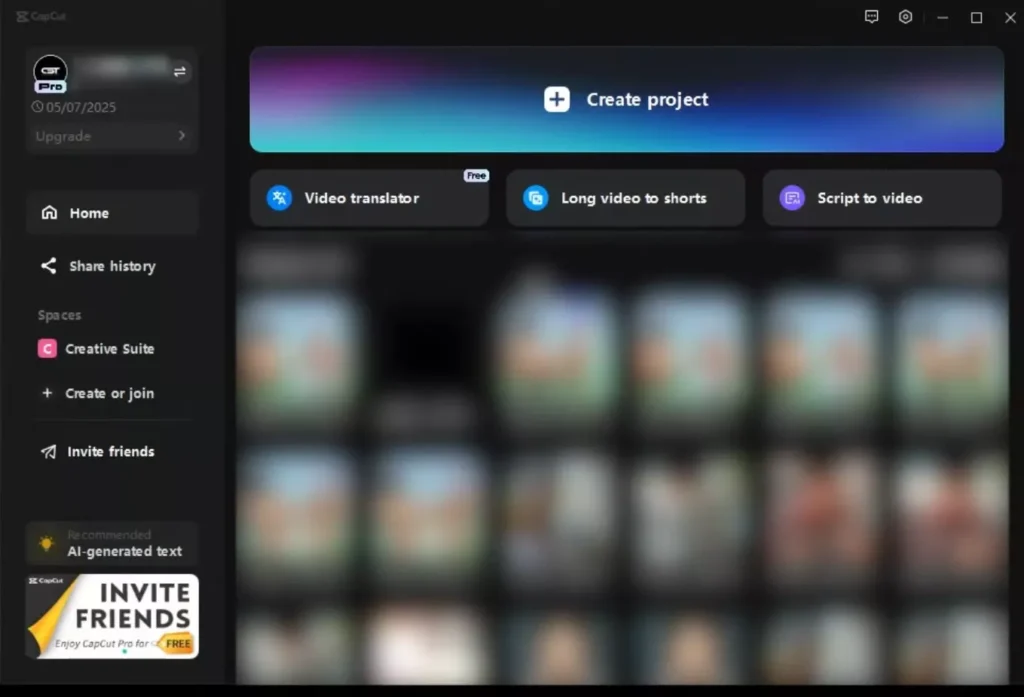
3. Creating Your First Project
Step 1: Start a New Project
Click “Create Project.”
Step 2: Rename It
Choose a clear project name to stay organized.
Step 3: Adjust Project Settings
Set:
- Resolution
- Frame rate
- Aspect ratio
Recommended Aspect Ratios:
- 16:9 – YouTube
- 9:16 – TikTok/Reels
- 1:1 – Instagram Feed
Getting this right at the beginning prevents export issues later.
Read Also: CapCut Video Size & Aspect Ratio Calculator (All Platforms)
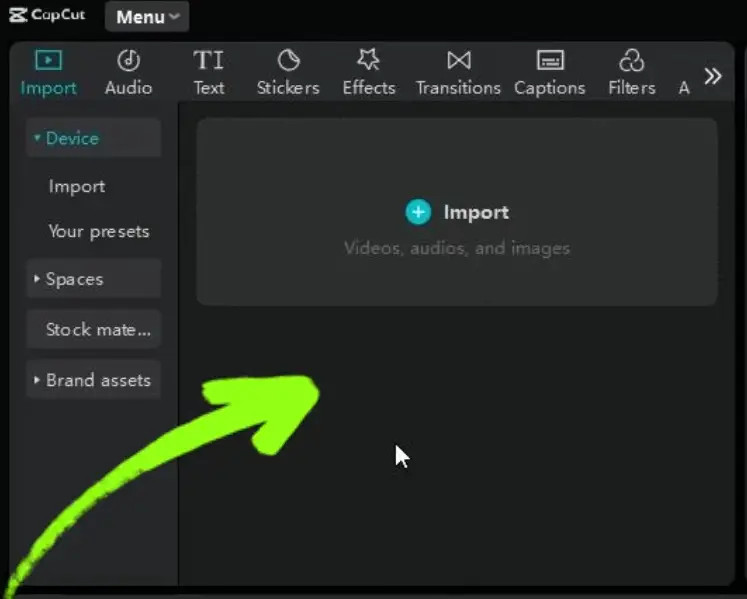
4. Importing Media & Using Built-In Assets
Importing Your Own Media
- Click the Media tab
- Drag and drop files
- Organize them in folders
CapCut supports most common formats, including MP4, MOV, MP3, and JPG.
Using Built-In Assets
CapCut includes:
- Backgrounds
- Stock videos
- Green screen clips
- Sound effects
- Music tracks
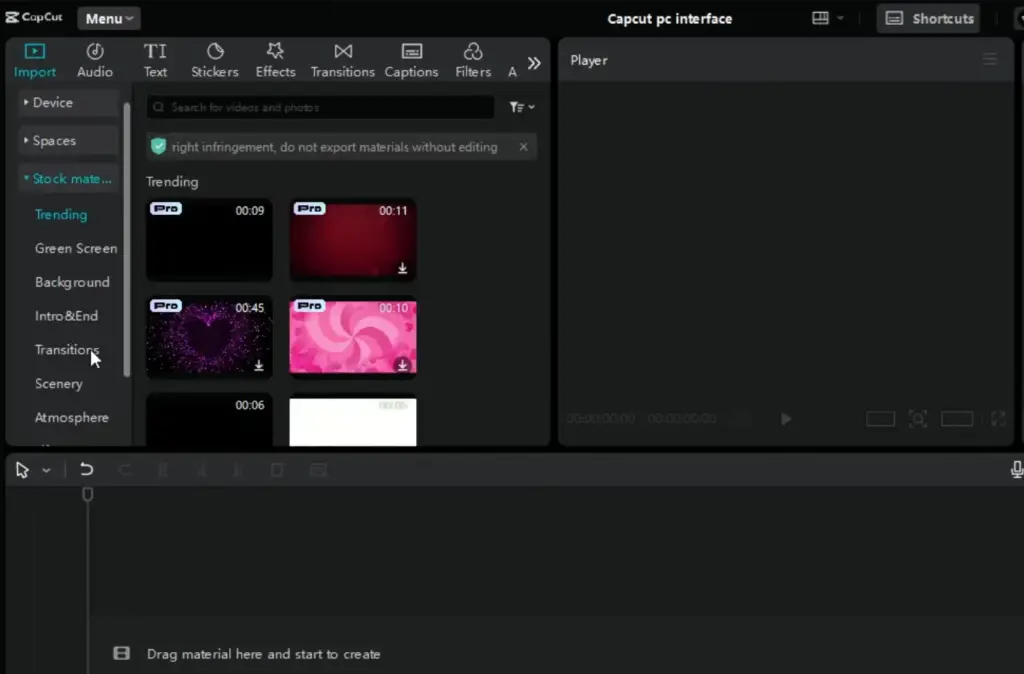
This saves time if you don’t have your own assets.
You can also upload brand elements like:
- Logos
- Intro animations
- Custom fonts
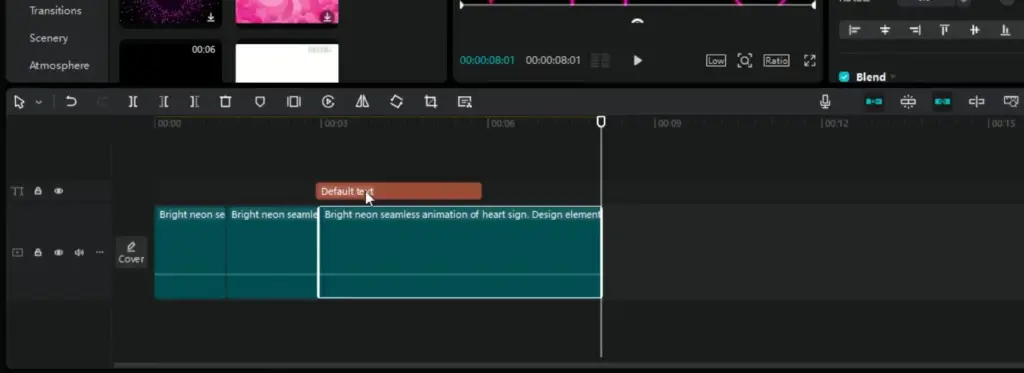
5. Basic Timeline Editing
The timeline is where the magic happens.
Core Editing Tools
- Trim: Drag clip edges
- Split: Cut clips at the playhead
- Delete: Remove unwanted sections
- Drag & Drop: Rearrange clips
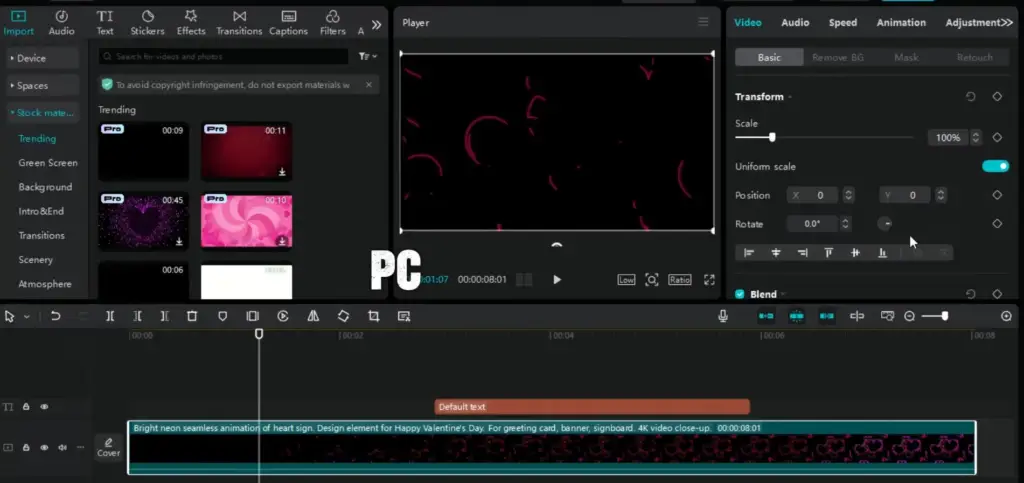
Video Adjustments
Select a clip and adjust:
- Scale
- Position
- Rotation
- Opacity
You can crop or zoom in without permanently damaging your footage.
6. Adding Text, Audio & Stickers
Adding Text
The Text tab offers:
- Animated templates
- Title presets
- Custom font controls
You can change:
- Font style
- Color
- Stroke
- Shadow
- Animation
For YouTube videos, clean bold titles perform best.
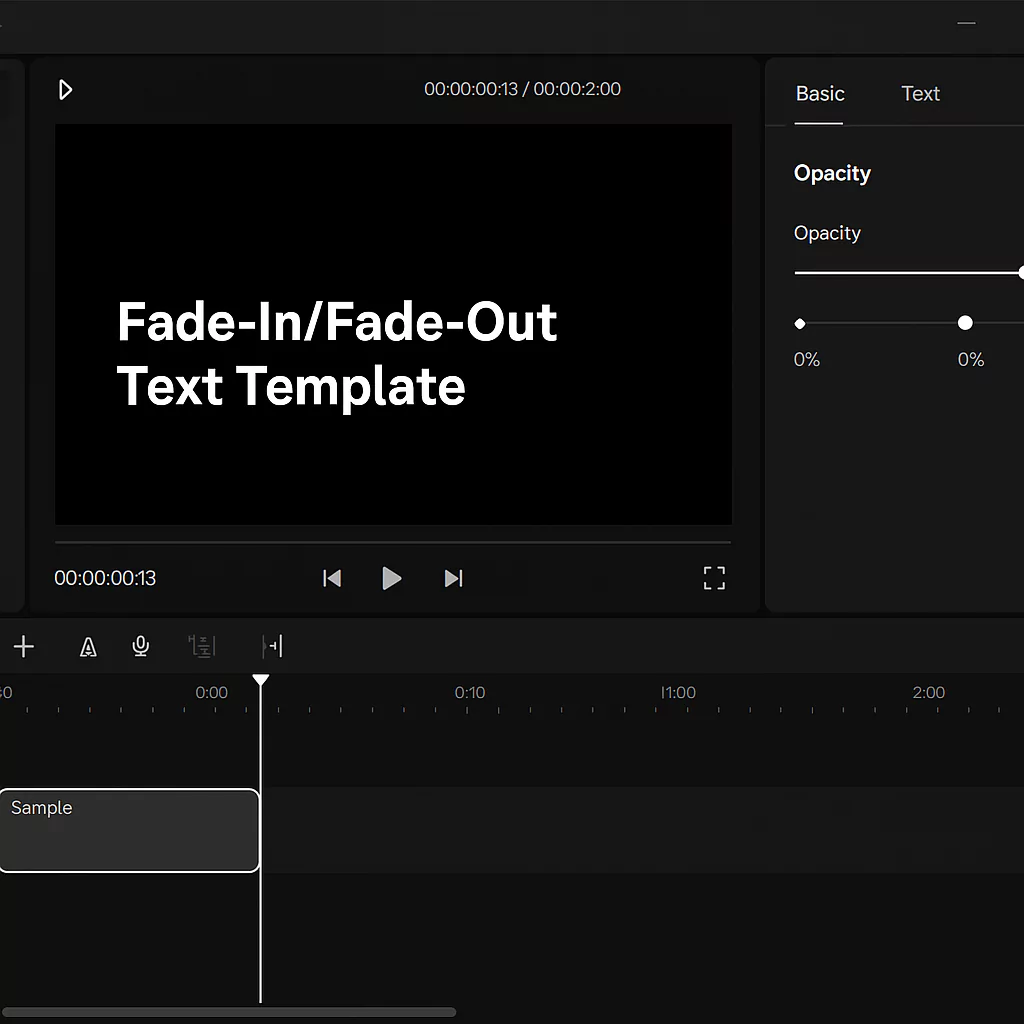
Adding Music & Sound Effects
Open the Audio tab to:
- Add royalty-free music
- Insert sound effects
- Adjust volume levels
- Add fade in/out
Balancing audio is crucial — dialogue should always be clear.

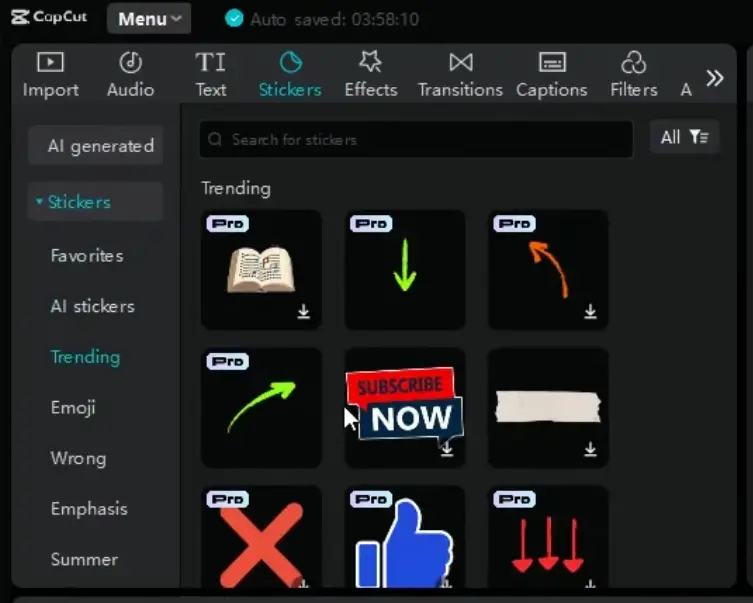
Using Stickers & AI Elements
The Stickers tab includes:
- Emojis
- Social icons
- Trending visuals
- Animated overlays
You can also generate AI stickers by typing a prompt. This is useful for unique visuals.
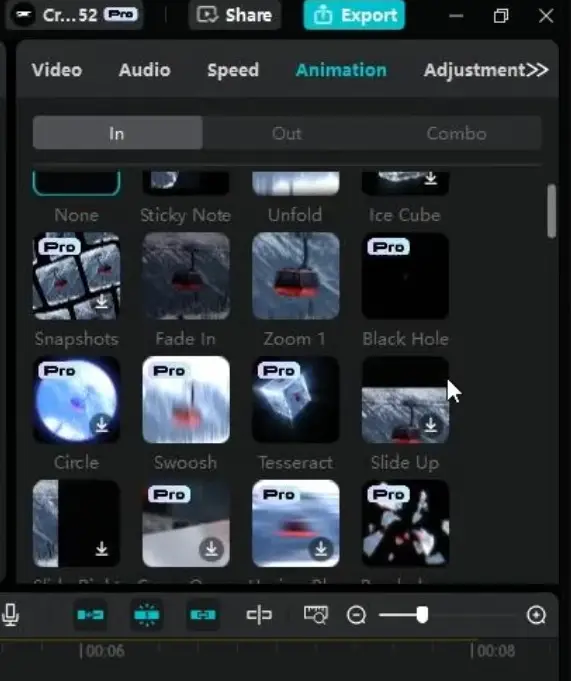
7. Effects, Transitions & Color Grading
Applying Effects
Go to the Effects tab:
- Trending
- Basic
- Distortion
- Body effects
Drag and drop onto your clip.
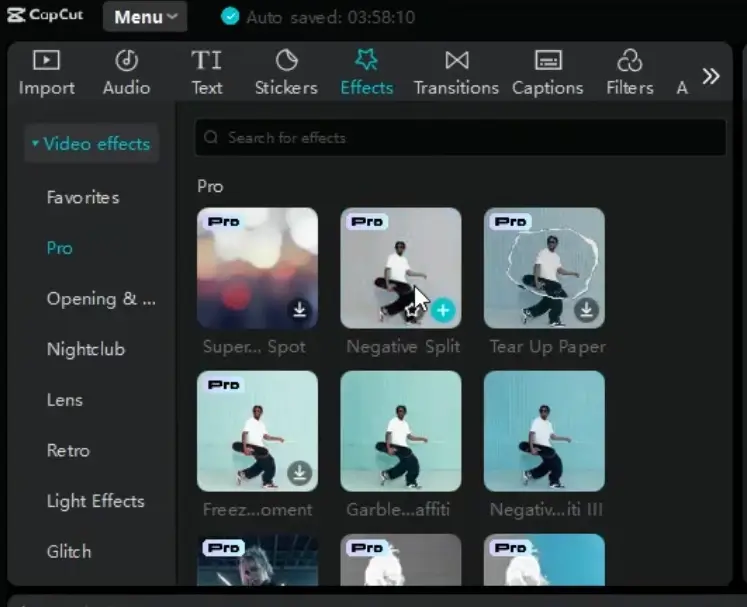
Avoid overusing effects — subtlety looks more professional.
Adding Transitions
Place transitions between clips for smooth flow:
- Fade
- Slide
- Zoom
- Blur
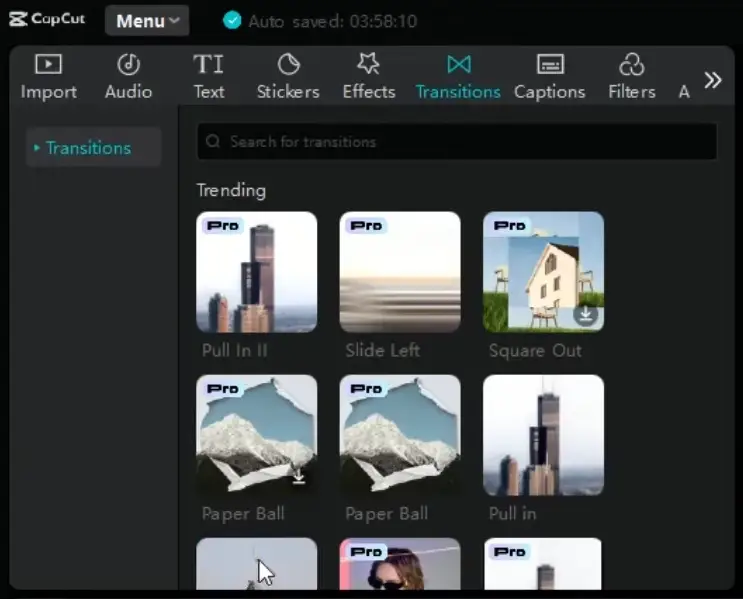
Use short transitions for YouTube; dynamic ones work well for TikTok.
Using Filters & Manual Adjustments
Filters instantly change the mood.
But for professional results, use the Adjustment panel to control:
- Exposure
- Contrast
- Saturation
- Temperature
- Highlights & shadows
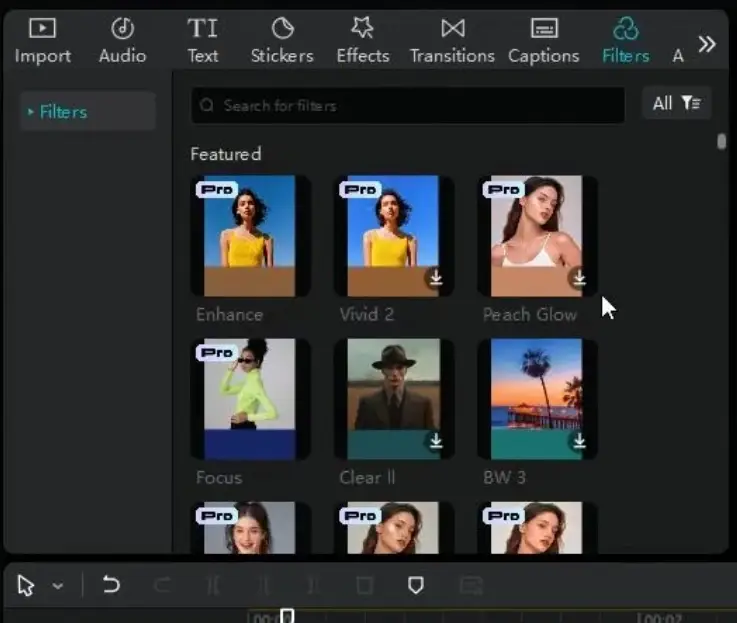
Manual grading gives you more control.
Using LUTs
LUTs (Look-Up Tables) are preset color profiles.
Apply them to:
- Create cinematic tones
- Match multiple camera angles
- Enhance mood instantly
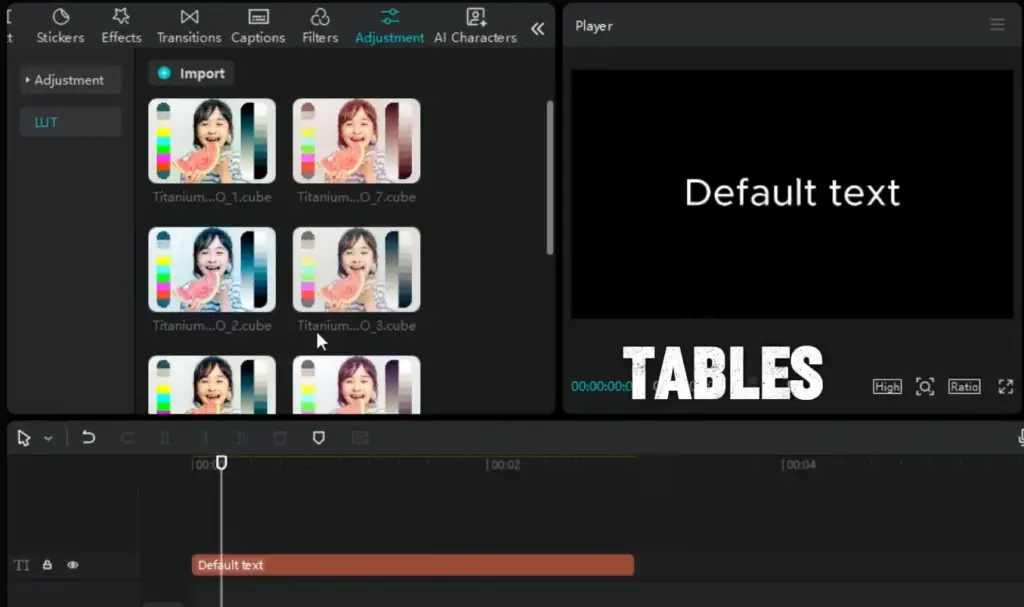
They are especially useful for storytelling videos.
AI Stylize
AI Stylize transforms footage into artistic styles.
Use this feature for:
- Creative social clips
- Short-form content
- Eye-catching intros
It’s not ideal for professional documentaries but great for viral content.
8. Advanced Features
Auto Captions
CapCut’s AI can automatically generate subtitles.
Benefits:
- Improves accessibility
- Boosts retention
- Increases watch time
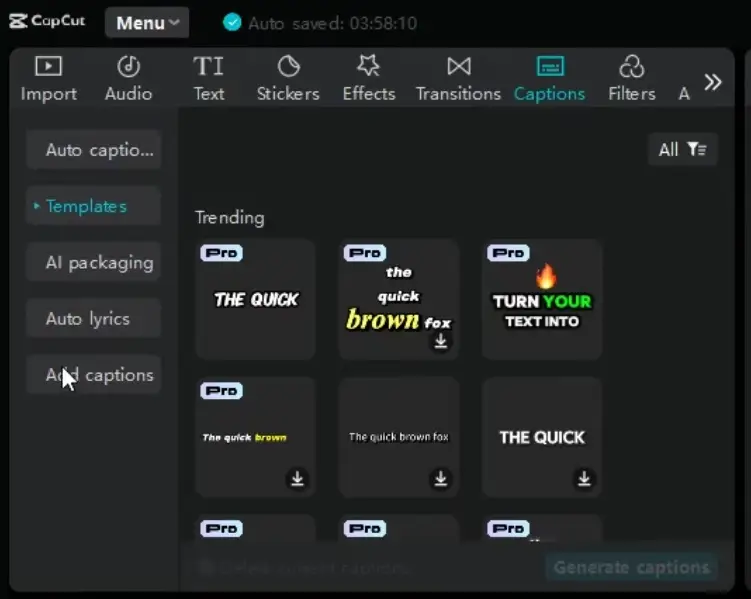
You can:
- Choose styles
- Edit mistakes
- Apply a consistent template
Auto captions are extremely useful for social platforms.
AI Characters
CapCut allows you to insert AI avatars.
Great for:
- Explainer videos
- Educational content
- Voice-over storytelling
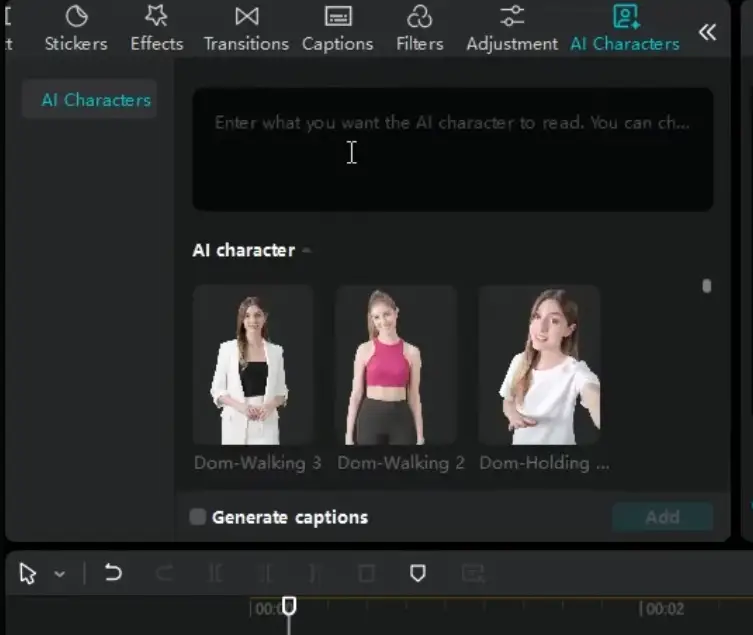
No need to appear on camera.
Recording Voiceovers
Inside CapCut:
- Select your microphone
- Record directly
- Adjust gain
- Clean up audio
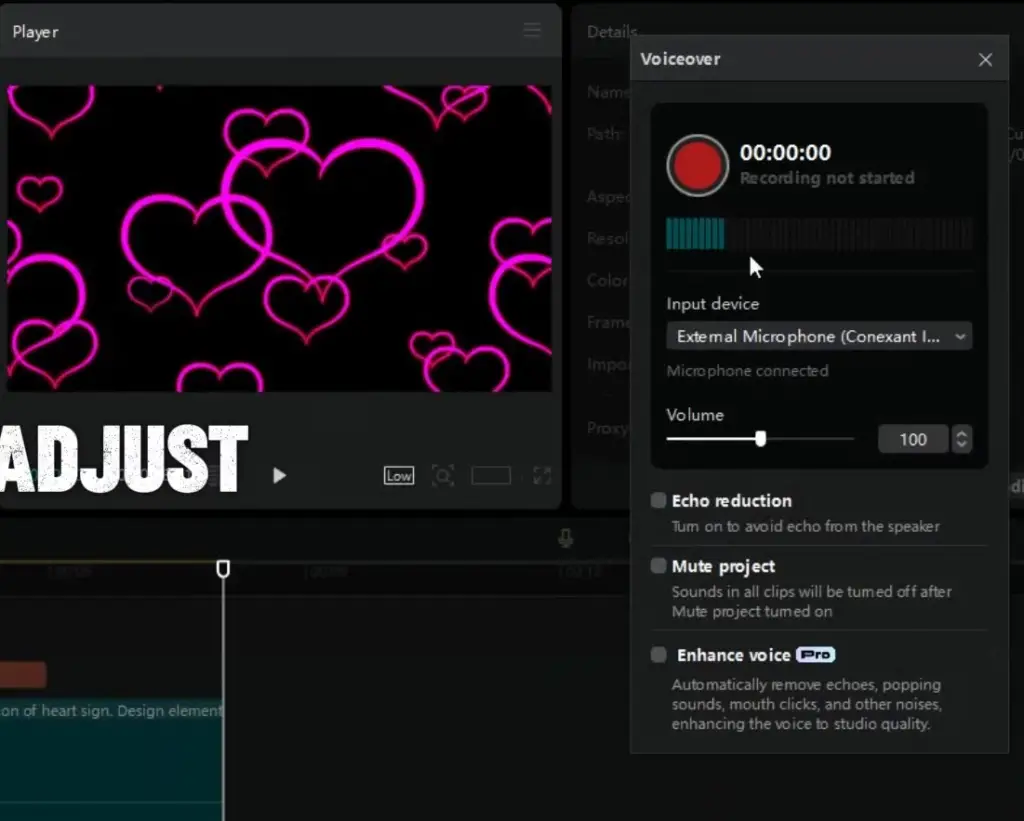
Direct recording simplifies workflow.
9. Best Export Settings for CapCut PC
Exporting properly ensures top video quality.
For YouTube (16:9)
- Resolution: 1920×1080 or 3840×2160
- Frame rate: 30fps or 60fps
- Format: MP4 (H.264)
- Bitrate: High quality preset
For TikTok / Reels (9:16)
- Resolution: 1080×1920
- Format: MP4
- 30fps works well
Keep file sizes optimized for faster uploads.

10. How to Fix CapCut Lag on PC
If your system slows down, try:
- Lower preview resolution
- Enable hardware acceleration
- Clear cache
- Close background apps
- Use proxy editing for 4K files
Upgrading RAM makes a major difference.
Read Also: How to Fix No Internet Connection Problem in Capcut?
11. CapCut Free vs Pro
Is CapCut PC Really Free?
Yes — most features are free.
Free Version Includes:
- Timeline editing
- Effects
- Transitions
- Auto captions
- 1080p export
Pro Unlocks:
- Premium templates
- Advanced AI tools
- Extra cloud storage
For most beginners, the free version is more than enough.
12. CapCut PC vs Mobile
| Feature | PC | Mobile |
|---|---|---|
| Multi-track editing | Yes | Limited |
| Precision control | Yes | No |
| AI tools | Yes | Limited |
| Ease of quick edits | Moderate | Very Easy |
Desktop offers more control and flexibility, while mobile is faster for quick edits.
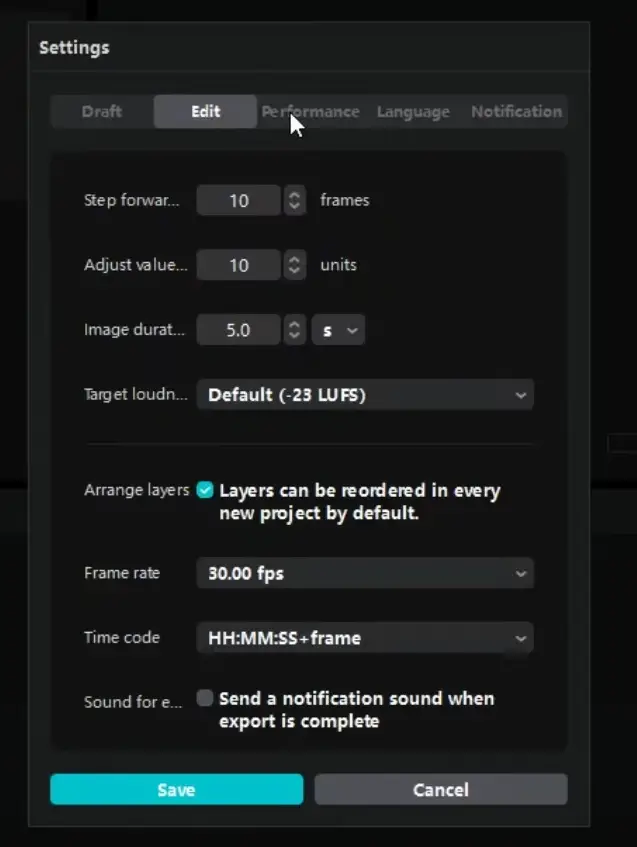
13. Essential Keyboard Shortcuts
Learning shortcuts speeds up workflow dramatically.
Common ones include:
- Split clip
- Undo/Redo
- Play/Pause
- Zoom timeline
- Delete selection
Check CapCut settings for the full list and customize them if needed.

14. Frequently Asked Questions
Is CapCut PC safe?
Yes, when downloaded from the official source.
Does CapCut add a watermark?
No watermark on most exports in the free version. You can get the CapCut Pro version for free from capeditcut.com which completely removes any watermark from your exported video.
Can CapCut edit 4K video?
Yes, but higher specs improve performance.
Is CapCut good for YouTube?
Absolutely. Many creators use it for full YouTube production.
Final Verdict: Is CapCut for PC Worth It?
CapCut for PC delivers an impressive balance of power and simplicity. It’s beginner-friendly yet packed with advanced features like:
- AI captions
- LUT support
- Multi-track editing
- High-quality exports
For a free video editor, it competes strongly with paid alternatives.
If you’re just starting or want a streamlined editing workflow without complexity, CapCut for PC is an excellent choice.
Now open the software and create your first project. The fastest way to master editing is by practicing.
Keep experimenting. Keep creating.