Video content is everywhere, and standing out means editing your videos like a pro. Luckily, CapCut offers an easy way for beginners to create stunning, professional-looking videos without complex tools.
Popular creators like MrBeast and many others use CapCut to craft eye-catching videos, proving it’s more capable than people think. This guide will show you some advanced effects and editing secrets that can take your videos to the next level—whether you’re just starting or want to sharpen your skills.
Why CapCut is the best editing Software for Beginners and Pros
CapCut’s design makes editing simple for newcomers. Its intuitive interface means you don’t need to learn complicated menus to get started. Yet, it’s powerful enough for advanced creators to create effects that look professional.
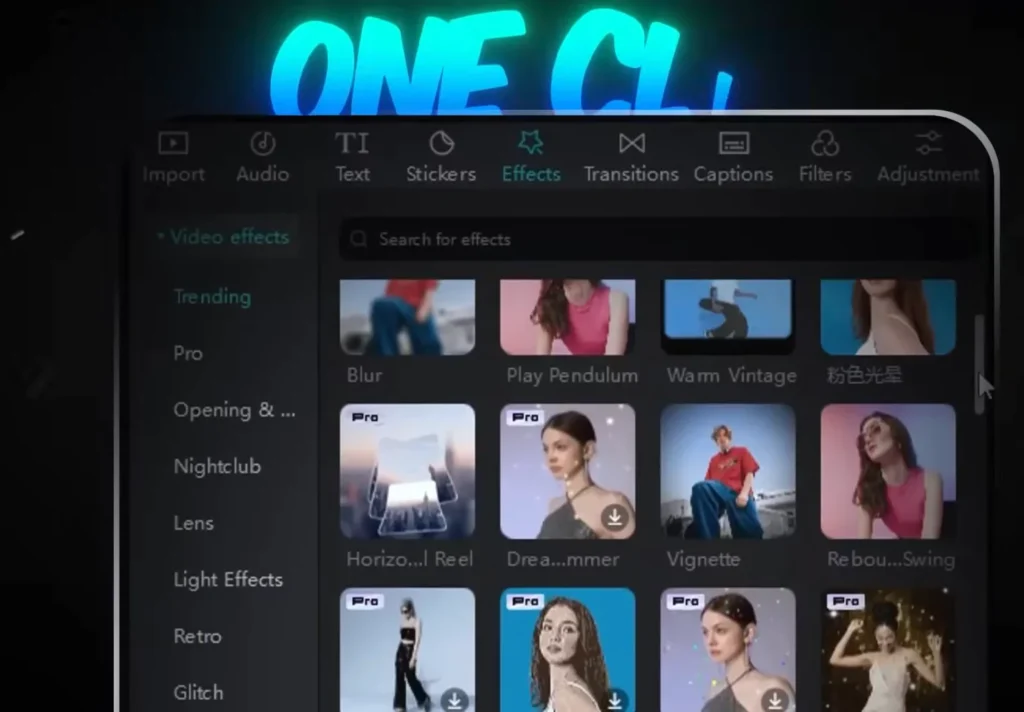
One of CapCut’s biggest advantages is the wide range of pre-made effects, animations, and filters. This means you can add impactful touches to your videos with just one click. Compared to other platforms, CapCut strikes the perfect balance—it’s beginner-friendly but packed with features that seasoned editors love.
Fundamental features of CapCut for Video Editing Beginners
Navigating the interface
Getting around CapCut is straightforward. The main workspace clearly shows your timeline, effects, and tools. Learning shortcuts like how to quickly import media or cut clips means faster editing. This efficiency is key when working on complex projects.
Importing and Organizing Media
Start by importing all your clips and images early. Keep your media organized in folders or labeled clearly.
This helps when working on big projects or adding multiple effects. A good system saves time and keeps your editing smooth.
CapCut vs other editors: How does it compare?
CapCut holds its own against even the most popular video editing tools. Here is a quick breakdown of how it compares:
| Feature | CapCut | Adobe Premiere Rush | VN Video Editor | InShot |
|---|---|---|---|---|
| Price | Free (Pro optional) | Paid (limited free) | Free | Freemium |
| Ease of Use | ⭐⭐⭐⭐☆ | ⭐⭐⭐☆☆ | ⭐⭐⭐⭐☆ | ⭐⭐⭐☆☆ |
| Mobile/Desktop | Yes (both) | Yes (both) | Mobile only | Mobile only |
| Advanced Effects | ⭐⭐⭐⭐☆ | ⭐⭐⭐☆☆ | ⭐⭐☆☆☆ | ⭐⭐☆☆☆ |
| Templates & AI | Strong (AI, trending) | Limited | Basic | Basic |
Why choose CapCut? It’s free, beginner-friendly, and surprisingly powerful. The availability of masking, keyframes, and effects usually found in pro software gives it a major edge—especially for content creators on a budget.
Advanced editing techniques in CapCut for Professional results
Now, let’s jump into effects that make your videos stand out. Each one uses simple steps but creates a big impact.
Applying and creating stunning effects for PRO videos
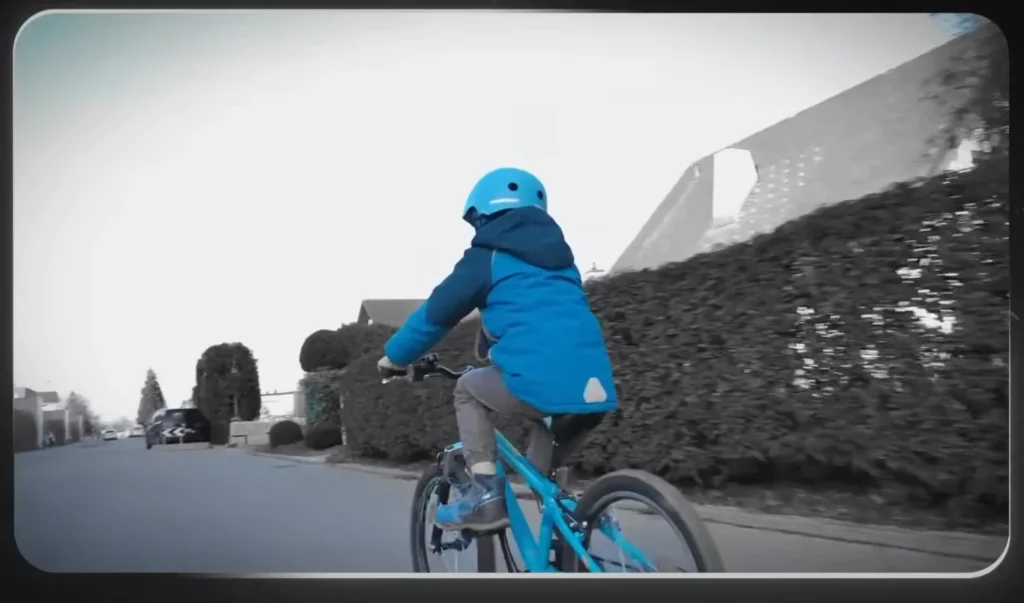
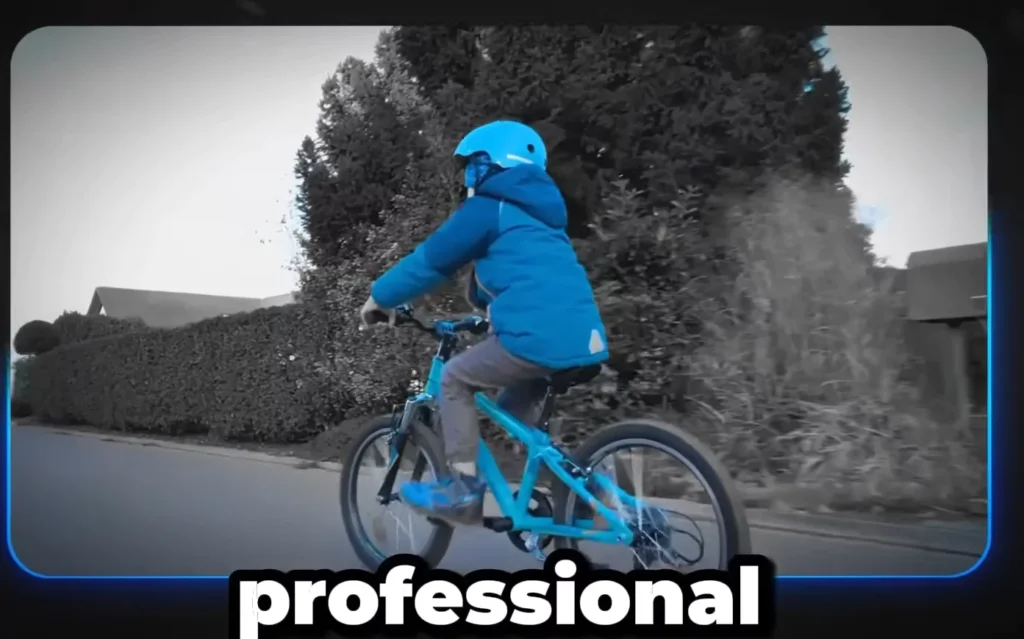
Color Isolation Effect
This creates a cinematic look by highlighting one color and turning everything else black and white. Many viral videos, especially those by top creators, use this effect for dramatic impact.
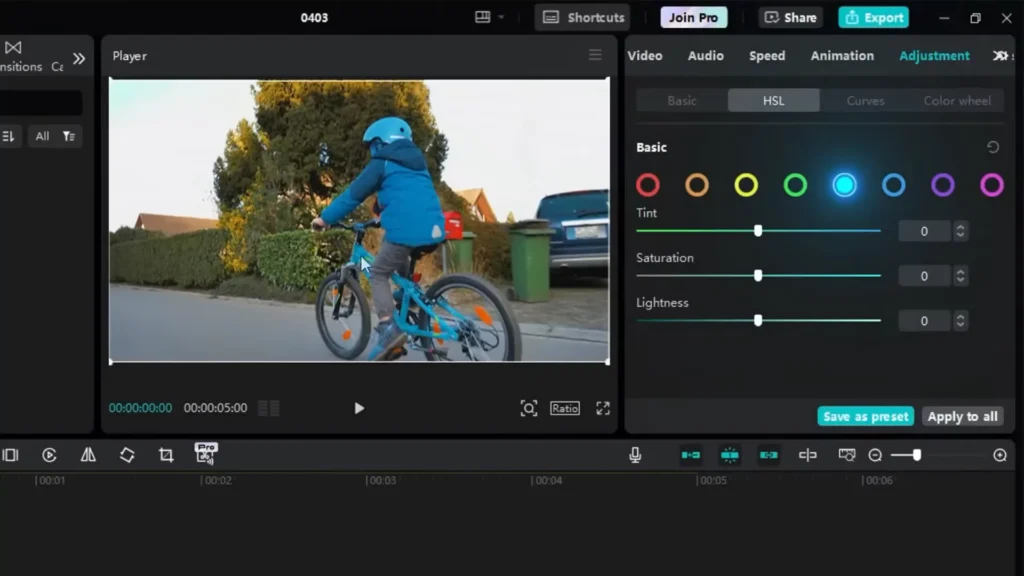
How to make it:
- Import your clip and add it to the timeline.
- Open the adjustment menu and select the HSL tab.
- Pick a color to emphasize, like blue. Adjust the cyan and blue sliders to make the color pop.
- Lower the saturation of other colors to the minimum. That’s it—your clip now has a striking cinematic feel.
Tip: Play around with different colors to match your video theme.
Light Sweep Effect
This effect transforms dull objects into sleek and clean visuals. It’s perfect for making simple shots look professional.
How to Create It:
- Duplicate your clip (Ctrl + C then Ctrl + V).
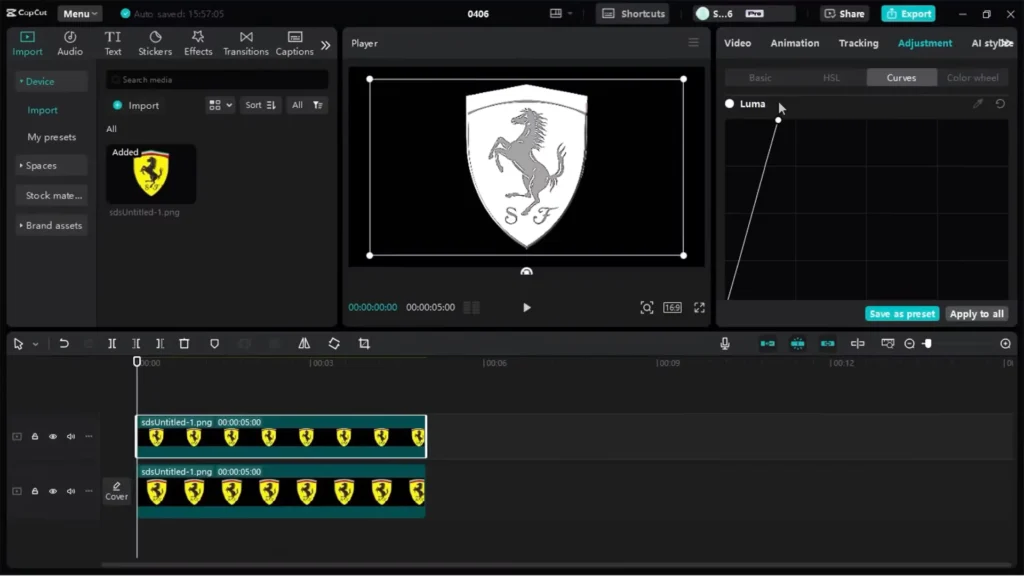
- Go to adjustment > curve tab on the duplicate. Adjust the curve to brighten the object.
- Use the mask tool—select mirror mode, rotate, resize, and feather the mask to your liking.
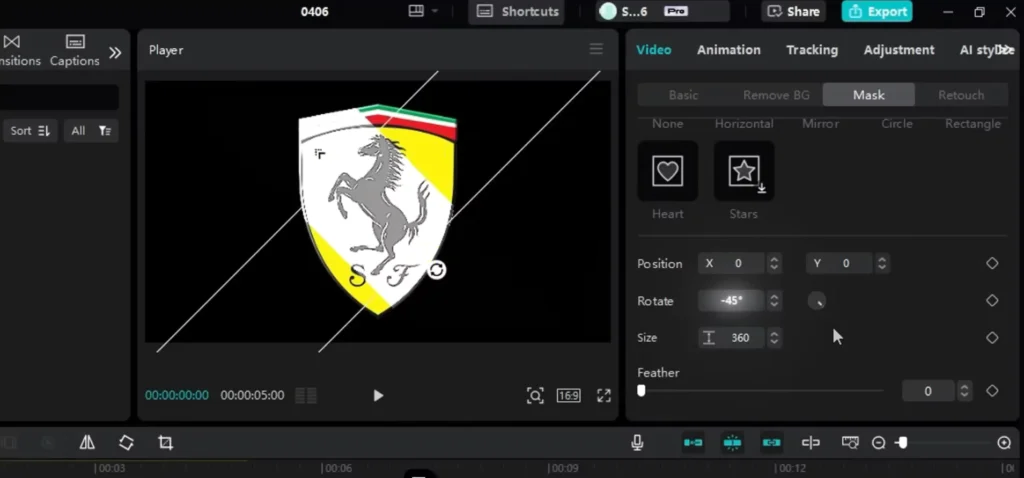
- Animate the mask by adding keyframes, moving it across the screen for a sweeping motion.
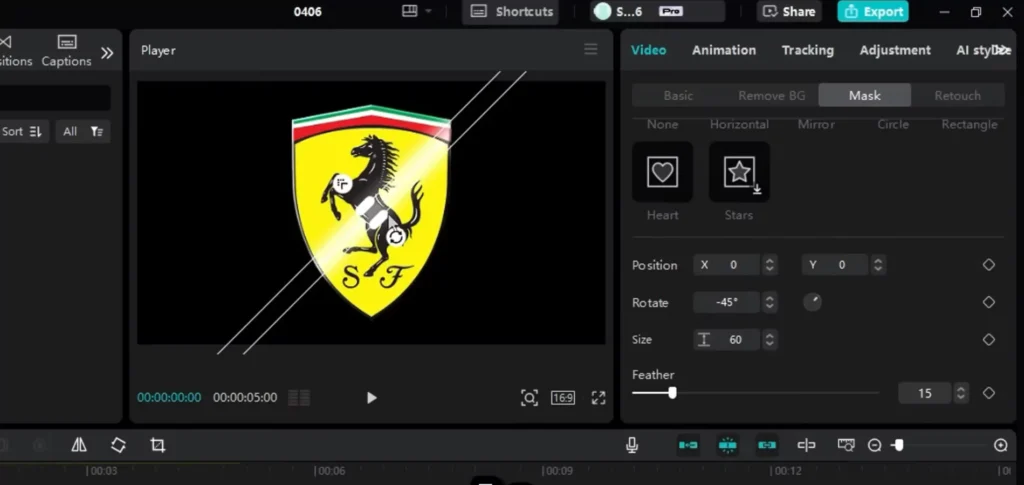
- Add glow effects and overlays to boost the feel.
The result? An eye-catching clean motion that adds depth and style.

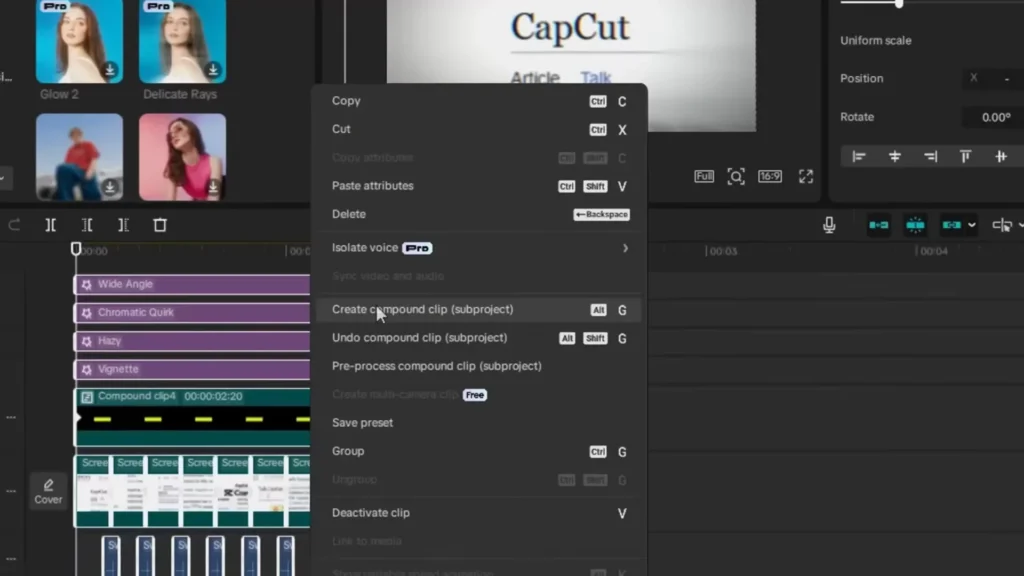
Spotlight Mask Effect
Imagine highlighting your subject like in movies. That’s what this effect does, focusing attention with a smooth moving spotlight.
How to do it:
- Add text or a visual element on your timeline.
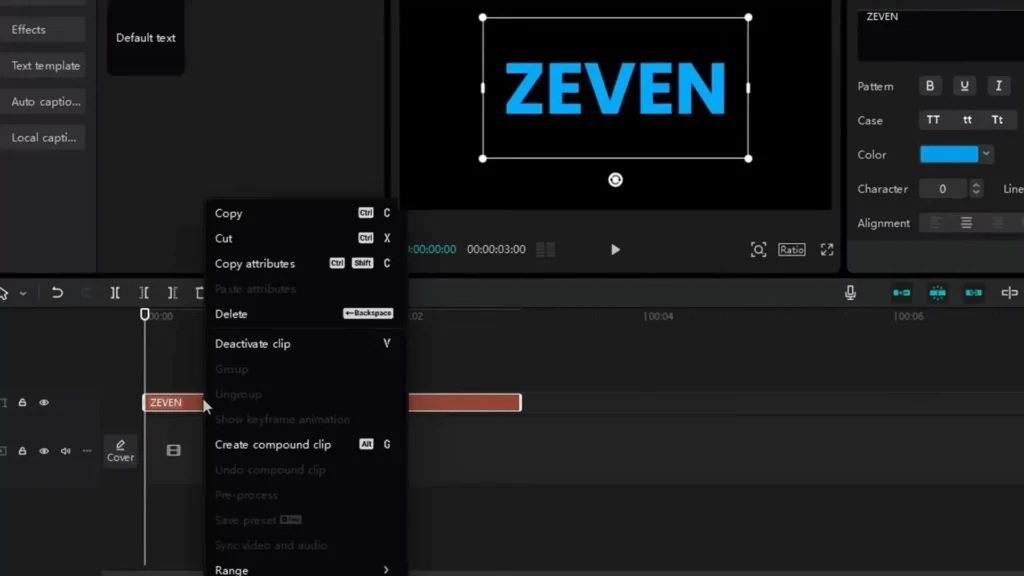
- Create a compound clip by right-clicking.
- Use the circle mask, resize it, and feather for a smooth edge.
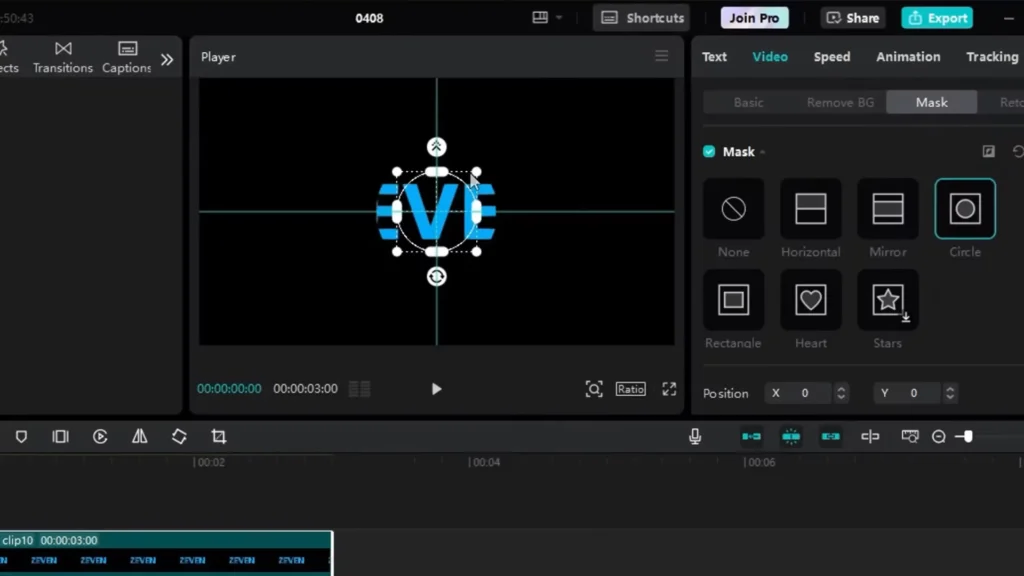
- Animate the mask’s position across different keyframes for a moving spotlight.
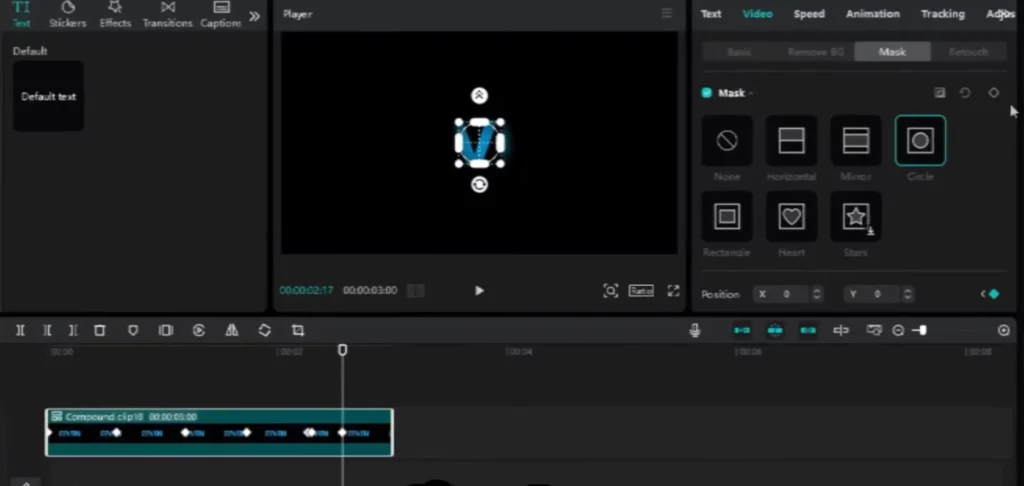
- Adjust the movement with smooth curves, then add a glow for extra pop.
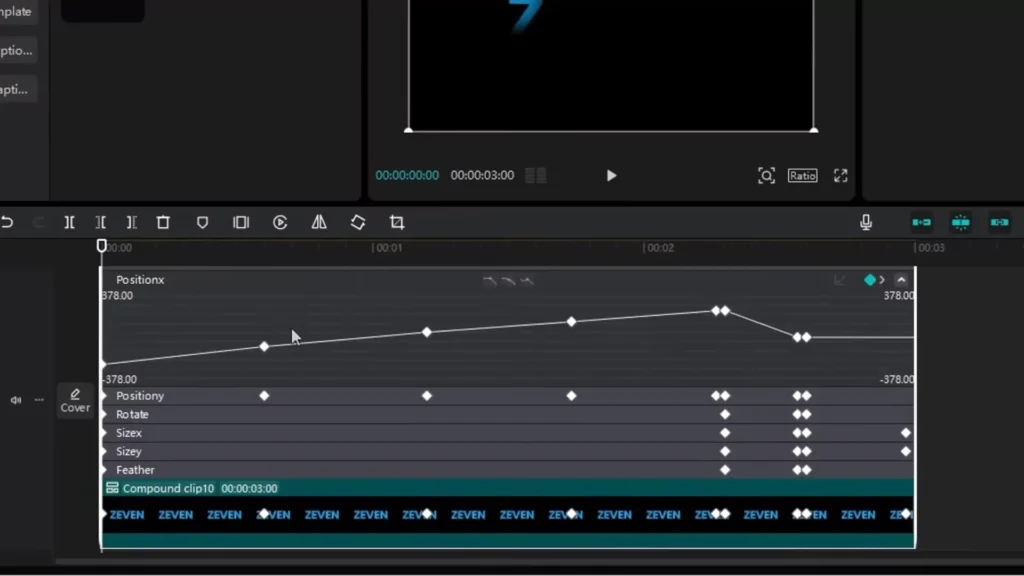
This effect makes your video look like a professional scene from a film.
Dynamic Text and Transition Effects
Text Match Cut
Use this for impactful on-screen highlights, often seen in documentaries. It’s perfect for emphasizing keywords or topics.
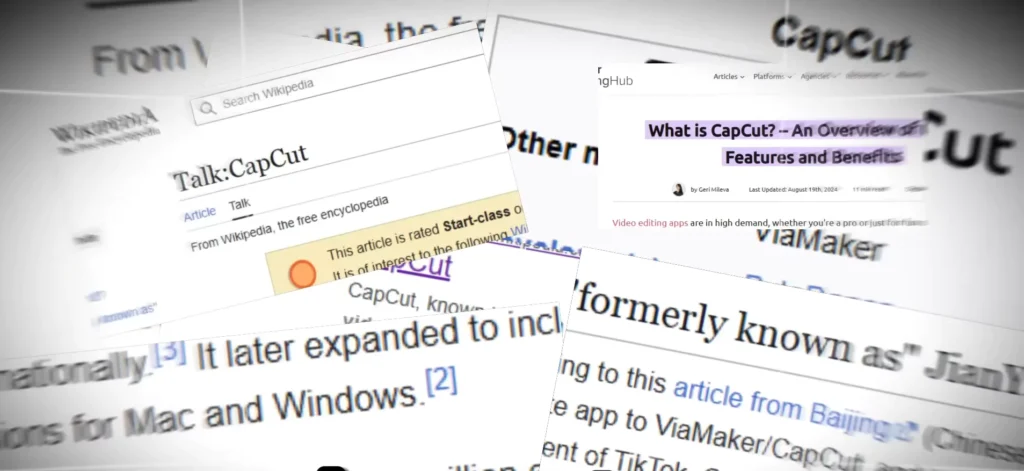
How to Make It:
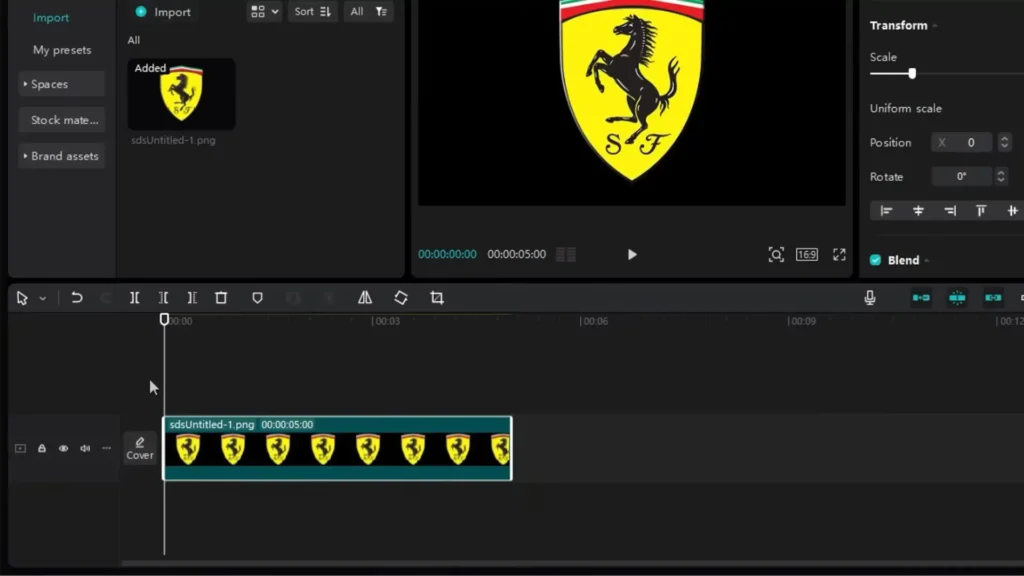
- Take screenshots of your topic, like Wikipedia pages.
- Import and scale them in CapCut.

- Add a background rectangle behind each screenshot, adjust opacity, and line up with text.
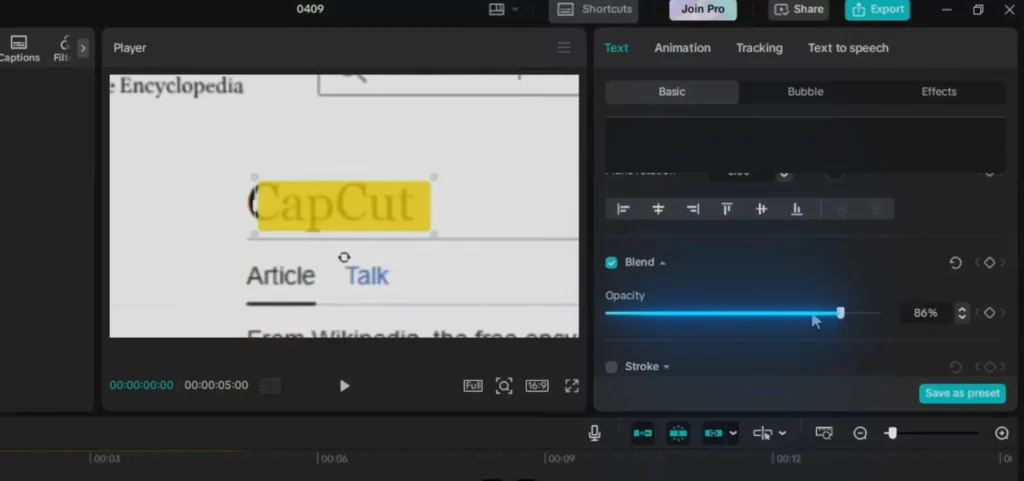
- Animate the reveal with mask split and rotate for a smooth transition.
- Sync a ticking sound effect at each split for rhythm.

- Finish with cinematic filters like vignette, blur, and color tweaks.
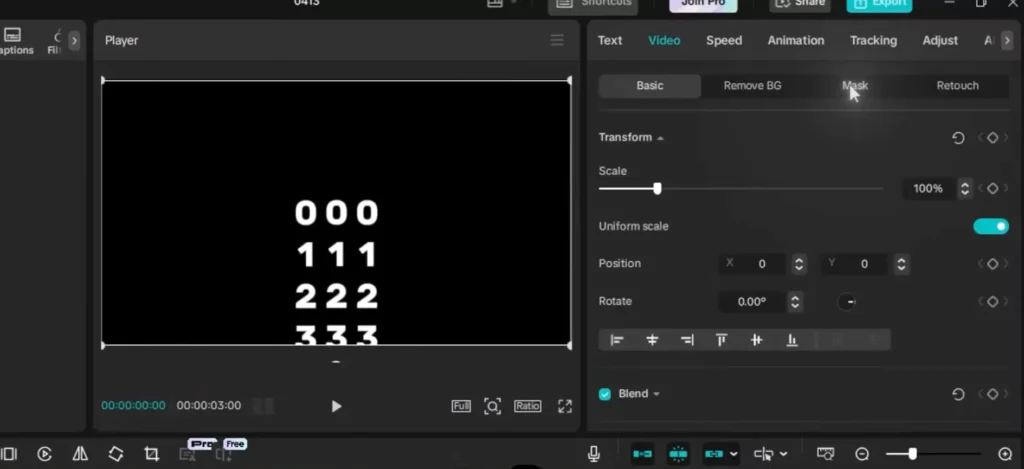
Counting Effect (Number Scroll)
Create eye-catching countdowns or numbers that scroll like in animation.
Two Styles:
- Digit Scroll:
- Make a separate text layer for each digit (0-9).
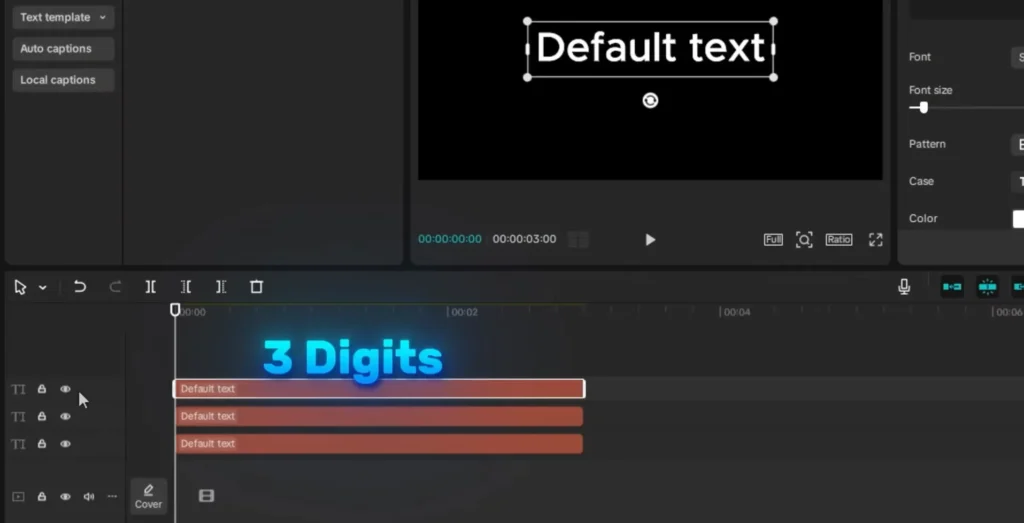
- Animate them to slide in and out with keyframes.
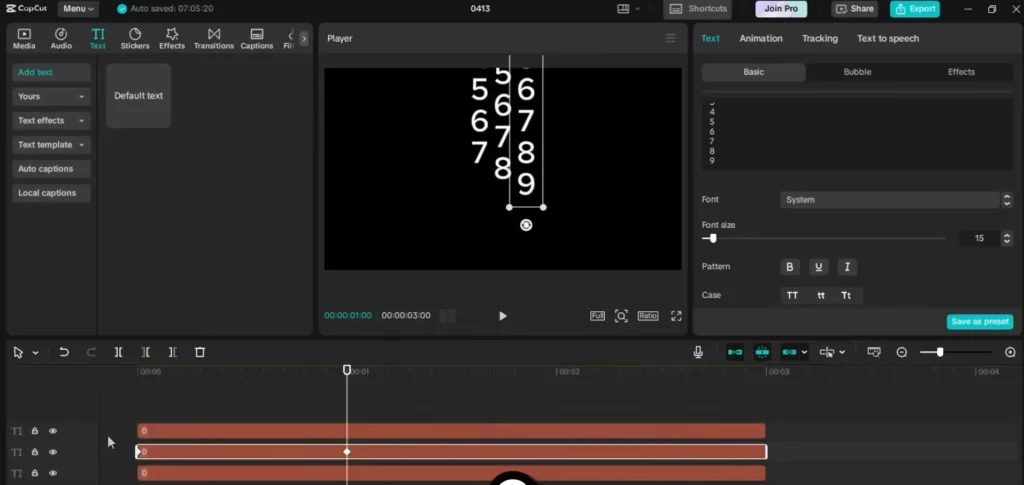
- Use motion blur and masking to reveal only the parts needed—like a digital counter.
- Timeline Scroll:
- List months or years vertically in a text layer.
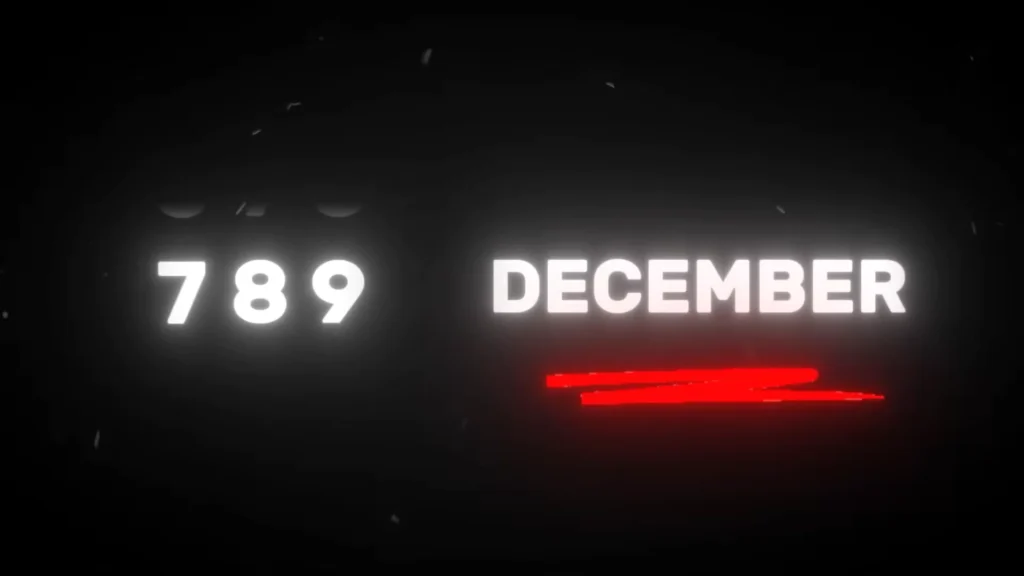
- Animate to scroll from the start to the end, creating a countdown or timeline.
- Apply masks and motion blur for a clean, professional look.
Timer Ring Effect
Perfect for countdowns or event timers.
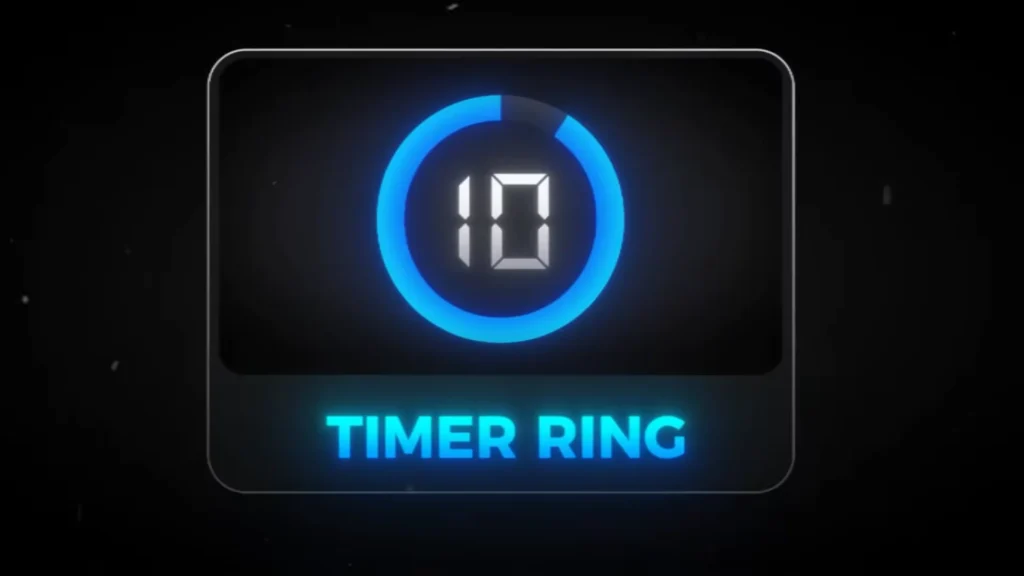
How to Build:
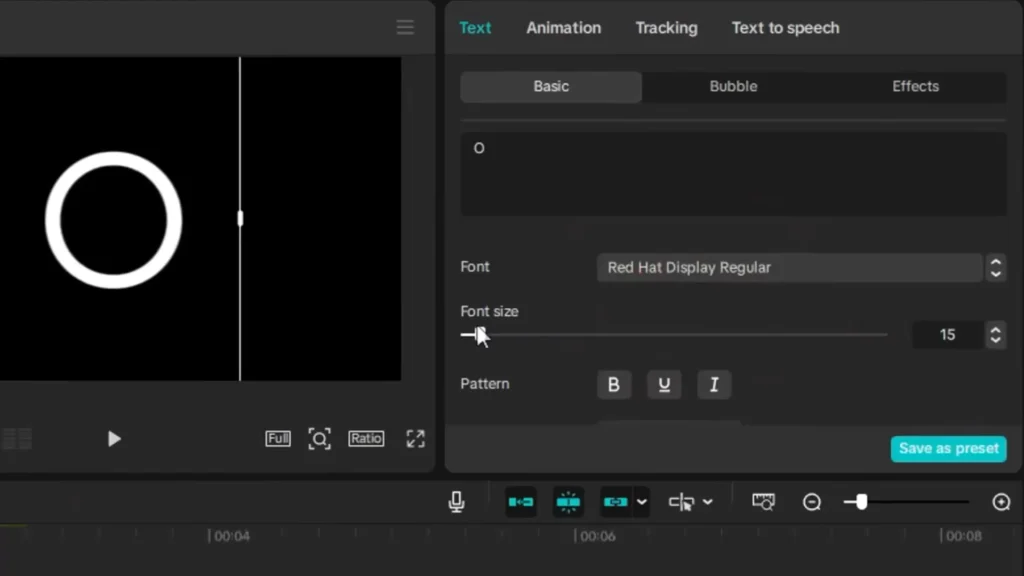
- Add an ‘O’ shape text layer.
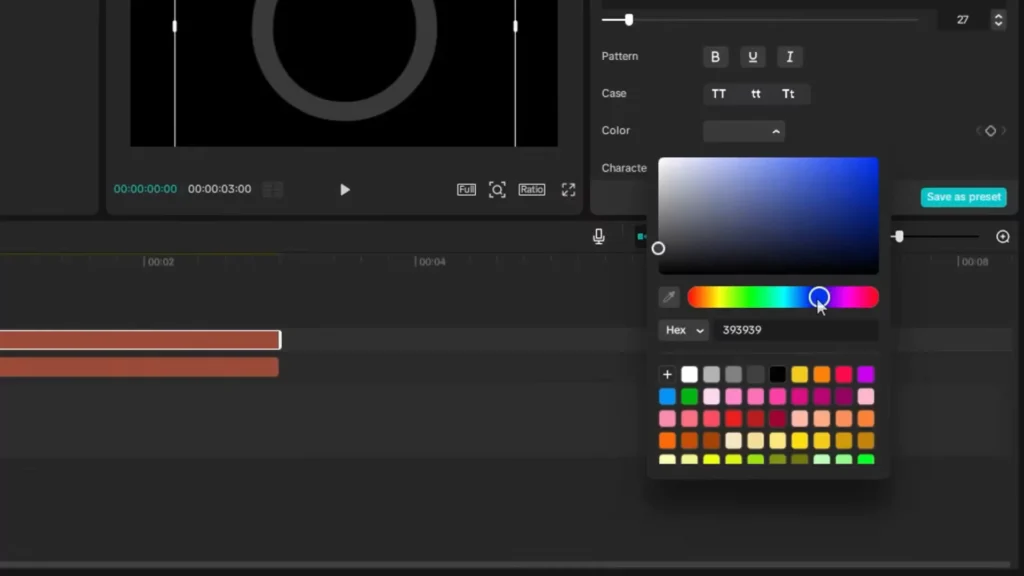
- Duplicates it, changing color for contrast.
- Animate the clock hand’s wipe effect, reversing it for a countdown motion.
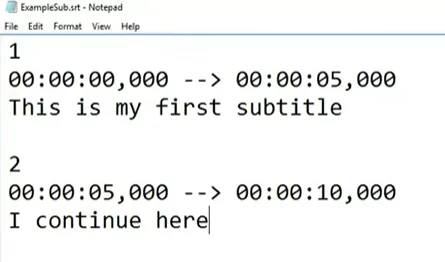
- Use an SRT file with countdown numbers to auto-sync the timer.
- Apply a stylish digital font for a modern look.
Creating Cinematic Intros and Outros
Cinematic Intro Effect
Start videos with style and impact.

How to Do It:
- Use a text layer with your title.
- Add a cinematic 3D effect for depth.
- Mask with a filmstrip shape, animate the mask across the frame, and add a subtle zoom for movement.
- Finish with glow effects for professional touch.
This creates a polished, engaging intro that grabs viewers instantly.
Who should use CapCut?
CapCut isn’t just for casual video makers—it’s built for creators of all kinds:
- YouTubers: Great for intros/outros, cinematic effects, and long-form editing.
- TikTok & Reels Creators: Create trending short-form edits quickly using templates and transitions.
- Educators & Coaches: Add dynamic text, split screens, and visual emphasis on key points.
- Small Businesses: Make product promos, logo animations, and ad reels with minimal cost.
Whether you’re building a personal brand or sharing tutorials, CapCut adapts to your goals with ease.
CapCut Mobile vs Desktop: What’s the Difference?
CapCut is available on mobile (iOS/Android) and desktop (Windows/macOS). Here’s what you need to know:
| Feature | CapCut Mobile | CapCut Desktop (PC/Mac) |
|---|---|---|
| Interface | Touch-optimized, simple UI | Timeline-based, precise editing |
| Effects & Transitions | Available, slightly limited | Full suite, smoother performance |
| Keyframes | Limited | Full support |
| Masking | Basic | Advanced control |
| Best For | Short-form content creation | Detailed edits, cinematic work |
Tip: Start editing on mobile, finish with polish on desktop for the best of both worlds.
Free CapCut Resources & Templates to Try
Speed up your workflow with these resources:
- Free LUTs & Filters: Search for CapCut-compatible LUTs to instantly change the mood of your video.
- CapCut Templates: Use trending templates directly from the CapCut app or the CapCut Template Web portal.
- Sound Effects: Add clicks, swipes, and cinematic whooshes from royalty-free libraries like Pixabay or Mixkit.
- Overlay Packs: Use PNG light leaks, film grain, or glitch overlays to add style.
These tools help you edit faster and add a professional flair.
Troubleshooting Common CapCut Issues
Editing problems? Here are quick fixes to common CapCut frustrations:
Video Not Exporting Properly?
Try lowering the resolution or clearing cache before exporting.
Effects Not Showing Up?
Make sure you’re on the latest version of CapCut. Some effects are desktop-only.
Laggy Timeline?
Split clips, use proxy edits, or close other apps—especially on mobile.
Text Looks Blurry?
Use HD preview and export settings, and avoid scaling text too much.
Still stuck? The CapCut community forum and YouTube tutorials can be a great resource.
Expert Tips for Elevating Your CapCut Edits
- Use keyframes to animate objects smoothly.
- Layer multiple effects to add depth.
- Incorporate external sounds, overlays, or transitions for variety.
- Save presets or templates to speed up repetitive tasks.
- Watch videos of viral creators to pick up new ideas and techniques.
Time-Saving Shortcuts for CapCut (Desktop)
Make editing faster with these essential CapCut keyboard shortcuts:
- Split Clip:
Ctrl + B - Duplicate Clip:
Ctrl + CthenCtrl + V - Undo:
Ctrl + Z - Redo:
Ctrl + Y - Zoom In/Out Timeline:
Ctrl + Mouse Wheel
Pro Tip: Save commonly used transitions or text as templates to reuse across projects.
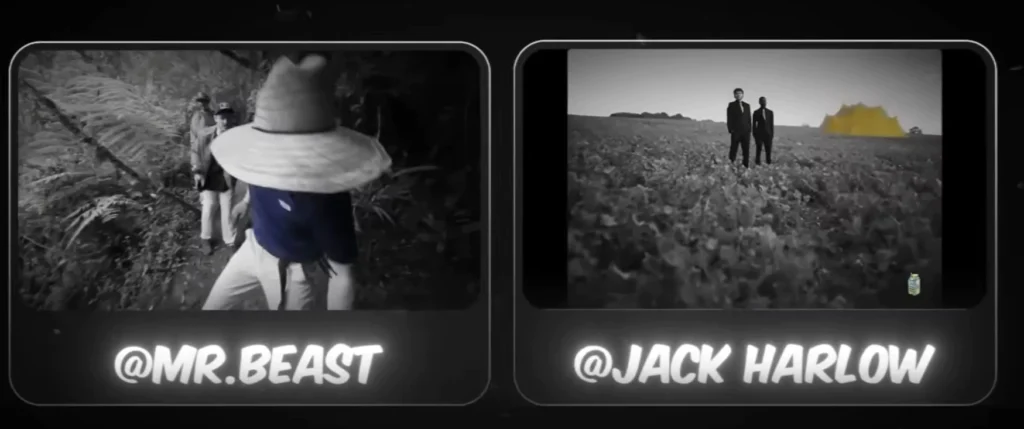
Real-World Examples of Professional Edits Using CapCut
Top creators often combine these effects to craft memorable videos. For example:
- MrBeast uses color isolation to make key actions stand out.
- Light sweep effects give simple scenes a cinematic flair.
- Match cuts are perfect for quick transitions in documentaries.
By studying these, you can learn how to make your videos look more polished and professional.
Before & After: Visual Transformation in CapCut
Sometimes seeing is believing. Here’s an example of how CapCut can level up your footage:
| Scene | Before | After (CapCut Edits Applied) |
|---|---|---|
| Talking Head Shot | Flat lighting, raw background | Color isolated subject + vignette glow |
| Product Showcase | Static product on table | Light sweep + clean motion animation |
| Documentary Insert | Plain Wikipedia screenshot | Text match cut + cinematic zoom + blur |
Adding effects like spotlight masks and scrolling counters turns ordinary clips into scroll-stopping visuals.
Top 5 Trending CapCut Templates Creators Love
These templates are crushing it on TikTok and Reels right now:
- Cinematic Zoom Reveal – Great for intros with dramatic music.
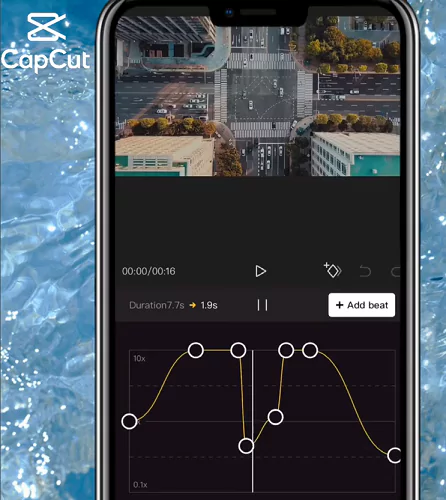
- Text Overlay with Beatsync – Matches text pops with the beat.
- Split Screen Reaction – Ideal for commentary or side-by-side edits.
- Color Pop + Glitch – Perfect for fashion reels or edgy transitions.
- Timeline Recap Template – For storytelling, travel vlogs, or year-end summaries.
Explore these on the CapCut Template Gallery to see how others are using them.
Actionable tips for beginners and intermediate editors
- Focus on mastering one effect at a time.
- Keep effects subtle—overdoing can ruin professionalism.
- Save templates for common animations.
- Use tutorials to troubleshoot and learn new tricks.
- Practice by editing small clips regularly.
Consistency and patience always pay off in video editing.
What’s your favorite CapCut effect or template?
Have you tried spotlight masking or color isolation yet?
Drop your video links or editing tips in the comments—we may feature them in our next tutorial.
Related Tutorials You Might Like
- How to Create Eye-Catching YouTube Intro Videos using CapCut
- Fix Common CapCut Export and Lag Issues – Full Troubleshooting Guide
- CapCut’s AI Video Maker: Is It Worth It in 2026?
Conclusion
With CapCut, creating professional-level videos is achievable, even for beginners. Its wide range of effects and intuitive interface make it perfect for experimenting and developing your style. These effects and tips will boost your skills, making your videos stand out. The key? Keep practicing, stay creative, and never stop learning.
Start editing today—your next viral video might just be a few clicks away!