Video editing is more popular than ever, especially with CapCut gaining fame among content creators. Whether you’re making YouTube videos, TikToks, or Instagram stories, knowing how to use CapCut’s advanced features can seriously boost your videos.
You don’t need to be a pro—many of these tricks work even in the free version. Ready to level up your editing skills? Let’s explore 10 powerful CapCut tips that make your videos look more professional and engaging.
How to Unlock the Full Potential of CapCut Desktop Software
Downloading and Installing CapCut
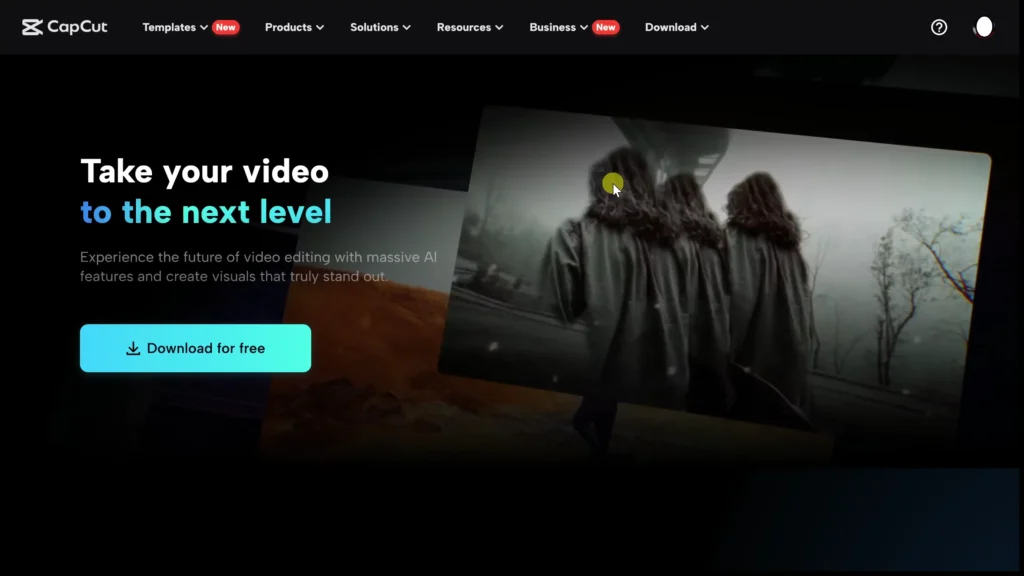
First things first, you need to get CapCut on your computer. It’s free and works on both Windows and Mac. Visit the CapCut website, click “Download for free,” and follow the steps.
The app also works smoothly on iPhones and Android phones, making editing on the go easy.
Transitioning to CapCut Desktop
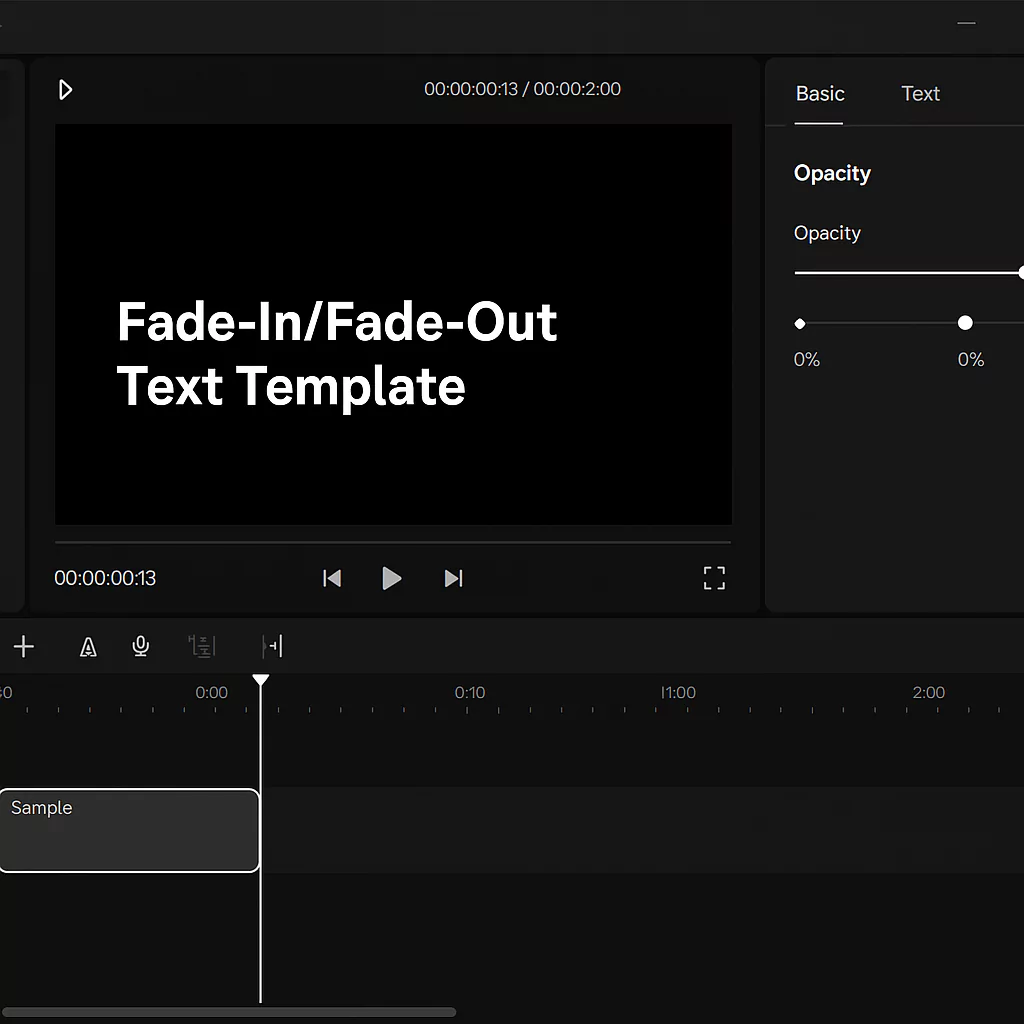
Using the desktop version gives you more room to work with complex edits. The interface is slightly different from mobile, but once you get used to it, you can do much more.
It’s ideal for creating polished videos with layers and detailed effects.
1. Creating Visual Effects: How to Place Text Behind a Person Using AI
Enabling the Free Layer for Text Placement
Want to make your text appear behind someone in the video? First, go to your project settings and turn on “Free Layer.” This feature allows you to layer text underneath a talking person or object, making your videos more dynamic.
Achieving Accurate Subject Cutouts
Next, drag your video into the timeline. To isolate the person, select the clip and click on “Cut Out” in the top right. Use AI’s “Auto Cutout” — it removes the background without fuss. Now, your text can be seen behind the person, giving a clean, professional look. Plus, you can add animations like sliding in or fading for extra flair.
Practical Applications
Use this effect to overlay interview questions behind your speaker, showcase behind-the-scenes moments, or highlight key points during tutorials.
2. Building a Virtual News Studio with AI Studio Generation
Selecting AI-Generated Backgrounds
Make your videos look like they’re in a news studio. Click on “AI Generated” in media, type in “modern news studio,” and let the AI produce a stylish background.
Pick your favorite, upscale the image to HD, and add it to your timeline. This instantly transforms your scene into a sleek, professional set.
Creating an AI Avatar News Reporter
Add a virtual news anchor by choosing from AI characters. Type your news script in the text box, then select an AI avatar to read it aloud.
Their speech sounds surprisingly natural, making your update videos feel more authentic. Adjust the size and position for the perfect framing.
Real-World Usage
This trick is great for creating news-style updates, product launches, or storytelling videos where a virtual host can deliver your message.
3. Designing Your Custom YouTube or TikTok Studio Using AI
Generating Studio Environments
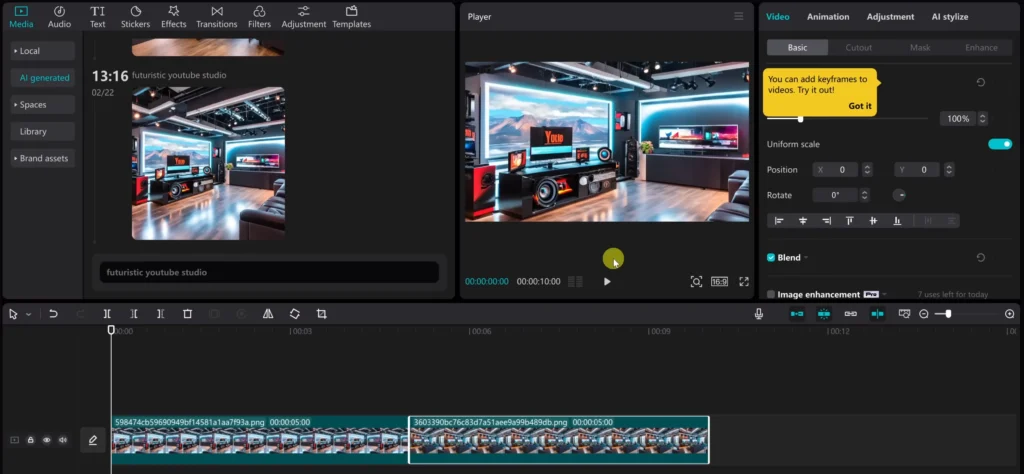
Want a futuristic studio or a cozy setup? Use AI prompts to create your ideal space. Type your idea—like “futuristic YouTube studio”—and browse generated images.
Pick one that fits your vibe, upscale it if needed, and add to your project. Then, adjust the aspect ratio to 16:9 for YouTube or other formats.
Integrating Studio Graphics with Video
Put your AI-created environment in the background and position your talking head in front. Use the “Cut Out” feature to remove your actual background, so it looks like you’re in that fancy new studio.
For extra polish, add transition effects between scenes to make your videos flow smoothly.
Enhancing Branding and Visual Identity
Add your logo, choose color schemes consistent with your brand, and use custom fonts. These small touches help make your videos instantly recognizable.
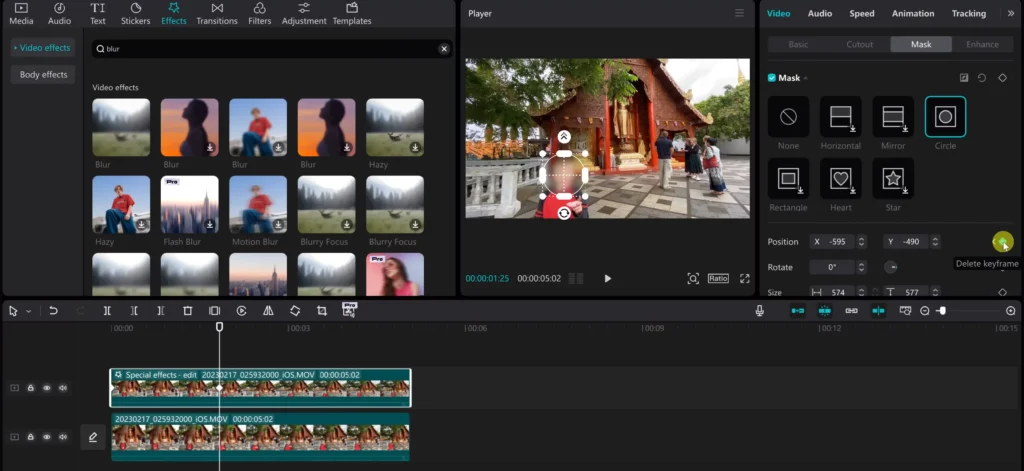
4. Blurring Faces and Protecting Privacy in Your Videos
Applying Blur Effects with Masks
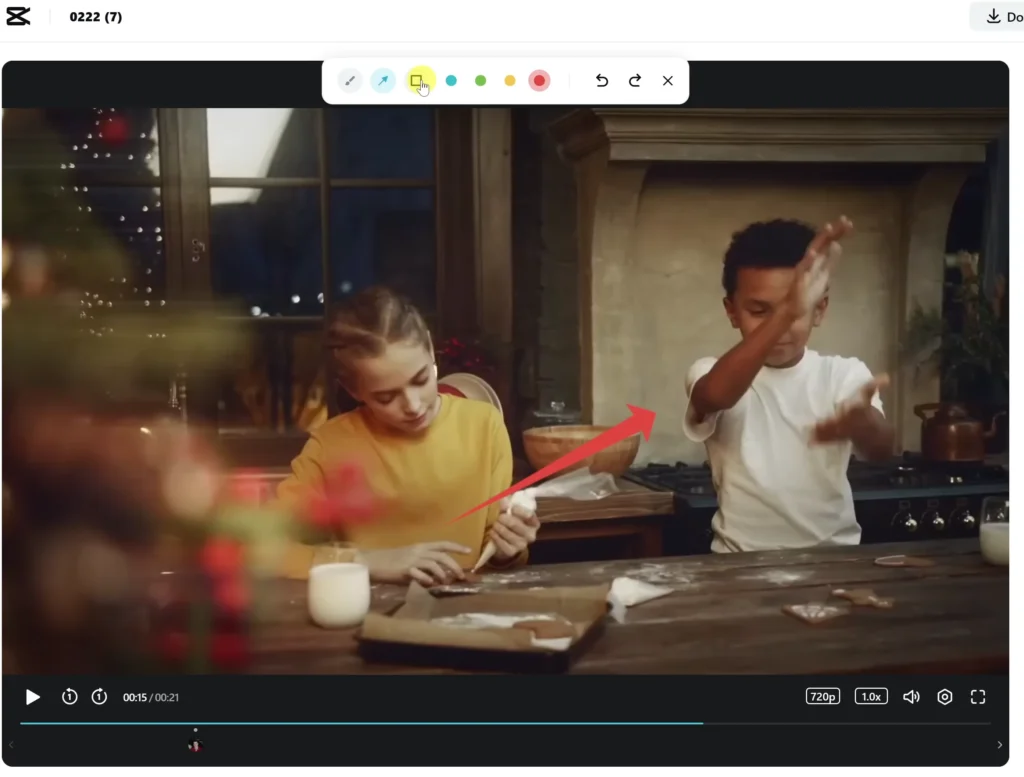
Got a face you want to hide? Duplicate your clip on a second track. Apply a blur effect to the top layer. Then, select “Mask” and choose a circle shape. Position it over the face and resize as needed.
Read Also: Glare Effect Transitions: Step-by-Step Guide in CapCut
Using Keyframes for Dynamic Mask Movement
As the subject moves, the mask needs to follow. Set keyframes at different points—by clicking on the “Add Keyframe” icon—and move the mask along with the face.
This keeps the blur perfectly aligned during movement, maintaining privacy or focus on other elements.
Use Cases
This method is perfect for blurring out minors, sensitive info, or embedding focus on backgrounds without distracting faces.
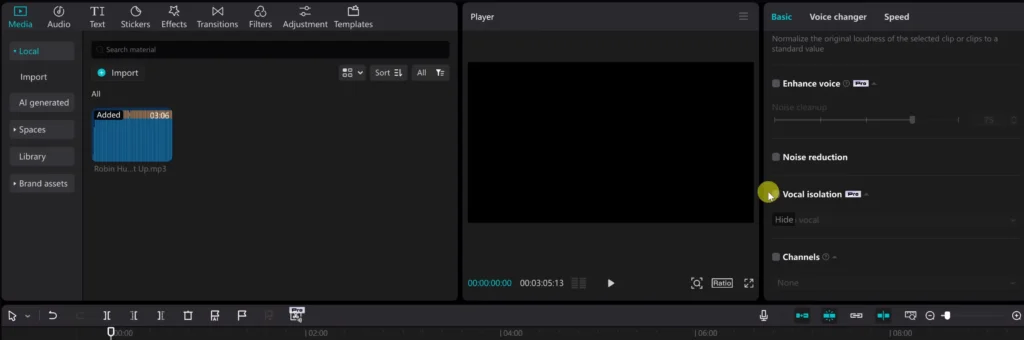
5. Creating Karaoke-Style Audio with Vocal Removal
Extracting Instrumentals and Vocals
Have a favorite song? Drag its audio file into your timeline. Use CapCut’s “Vocal Isolation” feature to remove vocals or keep only the vocals. Want a karaoke track? remove the vocals and add your own lyrics as captions.
Enhancing Musical Content
Sync captions with the music to boost engagement. You can also layer background sounds or effects by importing additional audio files to enrich your project.
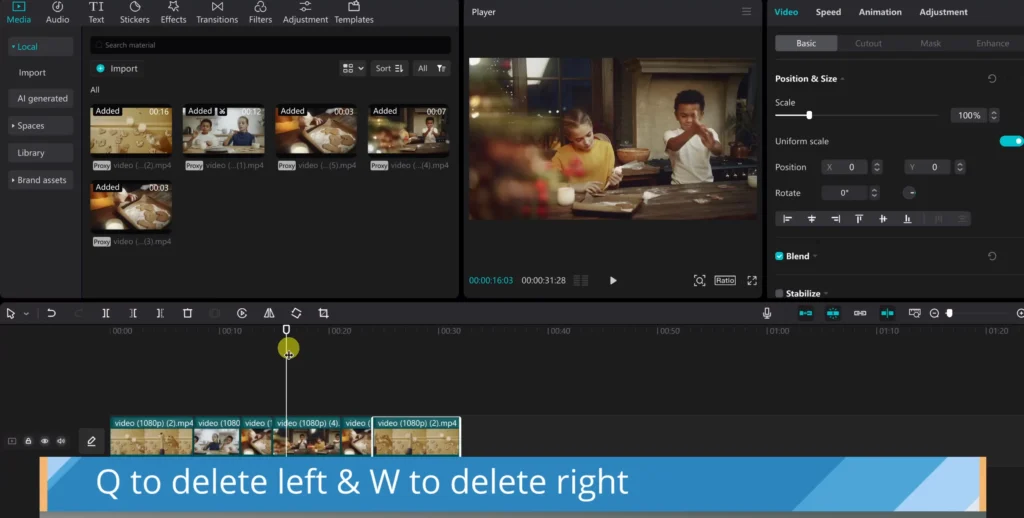
6. Speeding Up Editing with Shortcut Keys
Essential Keyboard Shortcuts
Save time by mastering shortcuts. For example:
- Press “I” to set start point in clips.
- “O” for end point.
- “Control + B” to split a clip.
- “Q” to trim left, “W” to trim right.
- “Shift + Z” to zoom entire timeline.
Increasing Efficiency and Productivity
Learning keyboard tricks helps you edit faster and handle complex projects with ease. Adjust shortcuts to suit your workflow for even better efficiency.
7. Sharing, Feedback, and Collaboration Made Easy
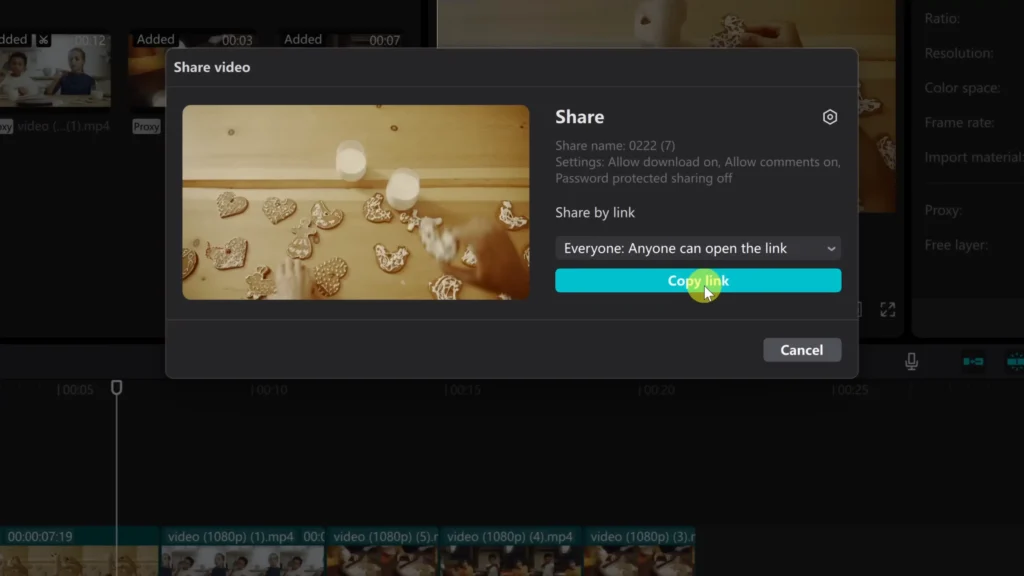
Exporting and Sharing Projects
Once your video looks good, export it. Generate a shareable link directly from CapCut. You can send this link to friends or collaborators for quick feedback.
Collecting Feedback
Viewers can leave comments directly on the shared video. Add notes, draw arrows, or highlight sections needing improvement. It’s perfect for collaboration or getting input from clients.
Collaborating with Teams
Share projects and comments effortlessly. Multiple people can review and suggest edits, saving time and improving your final version.
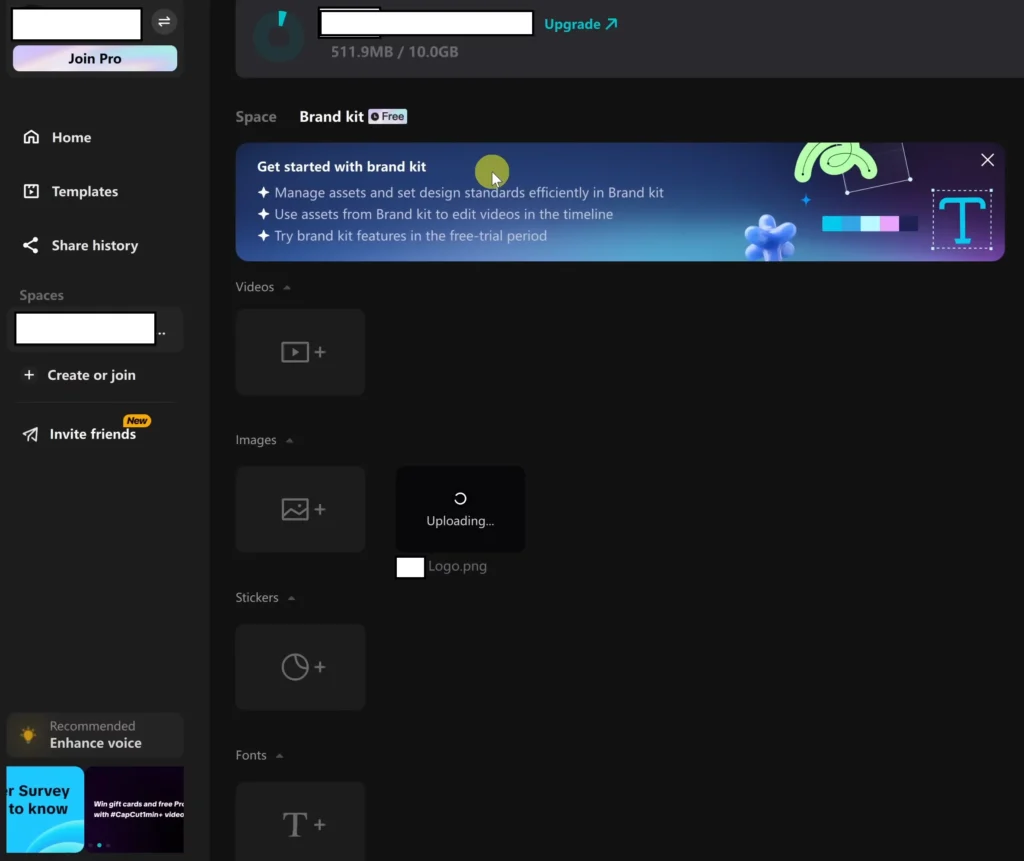
8. Building a Consistent Brand Kit for Streamlined Content Creation
Setting Up a Brand Kit
Upload your logo, choose color schemes, and select fonts that match your style. Save these assets for quick access in any project.
Using Brand Assets in New Projects
Access your kit from the media library. Drag your logo, use your preferred fonts, or add your branded colors without searching for files or recreating designs. This keeps your videos looking unified and professional.
Practical Examples
Consistent branding boosts viewer recognition. Use the same logo, colors, and fonts on all your videos to establish a strong visual identity.
9. Improving Performance with Proxy Media
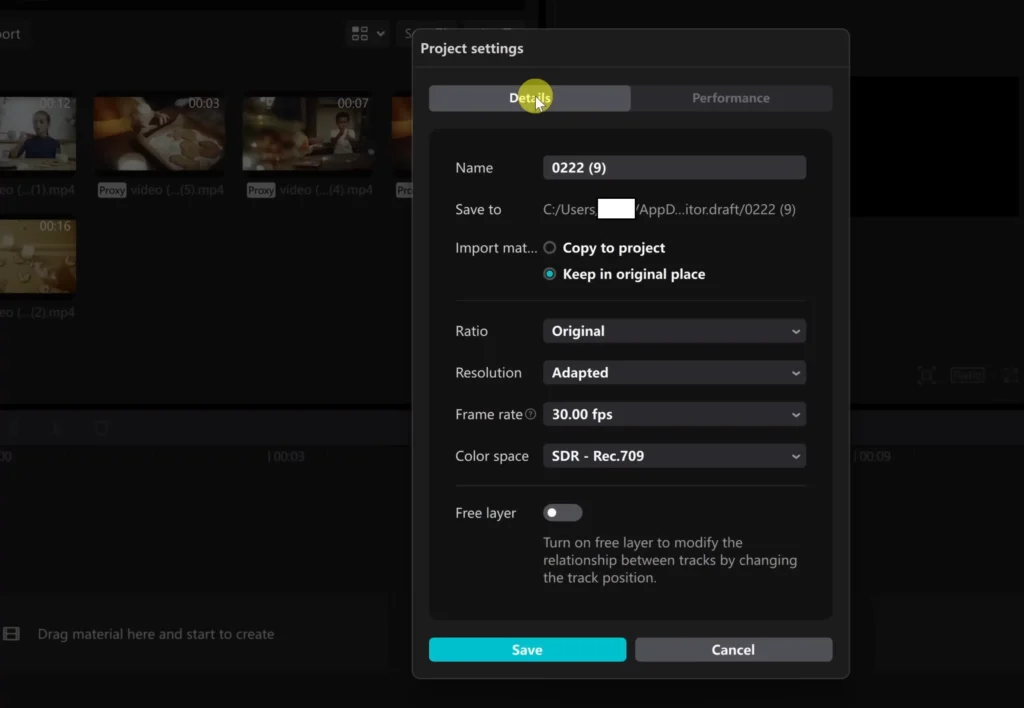
Understanding Proxy Media
Editing high-quality videos can slow down your computer. Proxy media are low-resolution copies that make editing smoother without compromising quality when rendering.
Activating Proxy Mode
In project settings, go to “Performance” and turn on “Proxy.” Now, your computer handles smaller files while editing. When finished, CapCut uses the original files to produce a crisp final video.
Tips for Optimizing System Resources
Work on smaller portions if your system struggles. Regularly clear cache and close unnecessary programs. Proxy mode keeps your editing smooth.
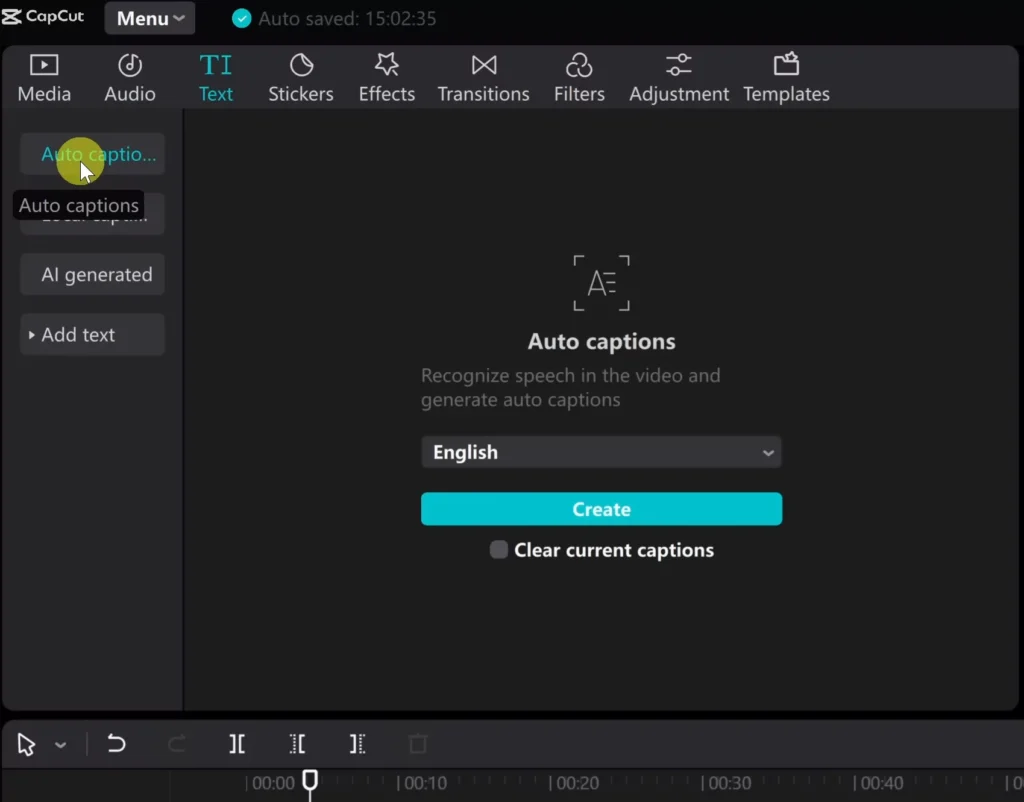
10. Adding Captions with Auto Caption Templates
Generating Automatic Captions
Make videos more accessible by adding captions. CapCut’s “Auto Captions” creates text overlays based on speech. Select the language, hit generate, and watch the captions appear in seconds.
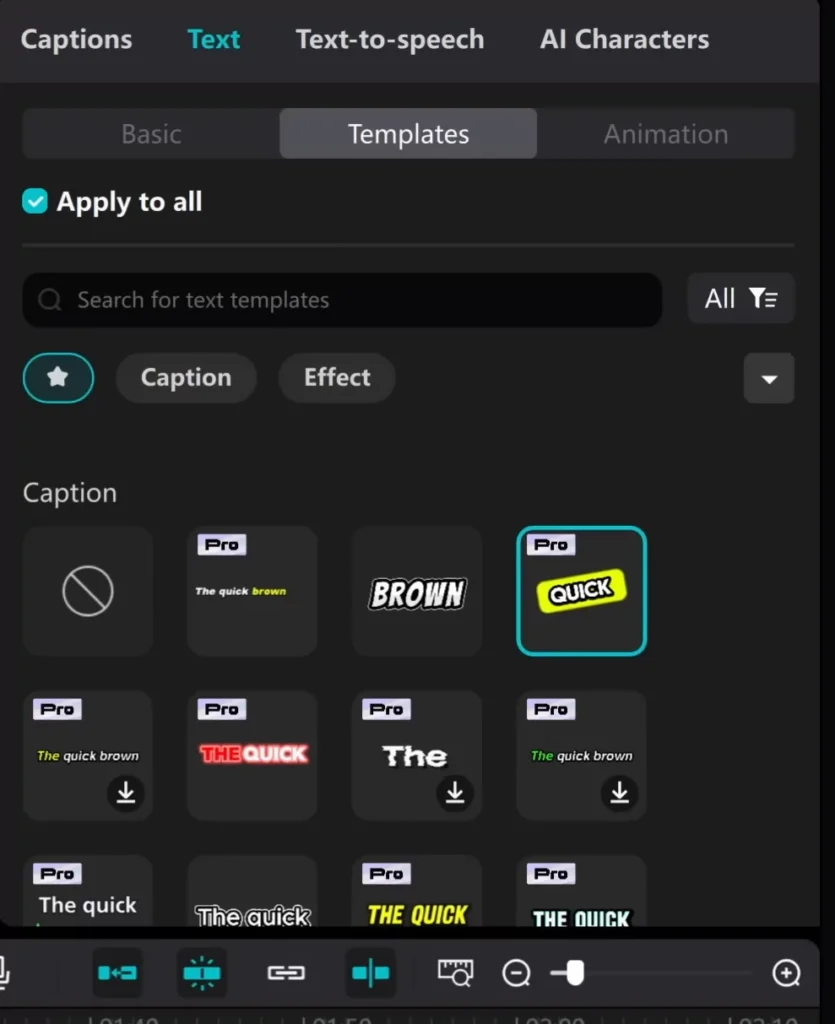
Customizing Caption Templates
Pick from various styles to match your video’s vibe. Resize, reposition, or change fonts easily. Adding stylish captions increases viewer engagement and accessibility.
Engaging Viewers with Captions
Clear, eye-catching captions help viewers understand without sound. Use templates to make your videos more professional-looking with minimal effort.
Conclusion
Mastering these 10 CapCut tips boosts your editing skills and makes your videos pop. Whether you’re layering text, creating virtual studios, or adding captions, these tricks help you produce content that stands out.
Explore both free and paid features to unlock your creativity. Keep experimenting and stay updated with new CapCut tools. Your next viral video might just be a few clicks away!