CapCut is one of the most popular video editing apps among content creators, thanks to its user-friendly interface and powerful built-in tools. Among its standout features is the Voice Changer, which lets you transform your audio clips with just a few clicks — perfect for adding humor, character, or emotion to your videos.
Whether you’re making a YouTube vlog, a gaming commentary, or a TikTok skit, voice effects can instantly boost your video’s entertainment value. In this post, we’ll explore how to use the Voice Changer feature in CapCut on PC and mobile, troubleshoot missing effects, and offer tips for creative use.
Where to find the Voice Changer in CapCut
CapCut’s Voice Changer is accessible in both the PC and mobile versions of the app. However, the available voice filters may vary slightly between platforms.
On CapCut for PC:
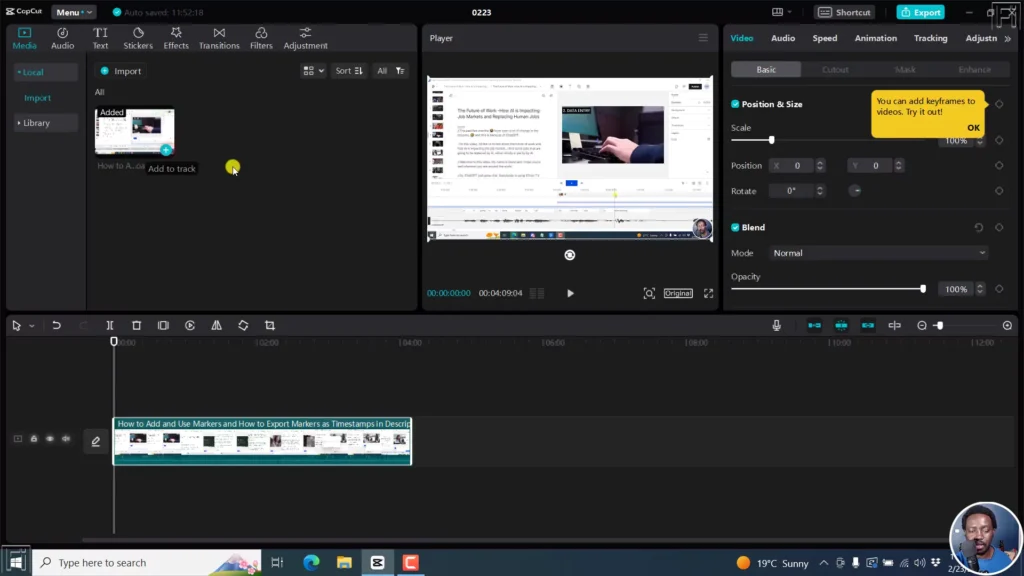
- Open or create a new project.
- Import or record an audio clip or video with voice.
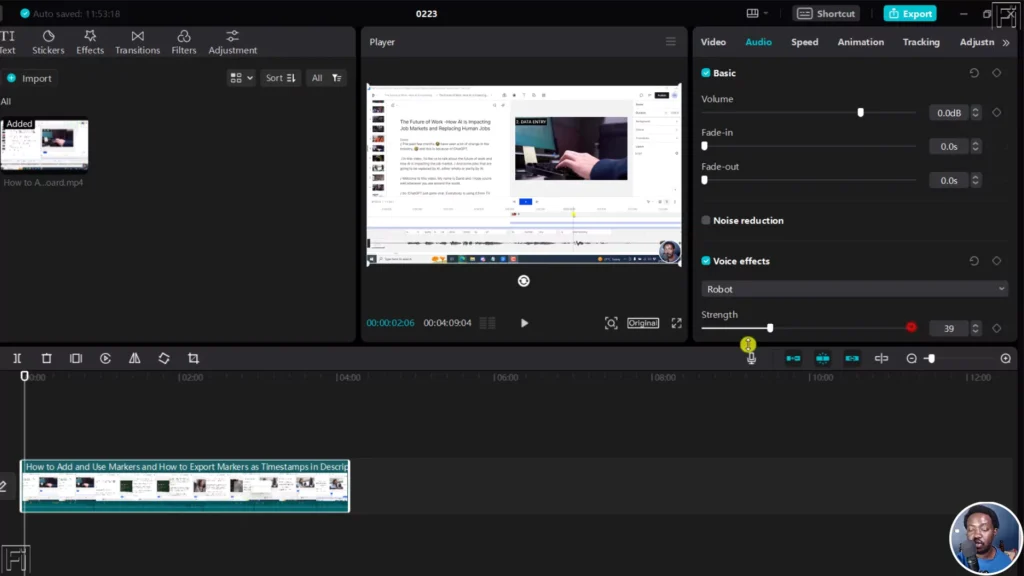
- Click on the clip in the timeline to highlight it.
- Go to the “Voice changer” tab in the right-side panel.
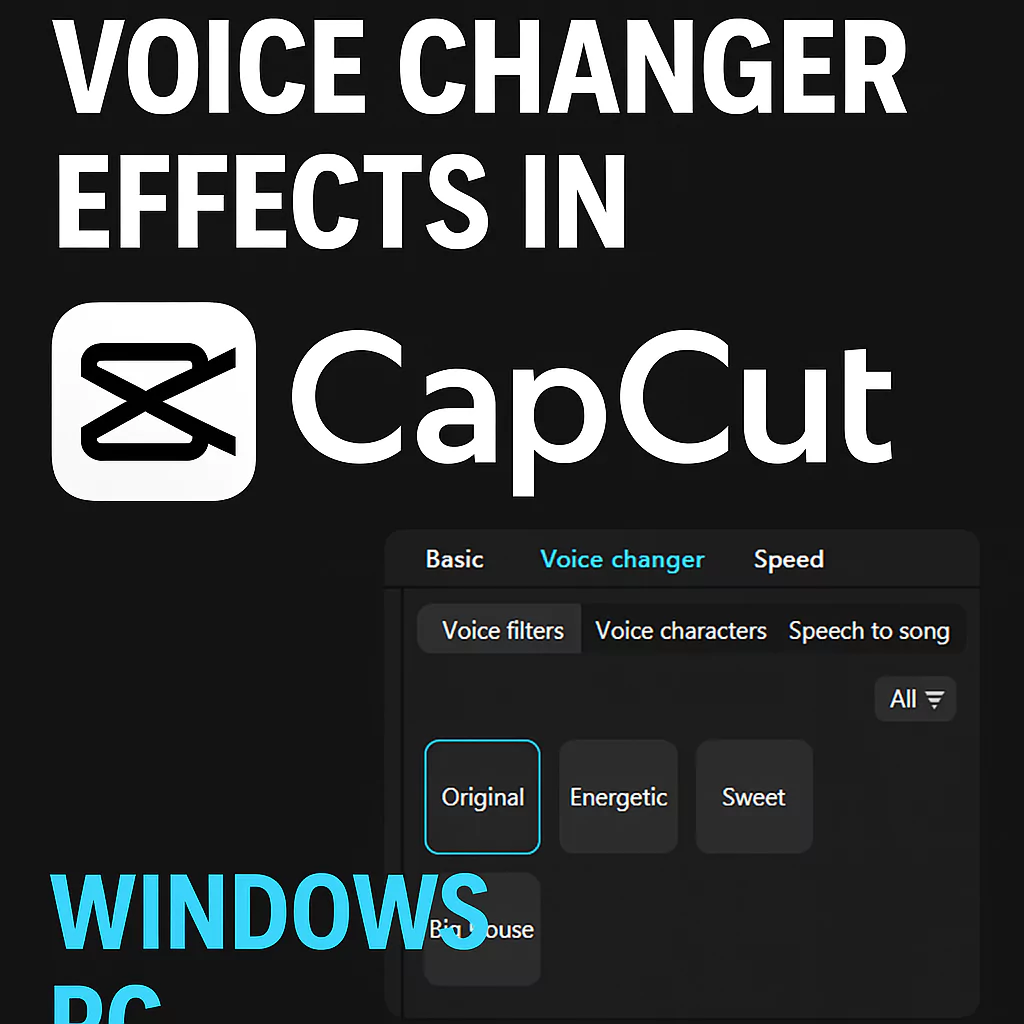
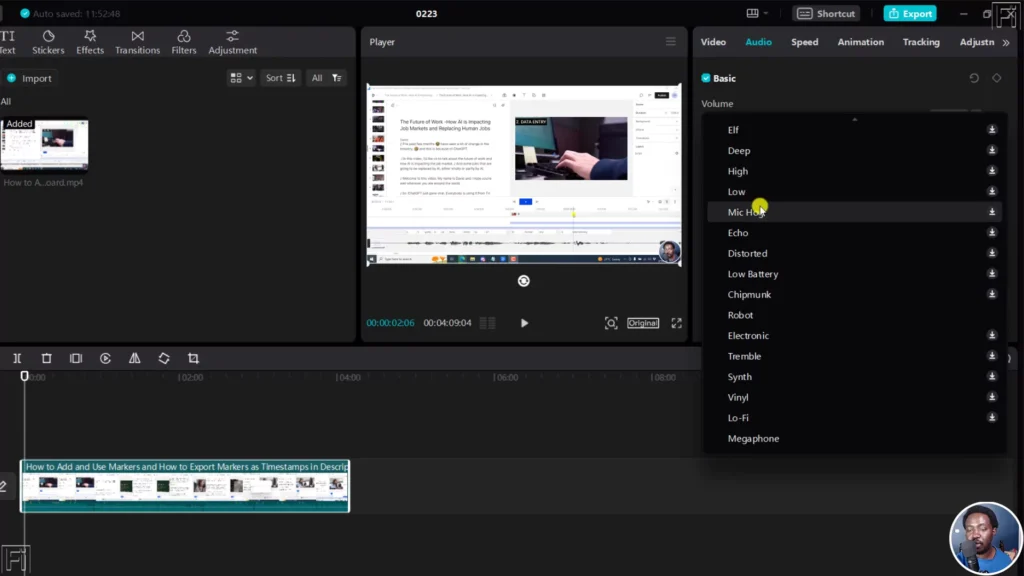
- Choose from voice filters like:
- Original
- Energetic
- Sweet
- Big House
Note: If you’re only seeing 3–4 filters, it may be due to the type of audio or CapCut PC’s current limitations.
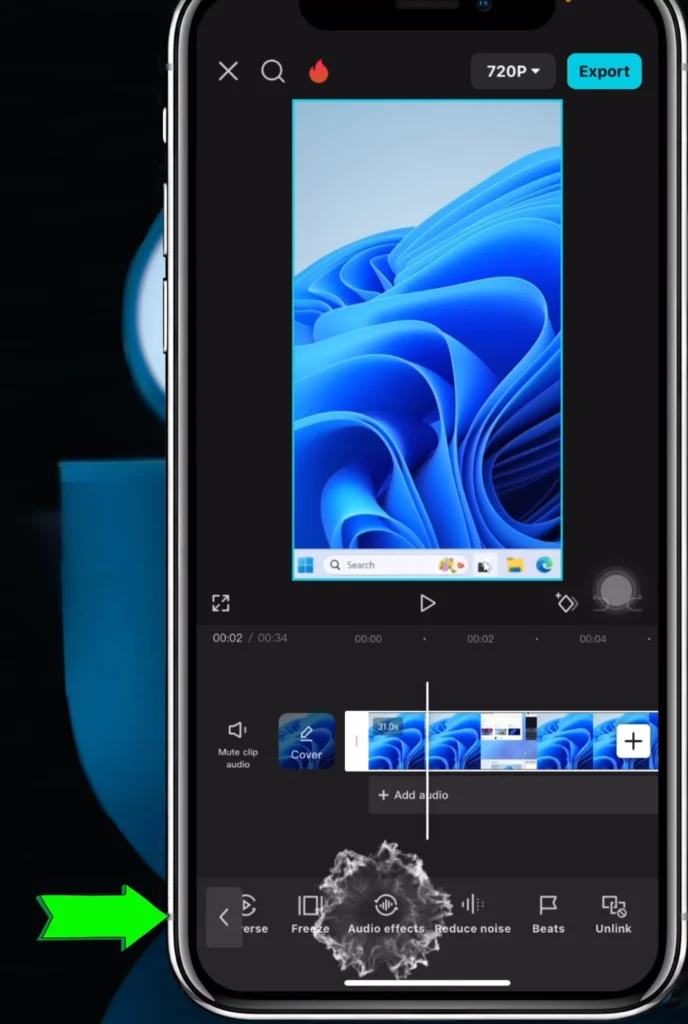
On CapCut Mobile (iPhone/Android):
- Tap on your video or audio clip.
- Select “Voice Effects” or “Voice Changer”.
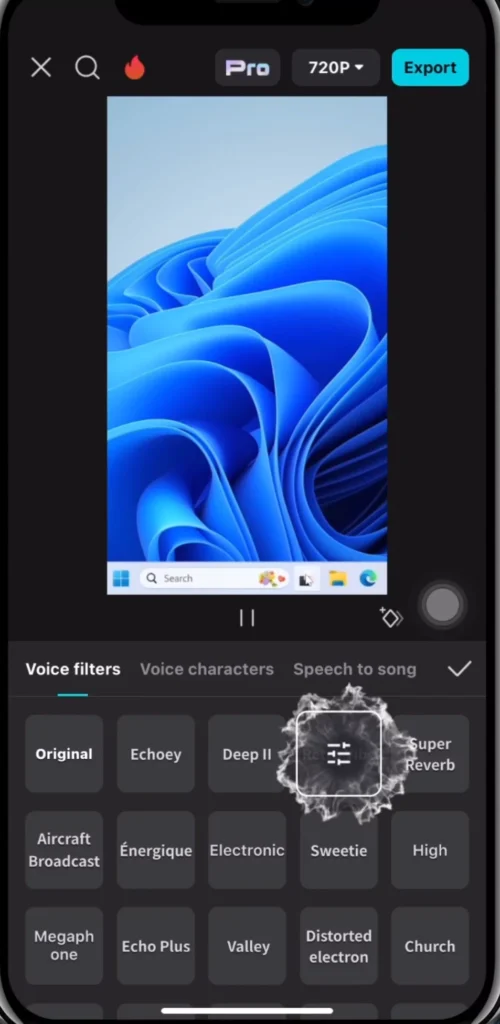
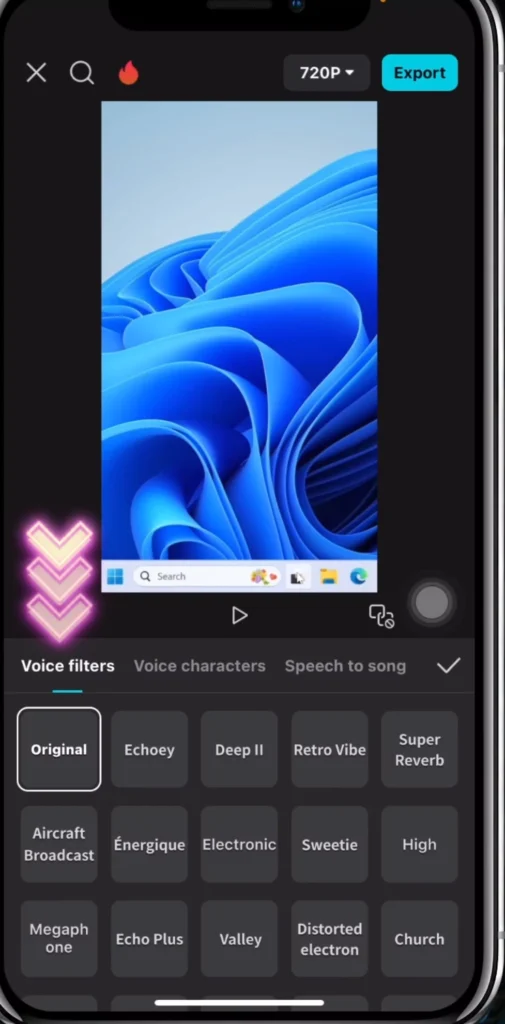
- Choose from a wider variety of effects such as:
- Robot
- Deep
- Chipmunk
- Child
- Male/Female
- Radio
- Echo, and more
Watch the below video tutorial of the same:

How to use Voice Changer with a voice recording
To unlock more voice filters (especially on PC), try this trick:
- Go to the Audio tab.
- Select “Voiceover” and record your voice directly within CapCut.
- Once recorded, select the clip and go to Voice Changer.
- You may now see more voice filter options become available.
This works because CapCut recognizes the clip as voice content, which is better suited for transformation than background music or sound effects.
What to do If voice filters are missing?
If you’re not seeing many filters in the “Voice Changer” tab, here are a few things to check:
- Use a voice recording instead of music.
- Connect to Wi-Fi – some filters are cloud-based and load dynamically.
- Try the mobile version – it typically offers more voice filters than PC.
- Update CapCut – ensure you’re using the latest version of the app.
- Clear cache/reinstall – if glitches persist.
Creative ways to use voice effects
- Add Characters to Storytelling: Use deep or chipmunk voices for cartoon-style storytelling or skits.
- Gaming Commentary: Use robotic or echo effects to spice up highlight reels.
- Comedy & Memes: Voice filters are great for parodies, reaction videos, and funny edits.
- Social Media Posts: Add energy or humor to Instagram Reels or TikToks with exaggerated voices.
Recording and applying voice filters in CapCut PC
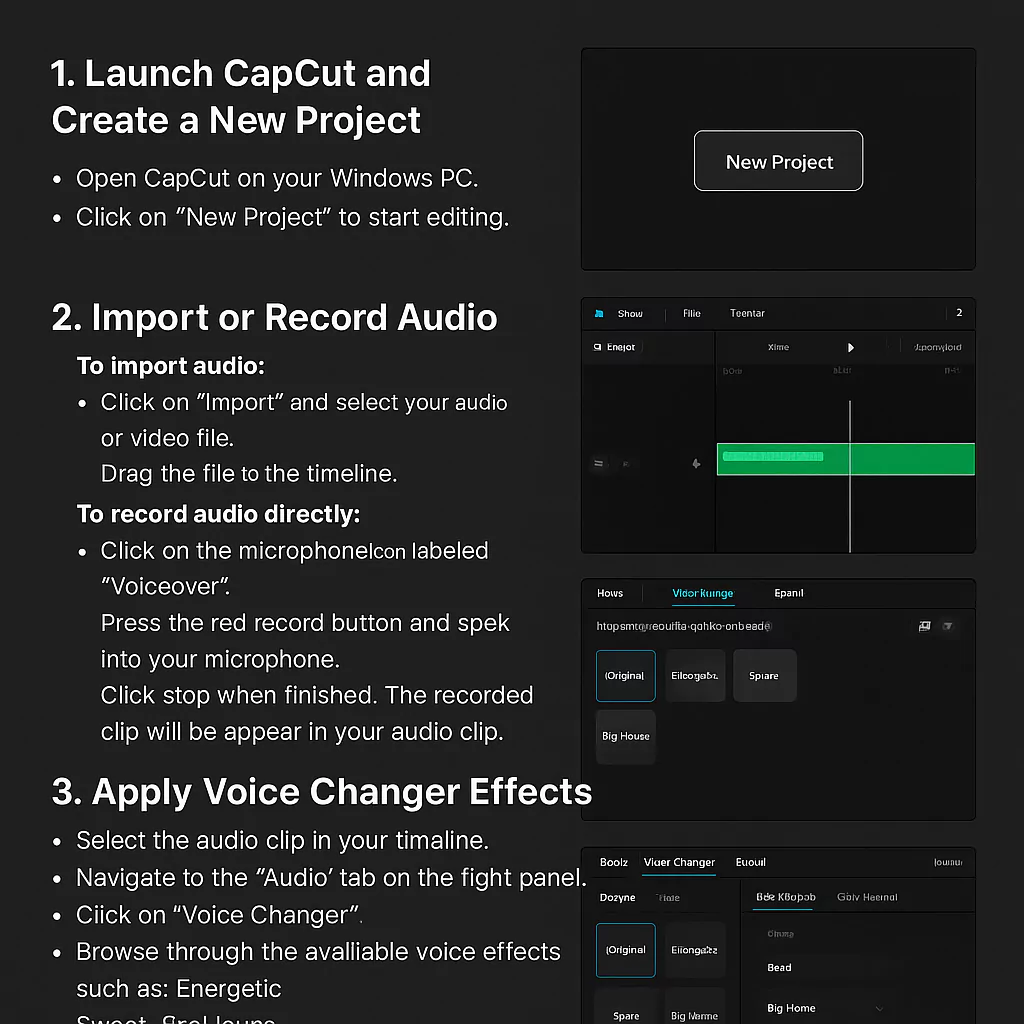
Open or Start a New Project:
- Launch CapCut on your PC.
- Create a new project or open an existing one.
Record Your Voice:
- Navigate to the “Audio” tab on the top menu.
- Click on “Voiceover” (microphone icon).
- Press the red record button and speak for a few seconds.
- Click the stop button when done.
- The voice clip will now appear in your timeline.
Apply Voice Filters:
- Select the recorded voice clip on your timeline.
- Go to the “Voice changer” tab at the top of the right-side panel.
- Browse and select from the available voice filters to apply to your recording.
Steps to Use Voice Changer Effects in CapCut PC
Open CapCut and Create a New Project
Launch CapCut on your PC and either open an existing project or start a new one.
Import or Record Audio
- Navigate to the “Audio” tab.
- Choose “Voiceover” (microphone icon).
- Click the red button to record your voice directly in the app.
Select the Voice Clip
Once recorded, your voice clip will appear on the timeline. Click to select it.
Open the Voice Changer Tool
- On the right side, find and open the “Voice changer” tab.
- A list of voice filters will appear (e.g., Energetic, Sweet, Big House, etc.).
Apply a Voice Effect
- Click on a voice filter to preview it.
- Once satisfied, apply it to the clip.
Export Your Video
- When you’re happy with the effect, export the video using the Export button in the top-right corner.
Watch the video tutorial of the same here:

Closing remarks
CapCut’s Voice Changer is a simple yet powerful tool for adding flair to your videos. While the PC version currently has limited filters compared to mobile, using recorded voice clips often unlocks additional options. With a bit of creativity, you can turn even the dullest voiceover into something funny, dramatic, or totally unexpected.
Give it a try in your next project — your audience will thank you for the extra personality!