CapCut’s latest update introduces a powerful lineup of AI-driven tools designed to transform video editing for YouTube and TikTok creators.
From generating complete videos in minutes to creating AI avatars and accelerating the editing process, these new features deliver unprecedented creative control and efficiency. This article highlights the most game-changing additions and how they can elevate your content.
You will learn how to use these tools to stand out, save time, and streamline your production workflow.
AI-powered video editing is no longer a futuristic concept and CapCut is at the forefront. This update unlocks capabilities that once required advanced skills or hours of manual work, making professional-level creation accessible to everyone.
Whether you are producing faceless videos, looking to edit faster, or eager to experiment with cutting-edge technology, understanding these features is essential.
Get ready to be impressed as we explore how CapCut’s AI tools can help you create viral-ready TikToks and engaging videos in just a few clicks. We will break down each major feature and share practical tips and examples to help you get started quickly.
1. AI Video Maker: Your automated content creation hub
This is CapCut’s star AI feature. It can generate complete videos quickly. You can even use templates to speed things up. This tool is perfect for making content without a lot of effort.
AI Video Maker: From script to screen in minutes
The core AI Video Maker is all about speed and ease. You can create a whole video with just a few clicks. It’s a huge time saver for any creator. This feature truly makes content creation more accessible.
Accessing the AI Video Maker
To use this amazing tool, make sure your CapCut is updated. Check for version 6.8.0 or newer.
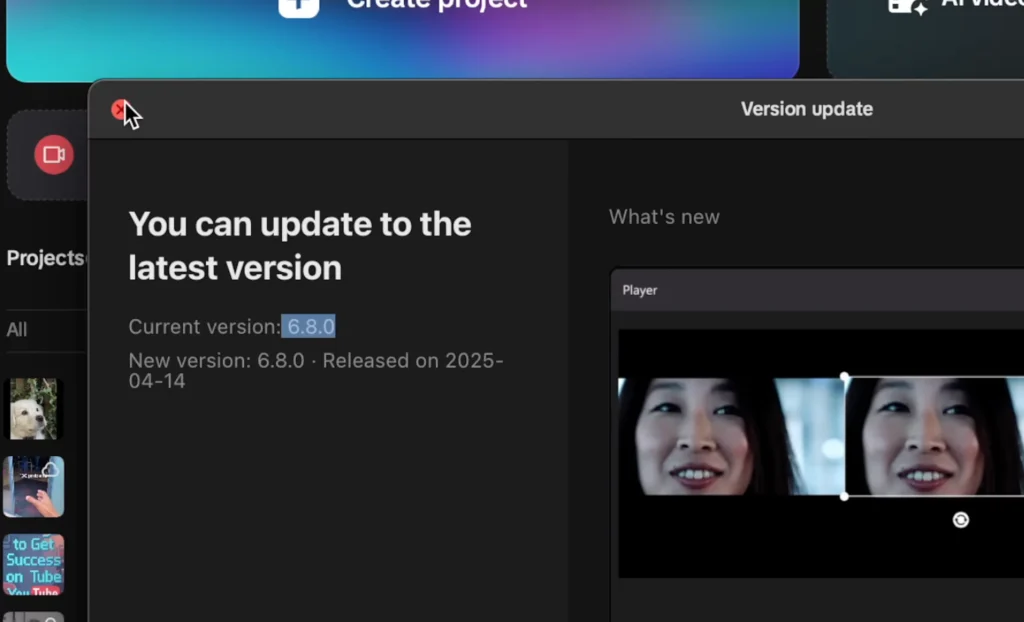
On the homepage, you should see the “AI Video Maker” tab. Click on it to open up the magic.

Leveraging AI Templates for Rapid Creation
CapCut offers “AI templates” to simplify creation. These are pre-made video structures you can use. They make it easy to build content fast. You can remake these templates for your own topics.
Real-world Example: Stan Lee’s Life
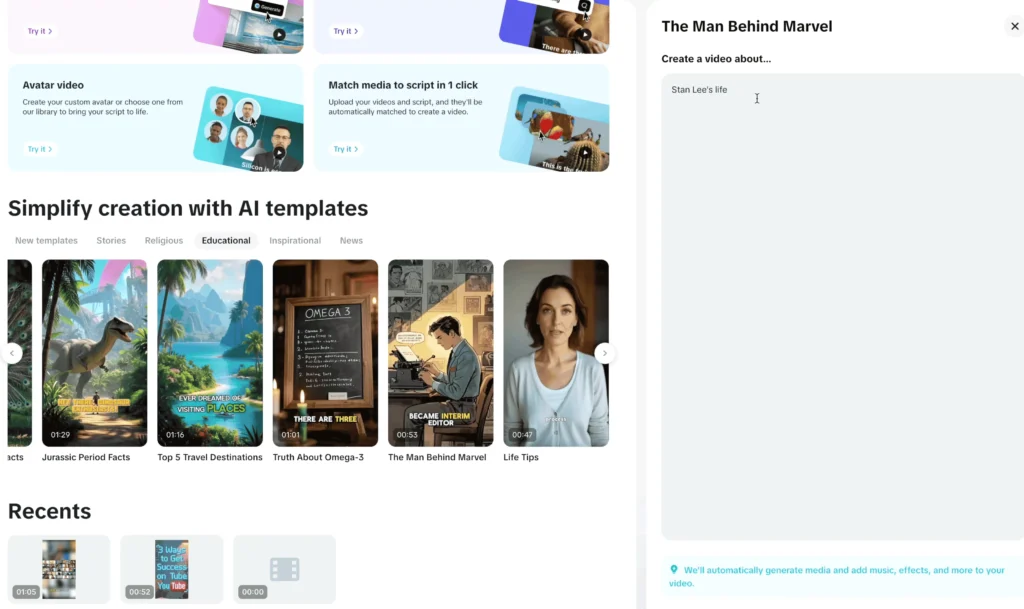
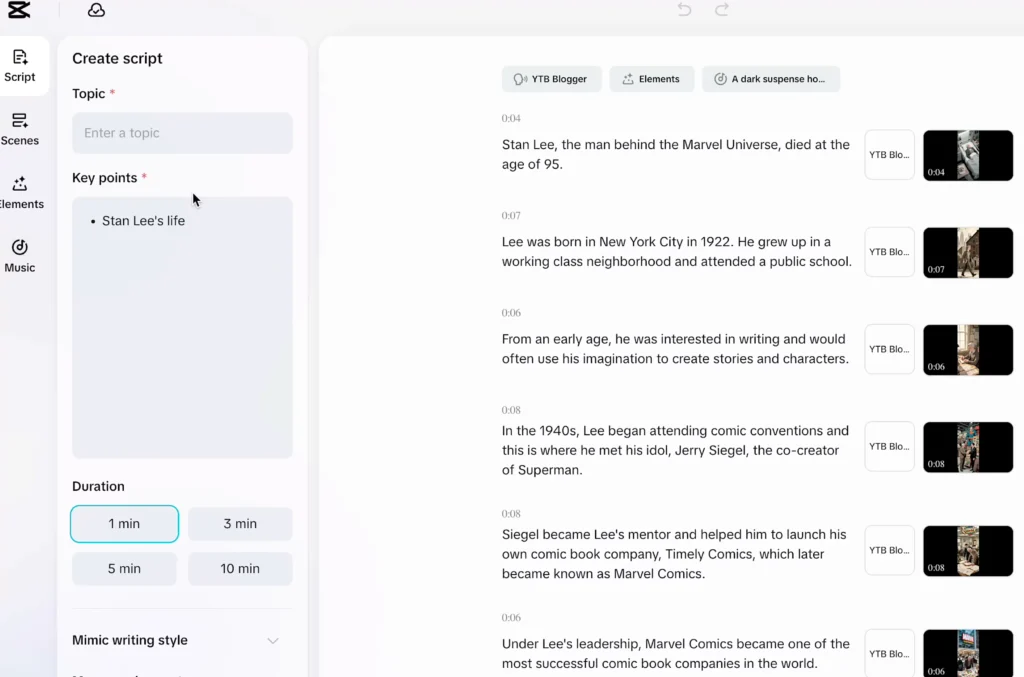
Let’s use the “Stan Lee” example. You can find a template you like, maybe a cartoon style. Click “remake” and it opens a panel.
Here, you can change the video’s topic. We chose “Stan Lee’s life” for this example.

Click “create,” and in about ninety seconds, you have a script, visuals, and a voiceover.
Enhancing AI-Generated Videos: Script, Voice, and Media
Once the video is generated, you can make it even better. You can edit the script if needed. You can also change the video duration. CapCut scripts are usually pretty good.
Actionable Tip: Changing Voiceovers
Under “scenes,” go to “voiceover.” You can pick different voice styles. Select “narration” for example. Find a voice you like and click “replace for all scenes.” This updates the voiceover for your entire video. Now your video has a new sound.
Expert Reference: Stock Media vs. AI Images
CapCut lets you use its stock media library. Instead of AI images, you can use real photos and videos. This is great for general topics like animals or buildings. However, for specific people like Stan Lee, AI might be your best bet if stock media doesn’t have them.
Seamlessly Transitioning to Manual Editing
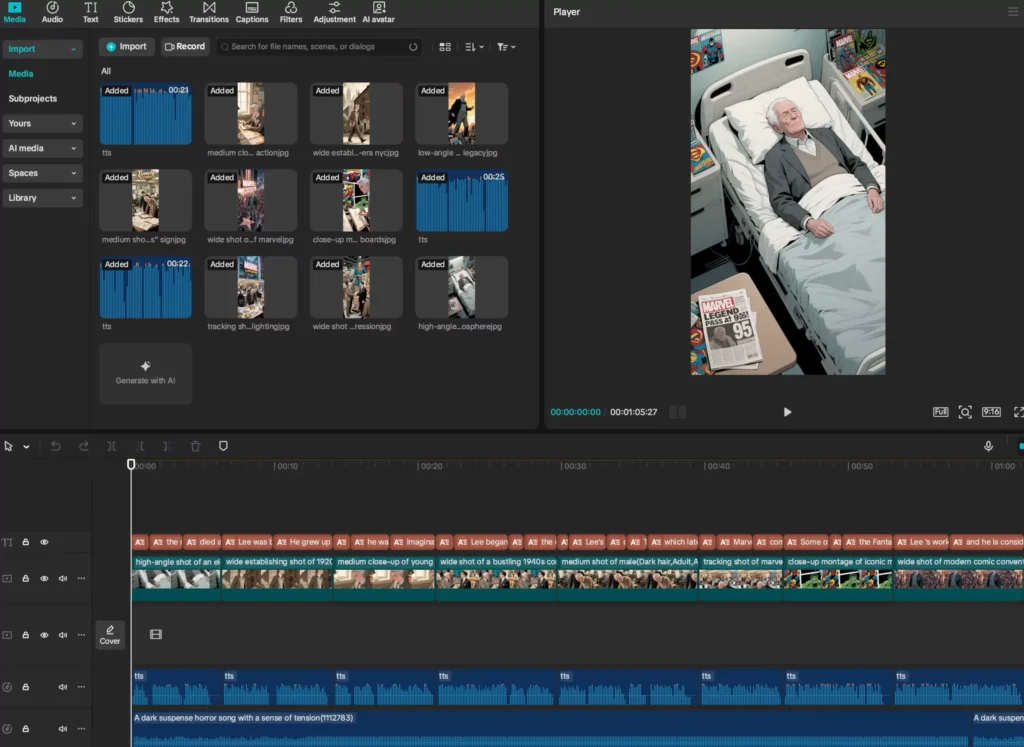
When you’re happy with the basic AI edit, you can do more. Click “edit more.” This brings your entire project into the main CapCut editor. You get all the clips, captions, and sound. It’s important to add your own touch. Don’t just use the template as is.
Actionable Tip: Making videos unique
Manual editing helps your video stand out. You can add your own music. You can adjust captions, fonts, and animations. Creating a minute-long video in under five minutes, for free, is incredible.
2. AI Avatars: Bringing Your Faceless Content to Life
This feature is perfect for faceless YouTube channels. You can create an AI persona to present your content. Many channels are already using AI avatars to get millions of views.
Introducing AI Avatars for Faceless Creators
If you don’t want to be on camera, AI avatars are your solution. They make your content engaging without showing your face. It’s a popular way to create content today.
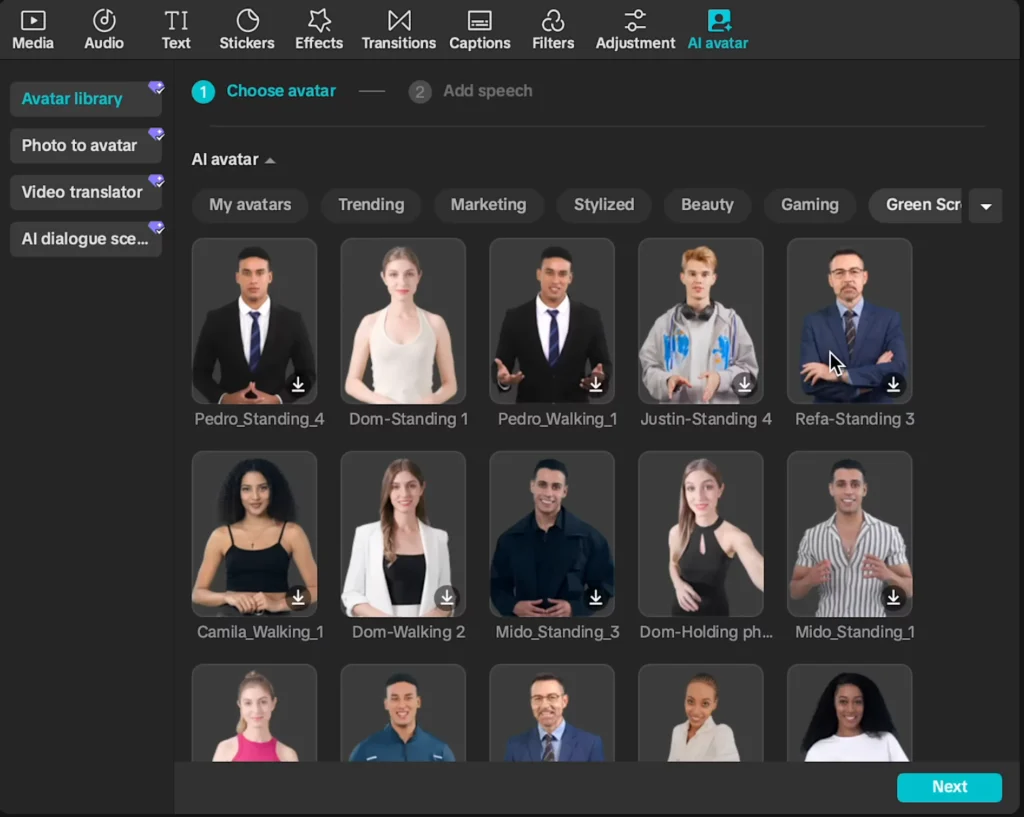
Generating and Customizing Your AI Persona
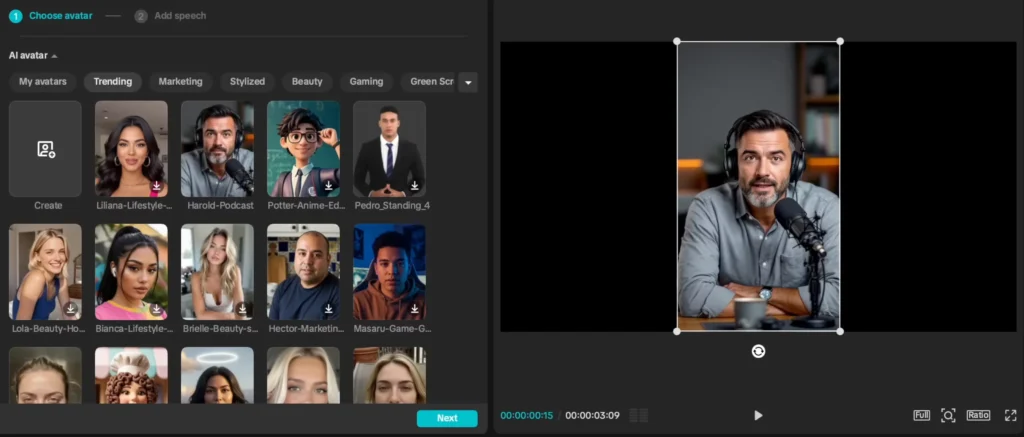
Start by choosing an avatar. Let’s pick “Harold.” Then, enter your script.
You can also select a voice for Harold. Once you’re happy, click “generate.” CapCut creates your AI avatar speaking your words.
Actionable Tip: Previewing Your Avatar
Watch your generated avatar. You can also change the video ratio. For vertical content, use 9×16. This makes your avatar fill the screen nicely.
Advanced Avatar Integration: Green Screen and Backgrounds
You can also use avatars with a green screen. This means you can place your AI avatar on any background you want. Just select the green screen option. Then, choose your background image or video.
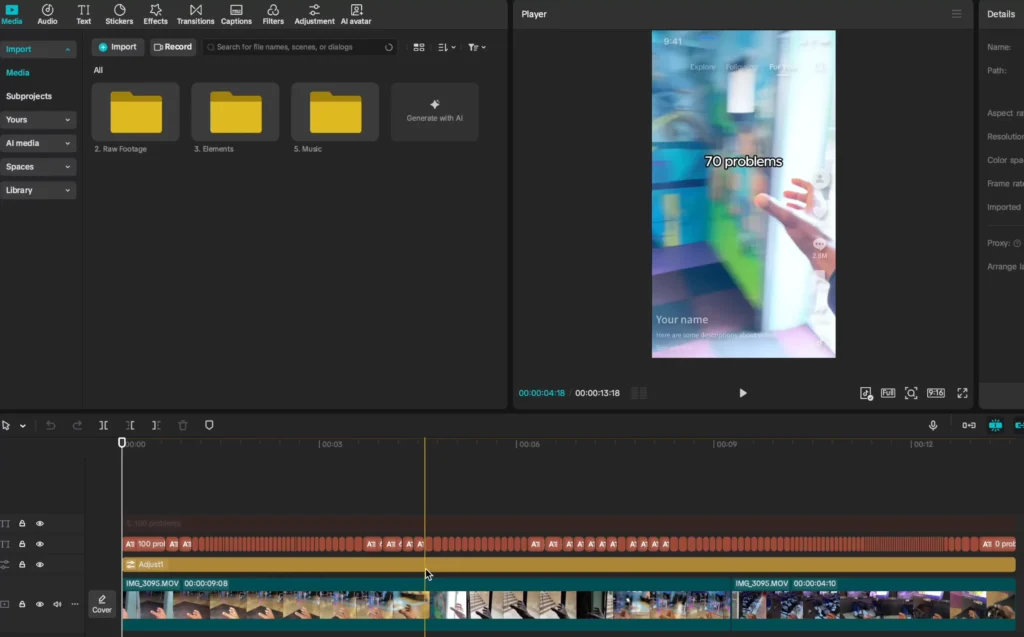
3. AI Media Generator: Crafting Unique Visuals
This section covers CapCut’s AI Image and Video Generator. You can create custom visuals from text prompts. It’s a powerful tool for unique content.
AI Image Generation: Prompts to Pictures
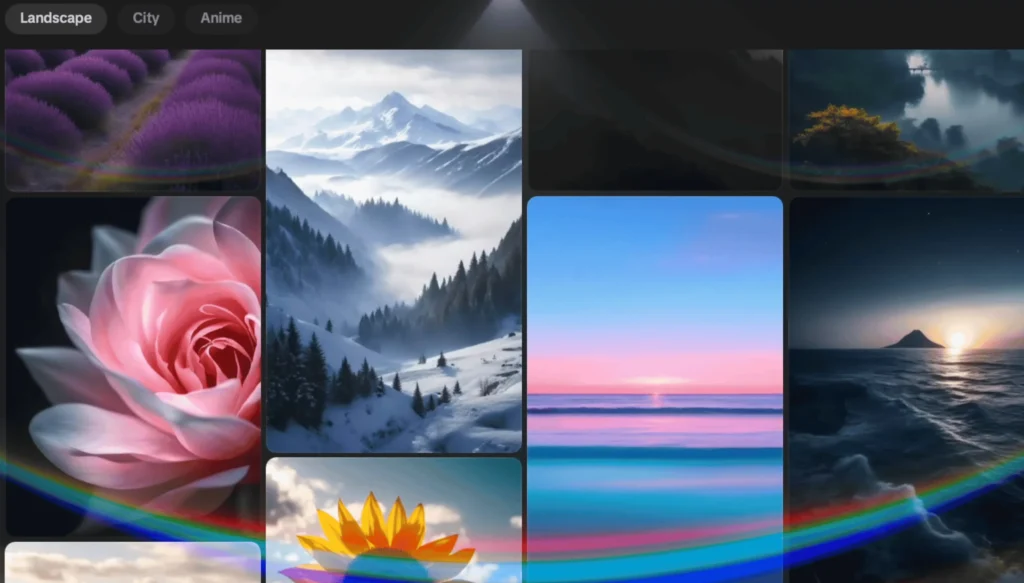
Go to “AI Media” to find image and video generation. You can create AI images from text.
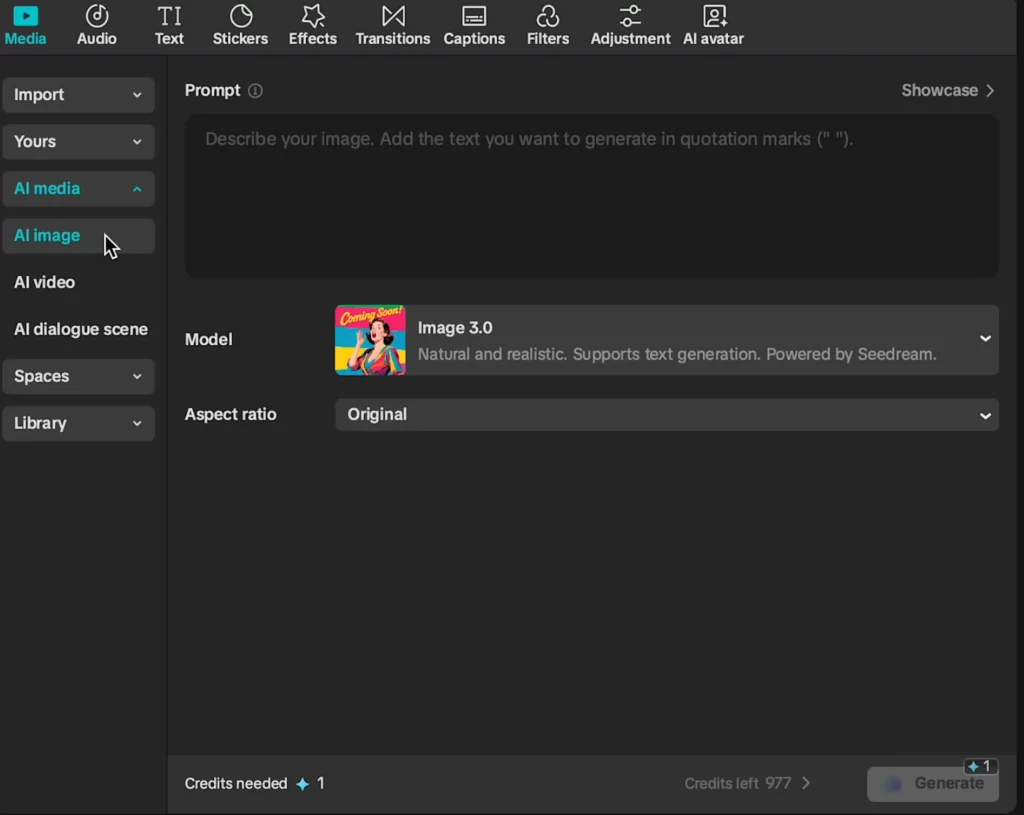
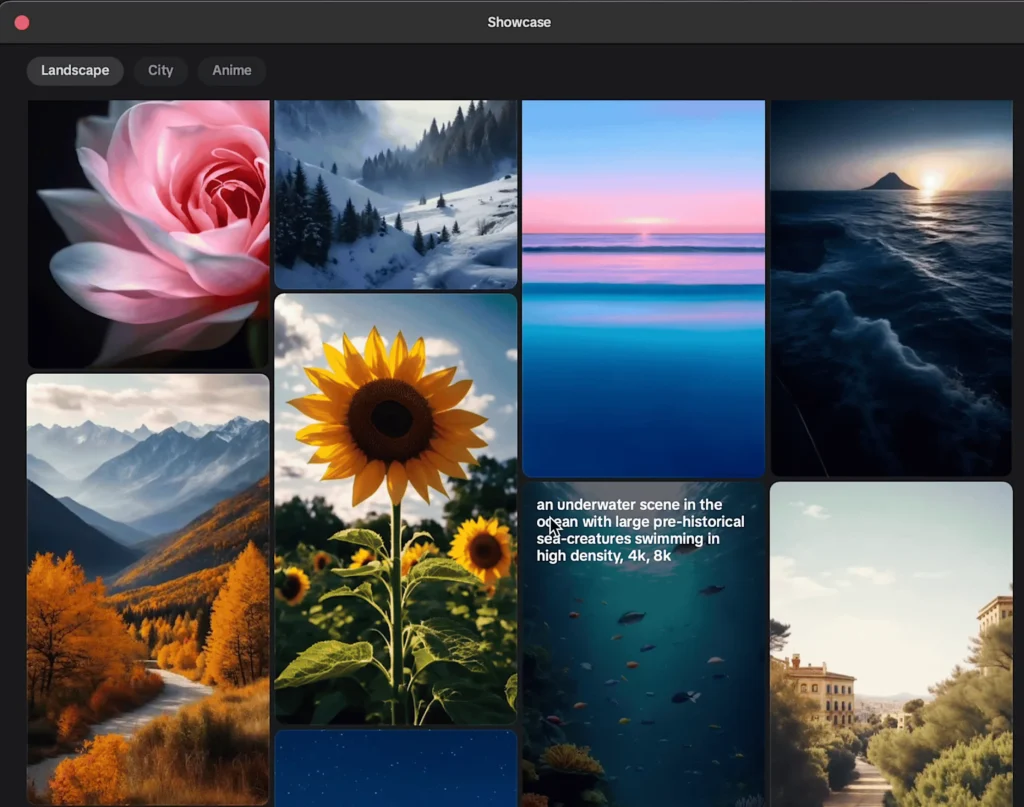
Explore the “Showcase” for examples. See what others have created.
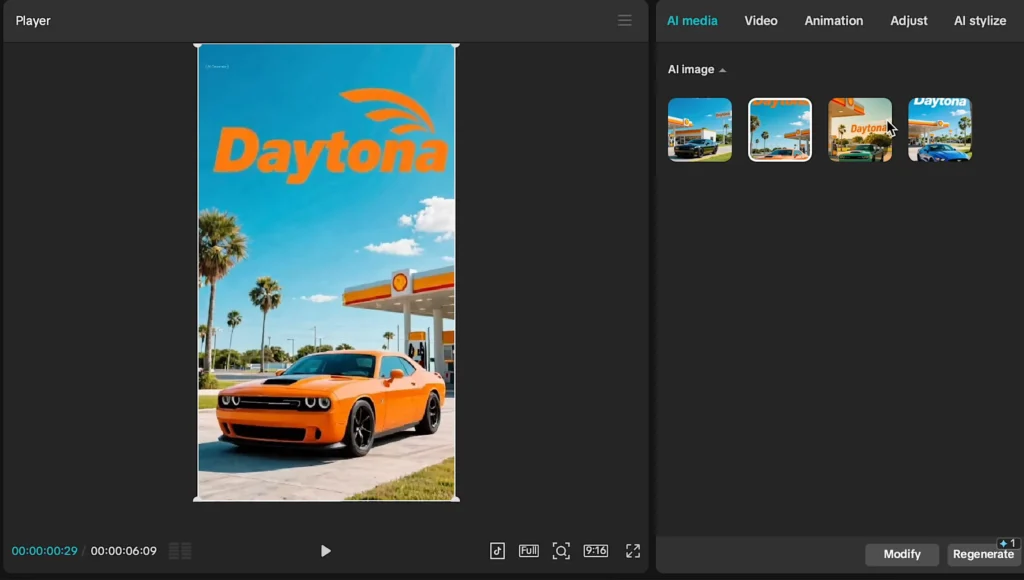
Real-world Example: Using “Daytona”
Try using specific words in your prompts. Put “Daytona” in quotation marks. This tells CapCut to include that exact word in the image. You’ll see different image options generated. It’s pretty cool.
AI Video Generation: Bringing Still Images to Motion
You can turn static images into videos. Right-click an image and select “image to video.” Try the “Video 3.0” option and regenerate.
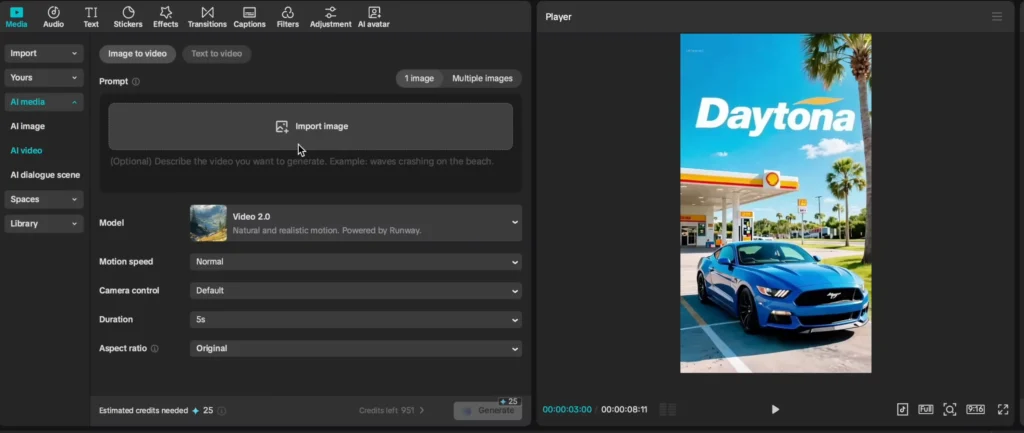
Real-world Example: Animating Your Pet
Import a personal photo, like a picture of your pet. Drop it into CapCut and say “generate.” You’ll be blown away. Your static image can come to life. You can see your pet breathing or blinking.
Actionable Tip: Combining AI Tools
Think about using AI-generated images with this tool. You can make unique video sequences this way. It’s another way to customize your content.
4. AI Video Translator and Bilingual Captions: Global Reach Made Easy
These translation features help your content reach a wider audience. You can translate your videos and captions. This is great for international viewers.
AI Video Translator: Full Dialogue Conversion
This feature changes your spoken words to another language. Imagine translating an English course into Dutch. Select your video, go to “audio,” then “video translator.” Choose your target language and “lip sync.” CapCut will change the dialogue and lip movements.
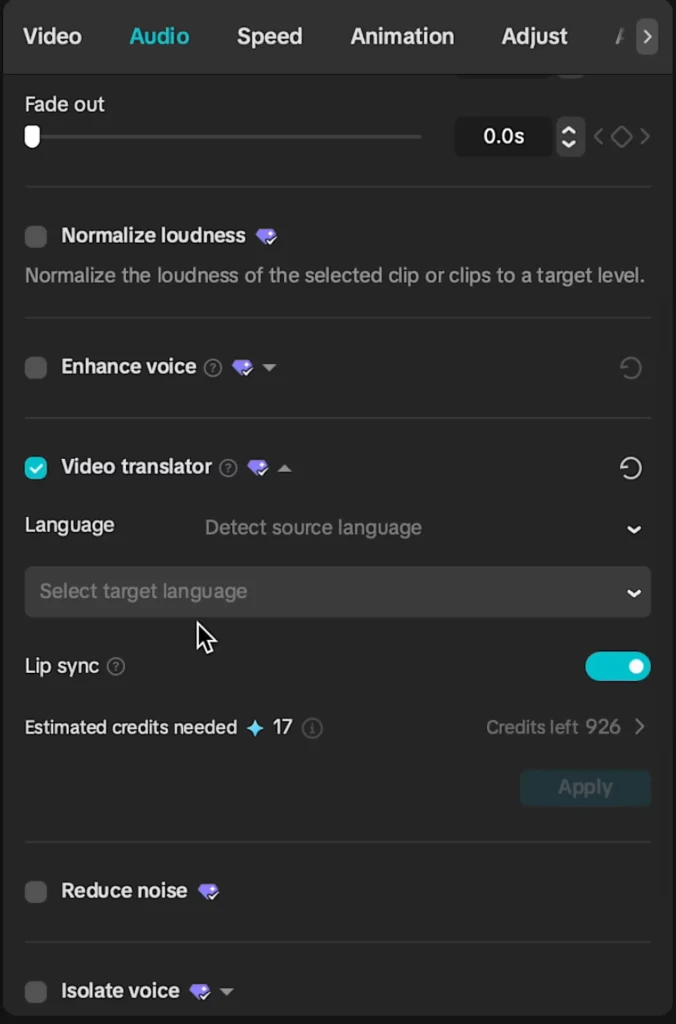
Expert Reference: Quality Considerations
Be aware that this feature can affect video quality. It might decrease it slightly. So, it’s not always the best option for every video.
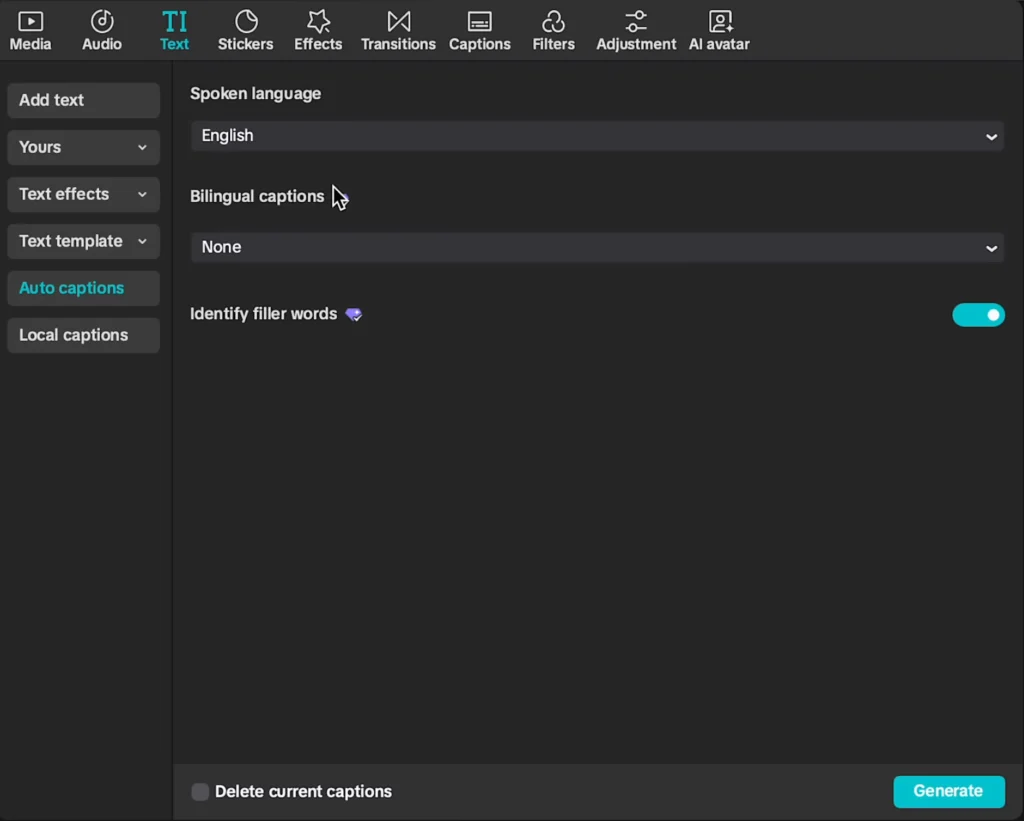
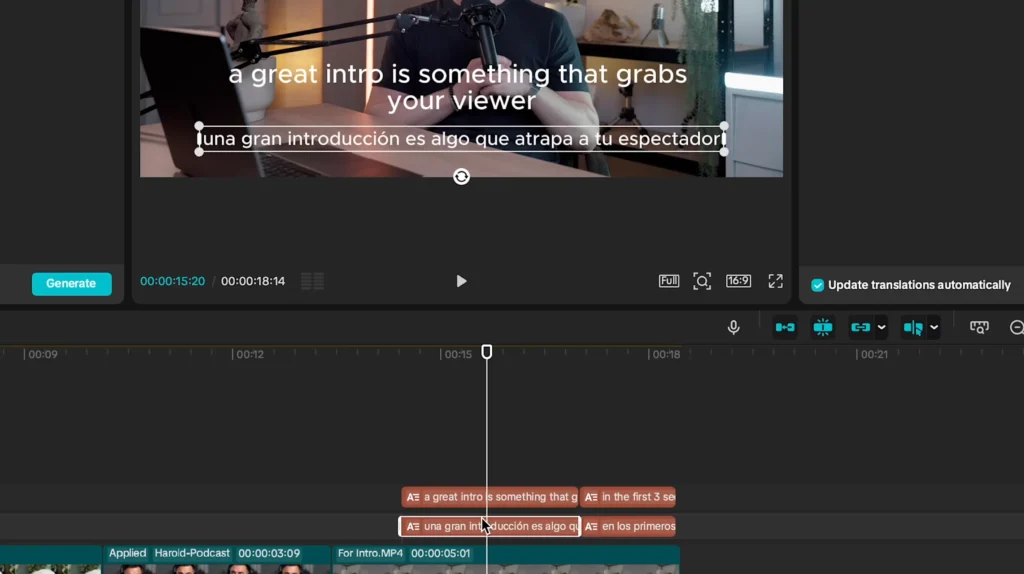
5. Bilingual Captions: Enhanced Accessibility and Reach
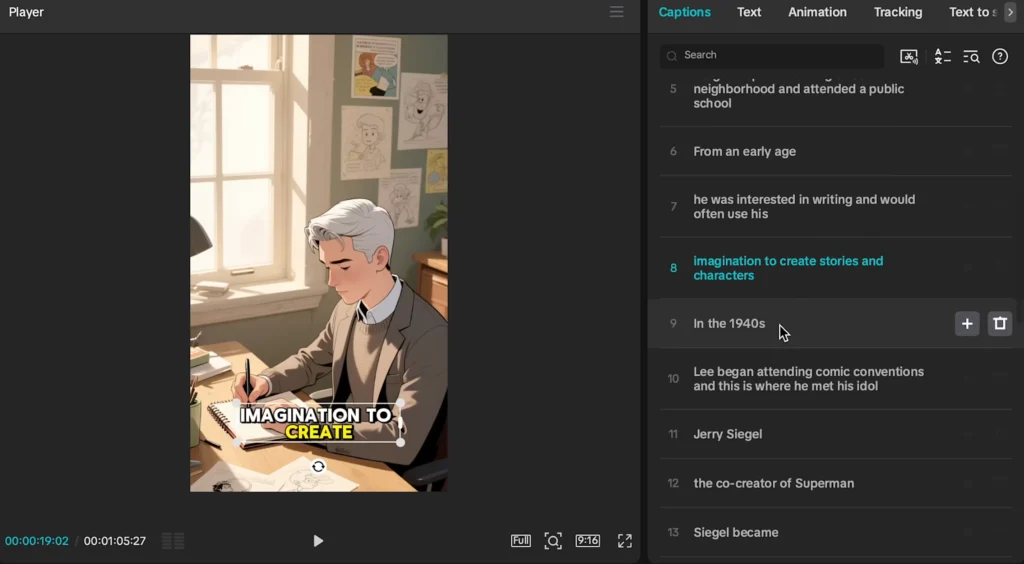
An alternative is bilingual captions. You can generate captions in a second language. Go to “text,” then “auto captions.” Find “bilingual captions” and choose your language, like Spanish.
Actionable Tip: Syncing Captions
CapCut generates two caption files. You’ll see English and Spanish versions. If you enable “translations automatically,” changes to English captions update the Spanish ones. This keeps your captions consistent. You still have full control over caption style.
6. Project Sync: Edit Anywhere, Anytime
One of the most powerful workflow upgrades in CapCut’s new update is Project Sync. Once enabled, your projects automatically sync across devices — whether you’re on desktop, laptop, or mobile.
This is a game-changer for creators who work in teams or switch between devices. For example, if an editor working remotely updates a project, you can open the same project on your own machine and see all the edits instantly.
Pro Tip: Turn on Project Sync in your CapCut settings to make sure every edit you do — whether on your phone or PC — carries over seamlessly. This makes collaboration and solo multi-device editing effortless.
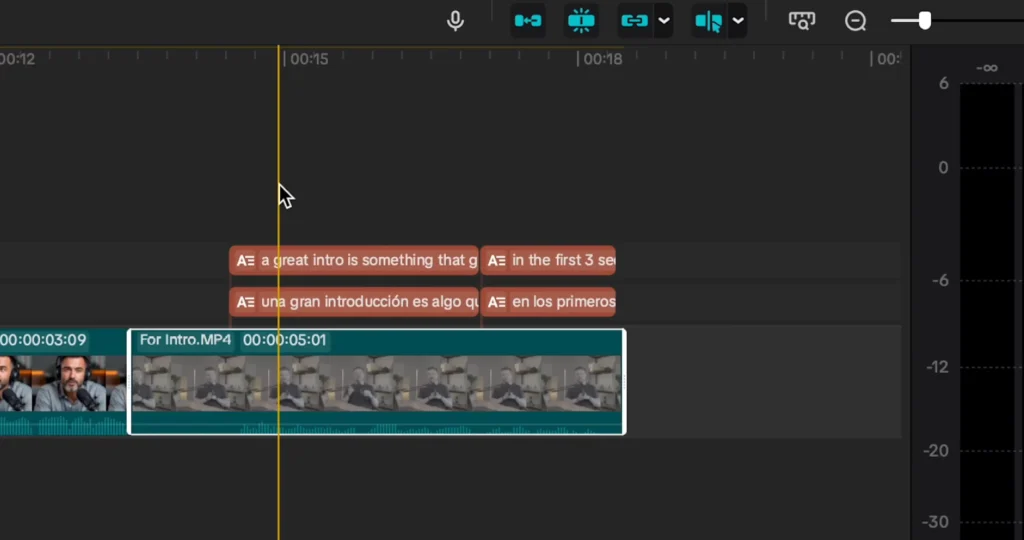
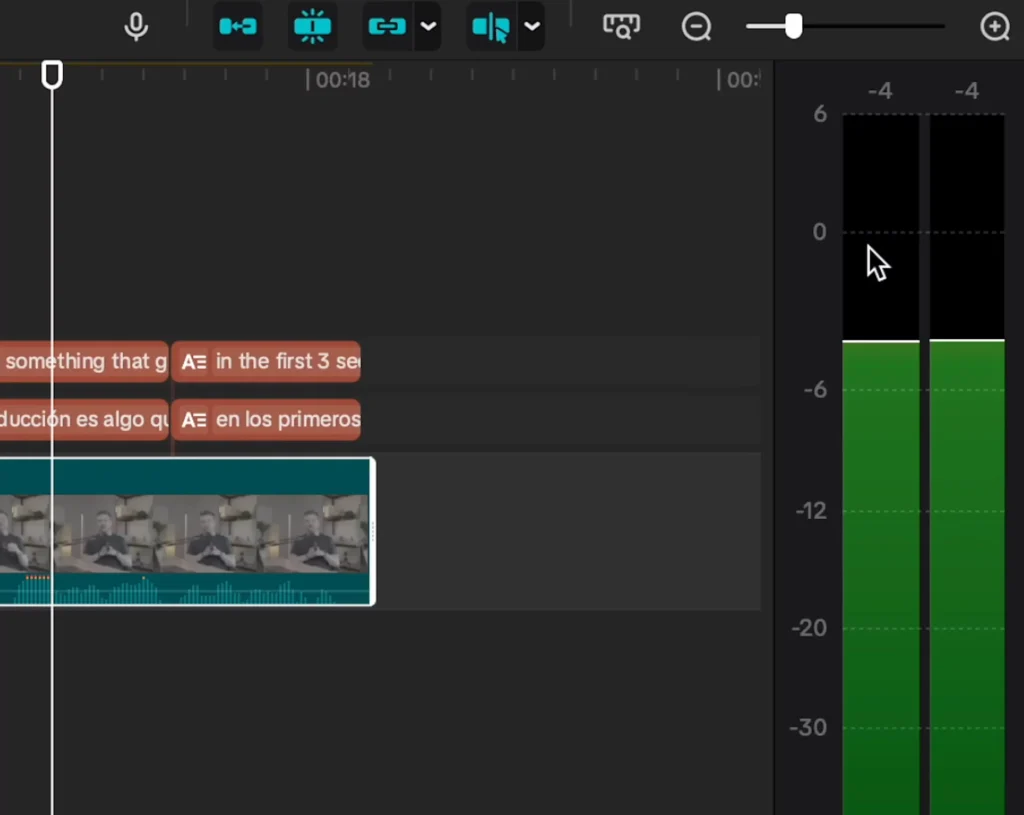
7. Normalize Loudness: Perfect Audio in One Click
Getting audio right is tricky. Too quiet, and your audience struggles to hear you. Too loud, and your video sounds unprofessional. CapCut solves this with Normalize Loudness, which automatically adjusts dialogue to platform-specific levels.
Here’s how to use it:
- Go to Settings → Edit Tab.
- Set your target loudness (YouTube, TikTok, or other platforms).
- Select your clip → Audio → Normalize Loudness.
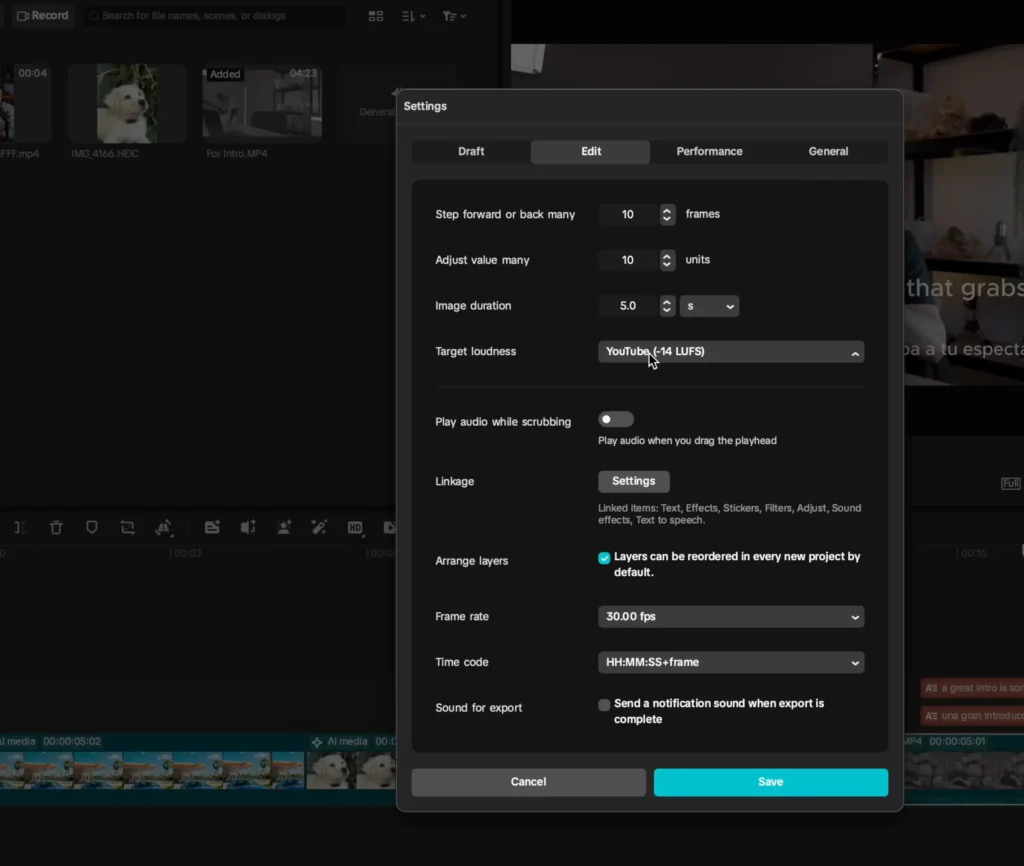
Your dialogue will now sit neatly between -18 dB and -6 dB — the sweet spot for online content. No more guesswork.
Pro Tip: Always apply Normalize Loudness before final export. It ensures consistent audio across multiple videos and saves you from viewers complaining about volume changes.
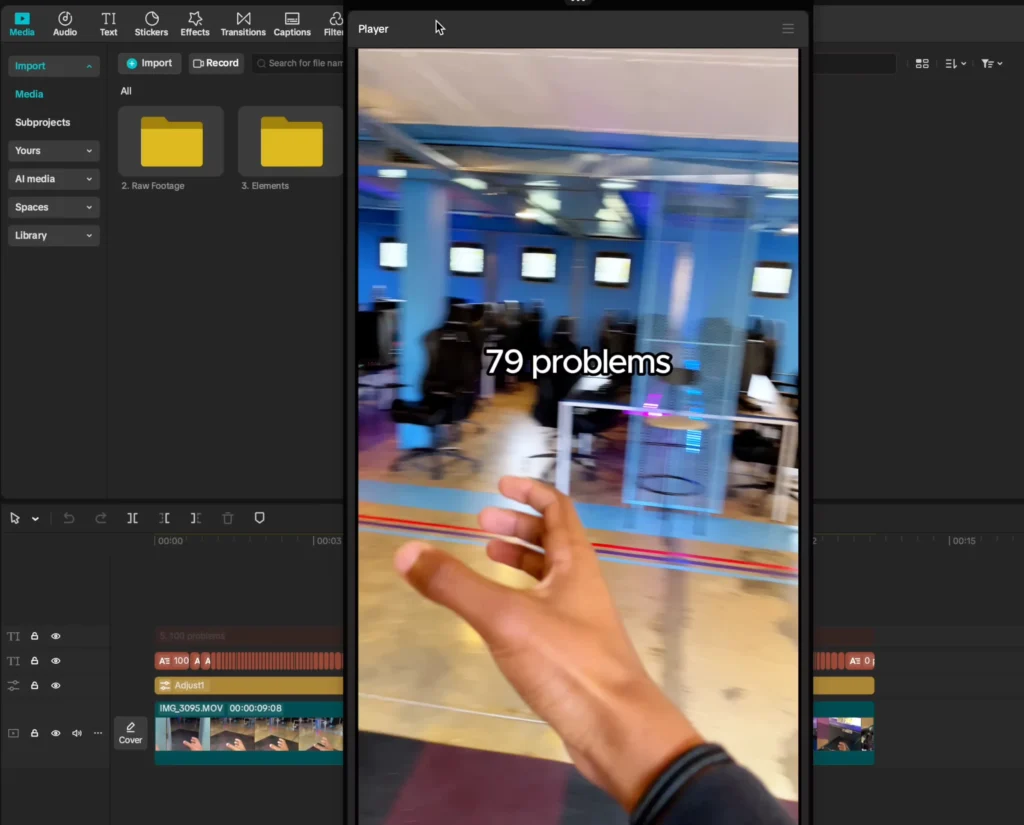
8. Vertical Viewer: Full-Screen Vertical Editing
Editing vertical videos used to feel cramped inside CapCut. Now, the Vertical Viewer gives you a large, dedicated preview window.
- Switch to Vertical Mode and open the Vertical Viewer.
- If you have a second monitor, drag the window across for a full-screen preview.
- Instantly see how your TikTok, Reel, or Short will look on mobile.

Pro Tip: Keep your main CapCut editor on one screen and the Vertical Viewer on another. This dual-screen setup is perfect for creators who want precise previews while editing.
9. Social Media Icon Previews: Avoid Overlaps
One of the most overlooked but handy features is social media icon previews. When enabled in the Vertical Viewer, CapCut shows exactly where TikTok or Instagram icons will appear on your video.
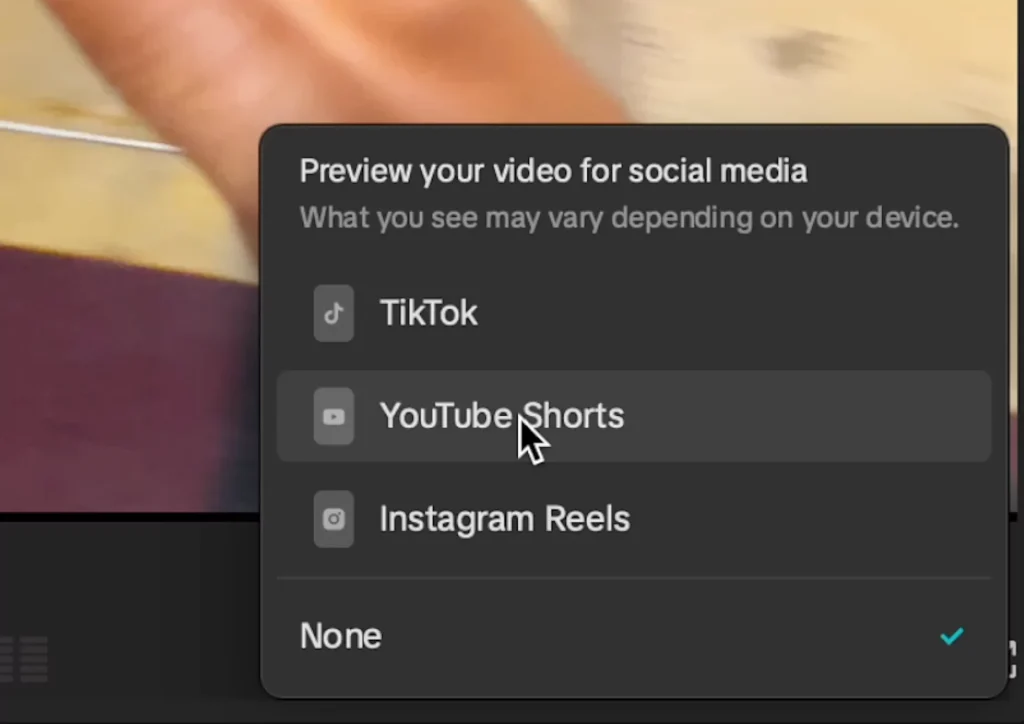
This prevents common mistakes like placing text or stickers in areas that will later be covered by platform overlays.

Pro Tip: Before exporting, check your video in icon preview mode. Resize or move elements so they remain fully visible once uploaded.
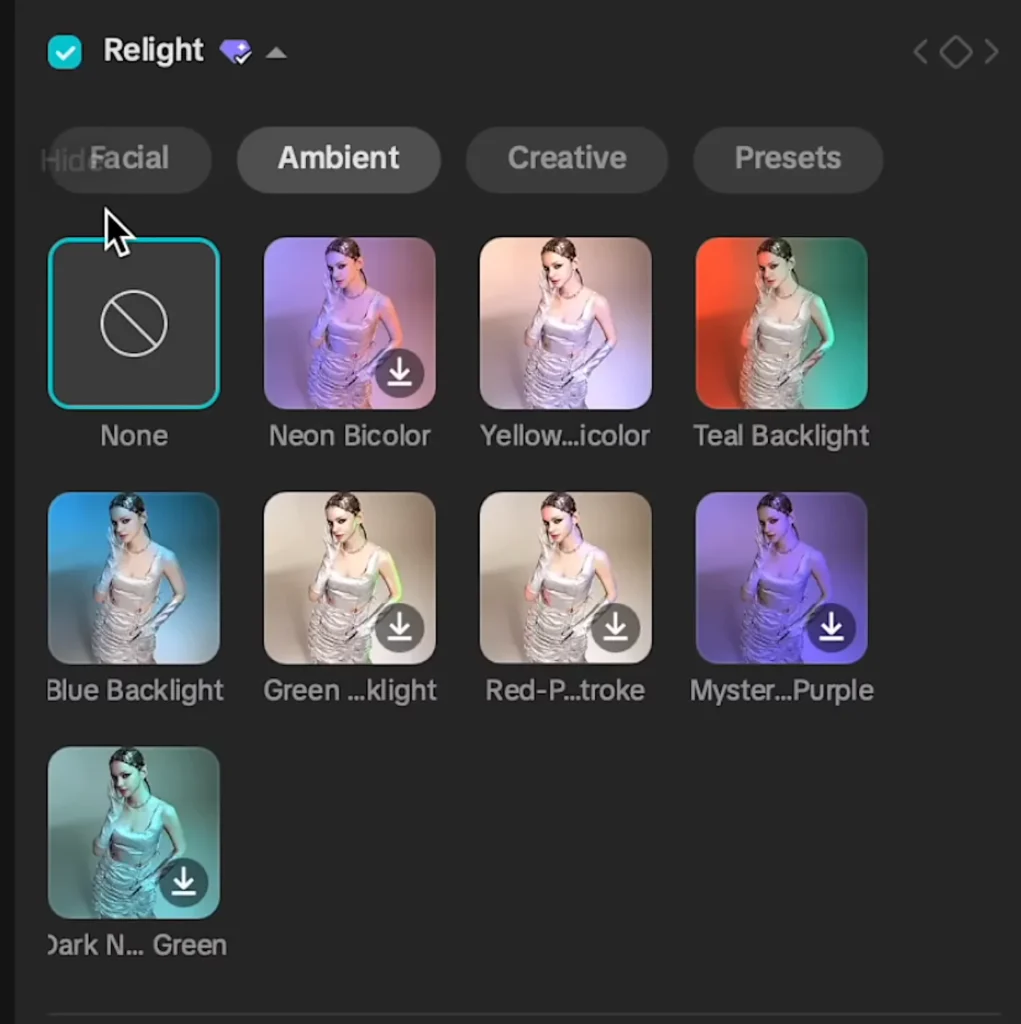
10. Relight: Professional Lighting After the Fact
Lighting can make or break a video. With CapCut’s Relight feature, you can completely change the look of your footage in post-production.
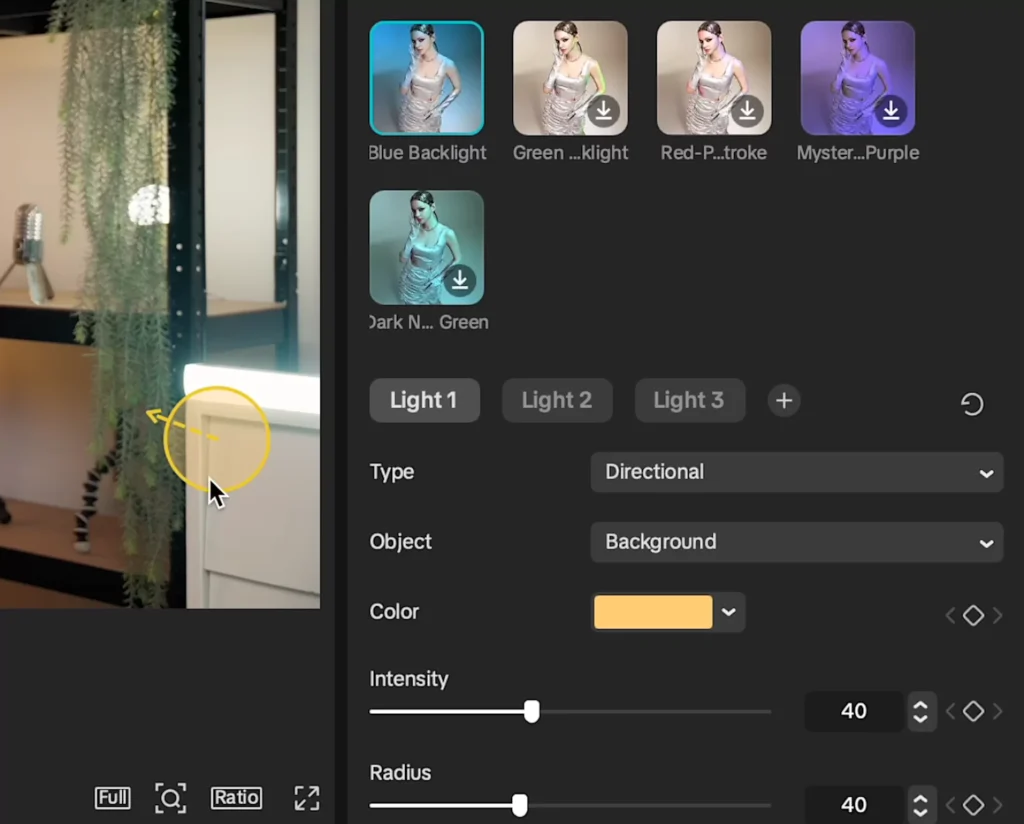
- Toggle Relight and choose from modes like Facial, Ambient, or Creative.
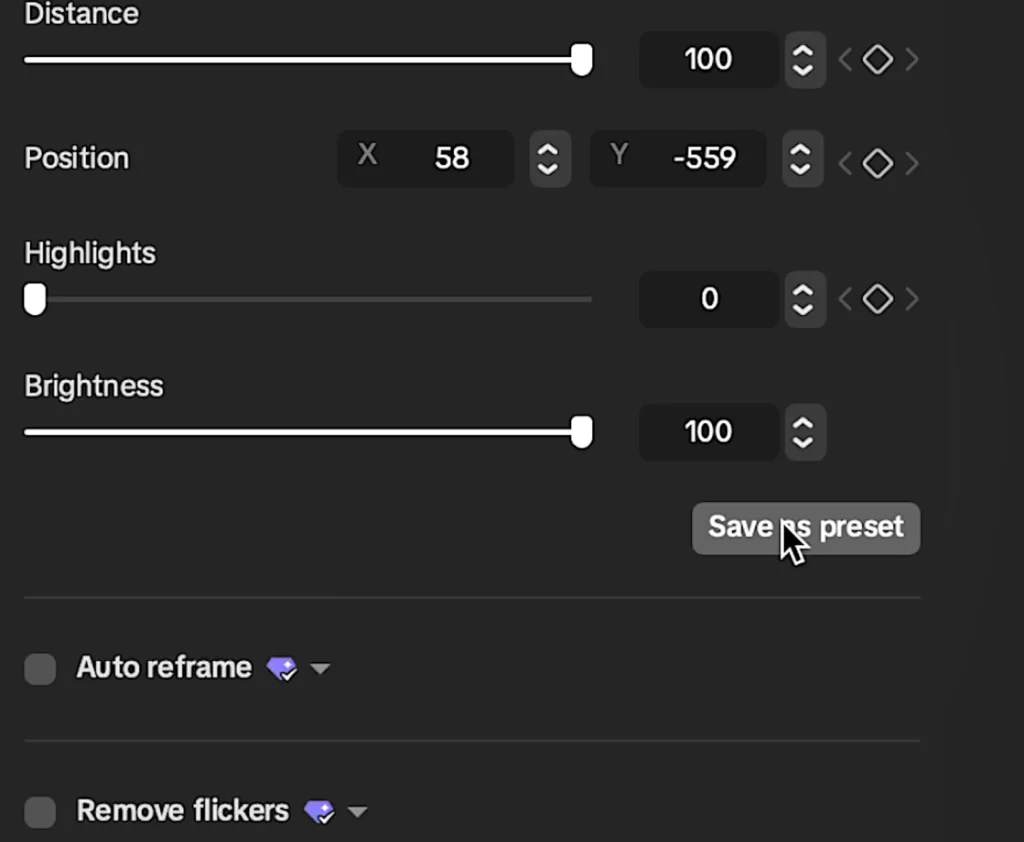
- Adjust intensity, color, and placement of up to three different lights.
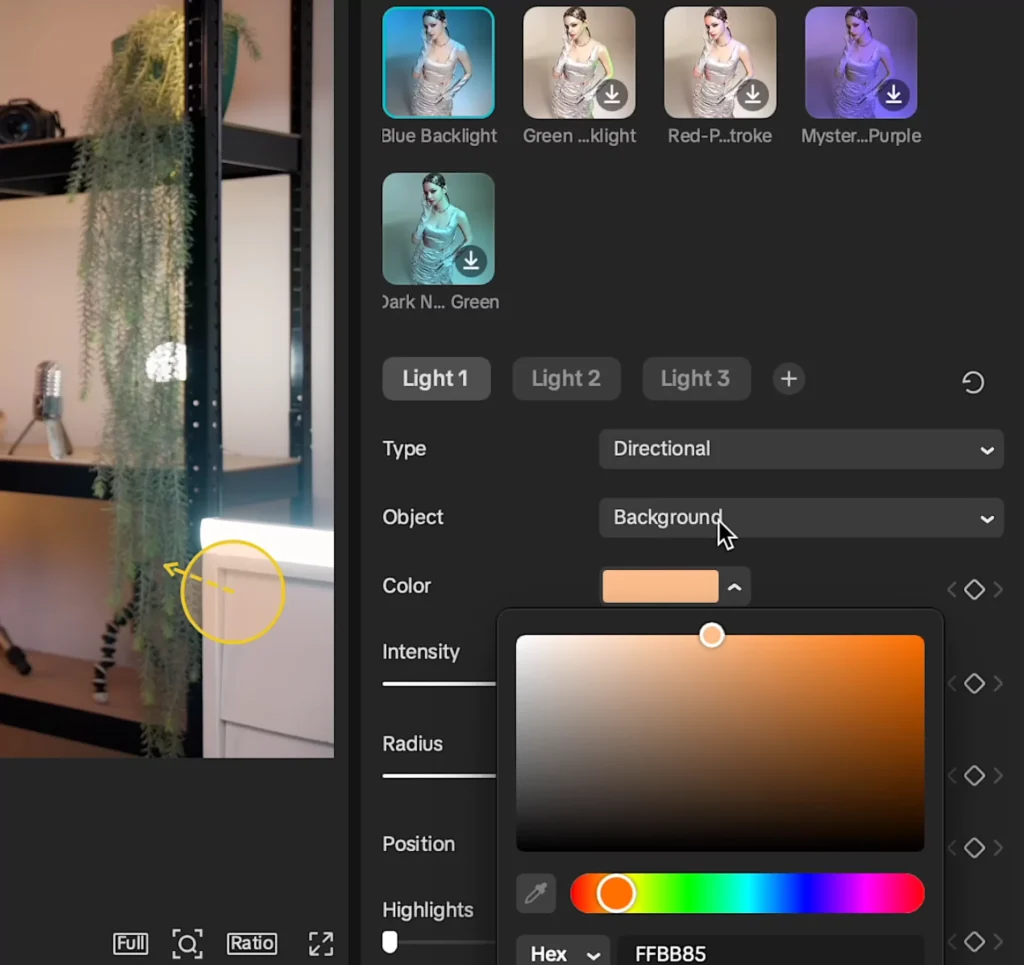
- Save your setup as a preset and apply it to multiple videos for a consistent style.
For example, adding a soft blue ambient backlight can give your content a cinematic feel, even if the original footage was poorly lit.
Pro Tip: Use Relight not only for correction but also for creativity — like adding colored backlights or spotlight effects to make your videos stand out.
With these workflow boosters — Project Sync, Normalize Loudness, Vertical Viewer, Social Media Previews, and Relight — CapCut isn’t just giving creators AI tools, but also professional-level control and polish without needing expensive gear.
Why this update matters for Creators
CapCut’s AI update isn’t just a shiny new feature drop — it’s a shift in how creators work. Until now, editing meant hours of manual cuts, overlays, captions, and polishing. With tools like the AI Video Maker and Avatars, creators can:
- Save hours on editing and scripting.
- Produce professional content without needing advanced skills.
- Scale up production to meet the demand of platforms like YouTube Shorts and TikTok.
For solo creators, small businesses, and social media managers, this means faster output with less stress — and more time to focus on storytelling and growth.
CapCut AI vs. Other Tools
CapCut isn’t the only AI editor in the game, but it stands out because it’s free (or low-cost with Pro), mobile-friendly, and tightly integrated with TikTok. Here’s how it compares:
| Tool | Strengths | Weaknesses | Best For |
|---|---|---|---|
| CapCut AI | Fast, beginner-friendly, free with Pro upgrade, direct TikTok integration | Limited advanced AI editing | TikTokers, YouTubers, short-form creators |
| Runway ML | Advanced AI video gen, powerful motion effects | Expensive, steep learning curve | Creative professionals, indie filmmakers |
| Descript | AI-powered podcast & video editing, overdubbing voices | Less visual creativity, more audio-focused | Podcasters, educators |
| Canva AI | Great templates, quick design + video edits | Lacks deep video editing controls | Social media marketers, businesses |
| Pika Labs | AI video generation from text | Still experimental, quality varies | Animators, experimental creators |
Bottom line: CapCut is the most accessible choice for everyday creators who want AI power without needing advanced technical skills.
Best Use Cases for Each AI Feature
- AI Video Maker → Quick Shorts, listicle-style YouTube videos, recap reels.
- AI Avatars → Faceless YouTube channels, explainer videos, news-style content.
- AI Media Generator → Unique B-roll, thumbnails, backgrounds, or niche visuals when stock footage isn’t enough.
- AI Translator & Bilingual Captions → Expanding reach to new languages, global audiences, course creators.
- Workflow Enhancements (Project Sync, Normalize Loudness, Vertical Viewer) → Team collaborations, content batching, and maintaining consistent audio/visual standards.
By pairing these features together, you can create complete videos in record time — from ideation to publishing.
Tips to Make AI-Generated Content Unique
AI tools are powerful, but many creators fall into the trap of producing content that feels generic or template-heavy. Here’s how to avoid that:
- Customize the script: Don’t just accept the AI draft. Add your own anecdotes, humor, or insights.
- Add branding: Include your own logo, color scheme, and fonts so your videos stand out.
- Mix real + AI media: Blend AI visuals with your own footage or stock media for authenticity.
- Experiment with pacing: Shorten some clips, extend others — avoid the “cookie-cutter” feel.
- Use music wisely: Swapping default tracks with your own choices can instantly change the mood.
Performance & Quality Considerations
AI can sometimes push your device hard. Here’s what to keep in mind:
- Mobile vs. Desktop: AI features run smoother on desktop or high-end phones.
- Render Times: AI avatars and translations may take a few extra minutes.
- Quality Drops: AI-generated images/videos sometimes look slightly lower-res than standard clips. A quick fix is to mix them with stock or relight features.
- Storage Needs: Project Sync means bigger files. Be mindful of cloud storage limits.
Troubleshooting Common Issues
- AI Voice Not Generating: Try shorter scripts, switch to another voice, or check your internet connection.
- Unnatural Avatars: Experiment with different avatars — some models look smoother than others.
- Translation Mismatches: Always double-check lip sync and captions. Use bilingual captions as a safer fallback.
- Resolution Loss: Enable “High-Quality Export” in settings, or replace some AI media with stock footage.
CapCut Pro vs. Free Plan for AI Features
Some AI tools are free, but the most powerful ones require CapCut Pro.
- Free Users: AI templates, basic image generation, auto captions, and light editing features.
- CapCut Pro Users: Full AI Video Maker, premium avatars, advanced translators, unlimited templates, cloud sync.
Pro is worth it if you’re uploading regularly on YouTube or TikTok and need consistent AI support.
Workflow Examples
Example 1: Quick TikTok with AI Video Maker
- Open AI Video Maker → Select “viral template.”
- Replace topic with your niche (e.g., “Top 5 travel hacks”).
- Swap AI stock with real footage for credibility.
- Add bilingual captions → Export in vertical 9:16.
Example 2: Faceless YouTube Video
- Write a script → Paste into AI Avatar “Harold.”
- Add background stock footage or AI visuals.
- Normalize loudness → Add custom music.
- Export in 16:9 for YouTube.
Future of AI in CapCut (and Video Editing in General)
AI in video editing is still in its early days. Expect CapCut to expand into:
- AI music generation → Custom soundtracks.
- Smarter avatars → Hyper-realistic, with emotions.
- Automated editing → Upload raw footage → AI edits automatically based on pacing/music.
- Advanced effects → Auto color grading, AI motion tracking, and 3D scene generation.
Creators who learn AI tools early will be ahead of the curve.
Frequently Asked Questions (FAQ)
Are CapCut’s AI features free?
Some are free, but full features like AI avatars and advanced translators need CapCut Pro.
Can I monetize AI-generated videos on YouTube?
Yes — as long as you add original value (commentary, editing, or creativity). Purely auto-generated videos risk demonetization.
Do AI avatars look realistic?
They’re decent for faceless content, but still slightly “virtual.” Best for explainer or news-style videos.
Does CapCut AI work offline?
No. AI tools need an internet connection since processing happens in the cloud.
Which devices run CapCut AI best?
High-end iPhones, modern Androids, and PCs/Macs with strong GPUs handle it fastest.
Conclusion: Your Next Video Awaits
CapCut’s new AI features are a game-changer for creators. The AI Video Maker and AI Avatars let you create content fast. The AI Media Generator helps with unique visuals. AI translators and bilingual captions expand your reach. Project Sync and Normalize Loudness improve your workflow. The Vertical Viewer and Relight feature add polish.
Combine these tools for amazing results. Generate AI images, make them videos, add an AI avatar, and get perfect captions. With these tools, your creativity is the only limit. Which of these CapCut AI features will you use first?