CapCut is a powerful and user-friendly video editing tool trusted by creators around the world. Its intuitive interface and advanced features make it a favorite for both casual users and experienced editors.
However, downloading and installing CapCut on a PC can sometimes be confusing. You may be unsure whether to install it from the official website or through the Microsoft Store.
This guide simplifies the process with clear, step-by-step instructions to help you get CapCut up and running on your computer quickly and smoothly.
Whether you are a professional editor or just getting started, having the right setup makes all the difference. We focus on the easiest and most reliable way to install CapCut, so you can avoid technical issues and start editing without frustration.
Simply follow each step, and you will be creating high-quality videos in no time.
Be sure to follow the instructions carefully—skipping even a small detail can lead to problems. We’ll walk you through everything, from downloading and installing the software to launching it for the first time.
You’ll also find helpful tips to improve your editing workflow, including how to remove watermarks and make the most of CapCut’s templates. Let’s get started!
Downloading CapCut: Website vs. Microsoft Store
There are two main ways to get CapCut on your PC. We’ll look at both. Each method is easy. You can pick the one that works best for you.
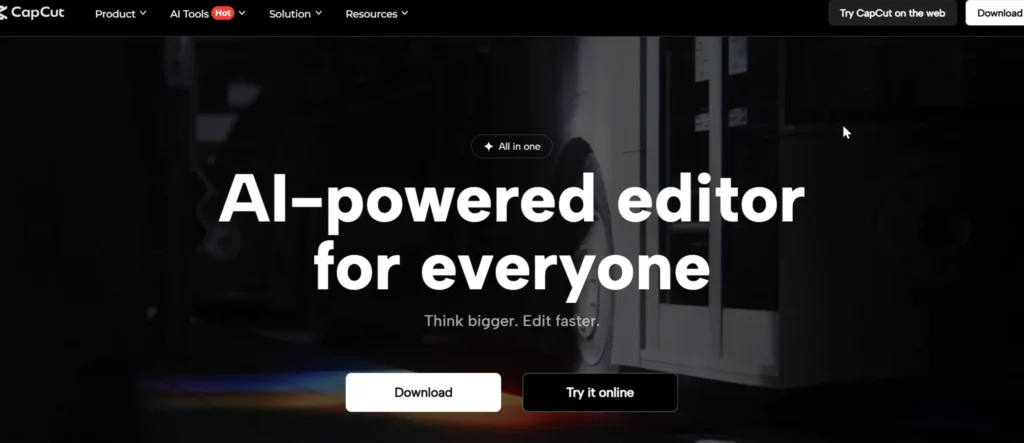
Method 1: Downloading from the Official CapCut Website
This method is direct. You get the installer file straight from CapCut. It’s a reliable way to download the software.
- Step 1: Open your web browser. Chrome, Edge, or Firefox work fine.
- Step 2: Go to the CapCut website. Type
capcut.cominto the address bar.- Tip: Always use the official site. Don’t click on ads. Make sure it’s the real CapCut website.
- Step 3: Find the “Download” button. It’s usually in the top right corner. Click it.
- Step 4: Your browser will start downloading the installer file. You’ll see it at the bottom of your screen or in your downloads folder.
- You can also use the offline installer from our website. This file works the same way as downloading from the official website and can be used if you cannot download from capcut.com website for some reason.
Method 2: Installing via the Microsoft Store
Many people like the Microsoft Store. It feels safe and easy. The app installs itself automatically.
- Step 1: Click the Start menu. Type “Microsoft Store” and open it.
- Step 2: Use the search bar at the top. Type “CapCut.”
- Step 3: Select CapCut when it appears in the results.
- Step 4: Click the “Get” or “Install” button.
- Tip: The Microsoft Store does all the work. You don’t need to run any installer files yourself.
Installing CapCut on your PC
Now that you have the file or initiated the download, let’s get CapCut installed. This section covers how to finish the setup for both methods.
Running the Installer (website download)
If you downloaded the file from the website, you need to run it. This starts the installation process.
- Step 1: Go to your downloads folder.
- Step 2: Find the CapCut installer file. Double-click it to open.
- Step 3: A message might pop up. It asks if you want to allow changes. Click “Yes.”
- Step 4: Follow the instructions in the CapCut installer.
- Tip: Check the box to “Create desktop shortcut.” This makes it easy to open CapCut later.
- Tip: You can pick where to install CapCut. The default spot is usually fine.
Automatic Installation (Microsoft Store)
If you used the Microsoft Store, the installation is already happening. There’s nothing more you need to do. The app will show up in your applications list automatically.
Launching and Initializing CapCut
With CapCut installed, it’s time to open it. Let’s see what happens when you launch it for the first time.
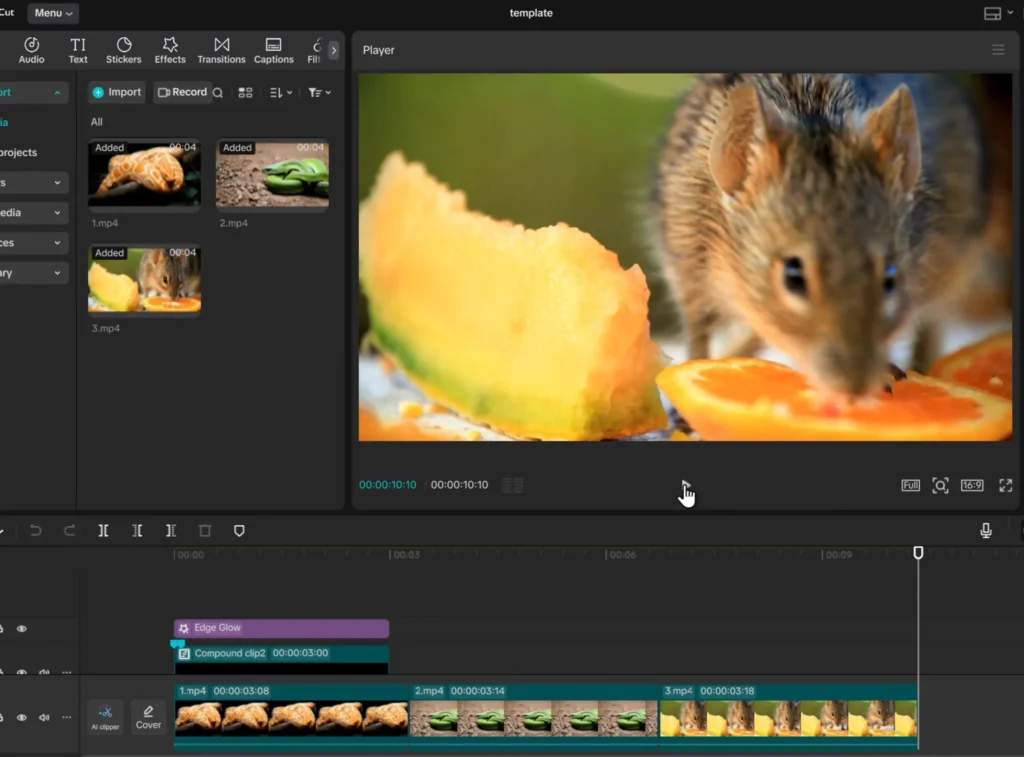
First Launch and Interface Overview
After installation, you’ll click “Launch.” CapCut opens to its home screen. You’ll see options like “New Project.” There are also “Templates.” If you’ve used it before, you’ll see past projects.
Utilizing Templates for Beginners
If you’re new to editing, try the templates. They are pre-made projects. Using them is a simple way to learn editing basics. It’s a great starting point.
Starting a new project
Want to start from scratch? Click “Create Project.” This gives you a blank canvas. You can add your own videos and photos.
System Requirements for CapCut on PC
Before you install CapCut, make sure your PC meets the basic system requirements. This helps avoid crashes, lag, or failed installations.
Minimum Requirements:
- Operating System: Windows 10 (64-bit) or higher
- Processor: Intel i3 or equivalent
- RAM: 4 GB
- Storage: 2 GB free space
- Graphics: Integrated graphics (Intel UHD) is fine for basic editing
Recommended for Smooth Performance:
- Processor: Intel i5 or better
- RAM: 8 GB or more
- Graphics: Dedicated GPU (NVIDIA or AMD)
- Storage: SSD recommended for faster file handling
CapCut does not currently have an official version for Linux.
Enhancing Your CapCut Experience: Key Features
Want to make your videos look even better? CapCut has features to help. Let’s look at how to remove watermarks and import your files.
Removing Watermarks by Signing In
You might not want the CapCut watermark on your videos. You can remove it for free. You just need to sign in.
- Tip: Click the “Sign In” button in CapCut.
- Step 1: Log in using your Google or Facebook account.
- Note: After signing in, your exported videos won’t have a watermark.
Importing Media Files
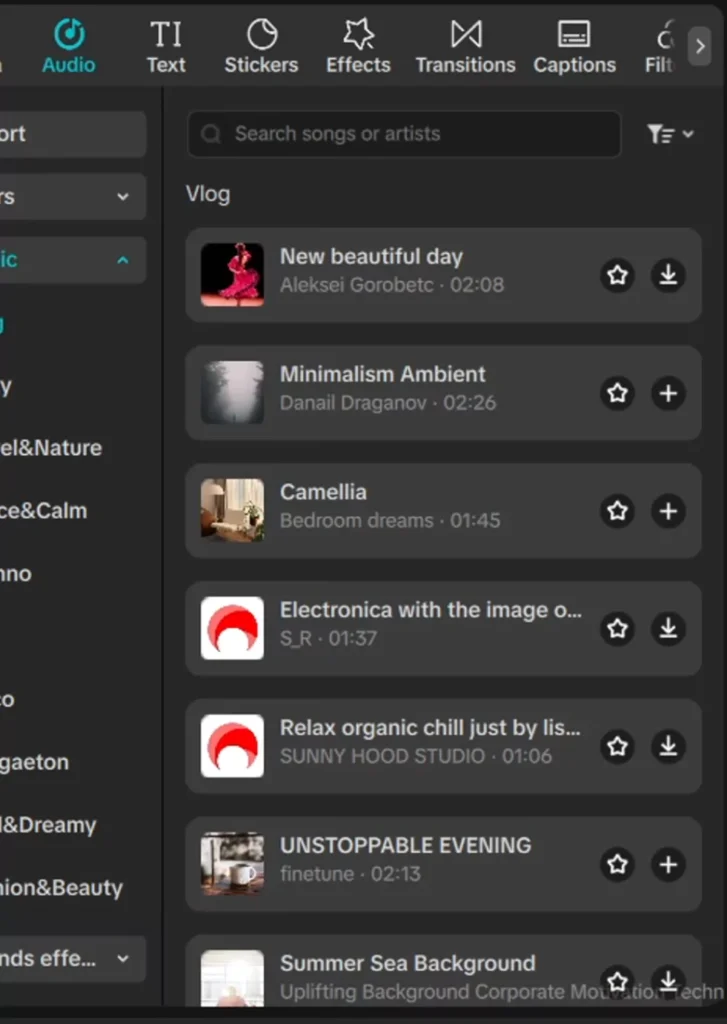
Time to add your content. You can bring videos, photos, and music into CapCut.
- Tip: Drag and drop your files right onto the timeline.
- Alternative: Click the “Import” button. It’s in the top left corner. Then, choose your files.
Editing and Exporting Your Videos
CapCut offers many tools for editing. You can make your videos look professional. When you’re done, you’ll export your final project.
Basic editing tools and workflow
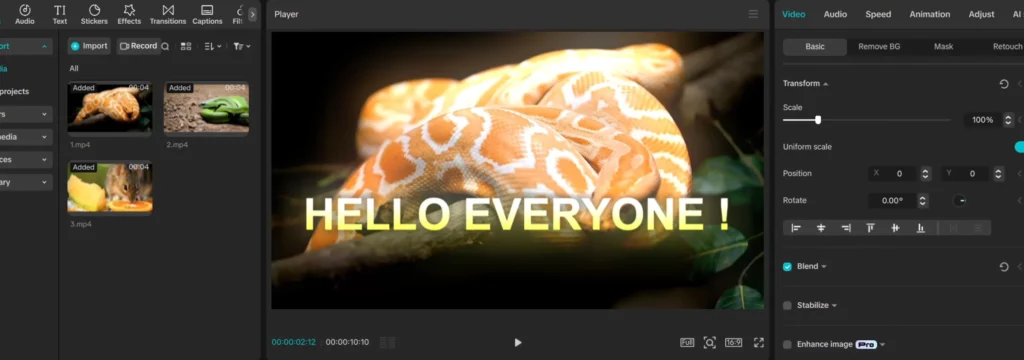
You can trim video clips. Adjust audio levels too. Add text and effects. Use transitions to connect scenes.
CapCut has lots of tools. It’s one of the easiest editors to learn. Even if you’ve never edited before, you can do it.
Exporting your final project
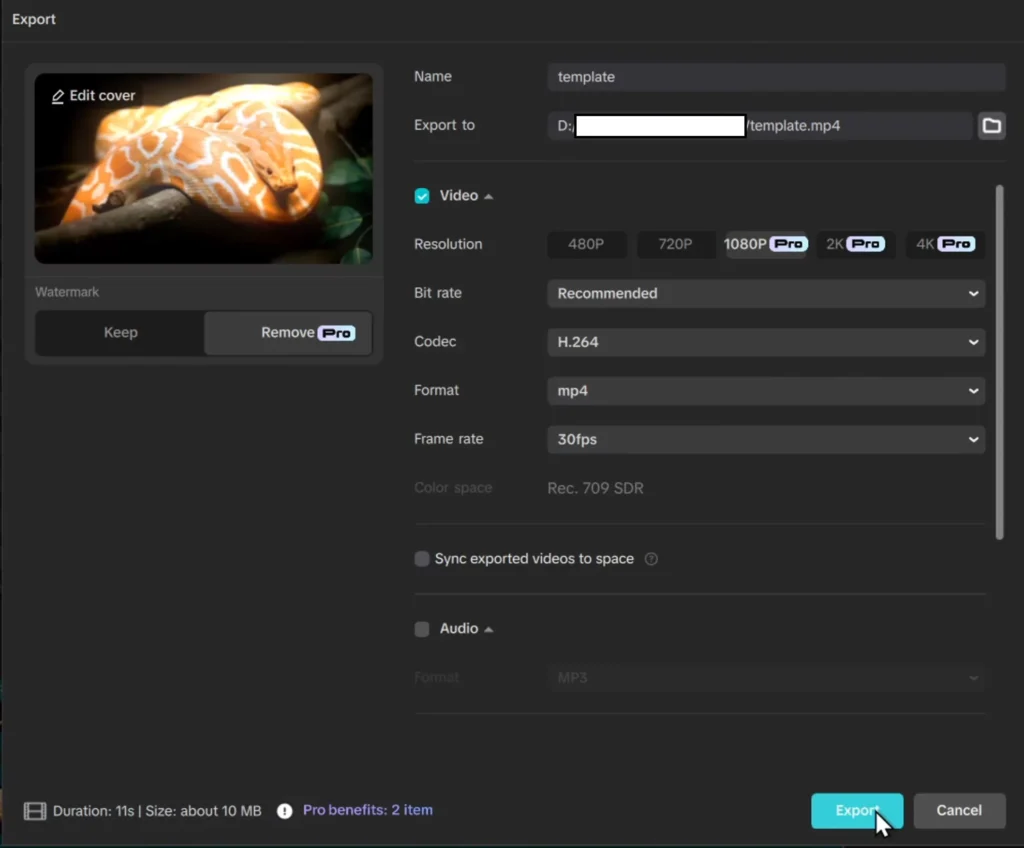
Finished editing your video? Time to export it.
- Step 1: Click the “Export” button. It’s in the top right corner.
- Step 2: Choose the video quality. You can pick 720p, 1080p, or even 4K.
- Step 3: Click “Export” again. CapCut will process your video. It will save the final file to your computer.
- Note: Now you can upload your video. Share it on YouTube, Instagram, or TikTok.
Troubleshooting Common Installation Issues
Ran into problems while installing CapCut? You’re not alone. Here are some quick fixes for the most common errors:
Issue 1: Installer Not Opening
- Right-click the installer file and select Run as Administrator.
- Disable antivirus temporarily if it’s blocking unknown apps.
Issue 2: Microsoft Store Not Loading
- Clear the Store cache by pressing Win + R, typing
wsreset, and hitting Enter. - Make sure your Windows is updated.
Issue 3: Installation Failed
- Reboot your PC and try again.
- Ensure enough free space is available.
- Check your internet connection if you’re using the Microsoft Store.
Always download CapCut from the official website (capcut.com) or the Microsoft Store to avoid malware or fake apps.
CapCut for Mac: Is It Available?
CapCut currently does not offer a native macOS app. However, there are workarounds:
Option 1: Use CapCut Web
- Visit https://www.capcut.com and select Web version.
- No installation required.
- Works in Chrome or Safari.
Option 2: Use an Android Emulator (Bluestacks)
- Install Bluestacks on your Mac.
- Download the CapCut Android app within the emulator.
Note: Performance may vary when using emulators. The web version is the best bet for Mac users.
CapCut Web vs. PC App: What’s the Difference?
| Feature | CapCut Web | CapCut PC App |
|---|---|---|
| No Installation | Yes | No |
| Works on Mac | Yes | No |
| Faster Exports | No | Yes |
| More Templates | Yes | Yes |
| Offline Editing | No | Yes |
| Auto Captions | Yes | Yes |
| Better Performance | No | Yes |
Verdict:
If you’re using a Windows PC and want full control, go with the PC app. If you’re on a Mac or Chromebook, the web version is your best option.
CapCut PC vs. Mobile: Pros and Cons
| Feature | CapCut PC | CapCut Mobile |
|---|---|---|
| Editing Precision | High (mouse/keyboard) | Good (touch-based) |
| Screen Size | Large workspace | Smaller display |
| Multi-layer Editing | Easier on PC | Available |
| Convenience | Not portable | Edit on-the-go |
| Export Options | 4K, high-quality | Up to 4K |
Use CapCut PC if:
- You work with long videos or want better control
- You prefer keyboard shortcuts and a bigger screen
Use Mobile if:
- You need to edit quickly for social media
- You’re creating short videos like Reels or TikToks
How to Update CapCut on PC
Keeping CapCut updated ensures you get the latest features and bug fixes.
Method 1: Microsoft Store
- Open Microsoft Store
- Click on Library > Get Updates
- CapCut will update automatically if a new version is available.
Method 2: Website Version
- Visit capcut.com
- Download the latest installer
- Run it — the new version will overwrite the old one
CapCut doesn’t auto-update if downloaded from the website — you’ll need to check manually.
Top CapCut PC Features You Should Try First
Once CapCut is installed, explore these beginner-friendly yet powerful tools:
- Auto Captions: Generate subtitles instantly in multiple languages
- Keyframes: Animate movement and scale with precision
- Text Templates: Pre-styled text animations for quick edits
- Filters & Effects: Add cinematic looks, glitch, VHS, and more
- Split & Trim: Cut clips with just one click
- Transitions: Smooth scene changes like zooms, spins, and fades
Sign in to unlock watermark-free exports and save your projects in the cloud.
CapCut PC Alternatives
Not satisfied with CapCut or facing issues? Try these free video editors:
| Tool | Platform | Key Feature |
|---|---|---|
| VN Editor | PC/Mobile | User-friendly, like CapCut |
| DaVinci Resolve | PC/Mac | Advanced color grading & pro editing |
| Shotcut | PC/Mac | Open-source with timeline editing |
| OpenShot | PC/Mac/Linux | Basic free editor with drag-and-drop |
Note: Most alternatives have steeper learning curves than CapCut.
Frequently Asked Questions
Is CapCut PC free to use?
Yes! Most features are free, including exports. Signing in removes the watermark.
Can I use CapCut without an internet connection?
Yes, if you’ve installed the PC app. The web version needs internet.
Can I use the same CapCut account on mobile and PC?
Absolutely. Just sign in with the same Google/Facebook account on both.
My CapCut install is stuck. What should I do?
Restart your PC, check storage space, and try the other installation method (website or Store).
Can I install CapCut on Windows 7?
No. CapCut only supports Windows 10 (64-bit) or later.
Conclusion: Your CapCut journey begins
You have done it! You downloaded and installed CapCut on your PC. Now you are ready to create amazing videos. This guide made the process easy. You’re all set to use CapCut’s features.
Remember the tips. Sign in to remove watermarks. Use templates to learn faster. CapCut is a great tool for editing. It’s easy and accessible for everyone.
If this tutorial helped you, please give it a like. Subscribe to the channel for more guides. Have questions or ran into issues? Leave a comment below. We’ll try to help. Happy editing!
Watch the below video guide to see how to install CapCut on your PC: