Master the art of Glare Effect Transitions in CapCut with our detailed, step-by-step guide for both CapCut PC and CapCut Mobile! Learn how to create professional light flare transitions, use blending modes, adjust opacity with keyframes, and customize your video edits for a cinematic look.
We also share the best websites to download free glare overlays to make your videos stand out. Perfect for vloggers, content creators, and video editing enthusiasts, this tutorial will help you add smooth, stylish transitions to your projects. Boost your editing skills today with this easy-to-follow CapCut tutorial!
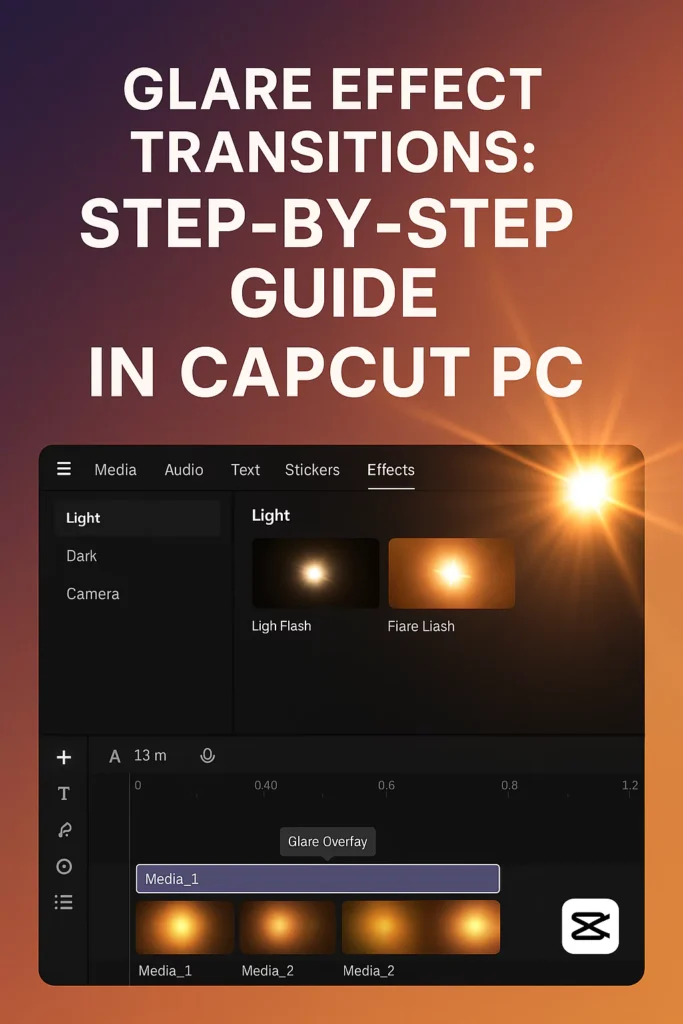
Glare Effect Transitions: Step-by-Step Guide in CapCut PC
If you’re looking to add a modern, polished, and cinematic vibe to your videos, glare effect transitions might just be your secret weapon. These transitions mimic the natural flares and light leaks that come from camera lenses facing strong light sources, giving your edits a professional and stylized aesthetic.
Below, we will walk you through exactly how to create and apply Glare Effect Transitions in CapCut PC, using built-in features and a bit of keyframe magic. Let’s dive in!
What is a Glare Effect Transition?
A glare effect (sometimes called lens flare or light leak) is a visual effect that creates a soft burst or streak of light across the screen. When used as a transition, it acts like a “flash” that smoothly hides the cut between two clips—adding elegance and flow to your edits.
When to use Glare Transitions?
- Travel vlogs with sunlight or beach scenes
- Cinematic edits for weddings, music videos, or B-roll
- Fashion videos or product promos
- Any situation where you want to enhance mood or emphasize change
How to Create Glare Effect Transitions in CapCut PC
Here’s a full step-by-step guide to create a glare effect transition between two clips in CapCut for desktop:
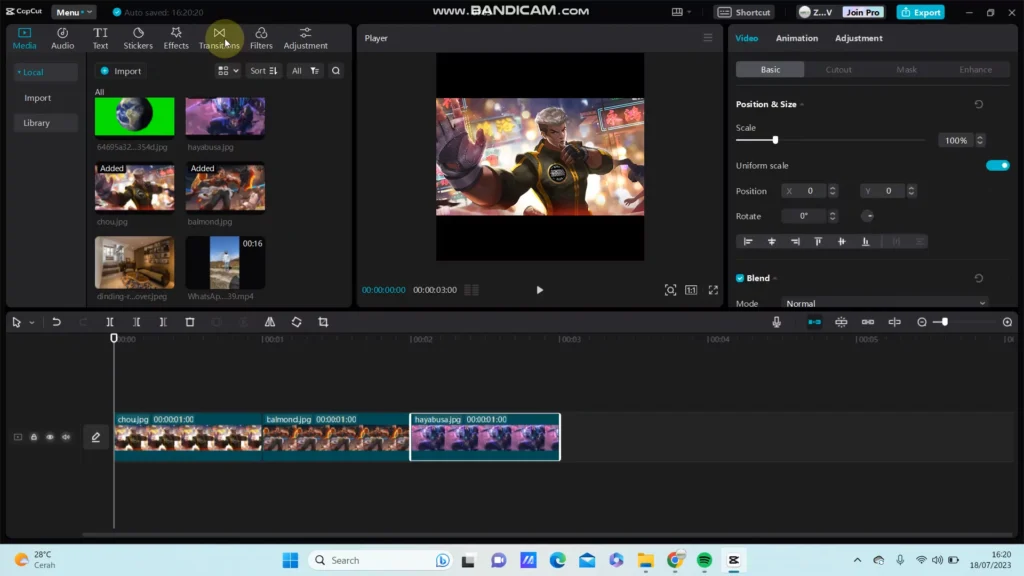
Step 1: Import Your Clips
- Open CapCut PC and create a New Project.
- Import the two video clips you want to transition between.
- Drag both clips to the timeline one after the other.
Step 2: Download or Add a Glare Overlay
CapCut doesn’t have a built-in glare transition, but we can simulate it using an overlay.
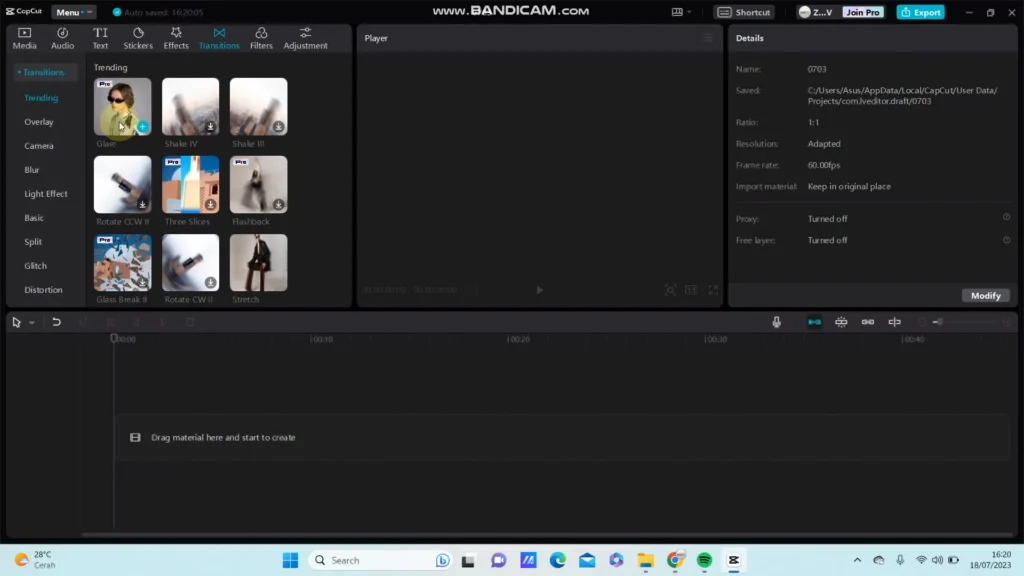
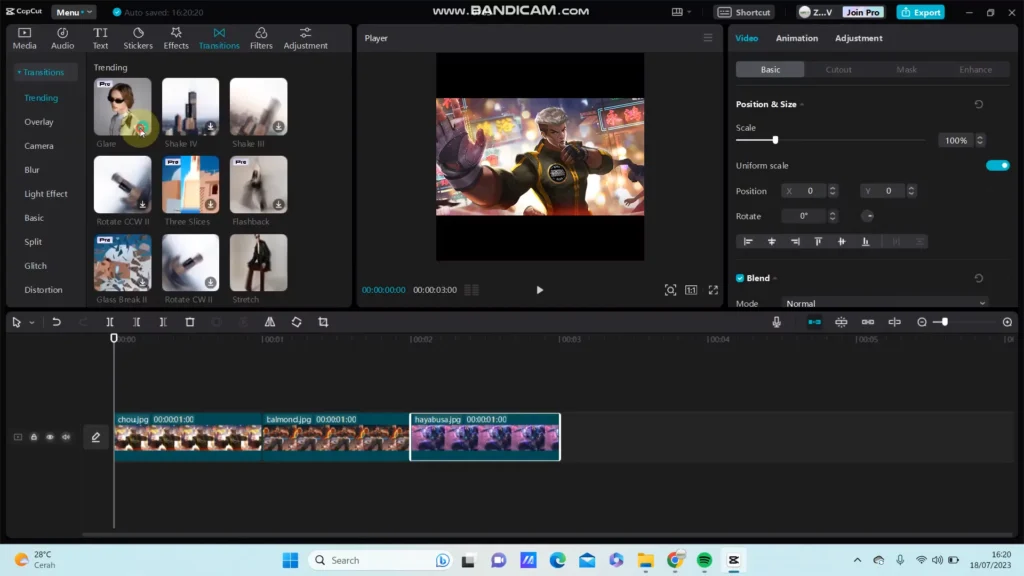
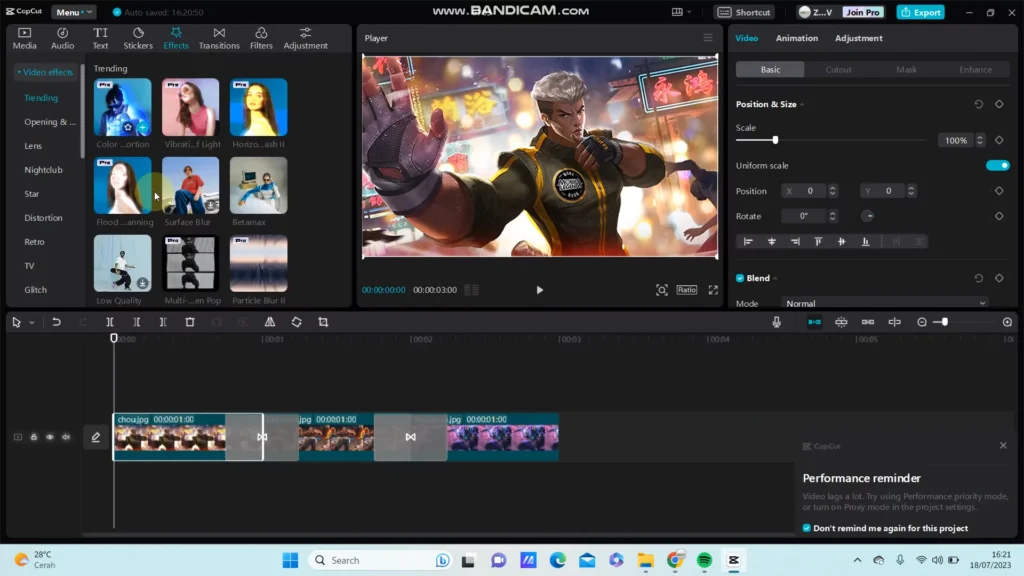
Option A: Use CapCut’s Stock Effects
- Click on “Effects” in the top toolbar.
- Go to the “Light” or “Lens” category.
- Search for effects like “Light Leak,” “Glare,” or “Flash”.
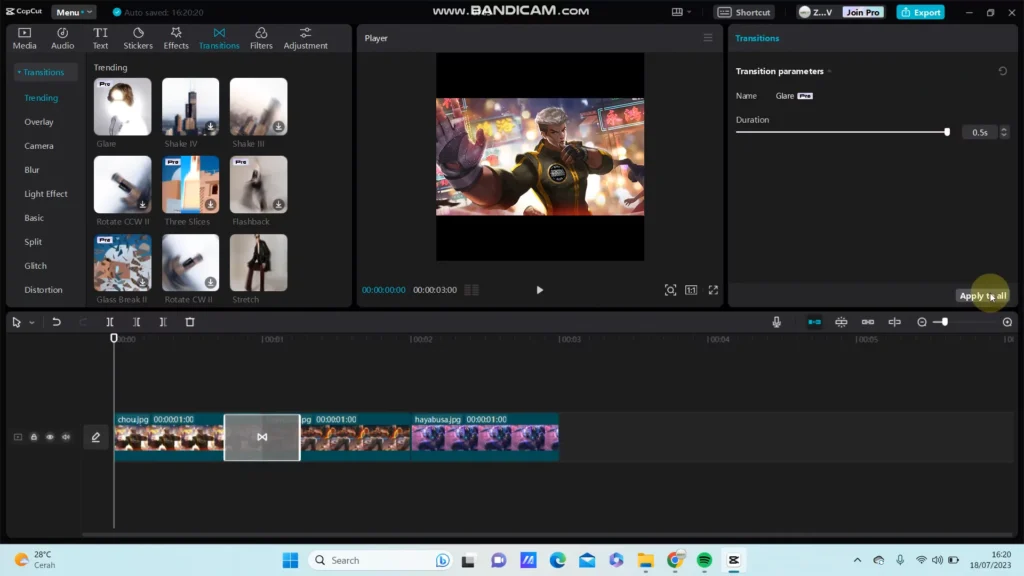
- Drag an effect (e.g., Light Flash or Soft Glare) to the timeline above the cut point between your two clips.
- Adjust the duration so the glare appears during the cut (around 1 second works great).
Option B: Use a Custom Glare Overlay (More Control)
- Download a free light glare overlay video (MP4 with black background).
- Import it into your media library and drag it above the cut.
- Change its blending mode:
- Click on the overlay
- Go to the Video panel > Blend Mode
- Choose “Screen” or “Add” to remove the black background.
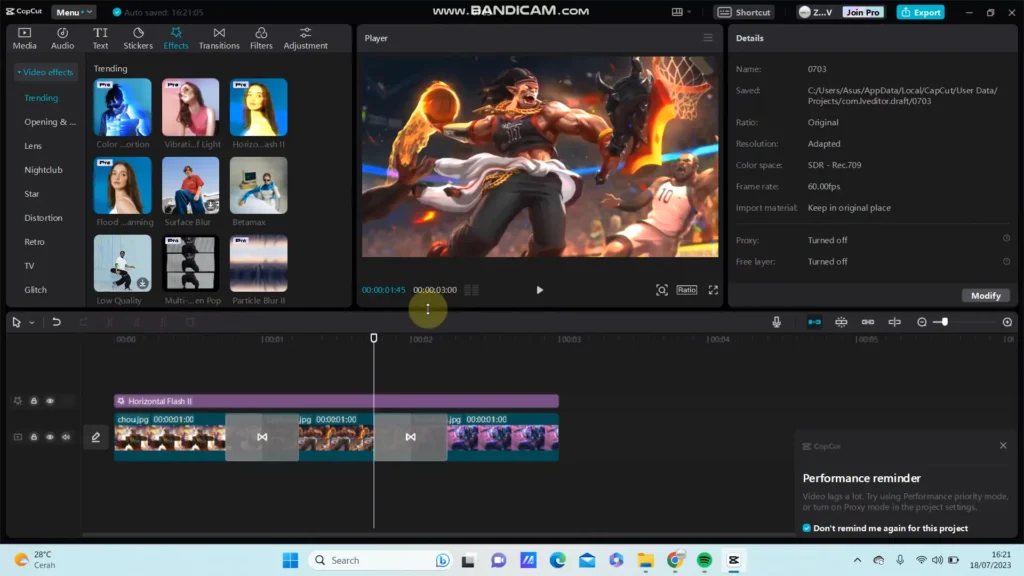
Step 3: Adjust Opacity and Timing
- Trim the overlay so it aligns perfectly with the transition point.
- You can fade it in/out slightly using keyframes on opacity:
- Click the glare overlay.
- Go to the “Basic” tab and find Opacity.
- Set a keyframe before the transition (opacity: 0), then another at the transition (opacity: 100), and another just after (opacity: 0 again).
This makes the glare flash briefly and elegantly hide the cut.
Step 4: Color Match or Stylize
To make your glare blend better:
- Apply a color filter or LUT to your clips for consistency.
- You can also add a blur effect during the glare flash if you want an even softer look.
Step 5: Add Sound for Impact
Want it to really pop?
- Add a whoosh, flash, or lens flare SFX to the moment the glare hits.
- Align it with the brightness peak of the glare overlay.
Sound + glare = cinematic magic.
Final Touches
- Preview the transition to ensure it’s smooth.
- Export your video in 1080p or 4K for the best quality.
- Try varying the angle, color, or type of glare effect for different moods.
Tip: Save as a Template!
Once you’re happy with your glare transition setup, save the sequence as a project template. That way, you can reuse it easily across future videos!
Try it out, experiment with different overlays, and most importantly—have fun with your edits!
Watch a video tutorial of the same here:

How to Create Glare Effect Transitions in CapCut Mobile
If you’re editing on your phone or tablet, here’s the step-by-step guide for CapCut Mobile:
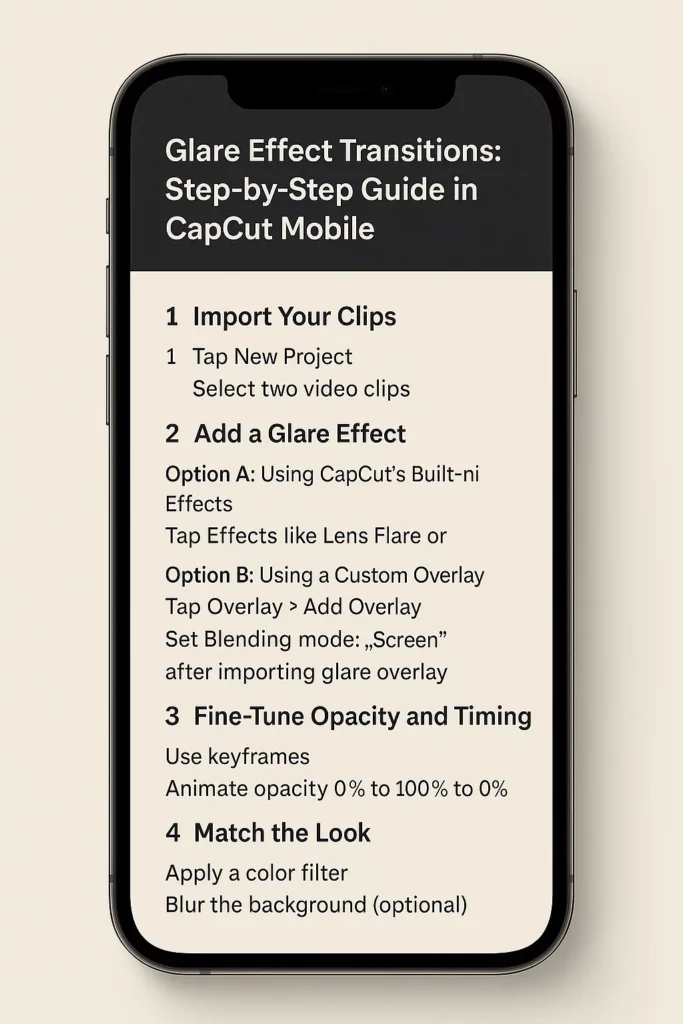
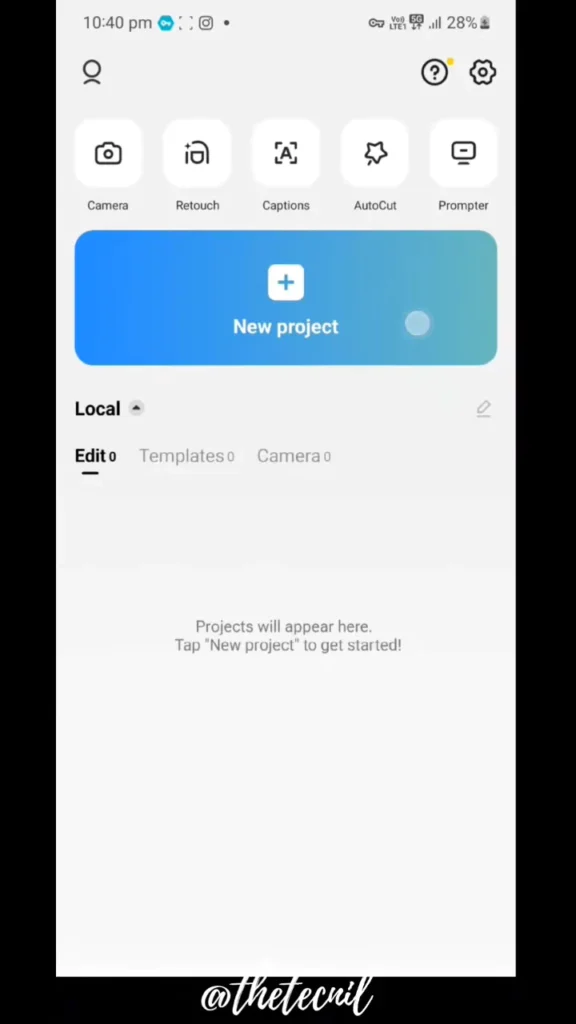
Step 1: Import Your Clips
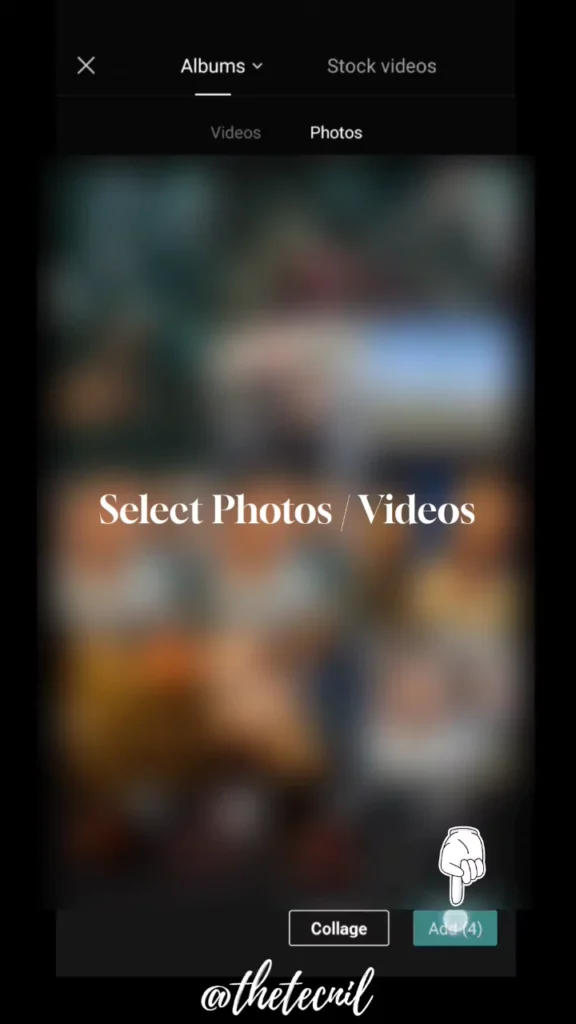
- Open the CapCut app and tap New Project.
- Select the two video clips you want to transition between and add them to your timeline.
Step 2: Add a Glare Effect
Option A: Using CapCut’s Built-in Effects
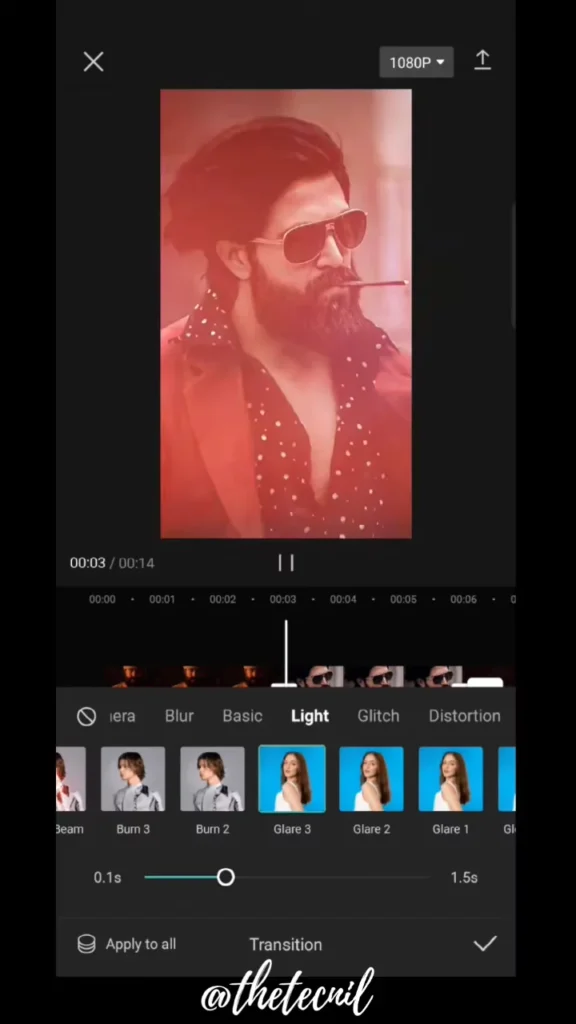
- Tap on the “Effects” section from the toolbar at the bottom.
- Go to the “Video Effects” tab → select “Light”.
- Browse for effects like “Lens Flare,” “Flash,” or “Light Leak”.
- Tap the effect you like, and it will be added above your clip.
- Position and trim the effect so it covers the cut between the two clips.
Option B: Using a Custom Overlay
If you have downloaded a glare overlay:
- Tap Overlay → Add Overlay → Import your downloaded glare video.
- Make sure the overlay sits right over the cut/join of the two clips.
- Tap on the overlay clip → Scroll to “Blending”.
- Set the blending mode to “Screen” or “Overlay” to remove the black background.
Step 3: Fine-Tune Opacity and Timing
- Use keyframes:
- Select the glare clip.
- Tap the diamond icon (Keyframe) to animate opacity from 0% to 100% and back to 0% around the transition.
- This makes the glare fade in and out smoothly.
Step 4: Match the Look
- Apply a color filter or adjust brightness if needed so the glare matches your footage.
- You can even slightly blur the background clip during the flash if you want a dreamy effect.
Step 5: Add Sound Effects
- Import a whoosh or light flash sound effect.
- Sync it with the brightest moment of the glare for a more cinematic transition.
Tips for Mobile:
- Keep glare transitions short and subtle (around 0.5 to 1 second).
- Duplicate glare overlays if you want to use the same effect across multiple cuts.
- Adjust color temperature if the glare looks too cool or too warm compared to your footage.
Top Free Glare Overlay Resources
1. Videezy – Lens Flare & Light Leak Collections
Videezy offers an extensive collection of over 1,395 free lens flare and light leak video clips. These overlays are available in various resolutions, including HD and 4K, and come in MP4 and MOV formats. You can filter by license type, such as Creative Commons or Standard, to suit your project’s needs.
2. Pexels – Light Leak Videos
Pexels provides a vast library of over 117,000 free light leak stock videos. These high-quality HD videos are completely free to use and are updated daily, ensuring fresh content for your projects.
3. Vecteezy – Glare Overlay Stock Videos
Vecteezy offers a selection of 538 high-resolution, royalty-free glare overlay videos. These clips include digital flare light effects and lens flare overlays, perfect for adding a cinematic touch to your videos.
4. Pixabay – Light Leaks & Lens Flares
Pixabay hosts over 9,500 free light leak and lens flare stock videos in 4K and HD resolutions. These royalty-free videos are ideal for adding subtle lighting effects to your footage.
5. Vegasaur – Free Light Leaks & Film Burns
Vegasaur offers a pack of 20 free light leak and film burn effects in 1080p MOV format. These overlays are designed for use in any video editing software that supports composite or blend modes, making them versatile for various projects.
6. FX Elements – 4K Lens Flare Overlays
FX Elements provides a collection of free 4K lens flare overlays, including anamorphic flares and subtle sun rays. These high-quality clips range from 10 to 30 seconds and are available in various file formats.
7. Enchanted Media – Free Light Leaks Overlay Video
Enchanted Media offers free light leak overlays with warm red and yellow tones, perfect for adding a vintage or dreamy aesthetic to your videos. These full HD (1080p) overlays are loop-ready and easy to use with any video editing software.
8. Mixkit – Light Leaks Videos
Mixkit provides a curated collection of 26 royalty-free light leak videos in 4K and HD resolutions. These clips are free to download and use without any watermark, making them ideal for professional projects.
How to Use These Overlays in CapCut PC
- Download your chosen glare overlay from the resources above.
- Import the overlay into CapCut PC by clicking on the “Import” button and selecting the file.
- Place the overlay on a track above your main video footage in the timeline.
- Adjust the Blending Mode:
- Select the overlay clip.
- Navigate to the “Video” panel.
- Choose a blending mode like “Screen” or “Add” to remove the black background and blend the overlay with your footage.
- Customize the overlay’s position, scale, and opacity as needed to achieve the desired effect.
- Preview your video to ensure the glare transition looks seamless and professional.
Final Thoughts
The glare effect transition is subtle, stylish, and super easy to pull off in CapCut PC with the right overlays and timing. Whether you’re enhancing a travel vlog or crafting a cinematic edit, it’s a great tool to add visual depth and flair to your storytelling.
CapCut Mobile makes it incredibly easy to achieve stunning glare transitions even without a PC! With a little practice, you’ll master adding that cinematic glow to your videos right from your phone.