This article will walk you through an effective method to resolve the “File Not Supported” error in CapCut for a smooth editing experience.
Running into the “File Not Supported” error in CapCut can be frustrating and disruptive to your video editing process. This issue commonly occurs due to temporary app glitches or unsupported media formats.
In this guide, you will find a simple and effective solution to fix the problem and get back to editing your videos without interruption.
Many users face this error when importing or opening media files in CapCut. Identifying the root cause and applying a few basic troubleshooting steps can resolve it quickly.
Follow this article to learn an easy method for eliminating the “File Not Supported” error and enjoy a smooth, hassle-free editing experience in CapCut.
Understanding the CapCut “File Not Supported” Error
Common causes of the error
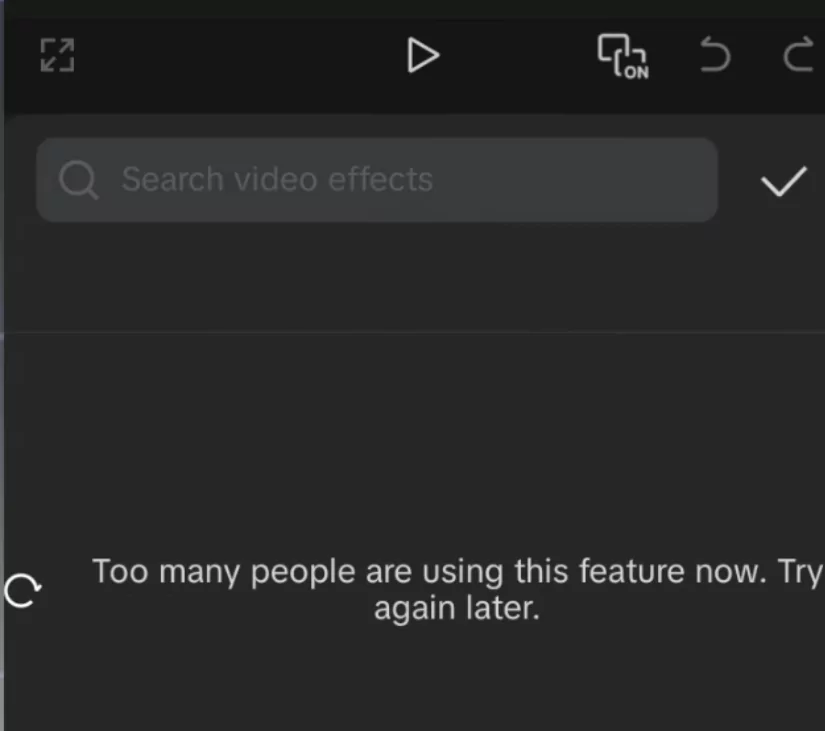
The “File Not Supported” error in CapCut can pop up for a few reasons.
- Your media file might be in a format CapCut doesn’t understand, like an old or uncommon codec.
- Sometimes, the video or audio file itself could be damaged during transfer or saving, making it unreadable.
- App glitches or too much stored cache data within CapCut can also cause unexpected errors like this one.
- Lastly, using an older version of CapCut might mean it can’t handle newer file types or has bugs that have since been fixed.
Why this error matters for Creators?
This error can really disrupt your creative process, stopping you from using essential media files and leading to lost time. If you face this issue, your important project deadlines could be missed because you can’t use basic editing tools.
In rare cases, trying to force unsupported files might even damage your project data. It’s important to resolve this quickly to keep your workflow smooth and your projects on track.

Troubleshooting Steps to Resolve the Error
Step 1: Clear CapCut Cache
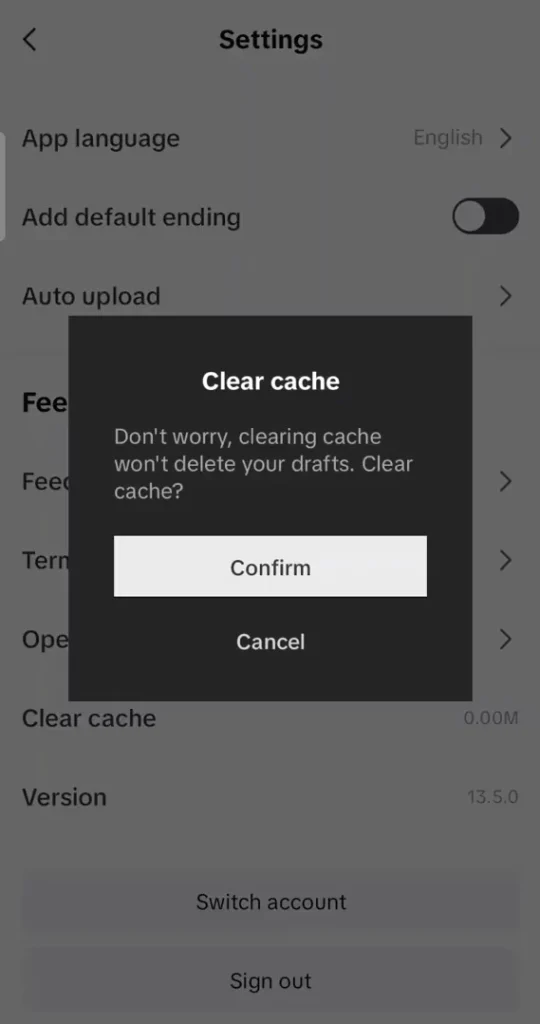
Clearing your app’s cache can fix temporary software glitches causing the “File Not Supported” error. Don’t worry, this process won’t delete your existing projects or drafts.

Just go to your device’s settings, find the CapCut app, and select the option to clear its cache (see image below). This simple step often resolves minor app hiccups.
Step 2: Update CapCut to the latest version
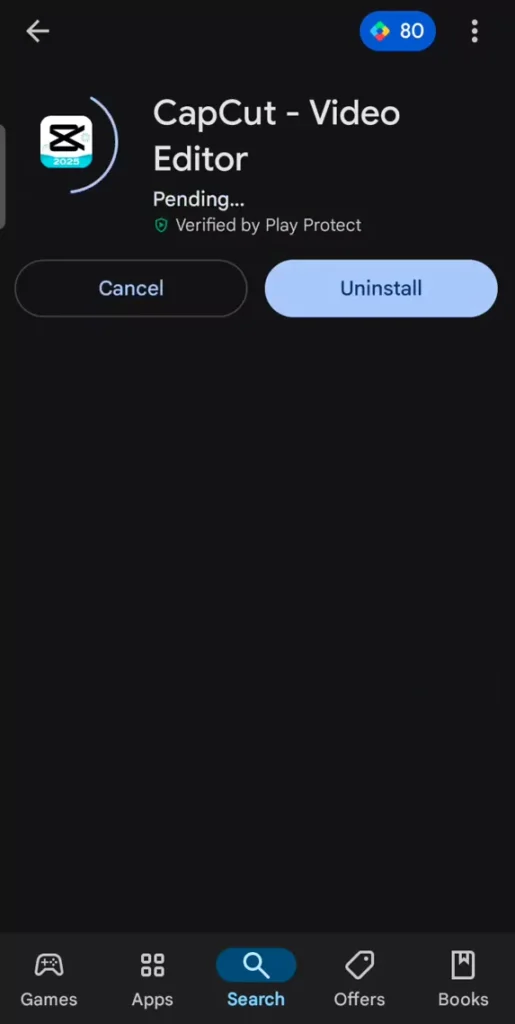
Software updates usually include fixes for bugs and better support for various file formats and codecs. Keeping CapCut updated is crucial for top performance.
Go to the Google Play Store or Apple App Store, search for CapCut, and install any available updates (follow the image below). This ensures you have the best version for editing.
Step 3: Configure App Settings for Supported Links
Sometimes, changing how your app handles links can fix import issues.
- You need to allow CapCut to open supported links correctly.
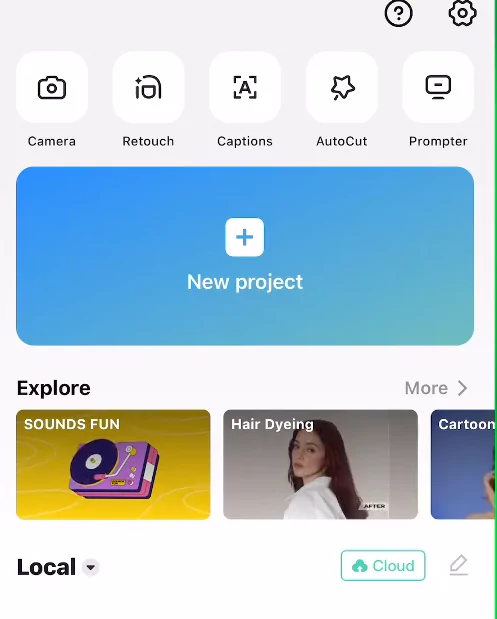
- First, press and hold the CapCut app icon on your device.
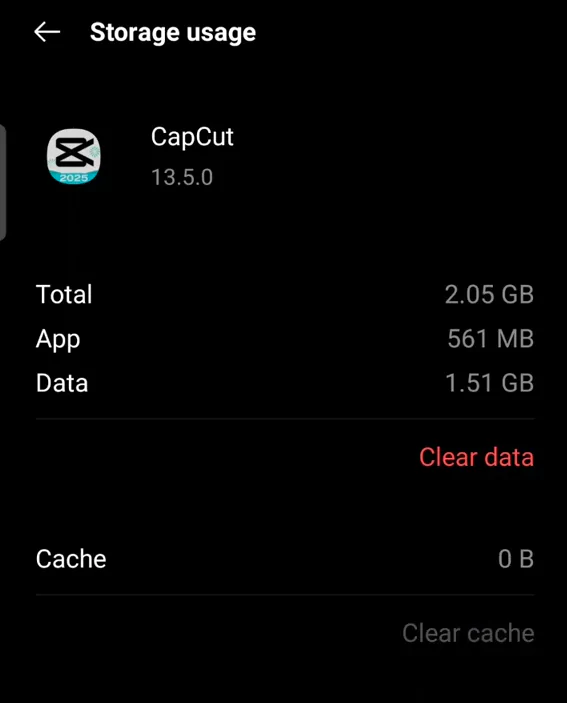
- Then, tap on “Application Info.”
- Next, go to “Storage Usage” and tap “Clear Cache.”
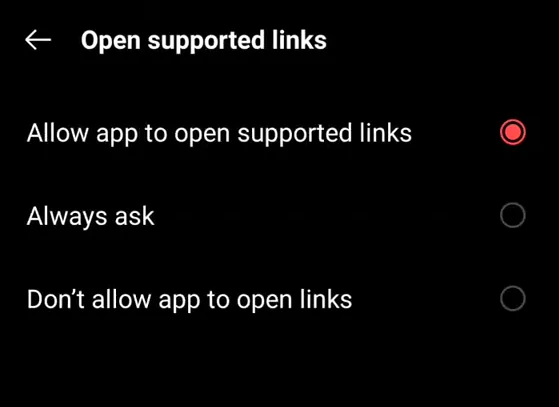
- After that, return to the main Application Info screen and find “Set as default” or “Open by default.”
- Make sure “Open supported links” is enabled or set to “Allow app to open supported links.”
CapCut-Supported File Formats (2026 List)
| Media Type | Supported Formats | Recommended Codec | Notes |
|---|---|---|---|
| Video | MP4, MOV | H.264, AAC | Max 4K resolution supported |
| Audio | MP3, WAV, AAC | AAC preferred | Bitrate up to 320kbps |
| Images | JPG, PNG, WebP | — | Transparent PNGs supported |
Tip: Avoid using older or uncommon codecs like DivX or Xvid for video.
How to prevent the Error in the Future
- Record in a compatible format – Most modern smartphones default to MP4/H.264, which works fine with CapCut.
- Avoid HEVC/H.265 unless necessary – While newer devices record in H.265, some older CapCut builds struggle with it.
- Export with correct settings – If you’re exporting from another app, choose MP4, H.264, AAC.
- Backup your files – Store copies on Google Drive, iCloud, or an external drive to avoid corruption.
Device-Specific Fixes
Android:
- Clear cache/data from App Settings.
- Ensure storage permissions are enabled for CapCut.
- Avoid saving files on faulty SD cards.
iOS:
- Offload CapCut (Settings → iPhone Storage → CapCut → Offload App).
- Transfer files via AirDrop instead of third-party messengers to avoid compression.
PC/Mac:
- Avoid special characters in file names (e.g., &, %, #).
- Move media files to a local drive before importing.
Using Third-Party Tools to repair files
If your file is corrupted:
- Stellar Repair for Video – Repairs corrupted MP4/MOV.
- Wondershare Repairit – Works for both video and audio.
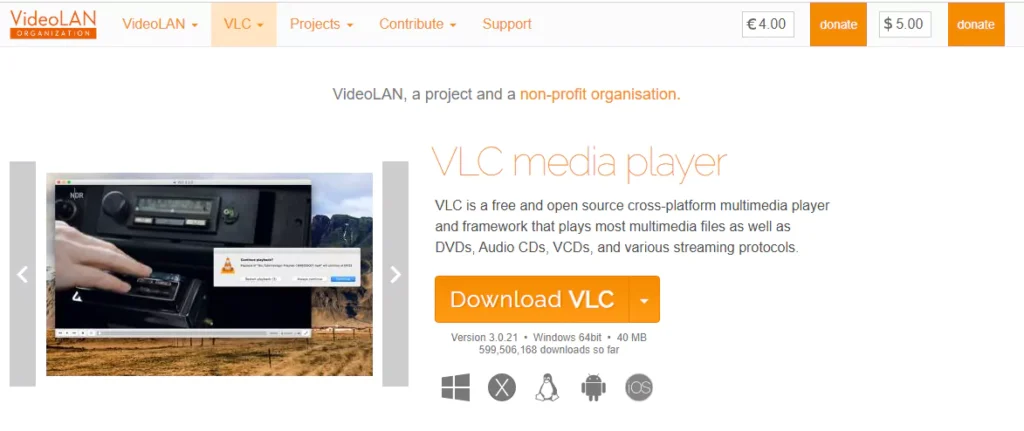
- VLC Media Player – Has a basic repair feature for AVI files.

How to Convert Unsupported Files (Step-by-Step)
Using HandBrake (Free):
- Download and open HandBrake.
- Click Open Source and select your file.
- Choose MP4 as the container.
- Set Video Codec to H.264.
- Click Start Encode.

Using VLC Media Player:
- Open VLC → Media → Convert/Save.
- Add your file → Click Convert/Save.
- Choose MP4/H.264 → Start.
Common myths about the Error
- Myth: “It only happens with large files.”
Reality: Even small unsupported files can trigger it. - Myth: “Updating CapCut always fixes it.”
Reality: It only helps if the error is due to a bug or missing format support.
Alternative Solutions and Best Practices
Converting Unsupported File Formats
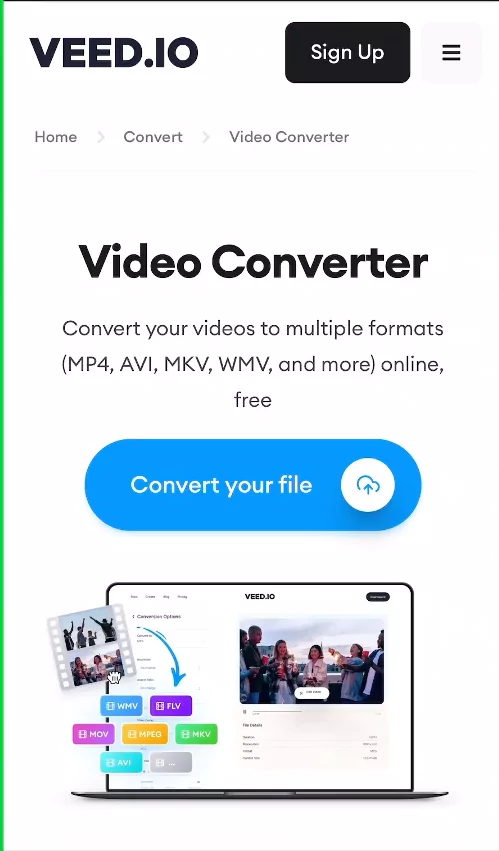
If the “File Not Supported” error keeps happening, an incompatible file format is likely the main cause. You can use online video converter tools or desktop software like HandBrake or VLC Media Player.
These tools can change your video files into widely supported formats such as MP4 with an H.264 codec or MOV. Refer the previous sections to see which video and audio formats CapCut officially supports to prevent future import problems.
Checking for File Corruption
You can check if your media file is corrupted by trying to open it in a different media player. If it doesn’t play in other players like VLC or QuickTime, the file is probably damaged.
If a file is corrupted, you’ll need to download or transfer it again from its original source. Making sure your files are intact is vital for smooth editing.
Frequently Asked Questions
Why does CapCut reject my MP4 file?
MP4 is just a container; if the codec inside is unsupported, the file won’t work.
Can I edit 4K/60fps videos in CapCut?
Yes, but older devices may lag or crash.
Does CapCut support H.265/HEVC?
Some versions do, but H.264 is safer for compatibility.
Why does the error happen even after converting the file?
The file might still be corrupted or have damaged metadata.
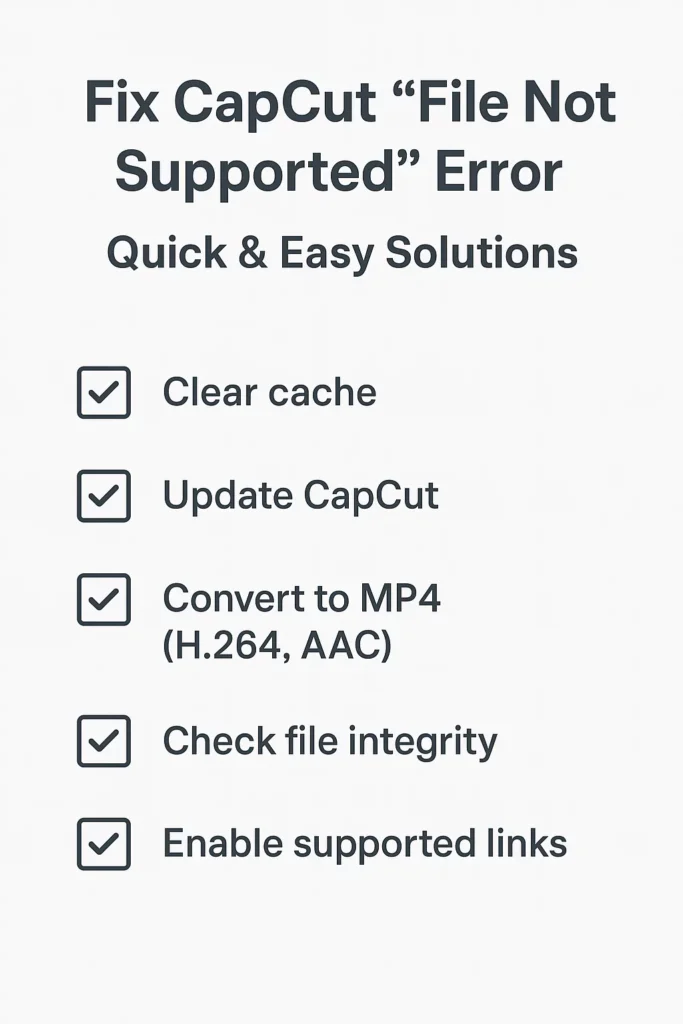
Quick Fix Checklist
- Clear cache
- Update CapCut
- Convert to MP4 (H.264, AAC)
- Check file integrity
- Enable supported links in settings
Related Tutorials & Guides
- CapCut Network Error: The Complete Troubleshooting Guide
- How to fix the CapCut Security Notice: Complete Step-by-Step Guide
- Fixing Crashes and Freezes in CapCut
Conclusion
Fixing the “File Not Supported” error in CapCut involves clearing the app’s cache, updating the application, and ensuring your media files are in a compatible format. By following these steps, you can efficiently overcome this common problem and continue your video editing projects without interruptions.
Key Takeaways:
- Clearing cache fixes minor app glitches.
- Updates are important for bug fixes and better compatibility.
- Converting file formats is the main solution for unsupported types.
- Always check that your media files are not corrupted.
Watch the video version of the tutorial here: