Video content is everywhere. From TikTok clips to YouTube tutorials, everyone wants to create eye-catching videos. If you’re looking for an easy-to-use tool that doesn’t cost a thing but still packs a punch, CapCut is your best bet.
It’s free, beginner-friendly, and powerful enough to make your videos stand out. In this guide, you’ll learn how to use CapCut like a pro, all in under 15 minutes.
Understanding CapCut’s Interface and Setting Up Your First Project
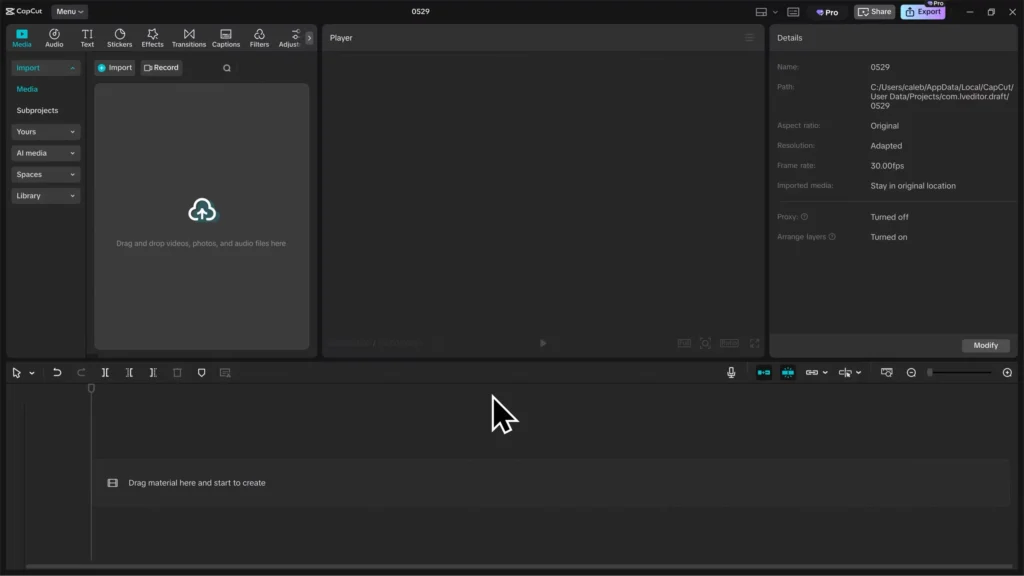
Overview of the Main Interface
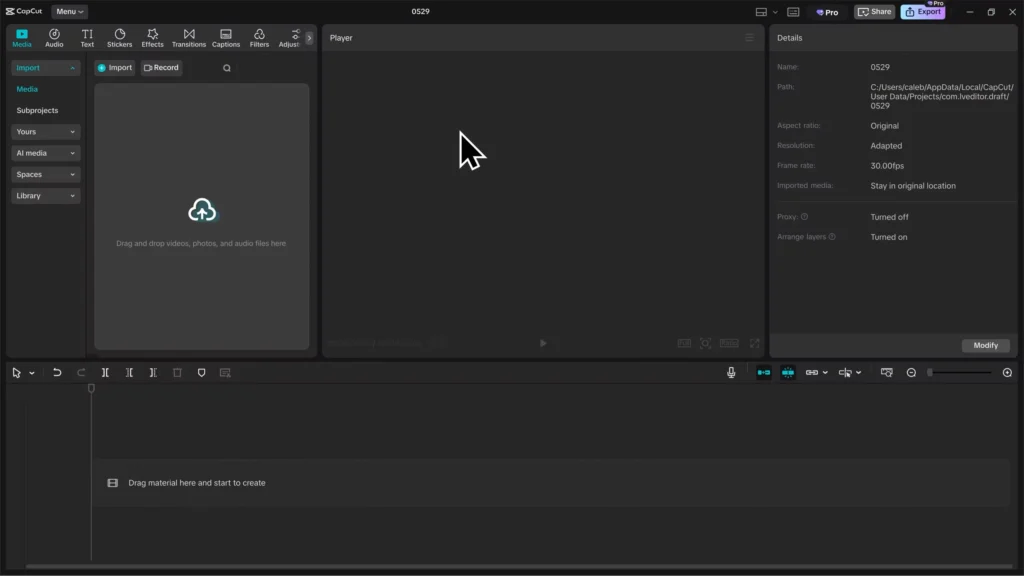
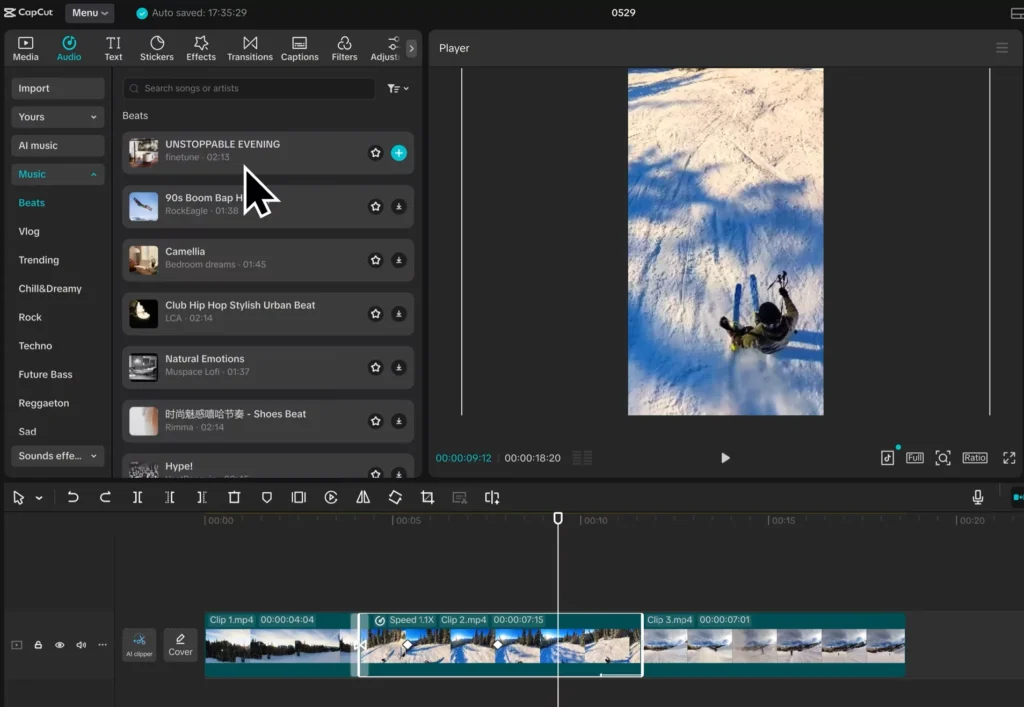
When you open CapCut, you’ll see a simple but smart layout. On the left, there’s the media panel. This is where you’ll import your clips, photos, and music.
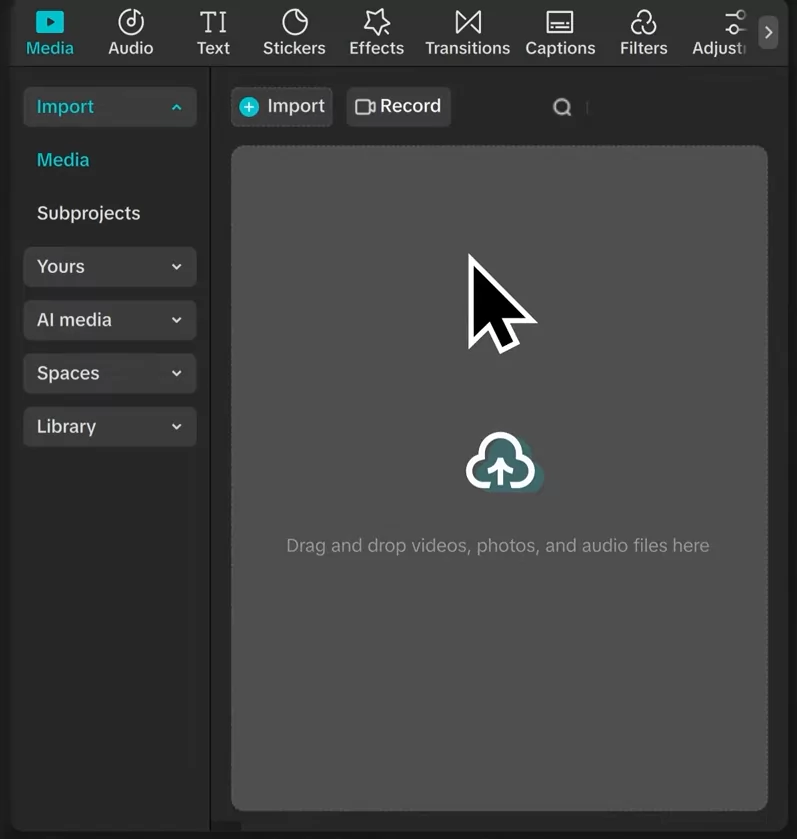
The middle of the screen shows the video player. It lets you watch your edits as you work. To the right, there’s the details panel.
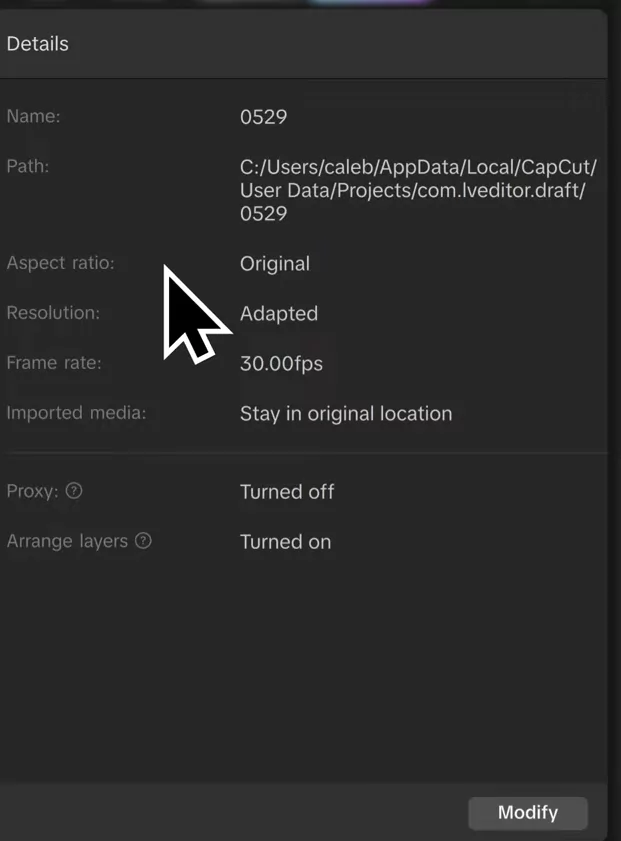
Here, you can see your project’s info like aspect ratio, resolution, and other options. At the bottom, you’ll find the timeline. This is where all your editing magic happens.
Creating Your First Project
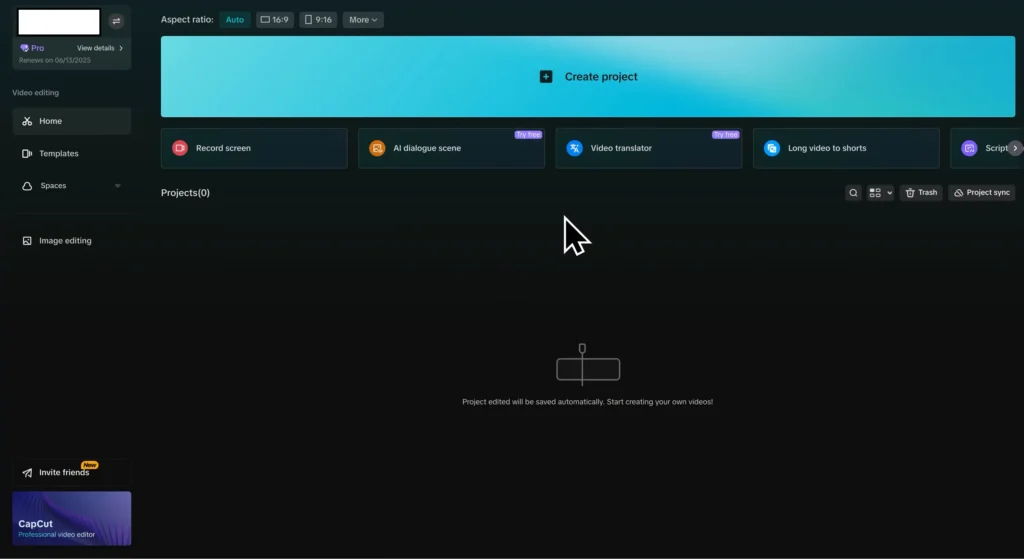
Starting fresh is easy. Just click the big blue button that says “Create Project” at the top.
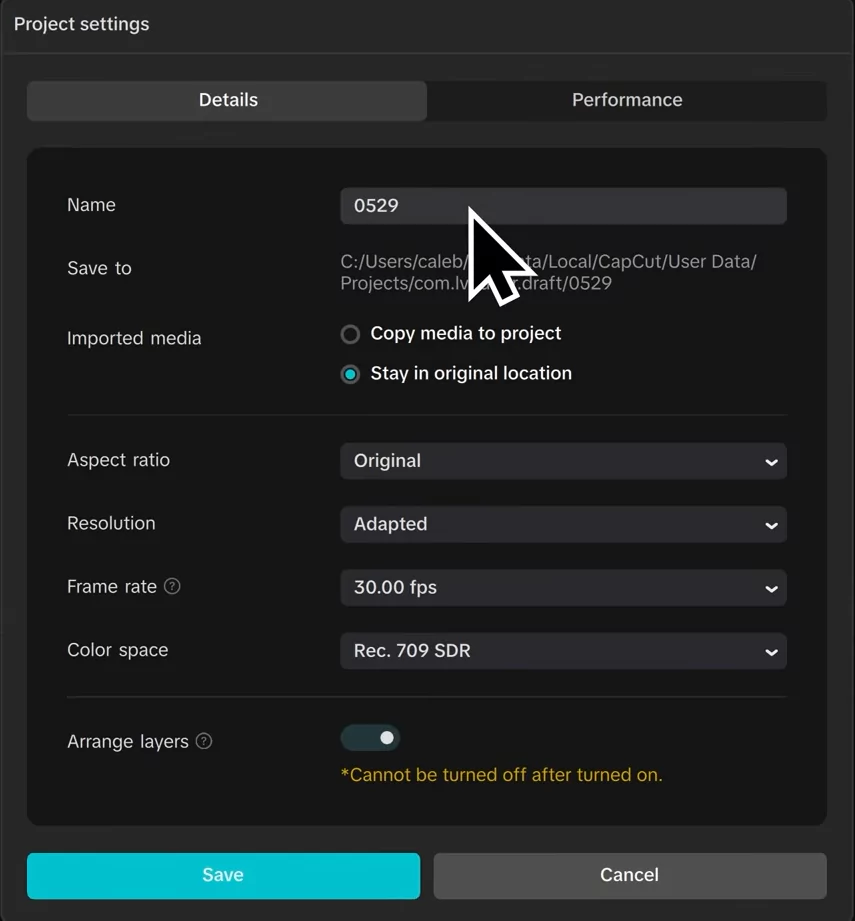
You’ll be asked to name your project and set some basic options like frame rate and resolution.
Want more control? You can customize these settings—change aspect ratios like 16:9 or square, or pick a specific resolution. After setting up, you’re ready to import your footage.
Navigating the Layout
Familiarize yourself with the key zones so editing goes smoothly. Media on the left, the preview in the center, project info on the right, and the timeline at the bottom. Adjust the workspace to fit your style, like enlarging the timeline for detail work.
Importing and Managing Media Files
Adding Clips and Media
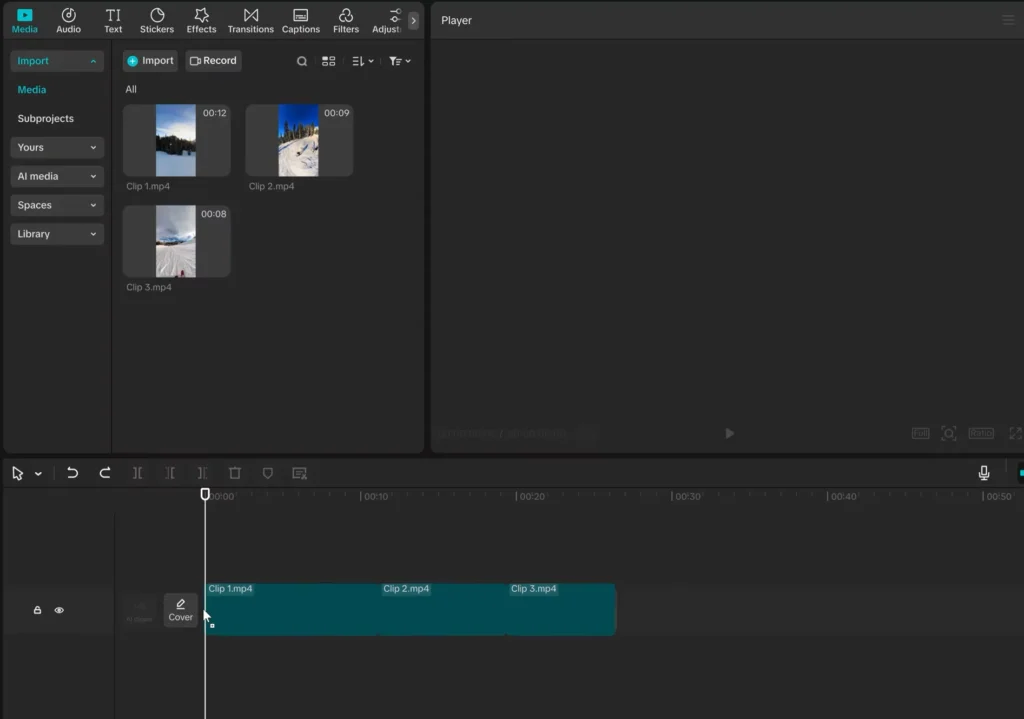
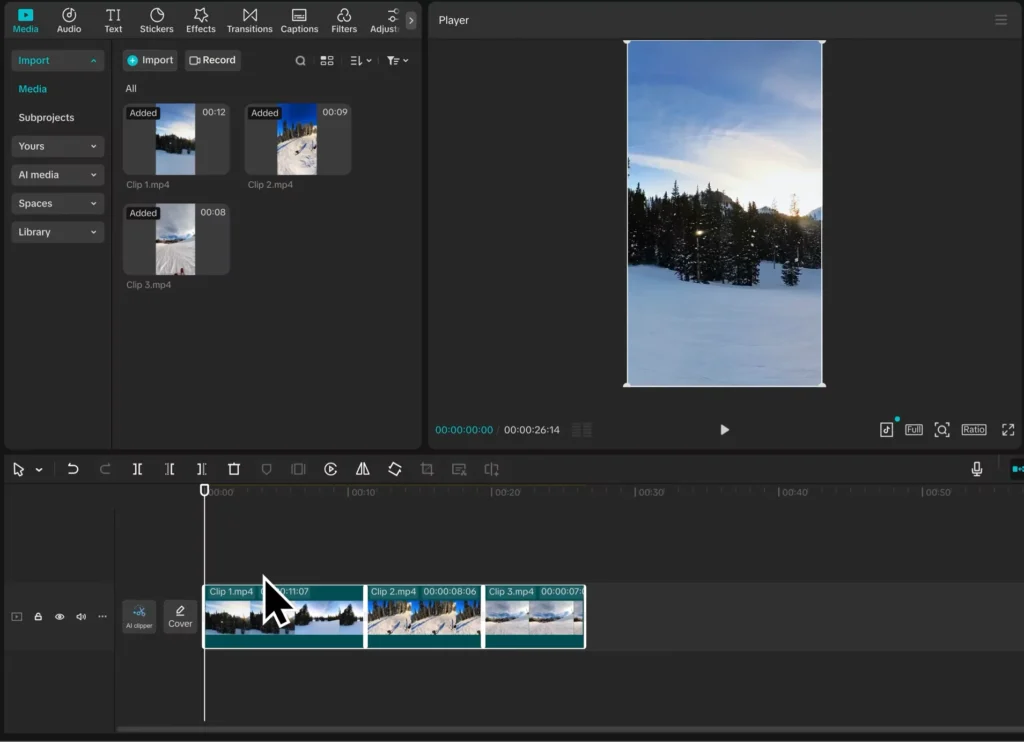
Want to add clips? Select multiple files at once by holding shift while clicking. Then click the Open button, or just drag your files into the media bin. This saves time—especially when working with several clips. Once imported, organize your clips with clear names or folders to find them easily later.
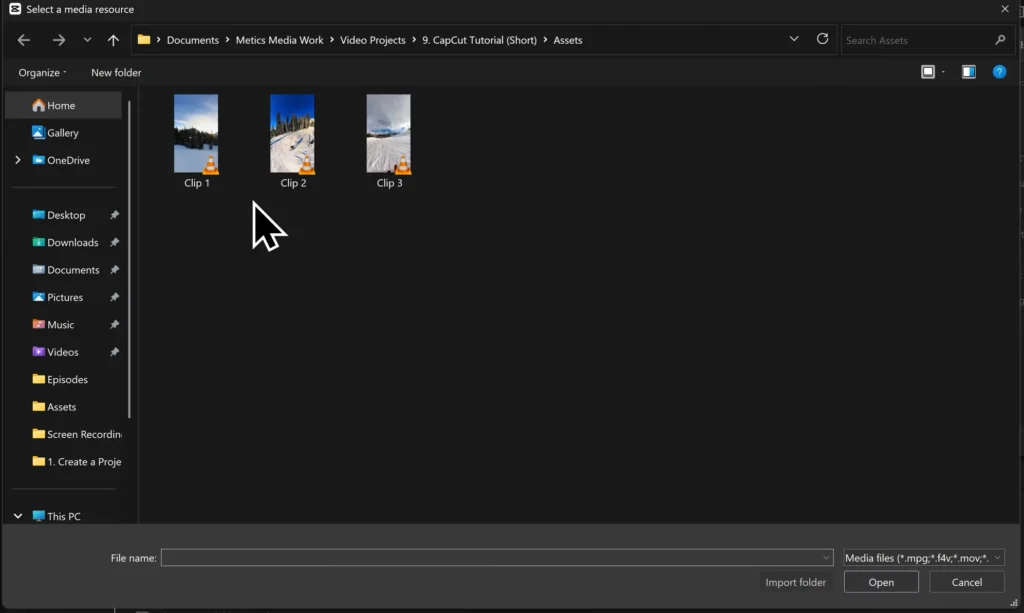
Organizing Media Files
CapCut helps keep things tidy with tabs and bins. Label your assets for quick access. A clean workspace makes editing faster and less frustrating, especially with longer projects.
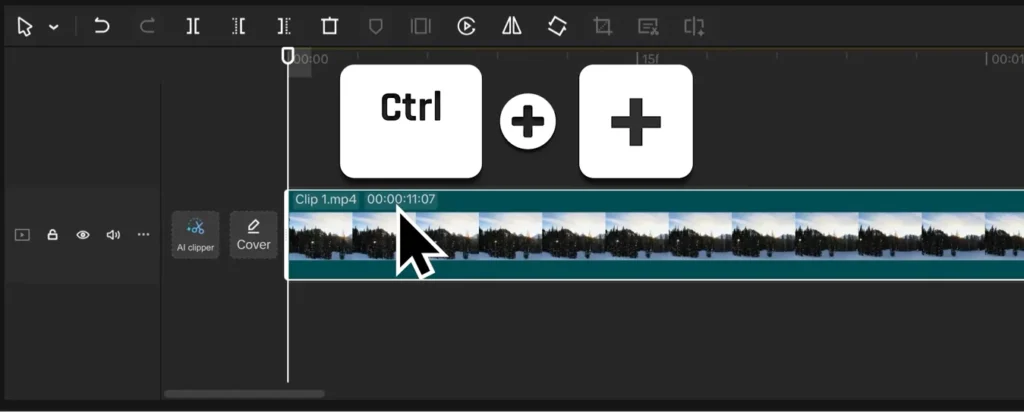
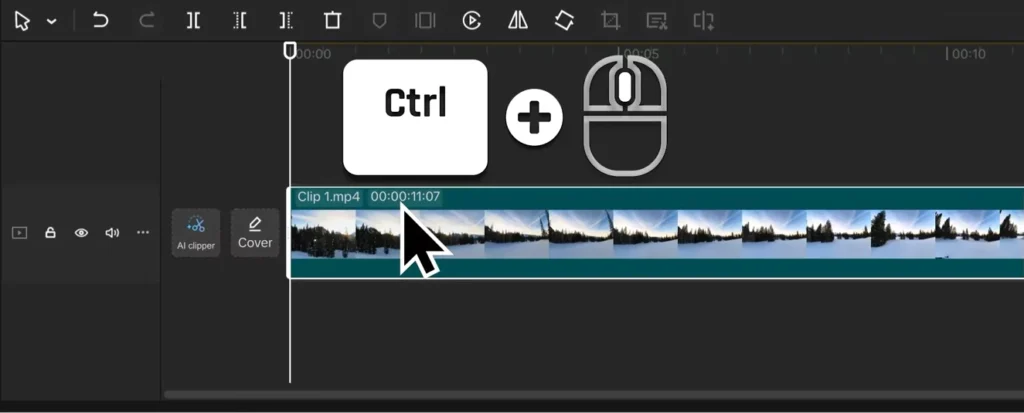
Zooming and Navigating the Timeline
Zooming in and out helps see every detail. Use shortcuts like Ctrl + Plus or Ctrl + Scroll Wheel to zoom. Want to zoom out? Use Ctrl + Minus or scroll down. Getting a clear view pays off when trimming or aligning clips precisely.
Basic Video Editing Techniques
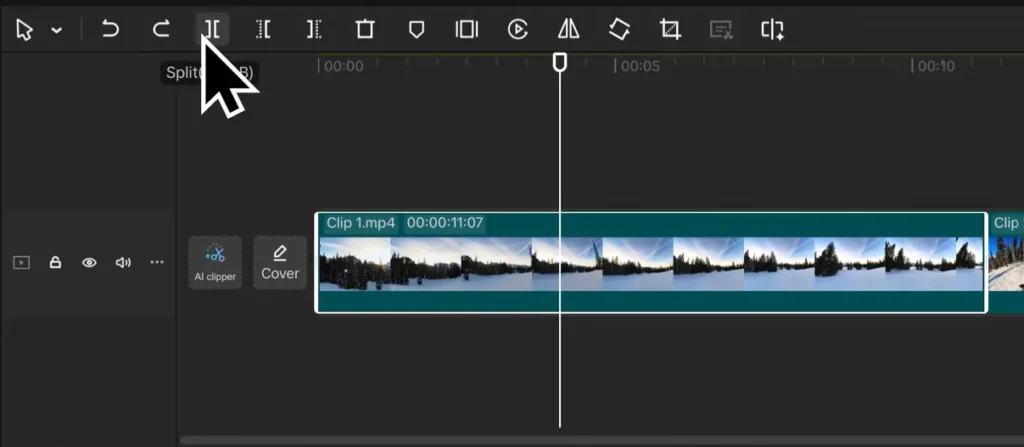
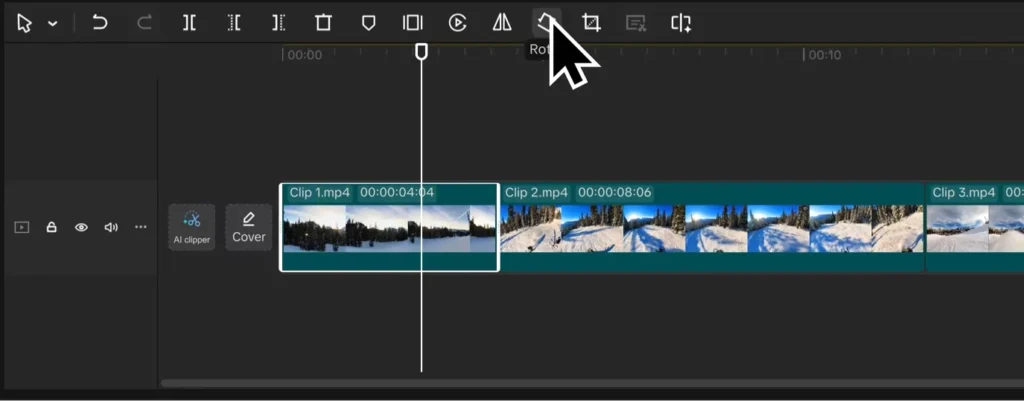
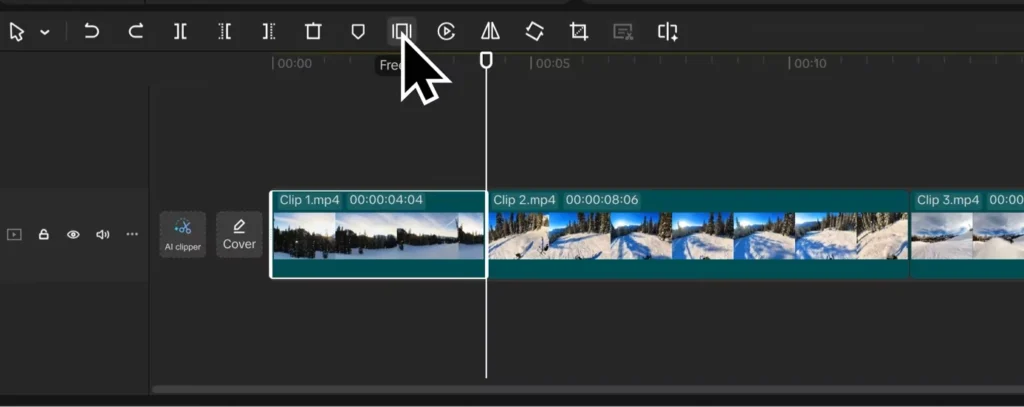
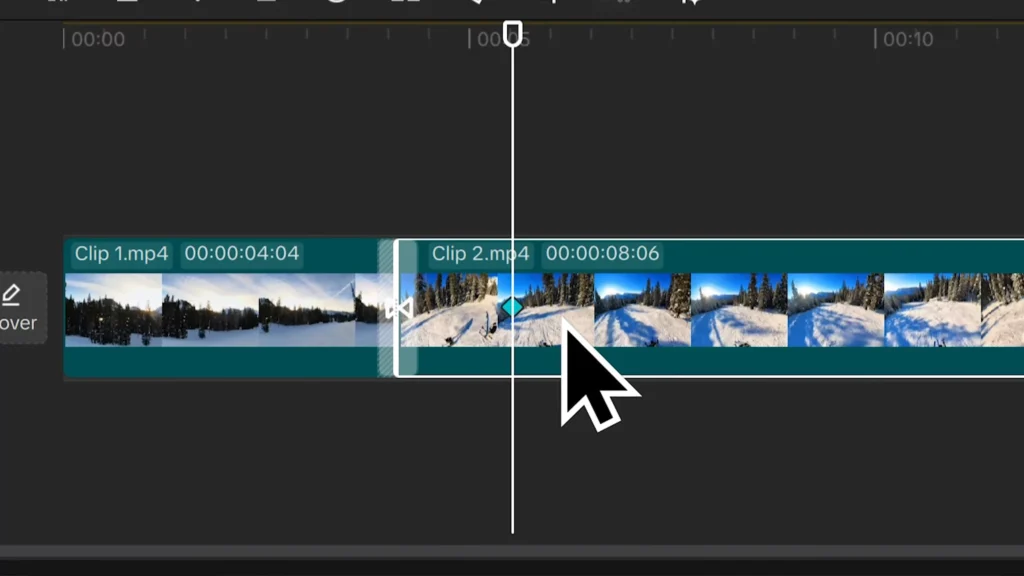
Cutting and Trimming Clips
Load your clips into the timeline. Play with the playhead, the white marker showing your position. Find the spot where you want to cut. To split, hit the Split button or press Ctrl + B.
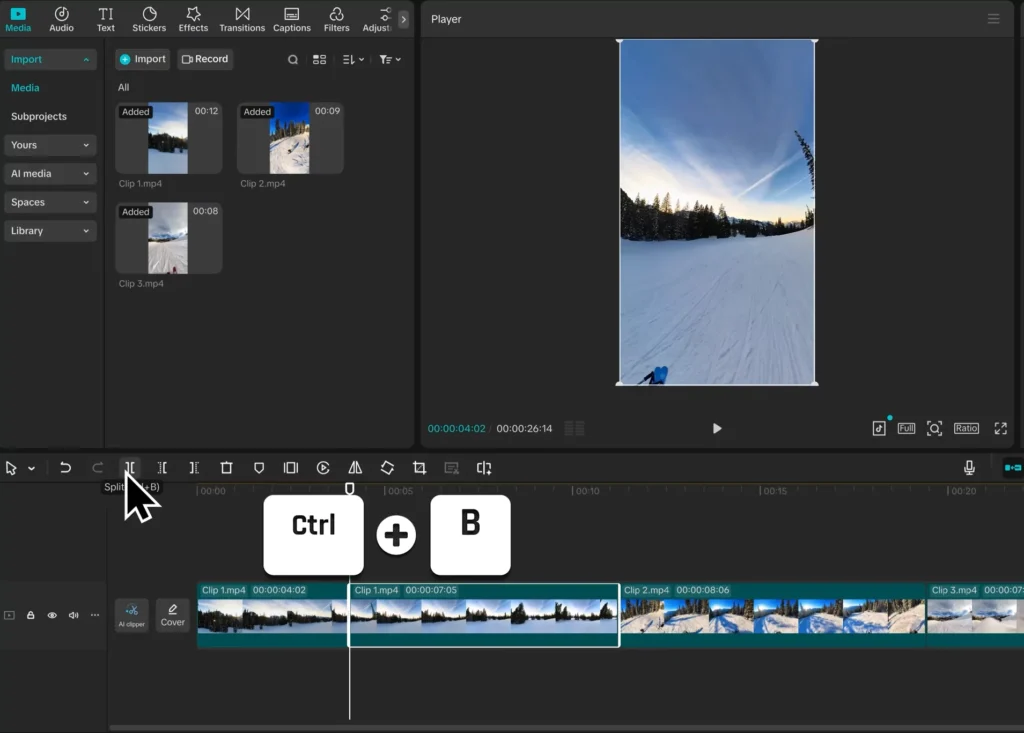
Delete unwanted parts with the Delete key.
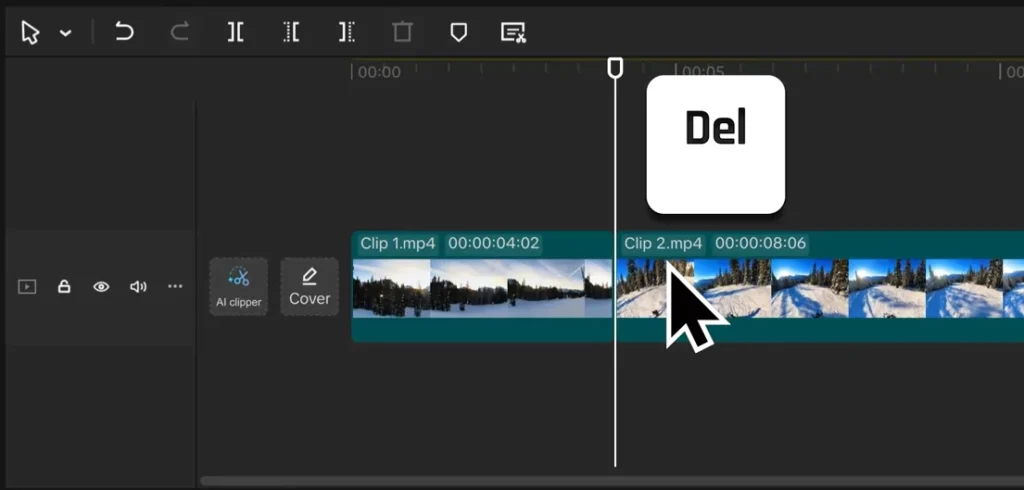
Want to trim a clip? Drag its edges inward to cut out parts, or use shortcut keys W (right side trim) and Q (left side trim).
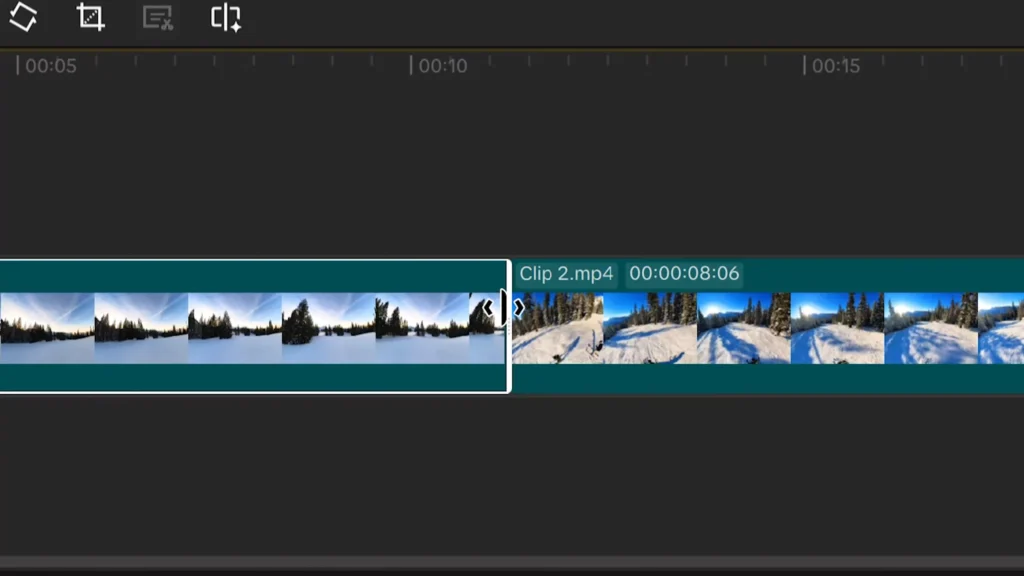
Using Playhead for Precise Edits
Scrubbing with the playhead makes trimming accurate. Mark the exact moment you want to cut or delete. This way, your edits are clean and professional-looking.
Managing and Deleting Unwanted Sections
Select the segment you don’t want and delete it. Keeping your timeline clutter-free helps your project flow smoothly.
Adding Transitions and Effects
Placing Transitions Between Clips
Want smooth scene changes? Head to the Transitions tab. Preview different options by hovering over them.
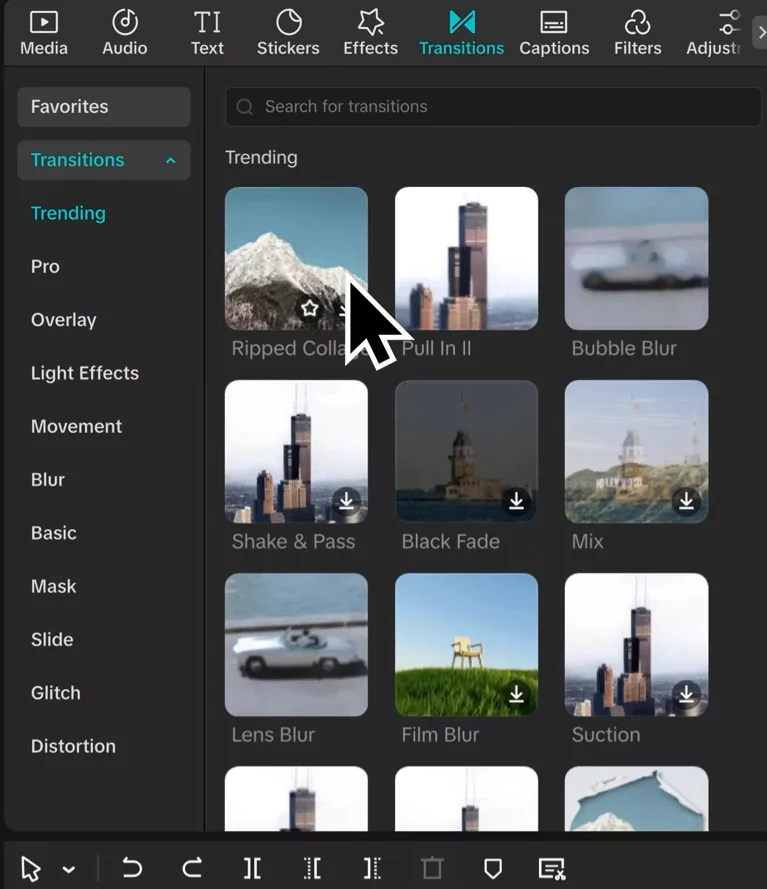
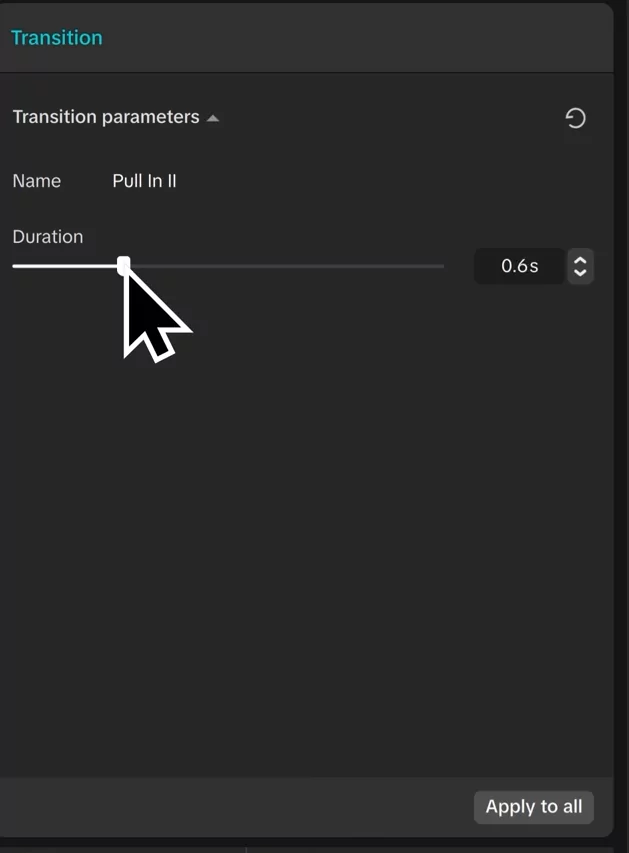
Drag your favorite transition between clips in the timeline. Adjust how long it lasts by selecting it and changing duration at the top right. Shorter for quick cuts, longer for dramatic fades.
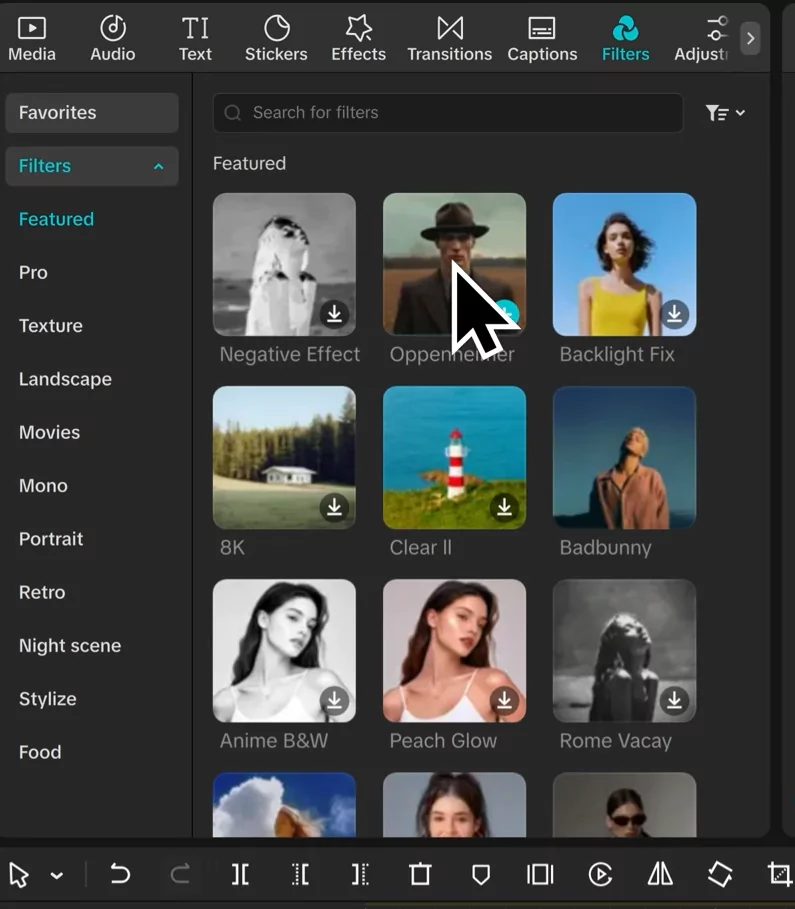
Using Effects and Filters
Filters change your video’s mood instantly. Drag a filter onto your clip or to the whole video track. Fine-tune intensity for subtle effects or bold looks. Combining filters with basic color tweaks makes your footage pop.
Creating Smooth Scene Changes
Seamless transitions boost the flow. Use preset templates or create custom ones with keyframes for professional-grade edits.
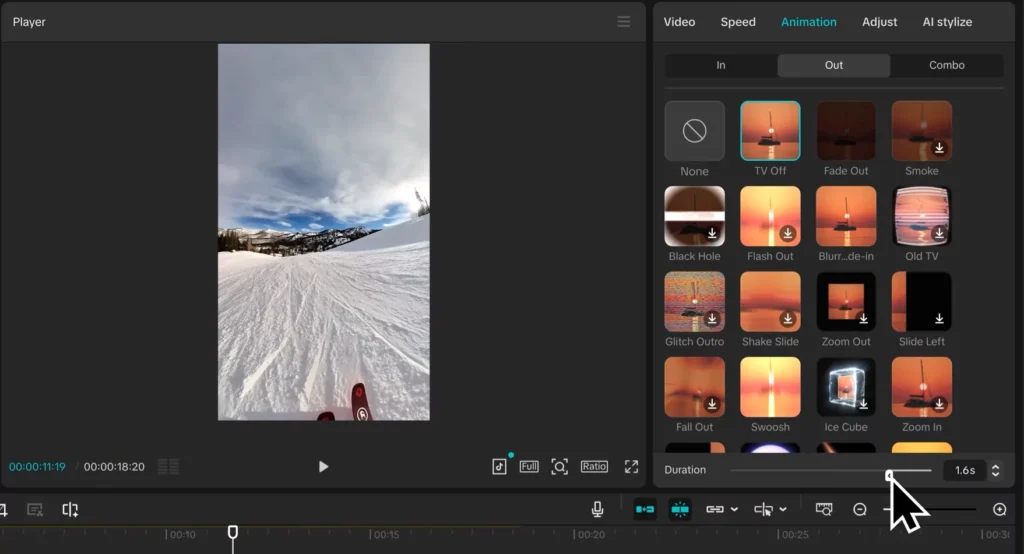
Making Your Video Dynamic with Animations and Keyframes
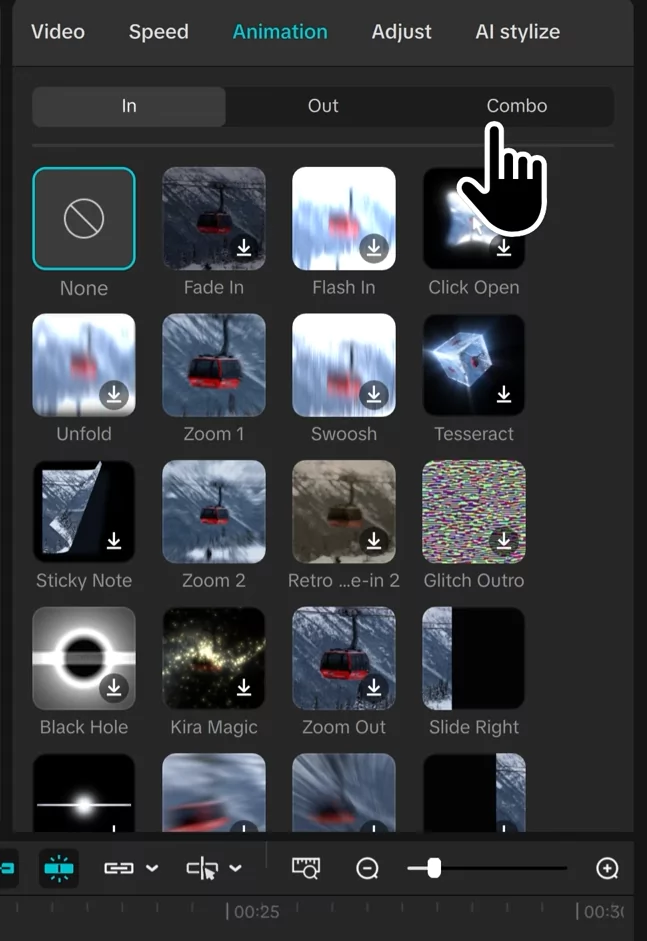
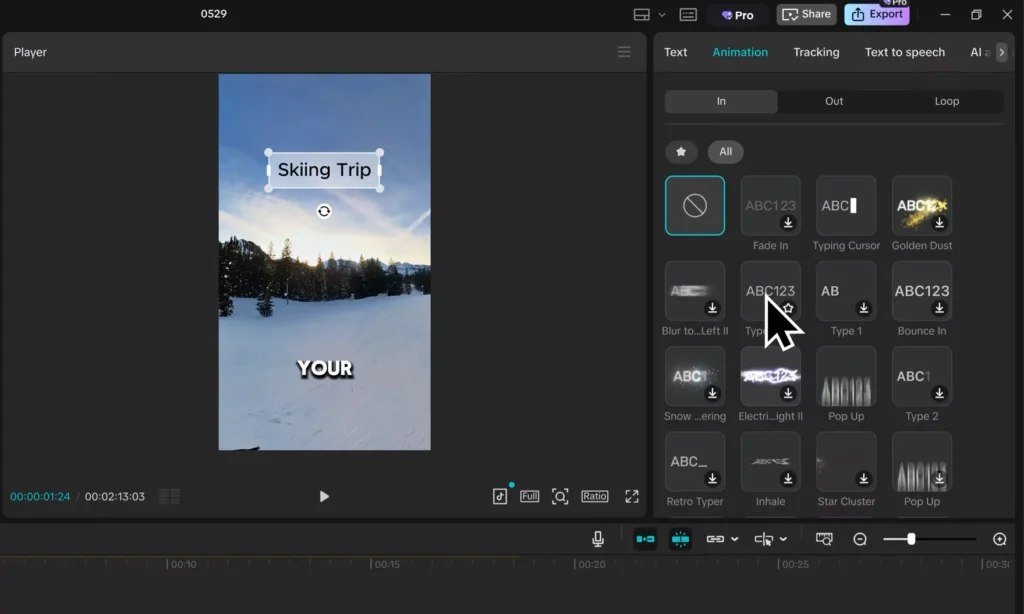
Applying Animation Effects
CapCut offers in, out, and combo animations for individual clips. For example, add a “fade in” at the start or a “zoom out” at the end. Adjust the duration for timing that matches your style.
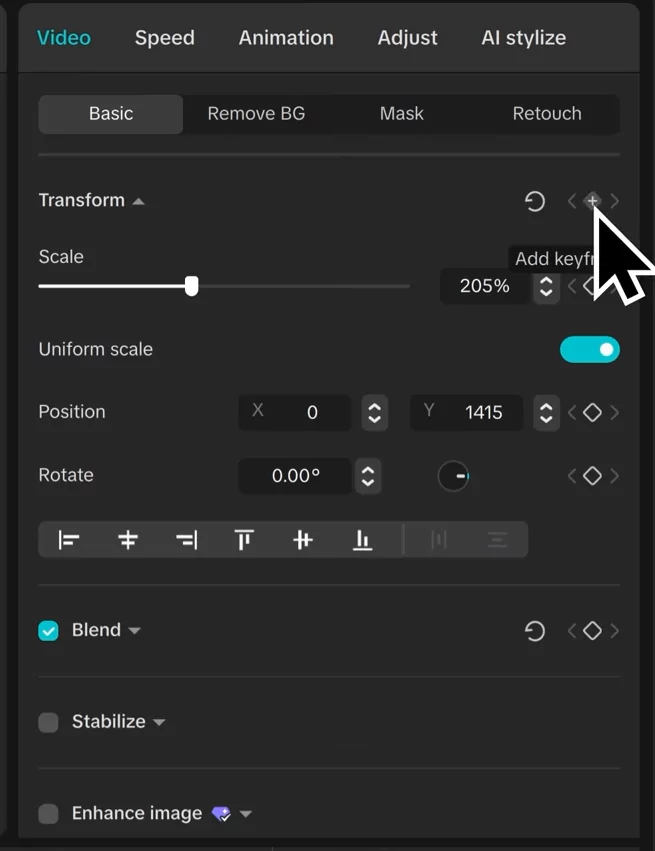
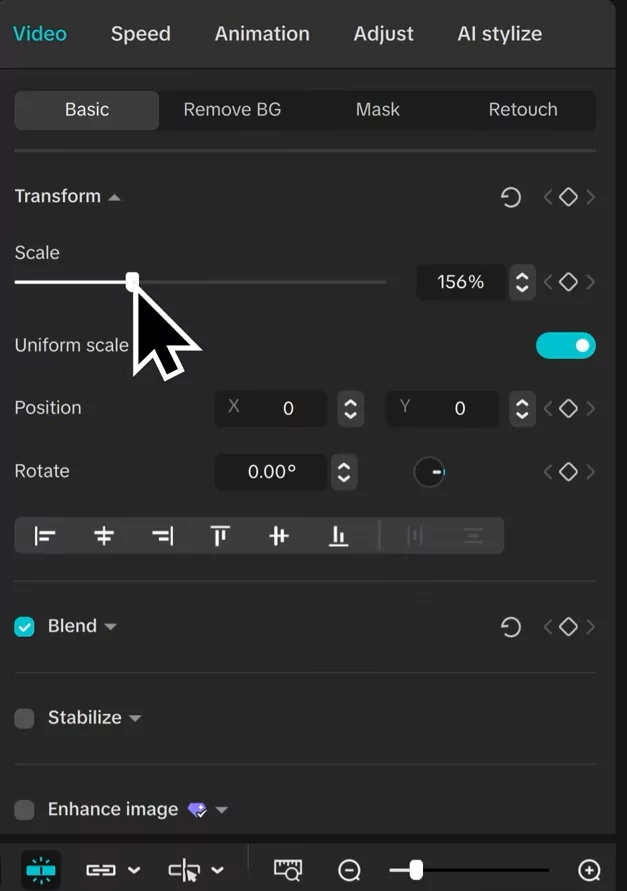
Using Keyframes for Pan and Zoom
Keyframes let you animate properties over time. For instance, zoom into a subject gradually. To do this:
- Click “Transform” and add a keyframe.
- Move the playhead further along and adjust the scale.
- CapCut creates a smooth zoom effect between points.
Tips for Smooth Animations
Timing is everything. Test your animations by previewing clips. Combine multiple effects for complex visuals—like zooming while moving the camera.
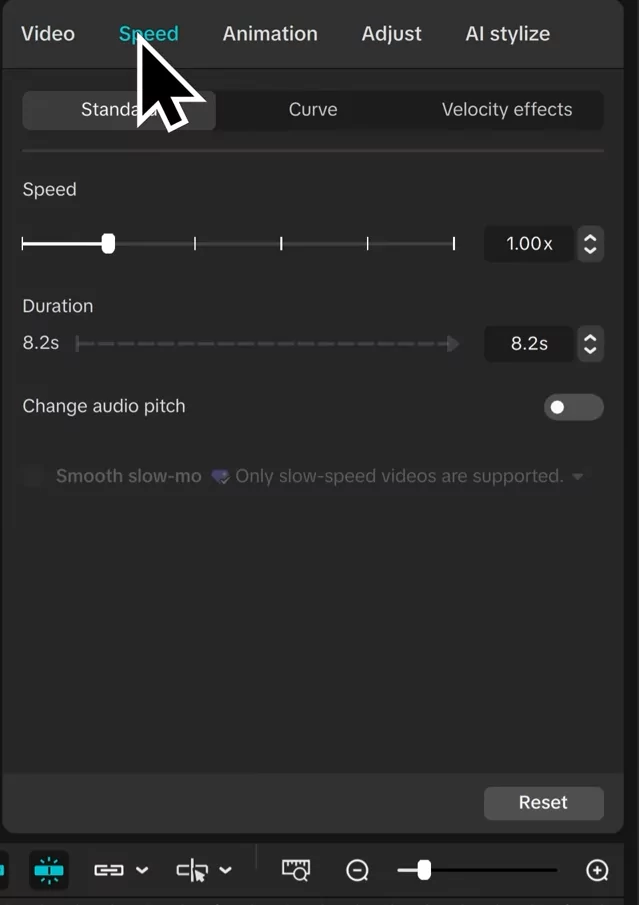
Adjusting Video Speed for Impact
Speed Control Options
Change how fast or slow your clip plays. Use the Speed button and move the slider. Moving right speeds the clip up; left makes it slow. You can even manually set duration for precise timing.
Creating Slow Motion and Fast Forward
Use slow motion for dramatic moments, or fast forward for humor or time lapses. Sync these effects with your soundtrack for maximum effect.
Speed Ramps and Transitions
Ramp up or down from slow to fast to create smooth speed transitions. This keeps your videos engaging and professional-looking.
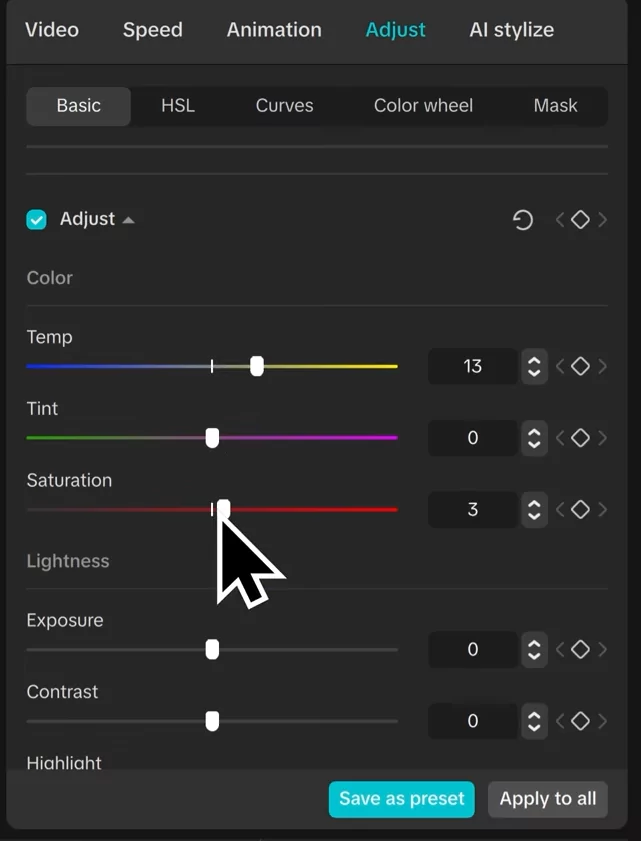
Fine-Tuning Colors and Audio
Color Correction Basics
Adjust brightness, saturation, and temperature for the perfect look. Use the Adjust panel to make your footage vibrant or moody. Preset filters also quicken this process.
Adding and Editing Audio Tracks
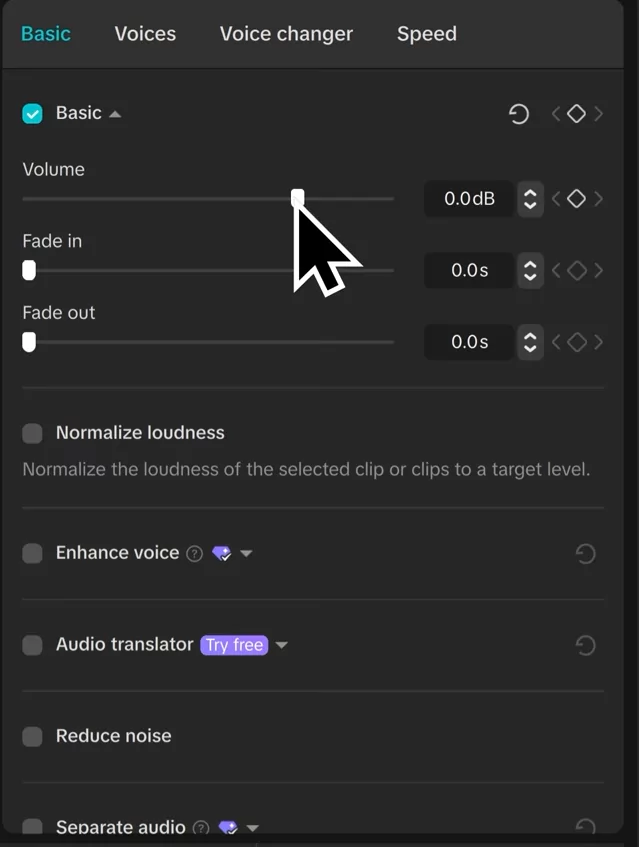
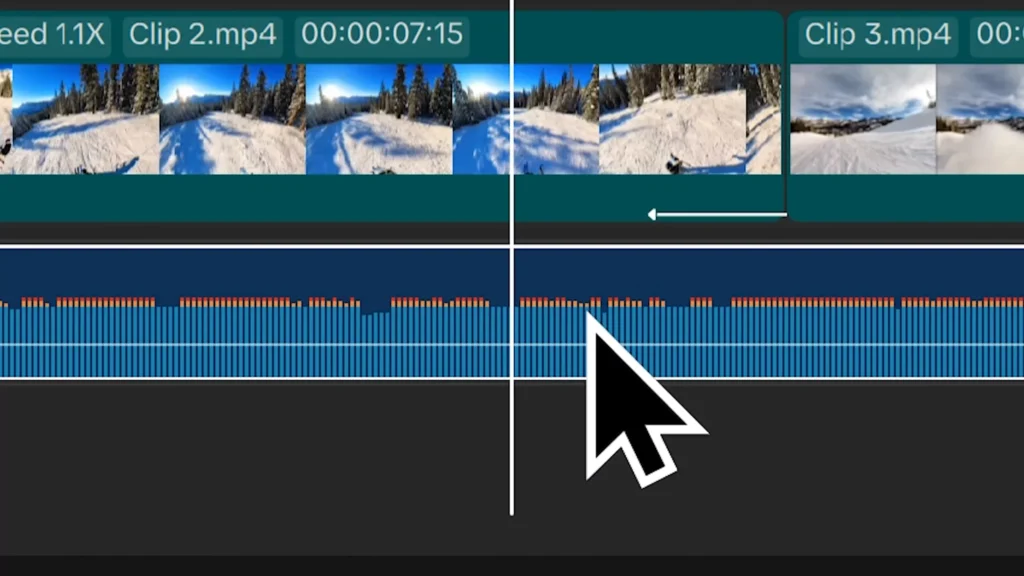
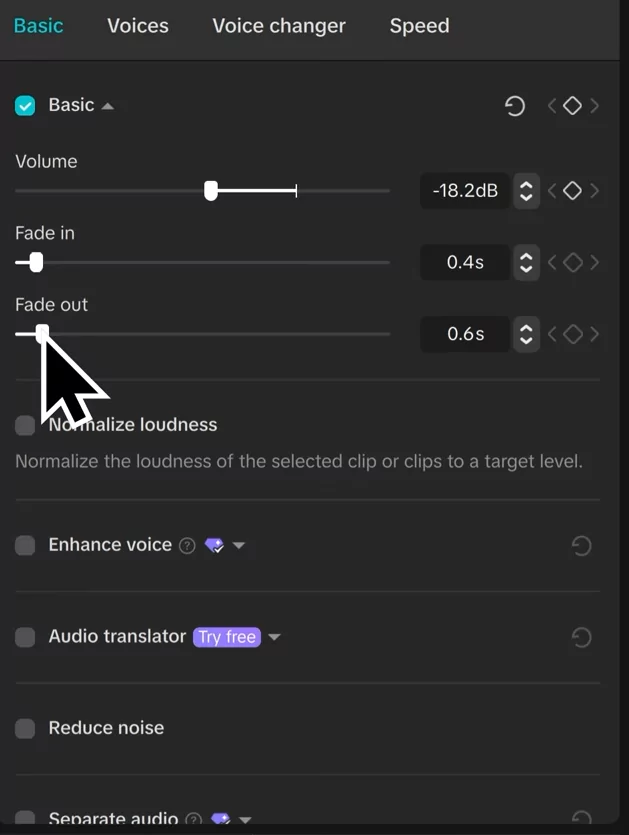
Import music or voiceovers from CapCut’s library or upload your own. Adjust the volume, fade-ins, or fades-outs. Watch the waveform—red or orange means clipping. Lower volume or add fades to fix that.
Improving Sound
Reduce background noise, boost voices, and ensure crisp audio. Use audio tools for a polished sound everywhere.
Automated Captions and Custom Text
Generating Auto Captions
Upload your voiceover or speech. CapCut’s AI generates captions automatically. Pick your language and style, then click “Generate.” Done in seconds! Tweak captions to fix mistakes or change styles.
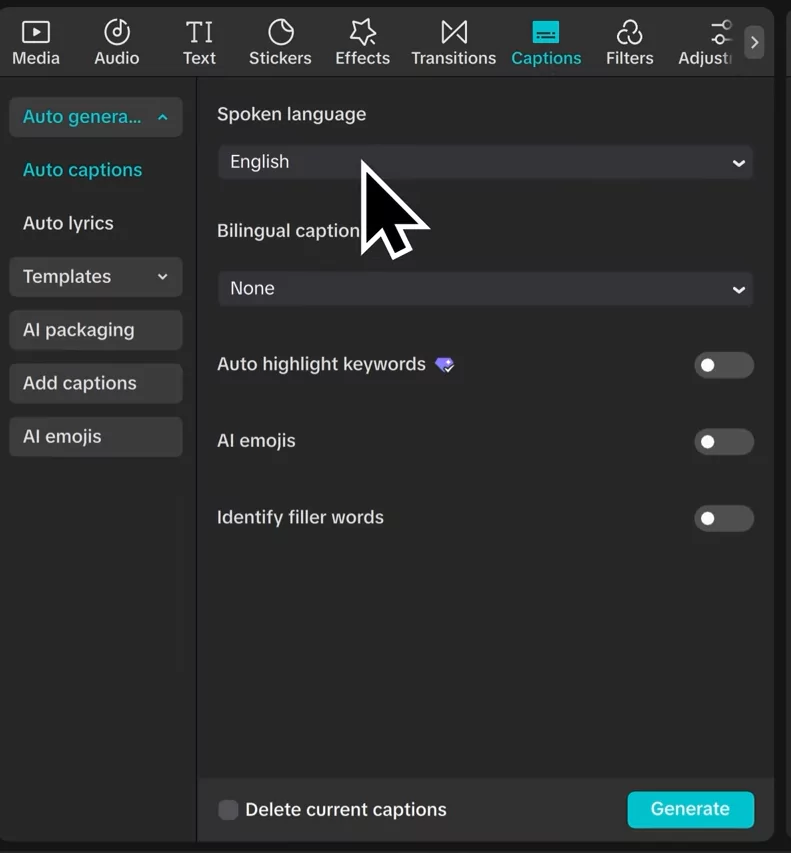
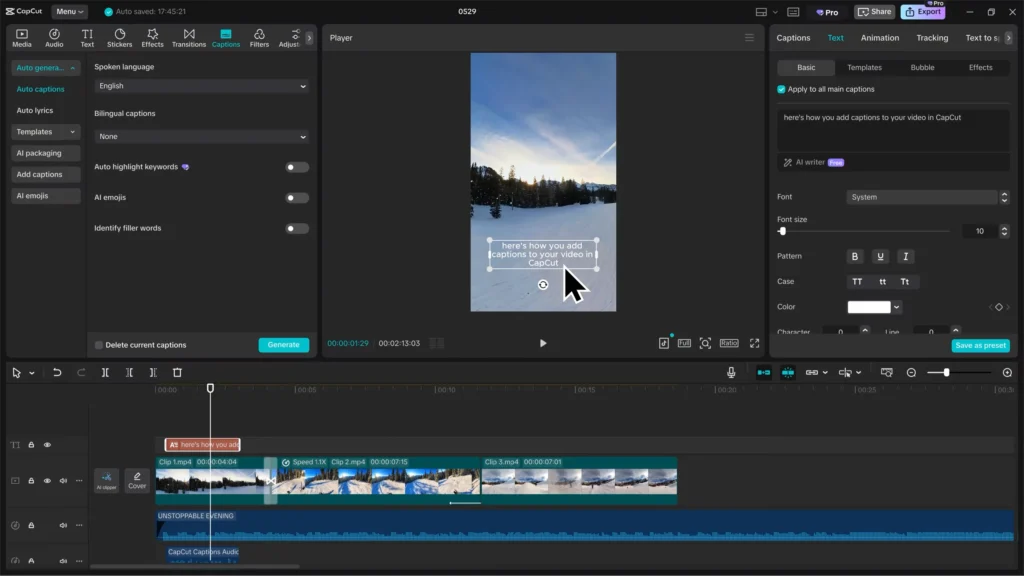
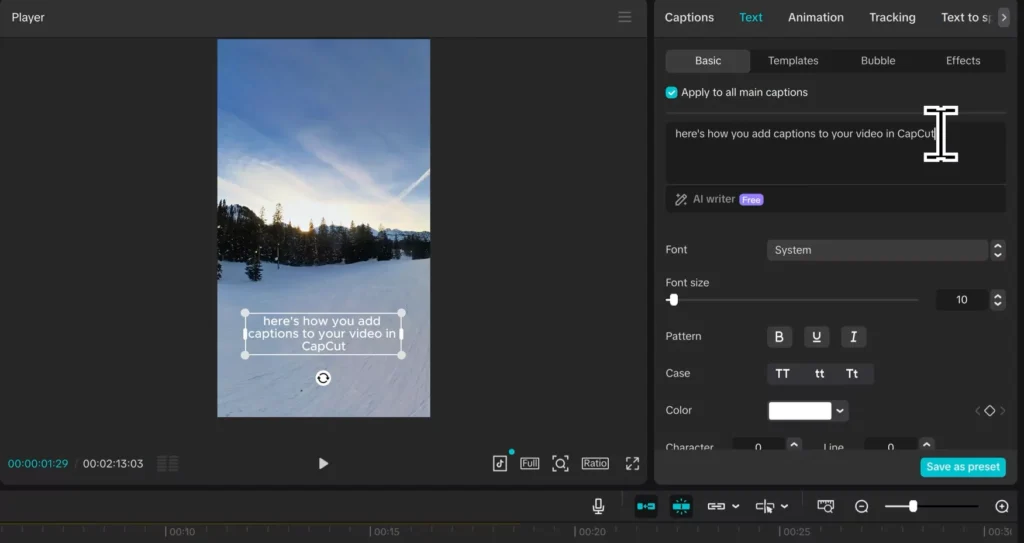
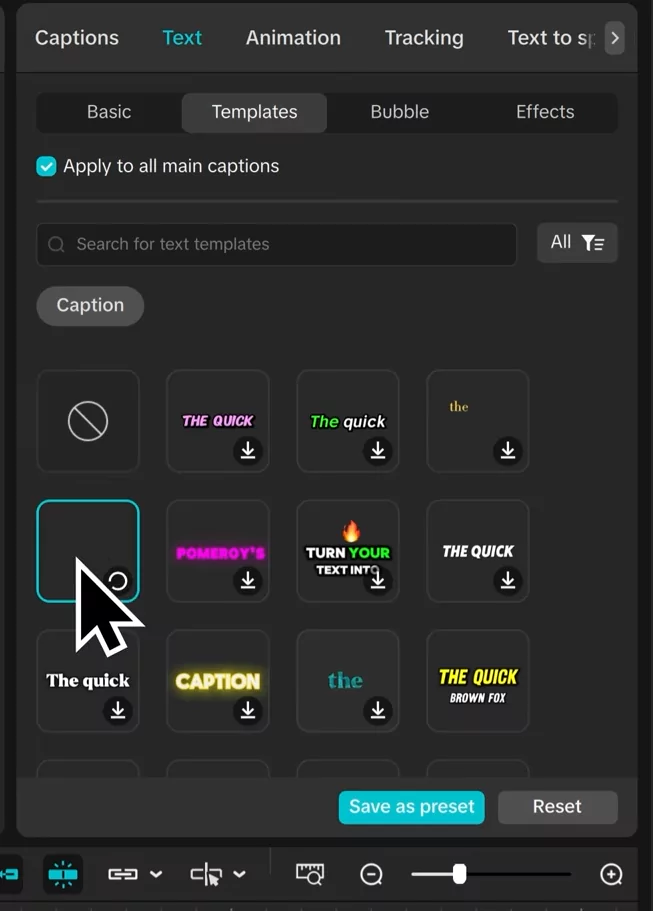
Customizing Caption Style
Highlight any word to fix spelling. Change font, size, or color to match your theme. For example, white text might fade into the background—try bright yellow for visibility.
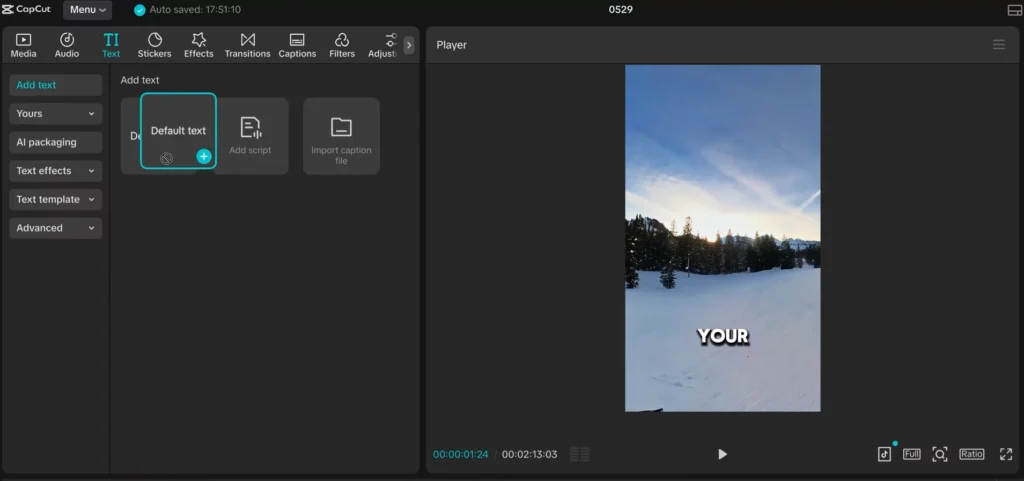
Adding Your Own Text and Effects
Add titles or annotations by dragging text onto the timeline. Personalize with fonts and animations like typewriter or fade-in. Make your message pop or tell your story more clearly.
Exporting Your Video
Final Checks and Export Settings
When your masterpiece is ready, hit Export. Choose the resolution, format, codec, and quality. Change the output folder, then hit the blue button. Export time depends on your settings and video length.
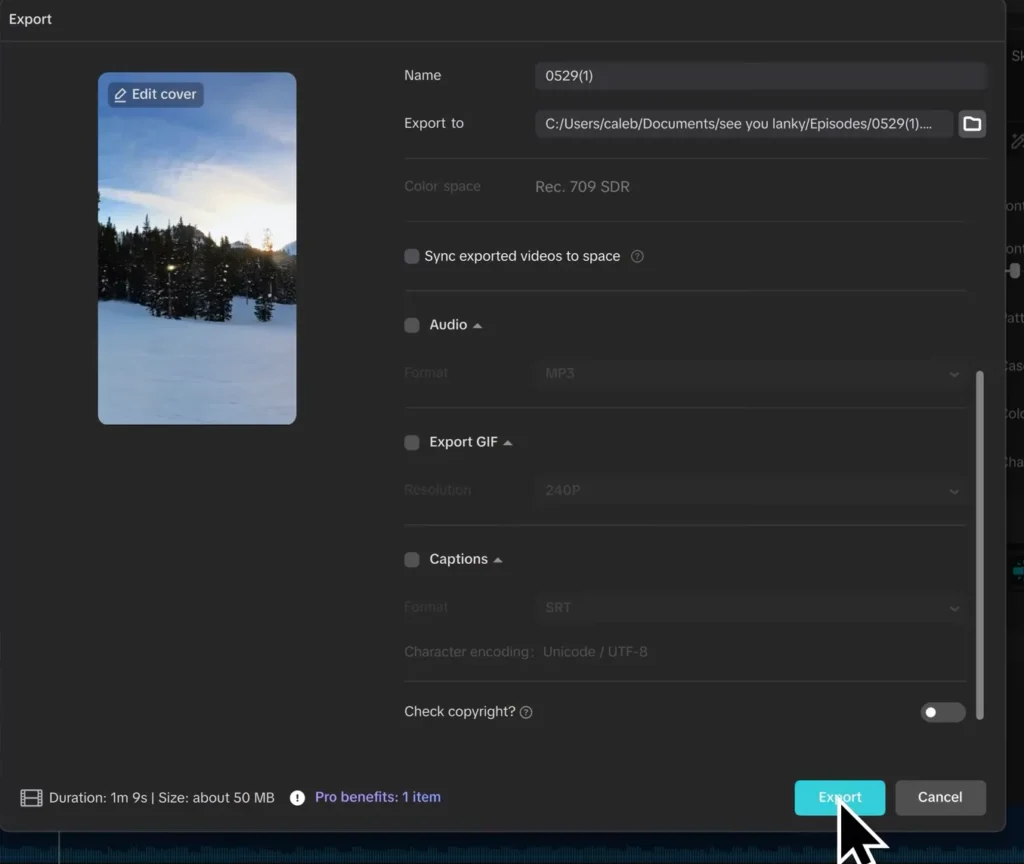
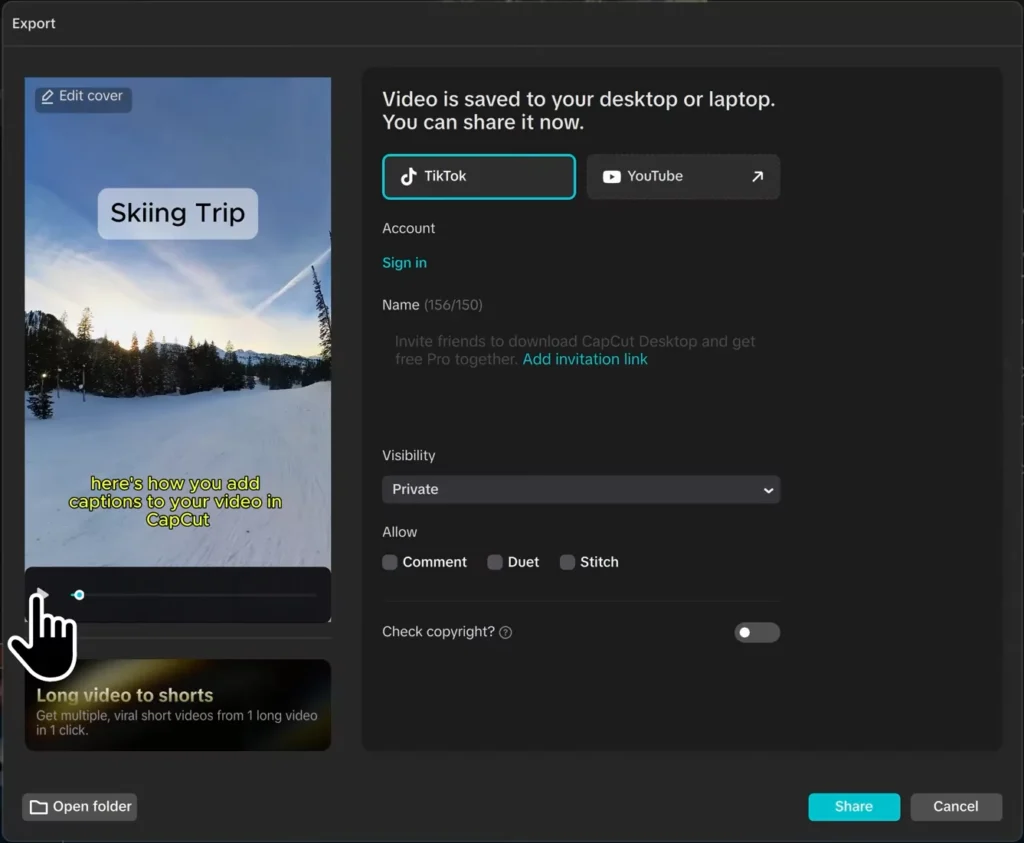
Optimize for Platforms
Adjust export options for YouTube, Instagram, or TikTok. You can also save the project for later editing or reuse.
CapCut Mobile vs. PC: What’s the Difference?
The PC version offers advanced features like keyframe layers, while mobile is optimized for fast, simple edits. Choose mobile for social media on the go, and PC for full-scale editing workflows.
CapCut AI Features (2026 Update)
CapCut now includes:
- AI Background Remover
- AI Text-to-Video Tools
- Auto-Beat Sync
- Auto-Captions These tools save time and make content creation accessible to everyone.
How to Use Templates for Fast Editing
CapCut offers thousands of templates. To use:
- Go to “Templates”
- Choose one based on theme (vlog, travel, promo)
- Import your clips/photos
- Customize text and export!
CapCut for Social Media Content
TikTok
- Use 9:16 ratio, quick cuts, trending sounds
YouTube Shorts
- Focus on pacing and high resolution
Instagram Reels
- Match music to visuals and use text overlays
Time-Saving Shortcuts & Workflow Tips
- Ctrl + B = Split
- Ctrl + Z = Undo
- Shift + Select = Multi-clip import
- Use folders and presets to organize projects
Collaborating on Projects with CapCut Cloud
- Sync projects between devices
- Store backups in the cloud
- Invite collaborators for shared editing
CapCut Pro Features – Are They Worth It?
CapCut Pro includes:
- Premium effects and transitions
- Extra fonts and music
- Stock footage access If you’re editing frequently, it’s worth the upgrade.
Troubleshooting Common CapCut Issues
- Export stuck at 8%: Restart app, clear cache
- Corrupted project: Check cloud backup
- Audio desync: Reimport or realign audio manually
CapCut Alternatives Comparison
| Editor | Best For | Free? | Notable Features |
|---|---|---|---|
| CapCut | All-round | Yes | AI, Templates, Keyframes |
| VN | Quick edits | Yes | Smooth UI, transitions |
| InShot | Yes | Stickers, filters | |
| Adobe Rush | Pro use | No | Adobe ecosystem |
Conclusion
Now you know how to make professional-looking videos with CapCut. From importing clips and trimming to adding effects, animations, and captions—all are at your fingertips. Experiment and combine features to create unique content.
CapCut’s AI tools and user-friendly interface make video editing fast, powerful, and fun. Whether you’re a beginner or content pro, CapCut can help you stand out!