Editing videos with multiple camera angles can make your content more lively and professional. Switching between different shots adds energy and keeps viewers engaged.
Now, thanks to CapCut’s new MultiCam feature, you can do all this quickly and easily right on your Mac or PC. This guide will take you through each step to help you master MultiCam editing and make your videos stand out.
Understanding CapCut’s MultiCam Feature
What is MultiCam Editing?
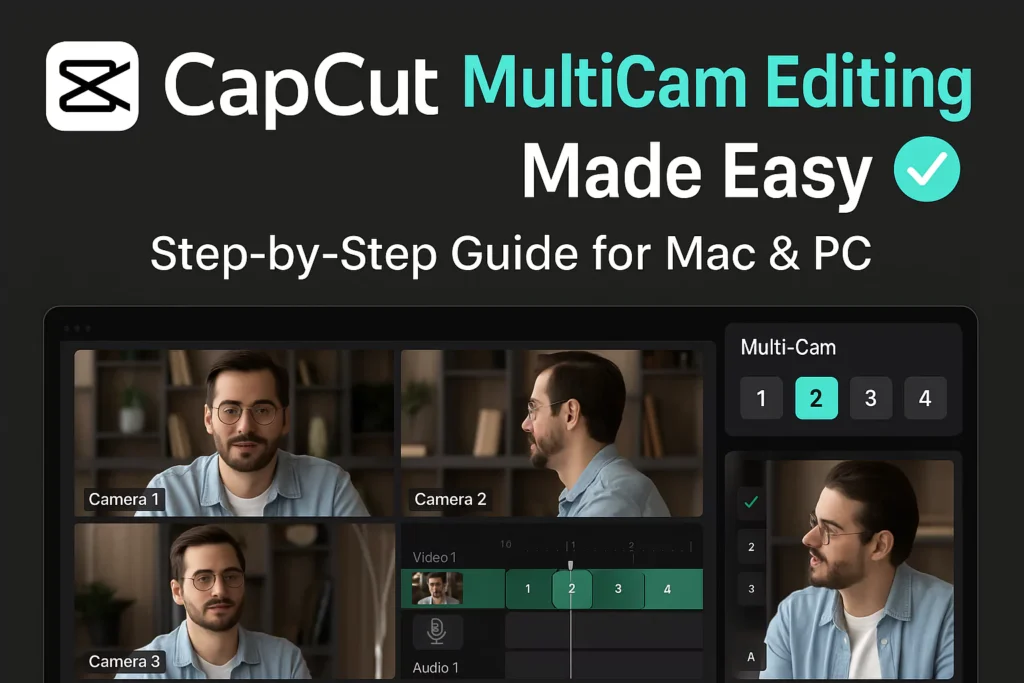
MultiCam editing is when you use multiple camera videos to tell your story. It allows you to switch between different angles instantly. Instead of editing each shot one by one, MultiCam syncs everything for you, so switching feels smooth and natural.
Benefits of Using CapCut’s MultiCam
- Faster editing process — switch angles with a click.
- More professional videos — seamless transitions between shots.
- Supports various media types — screen recordings, external audio, and camera footage all work together.
Compatibility and Requirements
CapCut’s MultiCam works on both Mac and PC. You’ll want a decent system for smooth editing, especially if you’re working with multiple high-resolution clips.
Keep in mind, this feature might become a paid upgrade in future versions, so stay updated.
Preparing Your Footage for MultiCam Editing
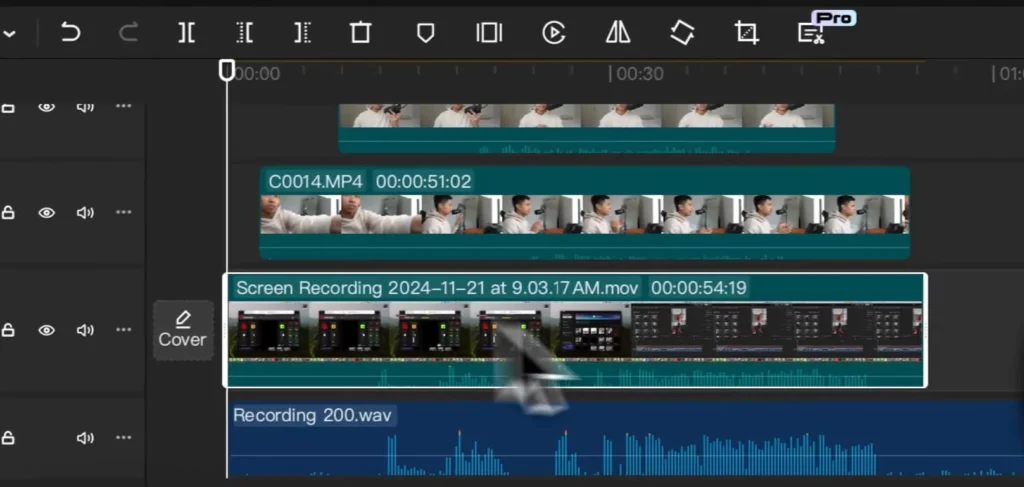
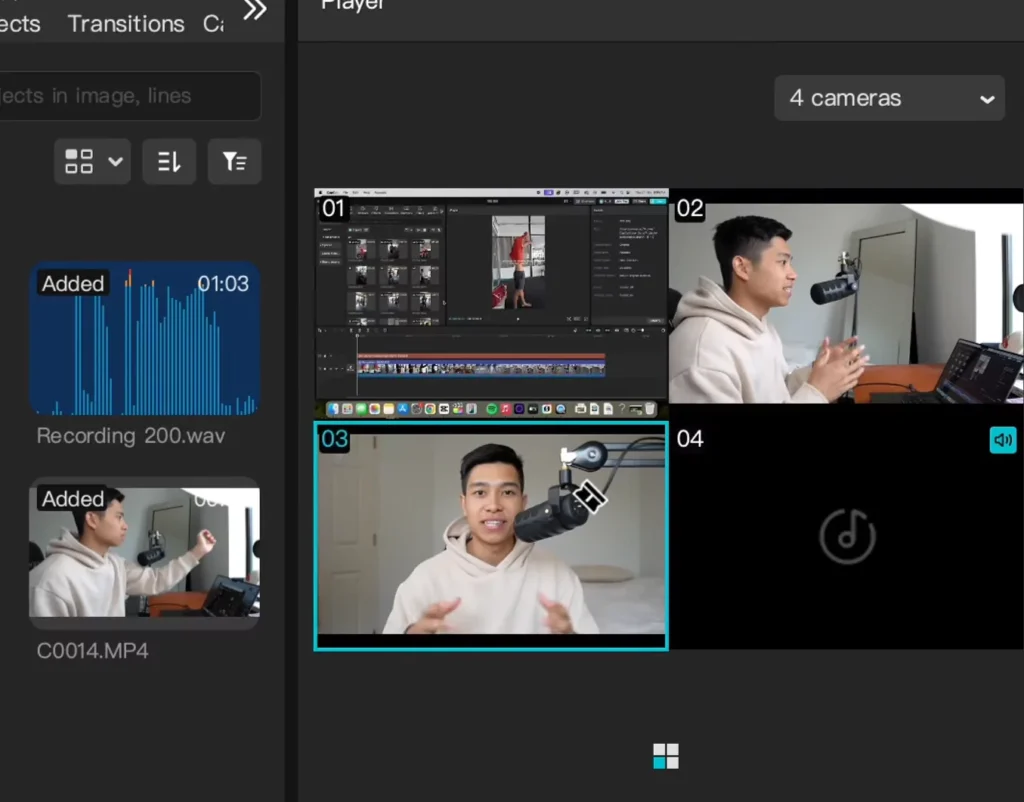
Importing and Organizing Clips
Start by importing all camera angles into CapCut. Arrange your clips in a way that makes sense—label them if needed. Proper organization helps speed up the editing process.

Syncing Multiple Clips
CapCut can automatically sync your videos using the audio peaks, which saves you from manual lining things up. If auto-sync doesn’t work perfectly, you can manually adjust clips by dragging them along the timeline.
Setting Up External Audio
If you recorded external audio, import it into CapCut and place it on the bottom track. Make sure it’s loud enough and synchronized with your video clips. For camera audio, you can hide or turn off the clips’ original sound to avoid noise clashes.
Creating a MultiCam Project in CapCut
Initiating a New MultiCam Project
Create a new project and import your clips. Drag them onto the timeline, even if they overlap or are not perfectly aligned. CapCut will handle the sync.
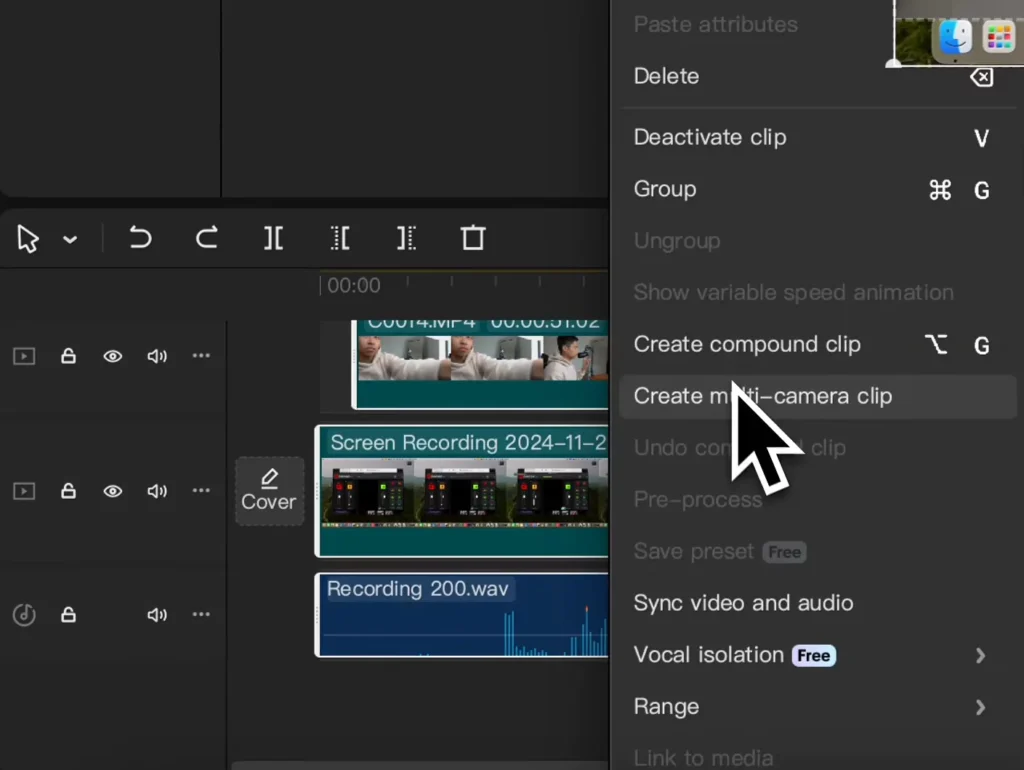
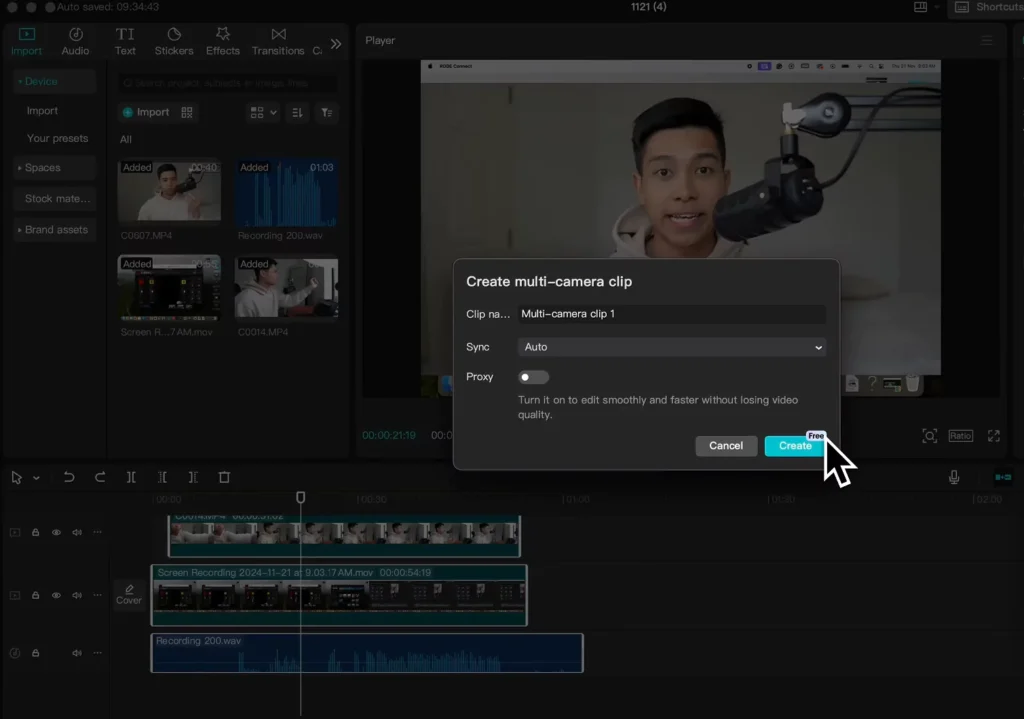
Syncing Clips and Audio
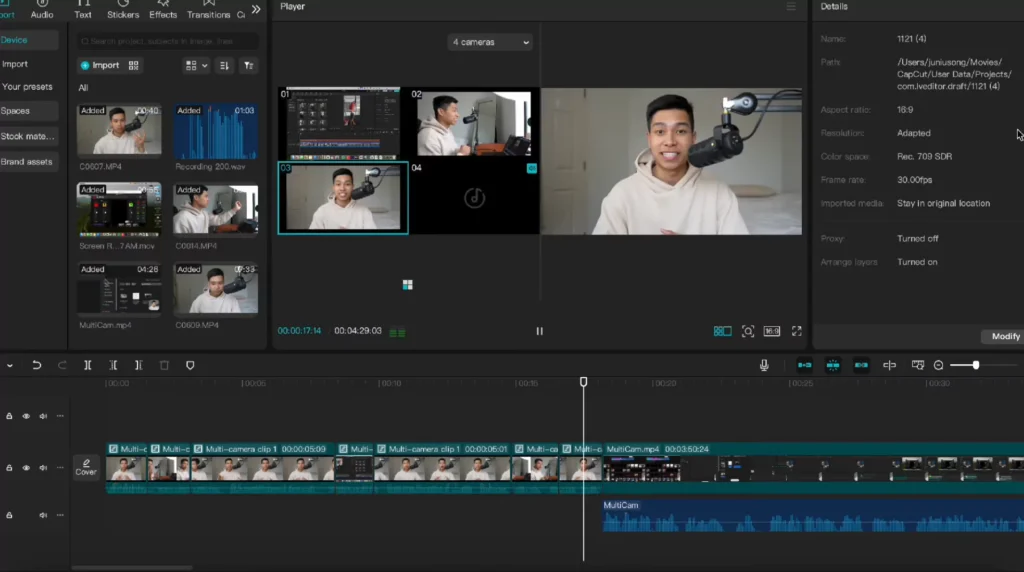
Click on all your clips, right-click, and select “Create MultiCam Clip.” Enable auto-proxy if your computer is slow. Name your multi-camera sequence to keep track.
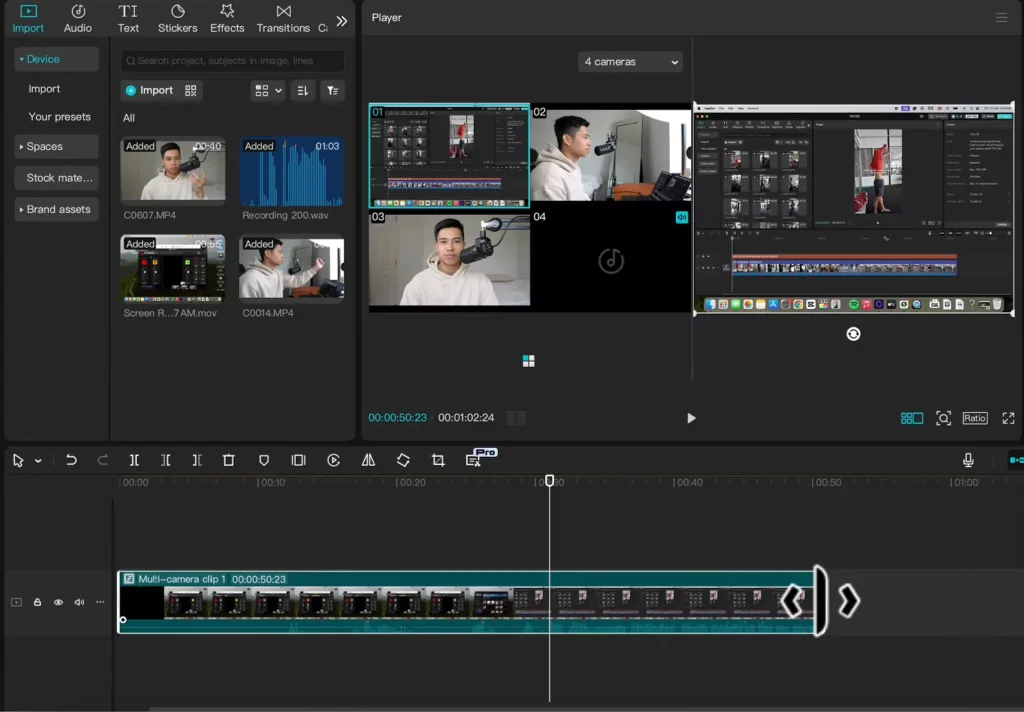
Generating the MultiCam Sequence
Once your clips are synced, CapCut creates a multicam sequence. This combines all angles into one clip that you can easily switch during editing.
Troubleshooting Common Setup Issues
- If clips are out of sync, try rescanning or re-syncing.
- If external audio isn’t syncing, double-check your audio tracks.
- For clips with no audio, add a reference audio track or sync visually.
Editing MultiCam Footage Efficiently
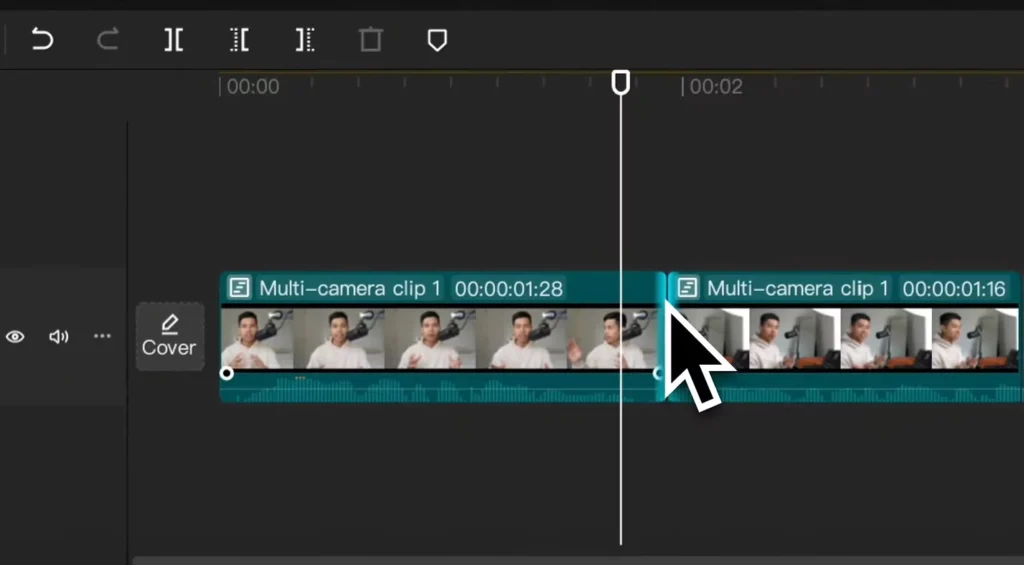
Navigating the MultiCam Timeline
Use Command + (plus sign) to zoom in. This gives you a better view of your clips. The highlighted clip indicates which angle is active or selected.
Interchanging Camera Angles
Play the footage. When you want to switch angles, click directly on the clip in the viewer, or hover over the clips to preview. Click on the angle you want, and CapCut instantly switches shots.
Correcting Mistakes and Refining Edits
If you switch to the wrong camera or want to change a cut, just go back. Hover over the clip, drag the blue mark to adjust the switch point, and refine your edit.
Tips for Precise Angle Switching
- Switch angles at natural pauses, like a beat or a pause.
- Keep transitions smooth for a more natural flow.
- Avoid rapid changes unless they suit your style.
Advanced Techniques for MultiCam Editing
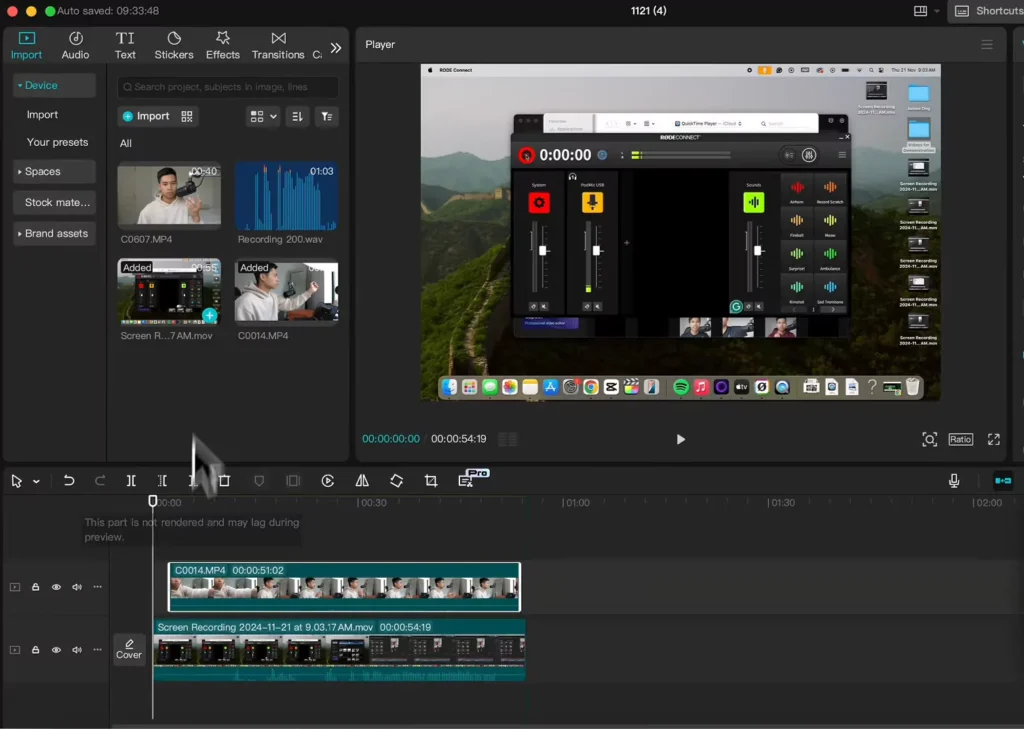
Handling Screen Recordings and Multiple Audio Sources
Screen recordings can be part of your project. Drop them into your timeline and sync just like camera clips. Manage multiple audio tracks by muting or adjusting volume to keep everything clear.
Editing Across Multiple Angles and Media Types
When combining camera footage with different frame rates or resolutions, ensure everything is compatible. CapCut handles most of this automatically, but double-check if needed.
Exporting and Sharing Your MultiCam Projects
Export your finished video in the highest quality suitable for your platform. For social media, choose formats like MP4. For professional use, consider higher bitrate options for better quality.
Keyboard Shortcuts and Speed Tips
Command + Z: UndoShift + Click: Select multiple clipsCommand + Shift + E: Export
Best Practices and Expert Tips
Optimizing CapCut for Faster Workflow
Use proxy files if your computer struggles with large videos. Keep your software updated for the latest features and improvements. Avoid overcrowding your timeline to simplify editing.
Common Pitfalls and How to Avoid Them
- Sync issues can happen if audio isn’t clear. Always check your audio before syncing.
- Over-editing with rapid switches can confuse viewers. Use quick cuts sparingly.
- Keep backup copies of your project to prevent lost work.
Recommendations from Video Editing Pros
Many experts suggest planning your angles ahead of time. Practice switching smoothly to prevent jerky transitions. Watching tutorials and experimenting makes you more confident.
Read Also:
- How to Add Transitions in CapCut – Detailed Guide with pics
- CapCut Masterclass: The Complete Beginner-to-Pro Video Editing Guide
CapCut vs Other MultiCam Editors
| Feature | CapCut | Premiere Pro | Final Cut Pro | DaVinci Resolve |
| Price | Free / Pro | Paid | Paid | Free / Paid |
| User-Friendliness | Very Easy | Moderate | Easy | Moderate |
| Auto Sync | Yes (Audio) | Yes (Audio) | Yes | Yes |
| MultiCam Limit | Moderate | High | High | High |
Use Case Examples
- Interviews: Switch between speaker and listener.
- Tutorials: Combine screen recording with webcam.
- Cooking/DIY videos: Overhead + front camera views.
- Live Performances: Multiple angles of musicians or speakers.
Frequently Asked Questions
Can I use MultiCam on the free version of CapCut?
Yes, as of now, it’s available on both free and Pro versions (subject to change).
How many angles can I use in MultiCam?
Up to 4-6 angles are manageable without lag on most mid-range systems.
Does CapCut support 4K MultiCam editing?
Yes, but proxies are recommended for smooth playback.
What if my clips don’t have audio?
Use a reference audio file or sync manually.
Conclusion
CapCut’s MultiCam feature makes multi-angle editing straightforward and fast. With a few clicks, you can sync clips, switch angles smoothly, and produce professional-looking videos. Don’t be afraid to experiment—this tool is a game-changer for creators who want dynamic content. Dive into your next project, try the tips here, and elevate your editing game.