Editing on CapCut is easier and more popular than ever, thanks to its simple interface and powerful features. But many beginners fall into the same traps that make their videos look unprofessional.
These small mistakes can ruin the flow, tone, and quality of your content. The good news? Fixing these issues is straightforward once you know how.
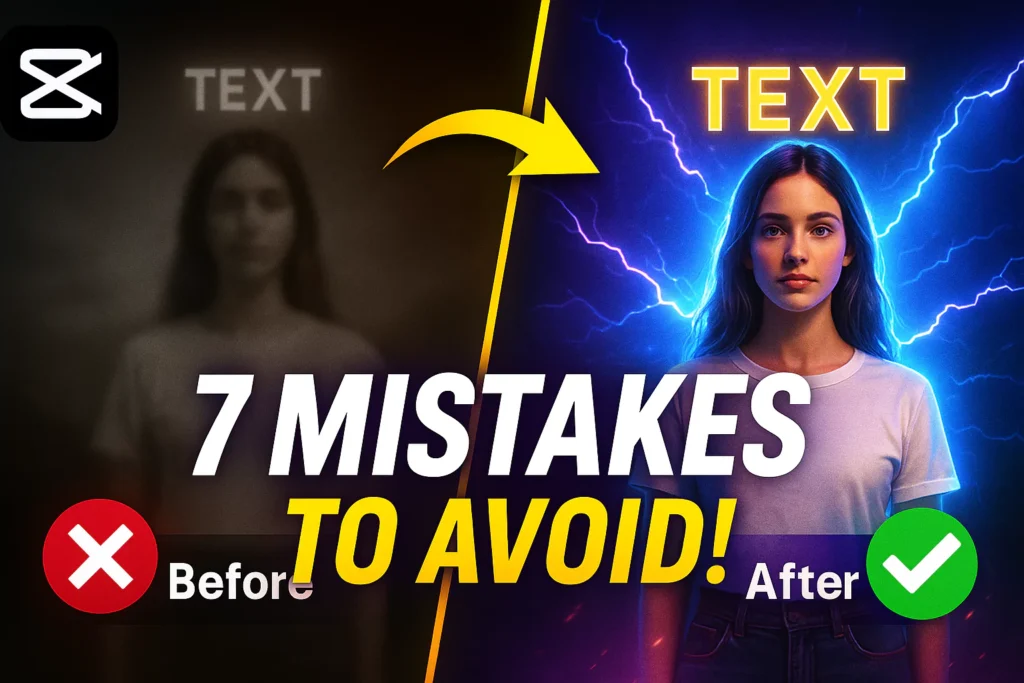
This guide walks you through the top 7 editing errors and shows you how to correct them like a pro.
Why recognizing common CapCut mistakes matters
When you learn to avoid simple errors, your videos instantly look more polished. Better edits command more attention, keep viewers watching longer, and boost your reputation on social media. Whether you’re creating TikTok clips or YouTube shorts, these tips will elevate your editing game.
Who this guide is for
This guide is perfect for:
- TikTok, YouTube Shorts, and Reels creators aiming to create more professional-looking edits
- CapCut beginners trying to avoid common amateur mistakes
- Content creators who want to stand out with smoother, cleaner, and more polished videos
- Freelancers or editors looking to speed up their workflow and improve client results
If you want your videos to hold attention, look intentional, and gain credibility, this guide is for you.

Recommended Tools & Resources
Take your editing to the next level with these resources:
Apps
- CapCut (Desktop + Mobile): All-in-one editing
- Wink: Cleaner color grading and sharpness tools
- Ton: Subtle filters and retouch features
Sound Effects
- Mixkit.co
- Zapsplat.com
- MotionElements (free and paid)
Overlays and Assets
- Pixabay (free overlays and backgrounds)
- Pexels Videos
- AE-style overlays from CapCut Template libraries or external presets
Text & Effect Templates
- CapCut Text Styles tab (updated regularly)
- Creative Market or MotionArray for premium bundles
Mistake 1: Overusing Dull Glow Effects
The Problem with Lackluster Glows
Many users apply glow effects that look cheap or dull. It kills the vibe and makes the video feel unrefined. A bad glow can drown out details and turn what should be cool into amateurish.
How to Create a Professional Glow
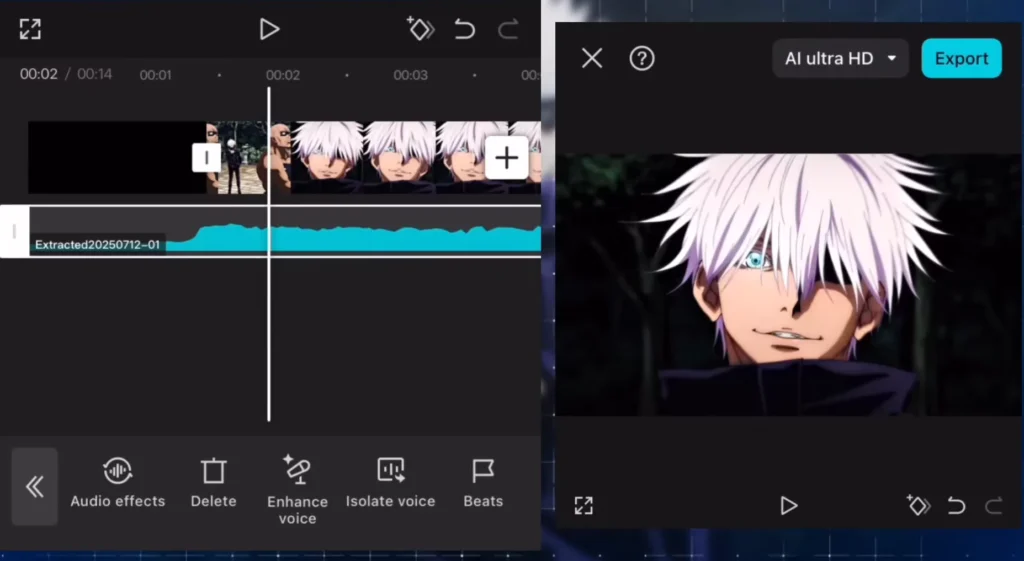
Start by copying your clip and removing the background.
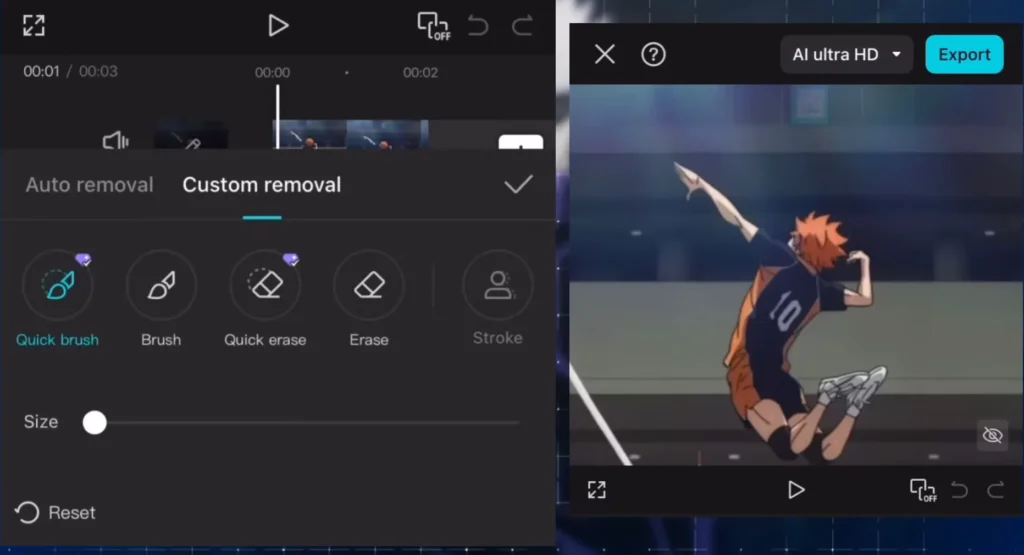
Then, add a glow effect—preferably Glow 2—and tweak the settings.
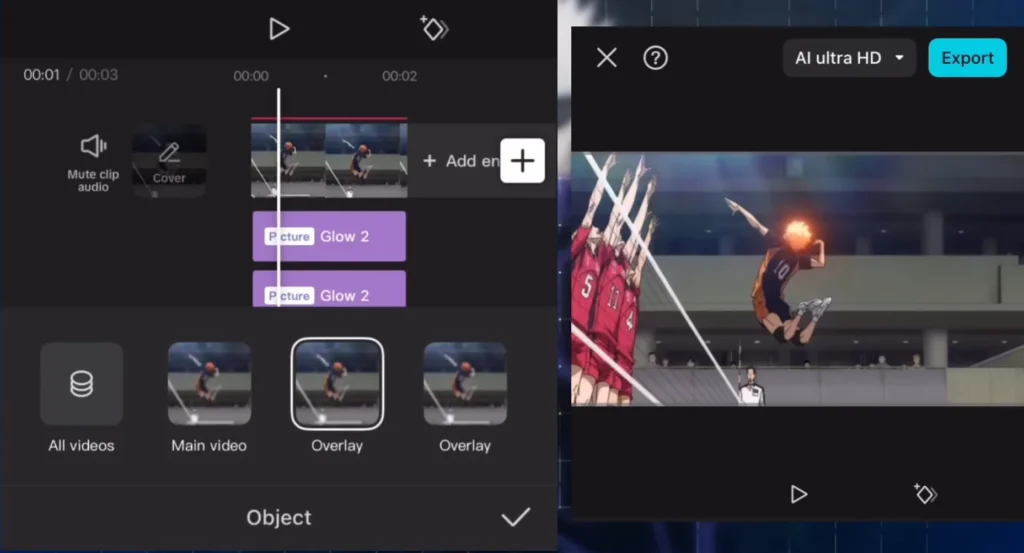
Copy this effect a few times for intensity, and match the levels on all layers for consistency. This makes scenes pop without looking overdone.
Bonus: Enhance with Transitions and Overlays
To make glows even cooler, add eye overlays or AE-style transitions. These tricks give your video depth and make the glow stand out more.
Mistake 2: Poor Composition and Background Integration
Why Strong Composition Is Key
Good composition guides the viewer’s eye and creates balance. Bad framing or cluttered backgrounds ruin the professional look.
Building a Clean, Cinematic Scene
Duplicate the clip and make a shadow version for depth.
Use cloud overlays for atmosphere and mask tools to fill backgrounds smoothly.
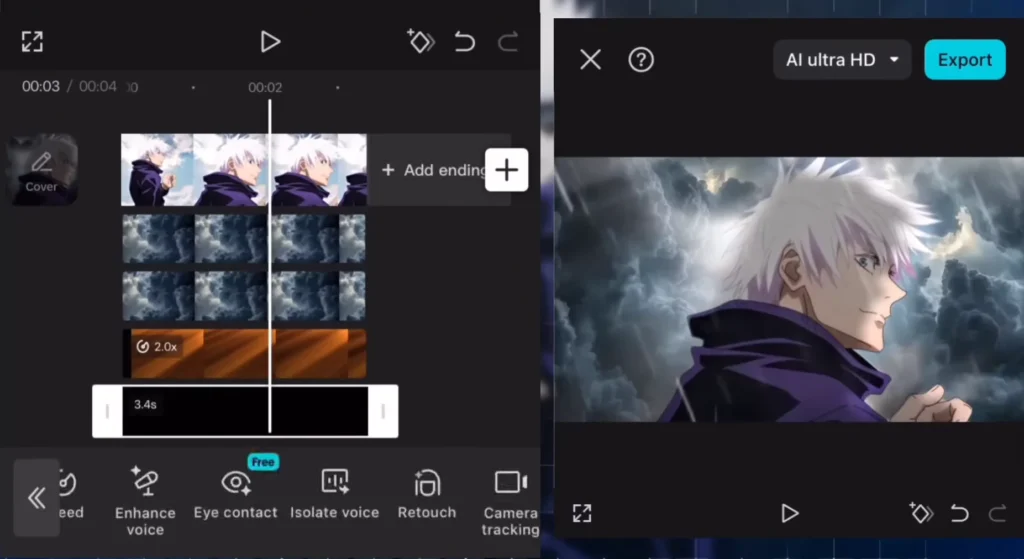
Instead of moving clips around randomly, use masks — that way, your background flows naturally.
Improving Backgrounds
Add overlays like rain, lightning, or light rays. Animate them for more puzzle pieces fitting together, making your scene feel alive. Properly timing these details creates a cohesive, striking visual.
Mistake 3: Weak Transition Effects
The Cost of Shaky or Clunky Transitions
Boring or shaky transitions break the flow. Viewers feel disoriented and may lose interest.
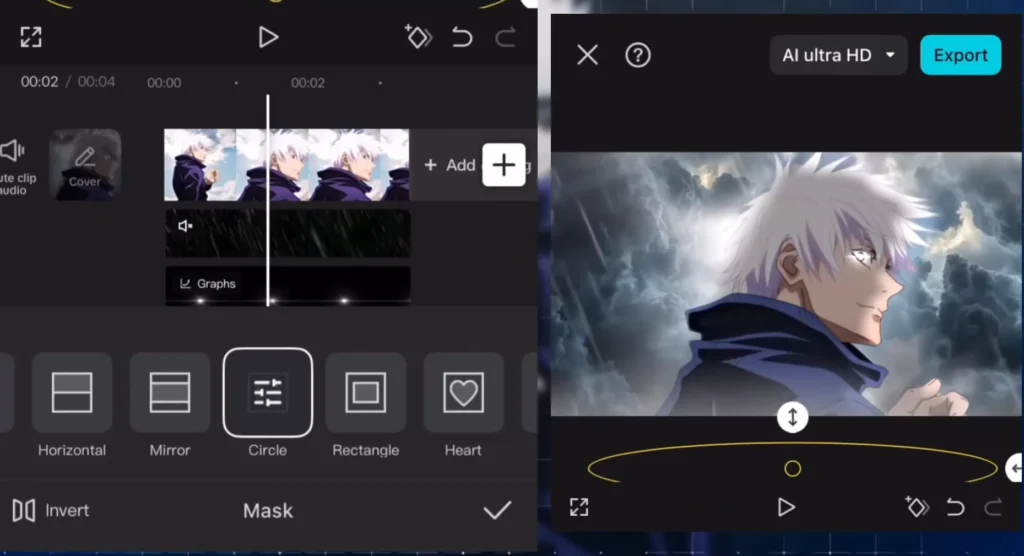
Creating Seamless, Pro-Level Transitions
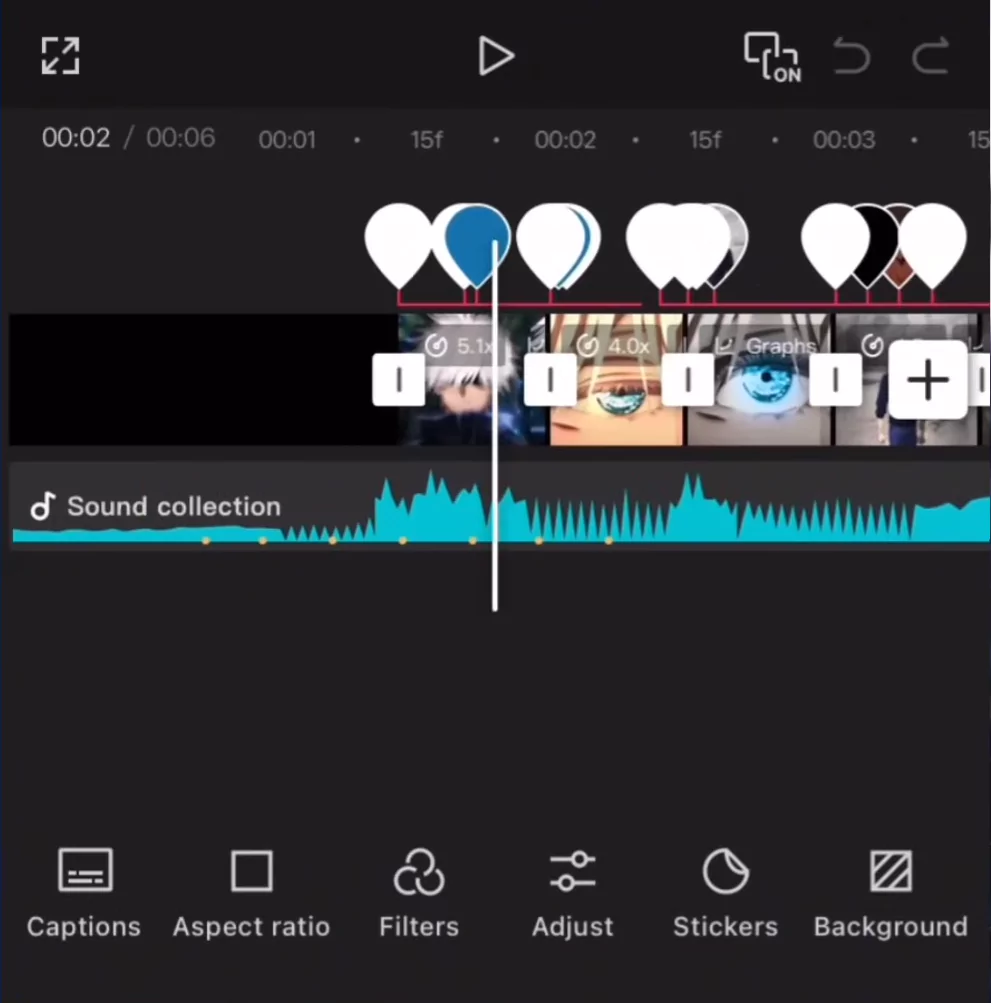
Freeze clips at precise points and align them with the beat.
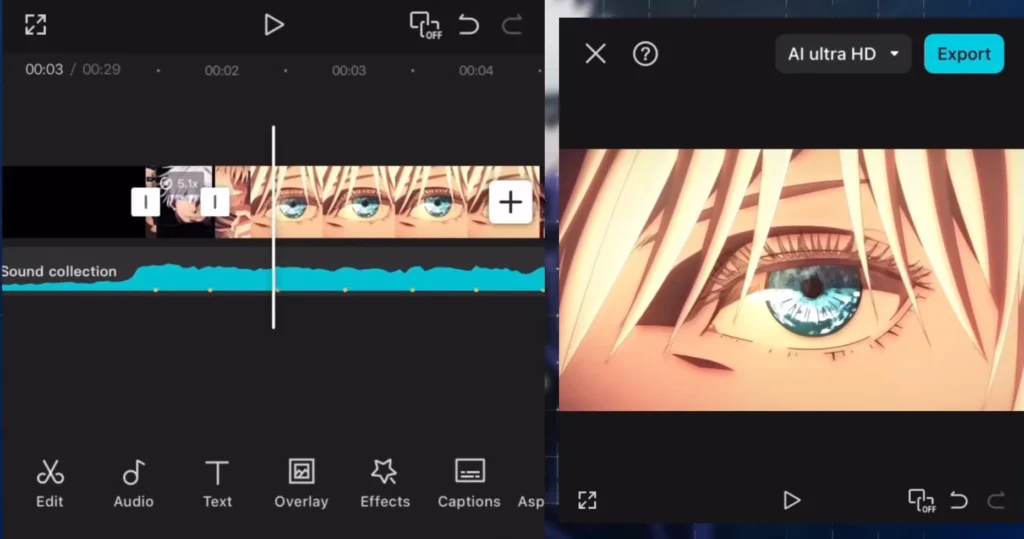
Use overlays and circle masks to craft smooth switches. For example, start with a white overlay, then invert a circle mask to transition between scenes—it’s simple but looks stunning.
Hit the Beat for Extra Professionalism
Match your transitions to the music’s rhythm. This sync makes the video feel intentional and polished.
Mistake 4: Poor Color Grading and Filtering
The Impact of Colors on Mood
Bad color correction can make your video dull or too loud. It’s like choosing the wrong clothes for an outfit.
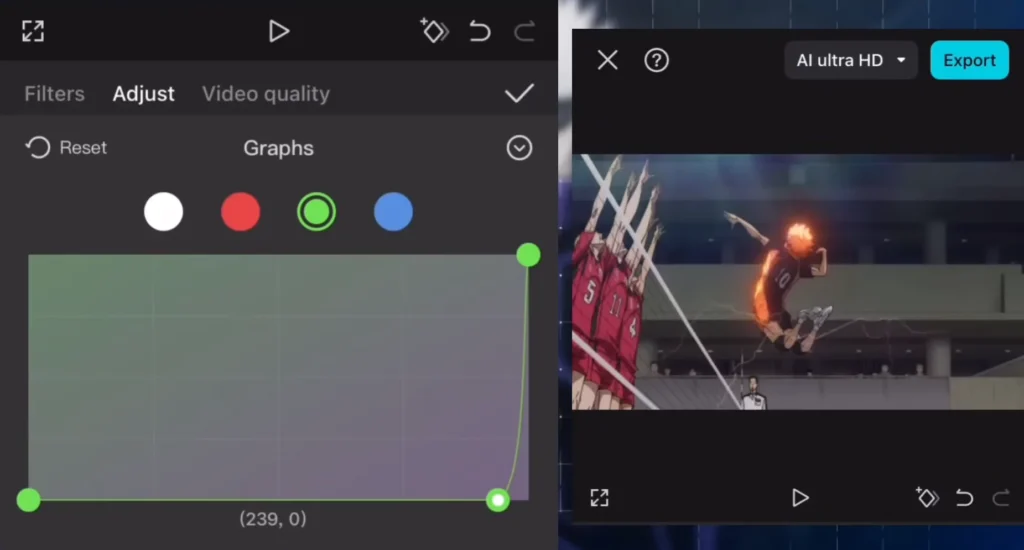
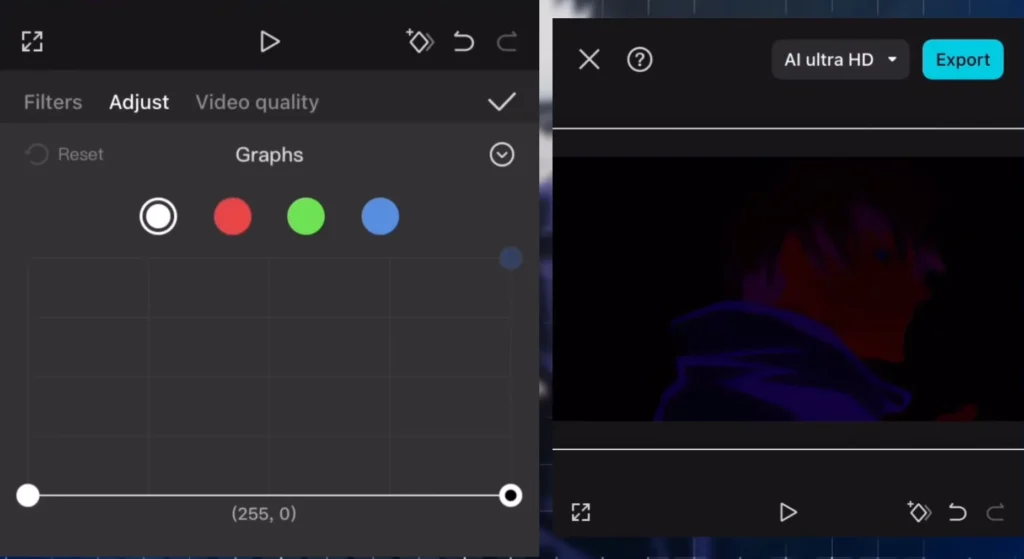
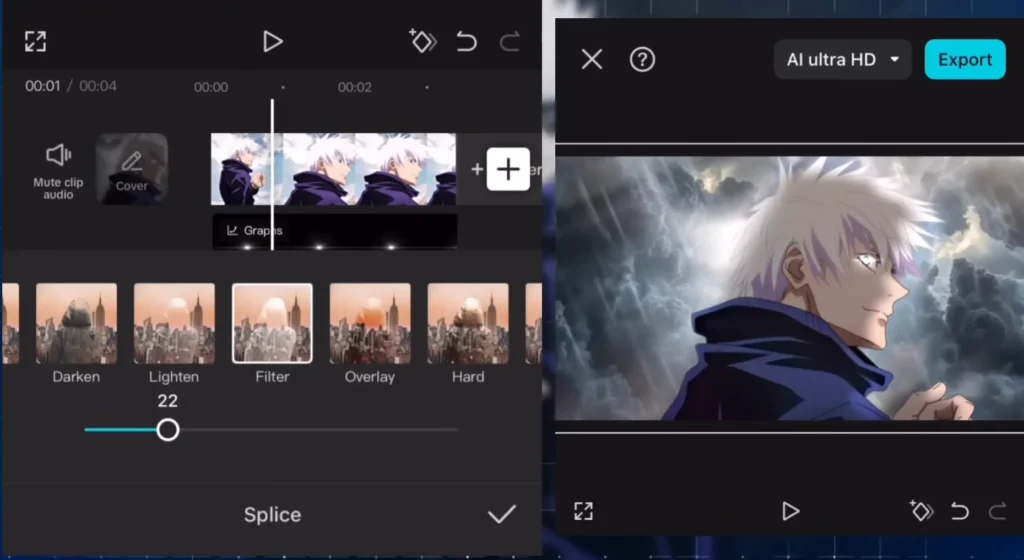
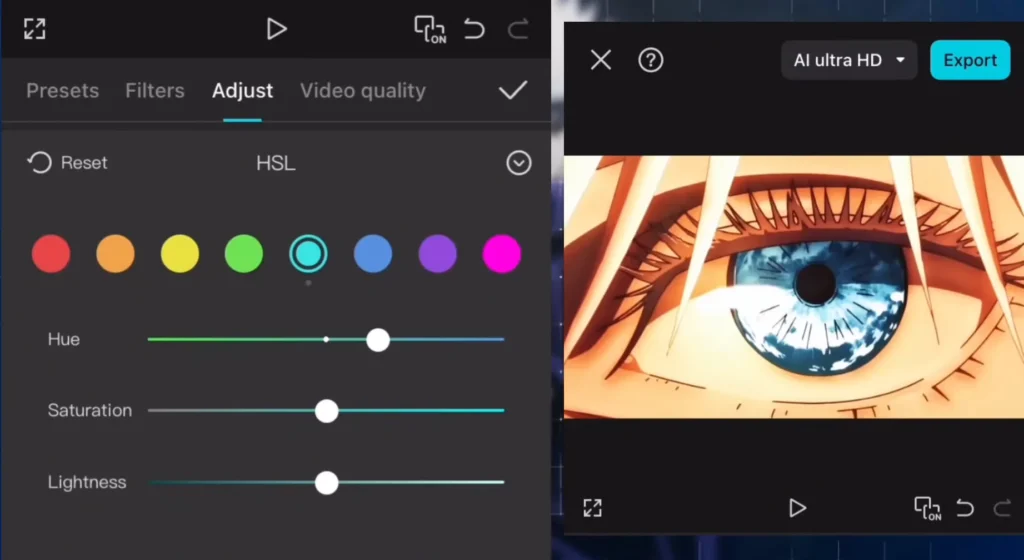
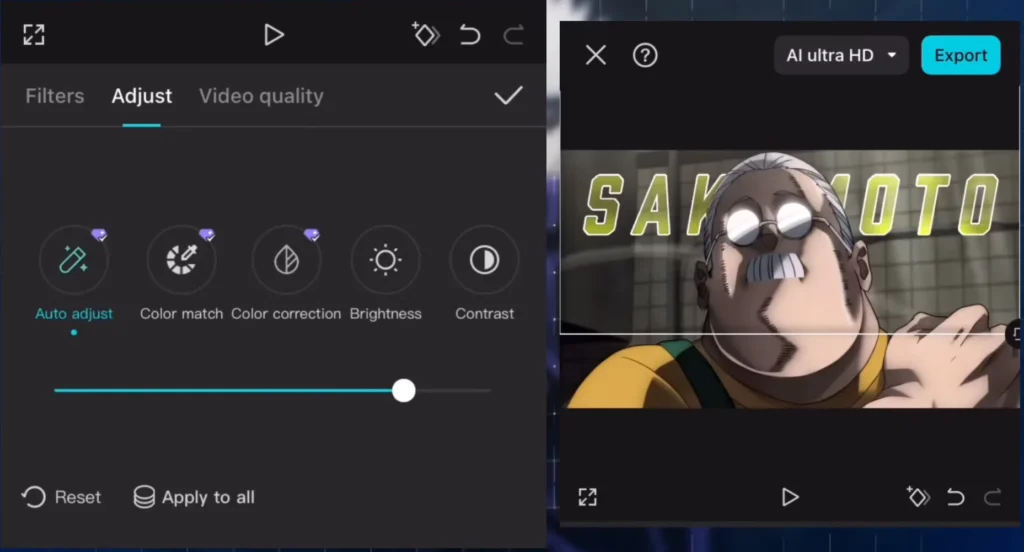
How to Level Up with Filters
Use filters from the search bar and adjust their opacity.
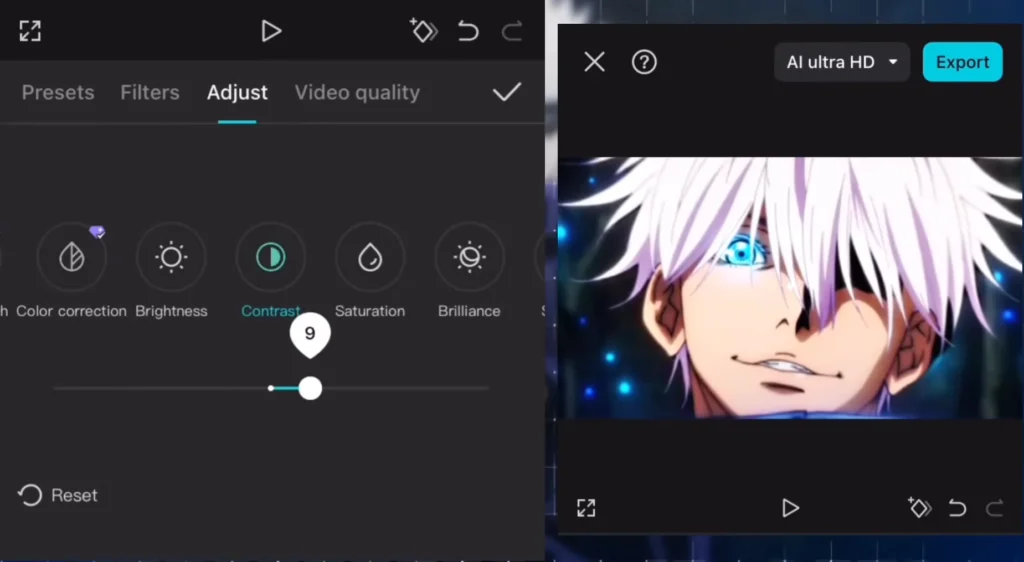
Combine different effects at low strength to find your signature style.
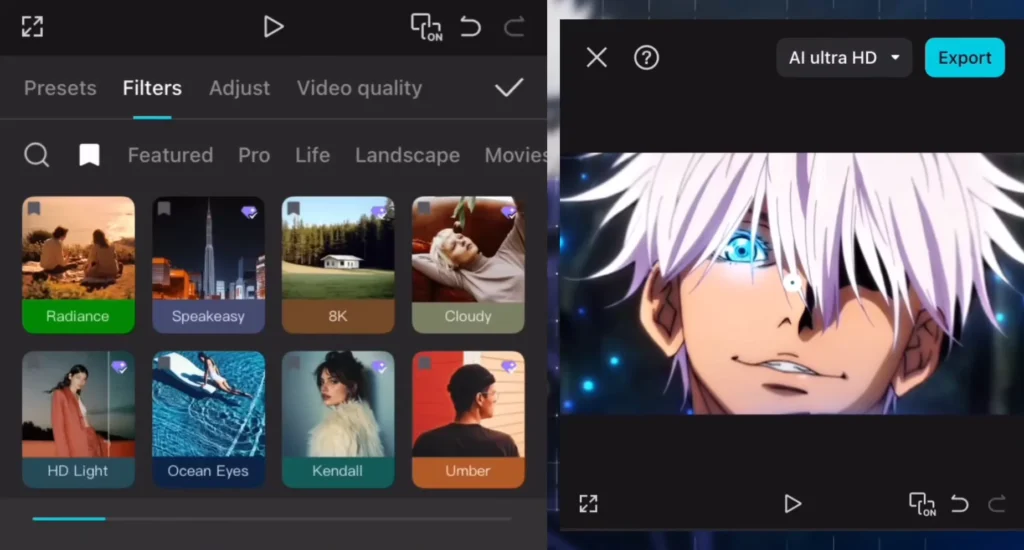
For a cleaner look, experiment with filters in apps like Wink and Ton to sharpen images and boost vibrance.
Quick Tip: Keep It Simple
Less is more with color correction. Small tweaks often make the biggest difference.


Mistake 5: Ignoring Sound Effects and Audio Quality
Why Sound Is Just as Important as Video
Many skip sound effects, but they add impact and draw viewers into the scene. Good audio creates a more immersive experience.
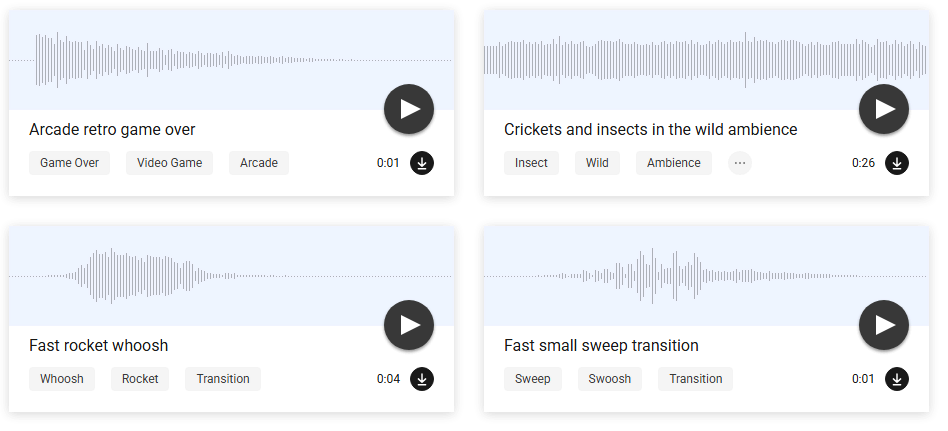
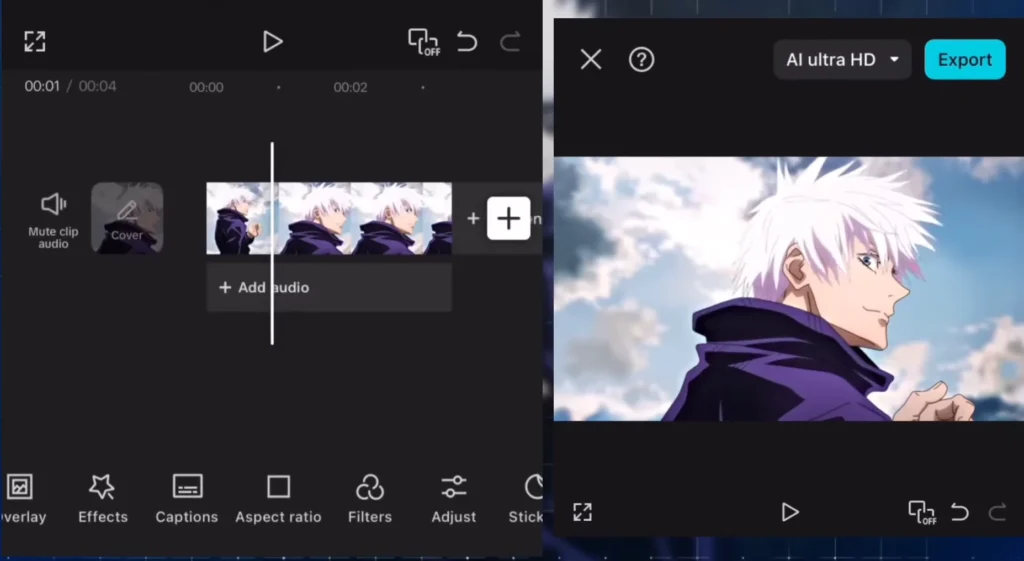
Incorporating High-Quality Sound Effects
Source effects from trusted sites, then align them with visual cues. Fine-tune the sound levels for clarity. Use the retouch tool for cleaner audio and add background sounds for atmosphere.

Remember: Silence Is Not Always Golden
A well-placed SFX can turn a good clip into a great one.
Mistake 6: Basic Text and Overlay Styles
Typical Mistakes with Texts
Using plain fonts and no effects makes your message dull. It’s like wearing plain clothes to a party.
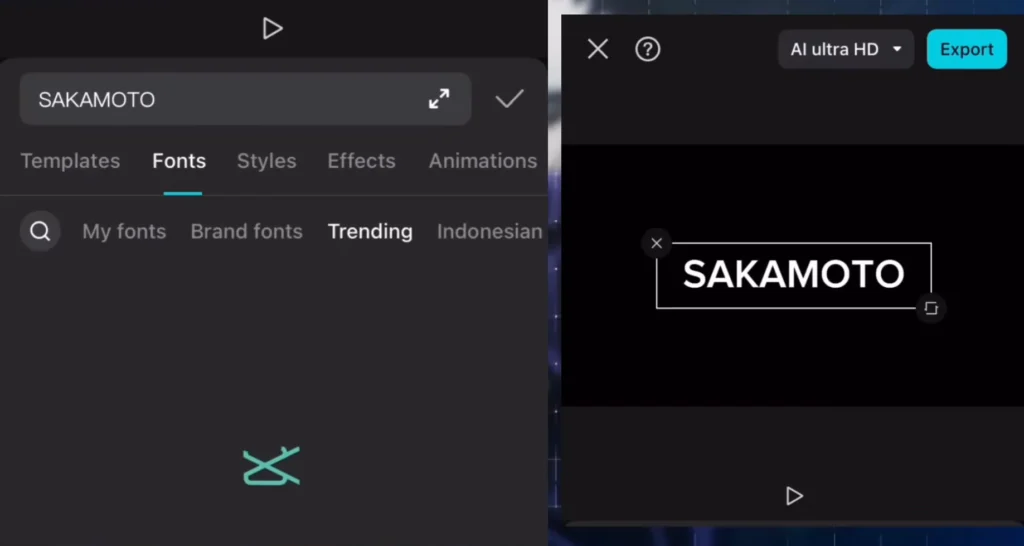
How to Make Text Stand Out
Choose bold, high-impact fonts. Position text behind characters for depth, and add glow or motion effects. Combine overlays like smoke or light rays for a cinematic feel. Sync texts with transitions for a more dynamic look.
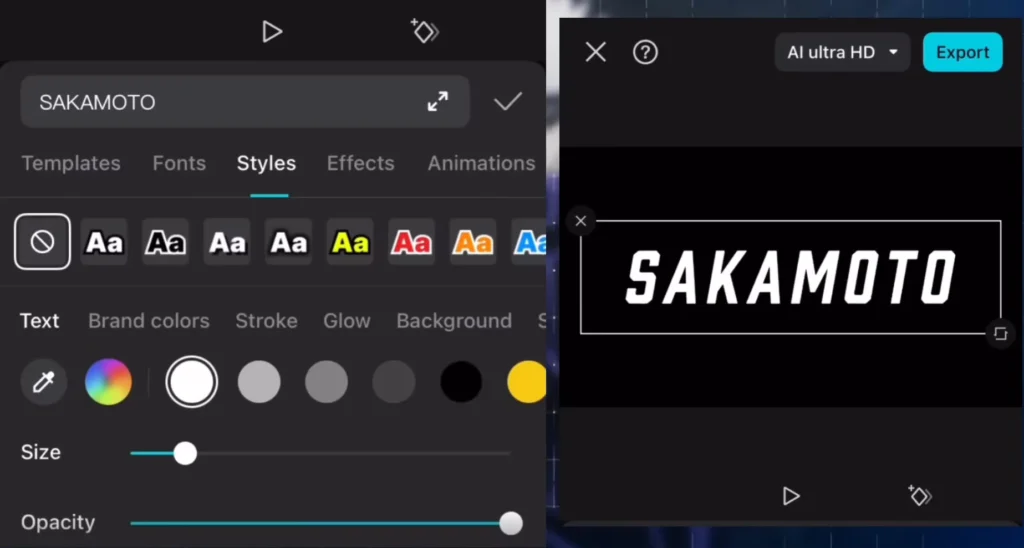
Pro Tip: Use Text Templates
Many apps offer ready-made styles. Just customize the colors and positioning.
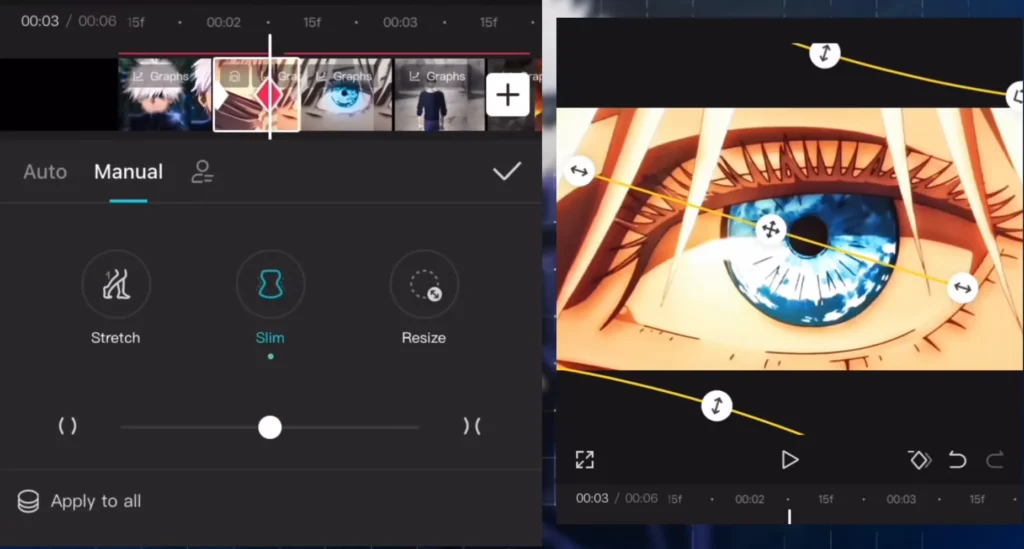
Mistake 7: Overdoing Shake and Motion Effects
The Danger of Excessive Shake
Too much shake distracts viewers and can even cause motion sickness. It should emphasize, not annoy.
Creating Controlled Shake Effects
Use keyframes to add subtle camera shakes or cloud movements. Animate lightning and scene elements for a lively scene. Keep motion effects consistent to avoid pulling viewers out of the moment.
Advanced: Use Animation to Tell a Story
Background clouds moving or lightning strikes animated carefully can add drama without chaos.
Quick Fix Summary Table (Before/After Comparison)
| Mistake | Common Result | Pro Fix | Final Outcome |
|---|---|---|---|
| Overused Glow | Washed-out visuals, lack of focus | Use Glow 2 with duplicated layers + fine-tuned settings | Clean, vibrant glow with cinematic polish |
| Poor Composition | Cluttered scenes, awkward framing | Masking + cloud overlays + shadow layers | Balanced, professional look with depth |
| Weak Transitions | Clunky, disjointed scene shifts | Freeze frames + circle masks synced to beat | Smooth, rhythmic transitions |
| Bad Color Grading | Flat or overexposed visuals | Layered low-opacity filters + external apps | Stylish, clean color tone |
| Missing Sound FX | Emotionless or bland scenes | Add synced, high-quality SFX and ambient layers | Immersive audio-visual experience |
| Basic Text | Flat, generic captions | Motion text, glow + overlays + templates | Dynamic, engaging text integration |
| Excessive Shake | Distracting or dizzying visuals | Controlled camera shake with keyframes | Natural movement that enhances flow |
Real-World Examples or Before/After Clips
Want to see these fixes in action? Try this:
- Record a quick edit before applying any fixes (e.g., plain glow, shaky transitions).
- Then, re-edit using the tips in this post.
- Play them side-by-side or as a TikTok “Fixing My Old Edit” trend.
Tip: Use a clip with a beat drop or motion to show off improved transitions and glows.
Troubleshooting Checklist
Not getting the results you expected? Try these:
- Are you exporting at 1080p or higher?
- Are layers aligned correctly (especially with glow and overlays)?
- Are all effects synced to the beat?
- Did you preview the video on another screen for lighting/color accuracy?
- Are shake effects set to subtle motion (not full jitter)?
- Did you trim unnecessary dead space between scenes?
Practice Challenges or Template Projects
Practice makes perfect! Try these hands-on exercises:
Challenge 1: The Glow Fix
Take a short 3-second clip and:
- Remove the background
- Apply Glow 2
- Duplicate the glow layer
- Add an eye overlay and transition
Challenge 2: Smooth Transition Test
- Use 2 unrelated clips
- Add a white screen overlay
- Invert a circular mask
- Align to music beat
Challenge 3: Text Style Overhaul
- Replace generic text with dynamic glow text
- Use bold fonts, behind-subject masking
- Add ambient smoke/light overlays
Pro Tips from Top Video Editors
“Try duplicating clips and applying glow or motion blur on just the top layer for a subtle cinematic punch.” — @EditWithAJ
“CapCut filters get heavy fast. Use 15-25% opacity and stack 2-3 instead of maxing one.”
“Use white circle mask transitions in sync with snares or claps for ultra-smooth edits.”
“Background audio adds 50% of the emotion. Don’t sleep on it.”
Frequently Asked Questions (FAQ)
Can I fix these mistakes on CapCut mobile?
Yes! Most effects, overlays, and transitions are available on mobile. Some advanced masking is easier on desktop.
Why does my glow look faded after export?
Make sure you’re exporting in high resolution (1080p+), and preview on another device to confirm.
What’s the best beat-sync method in CapCut?
Use the “Add Beat” tool under the audio track, or manually place keyframes on bass hits.
My video still feels flat. What should I adjust?
Start with sound and motion. Add subtle background elements (clouds, light rays) and layer ambient audio.
Related Posts & Next Steps
Keep improving your edits with these guides:
- How to make easy TikTok Edits using CapCut? (Quick Tutorial)
- How to use the Masking Tool in CapCut for Creative Video Editing?
- 7 CapCut Effects to use in your Videos for Getting PRO Level Edits
- Ultimate Guide to MultiCam Editing with CapCut on Mac and PC
Bookmark this page, or share it with fellow editors who want cleaner, pro-level results from CapCut.
Final Thoughts
Avoiding these seven common mistakes can drastically improve your CapCut edits. Focus on clean composition, smooth transitions, vibrant color grading, and impactful sound. Practice makes perfect, so experiment with overlays, effects, and timings.
Remember, the power of editing lies in details, so take your time for each clip.
Ready to level up? Try these tips today, and watch your videos turn professional overnight. For more tutorials and community support, join dedicated editing groups or check out new resources. Your best edits are just a few tweaks away.
Conclusion
Getting your videos to look polished takes effort, but it’s worth it. Fixing issues like dull glows, poor composition, and weak transitions turns amateur clips into professional-looking content.
Keep experimenting with overlays, color grading, and sound effects. The more you learn, the better your videos will become. Start applying these strategies now, and you’ll see the difference immediately.