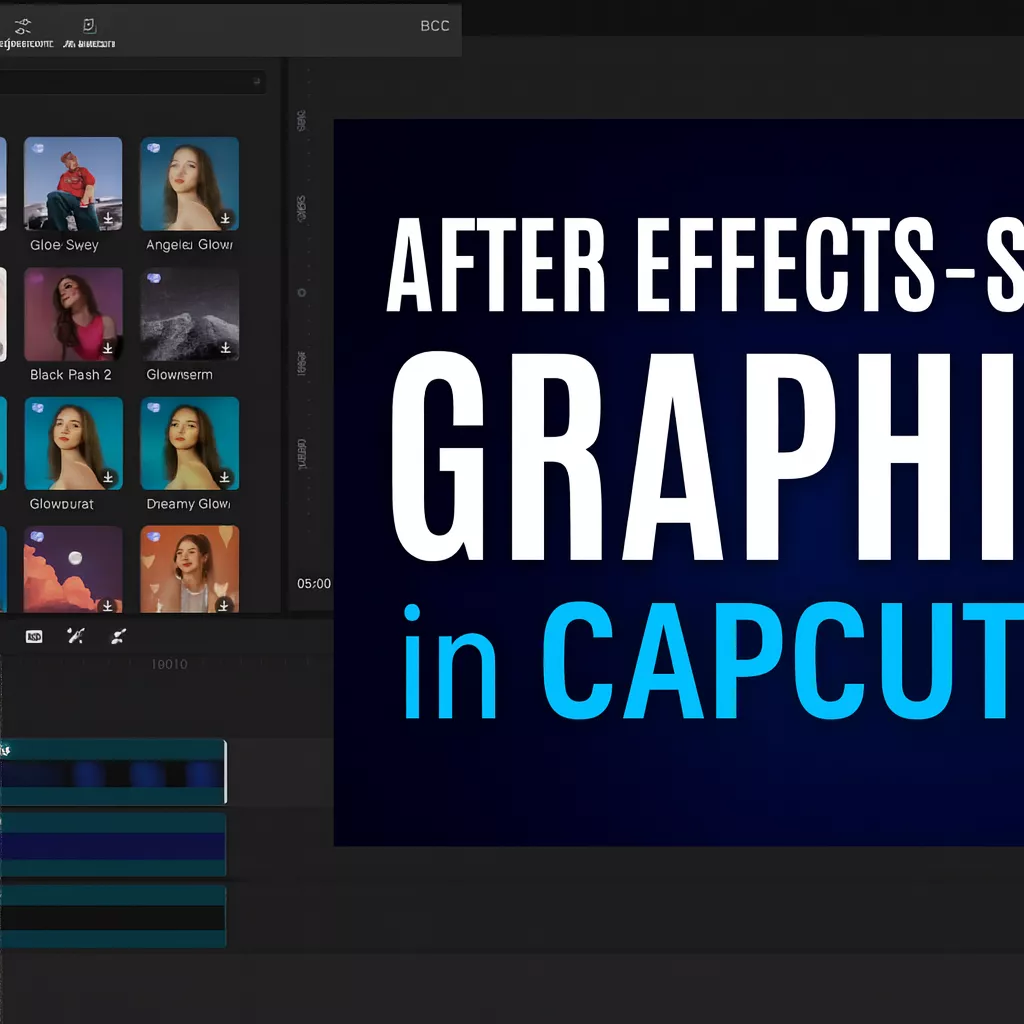
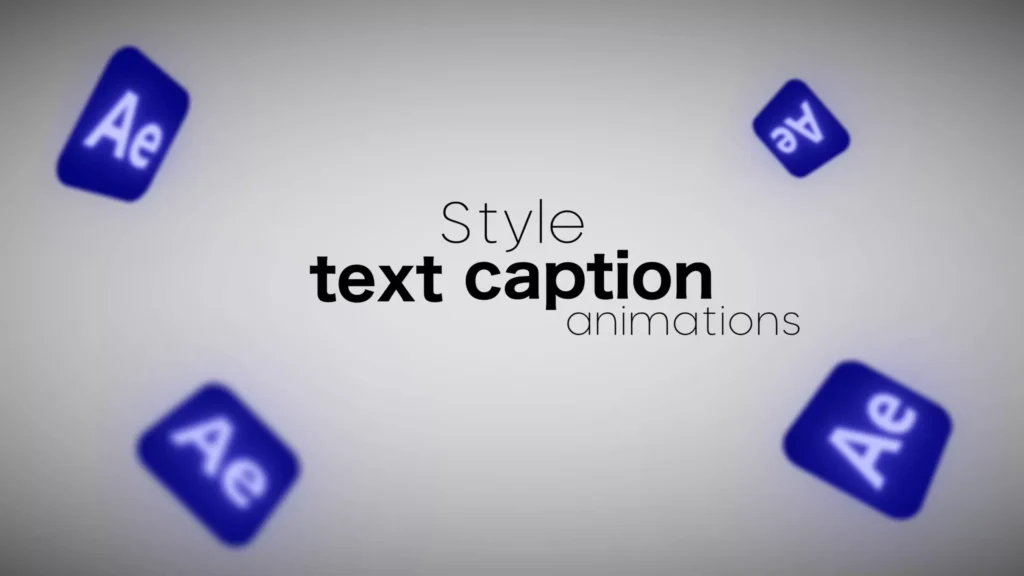
Want your CapCut PRO APK edits to look like they were built in After Effects without the price tag or heavy render times? This guide breaks down how to create After Effects-style text animations, custom backgrounds with texture and motion, shape-based motion graphics with color morphing, smart transitions, and a clean glow that mimics Deep Glow V2.
Everything happens inside CapCut.
By the end, you’ll know the exact steps to build these effects fast, tweak them to your style, and make your edits feel premium.
Creating AE-Style Slide Up and Slide Down Text Captions
This classic caption style is clean and eye-catching. It’s great for reels, shorts, or long-form content where you want readable text that feels designed.
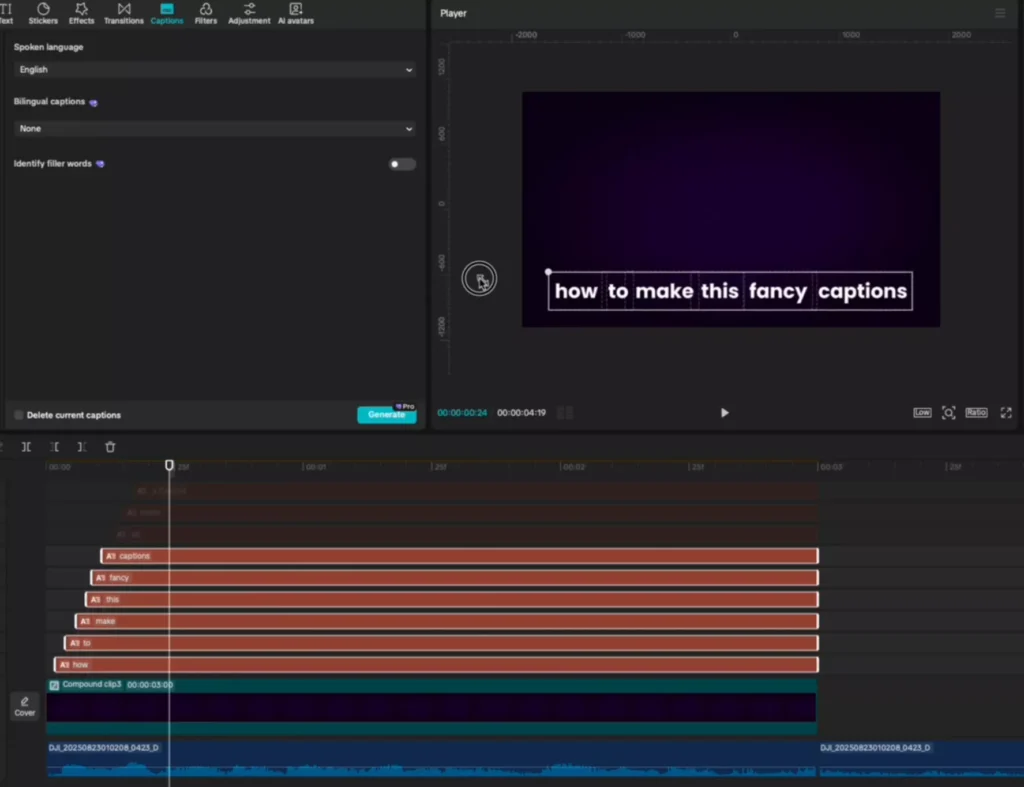
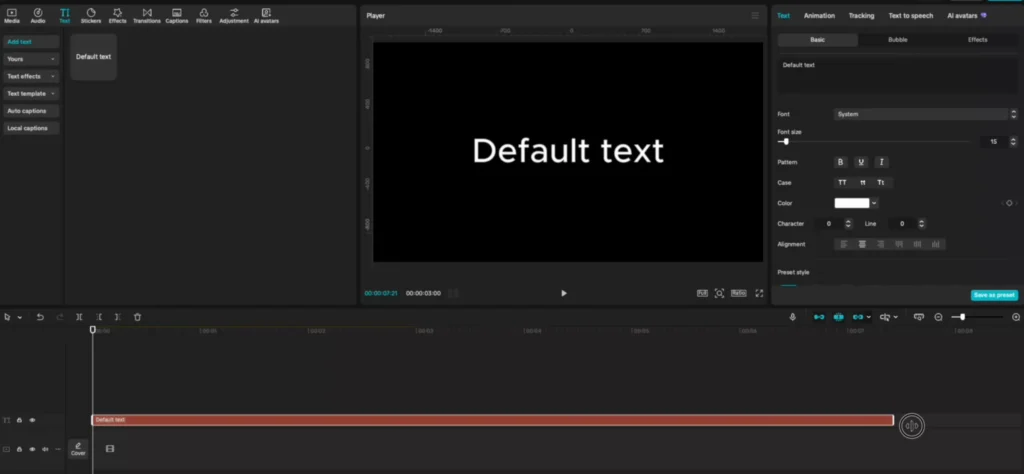
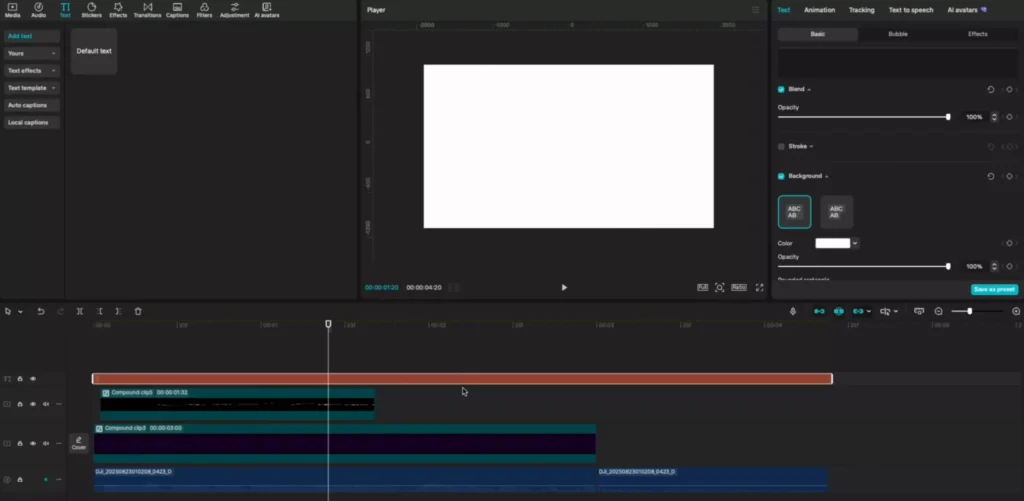
Generating and Splitting Your Captions
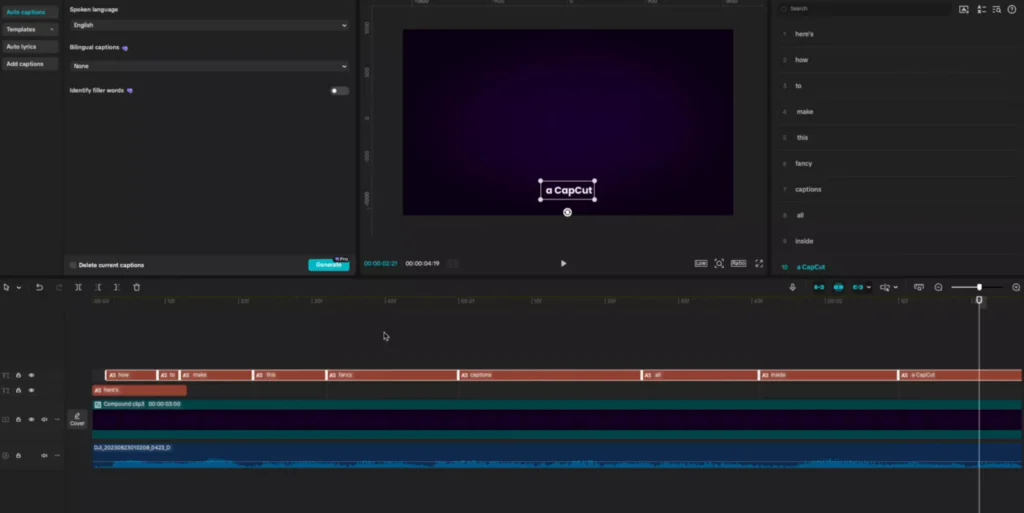
- Select your clip, open the Captions panel, and generate captions automatically.
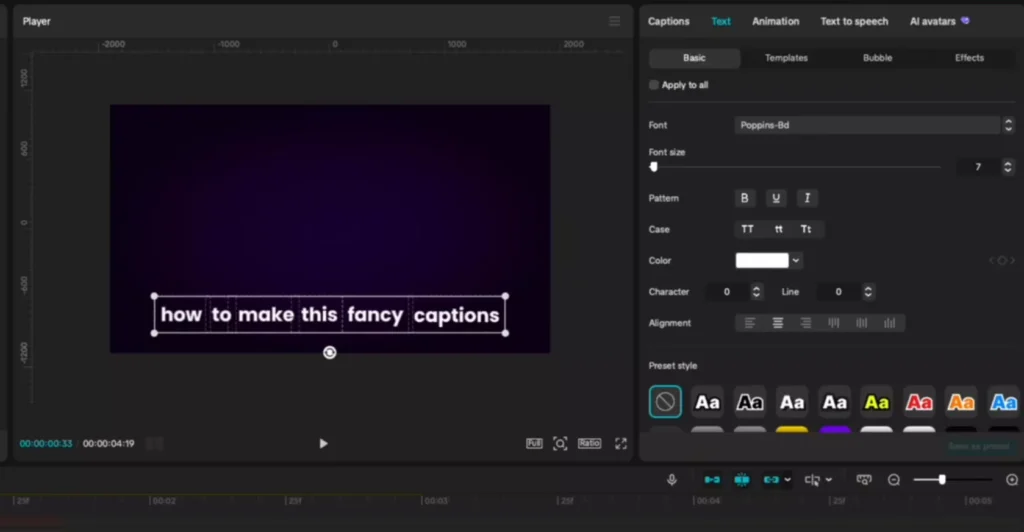
- Choose your font before you start positioning. A bold, clean font helps readability.
- Split the captions into single words: click between each pair of words and press Enter. Repeat for the whole line.
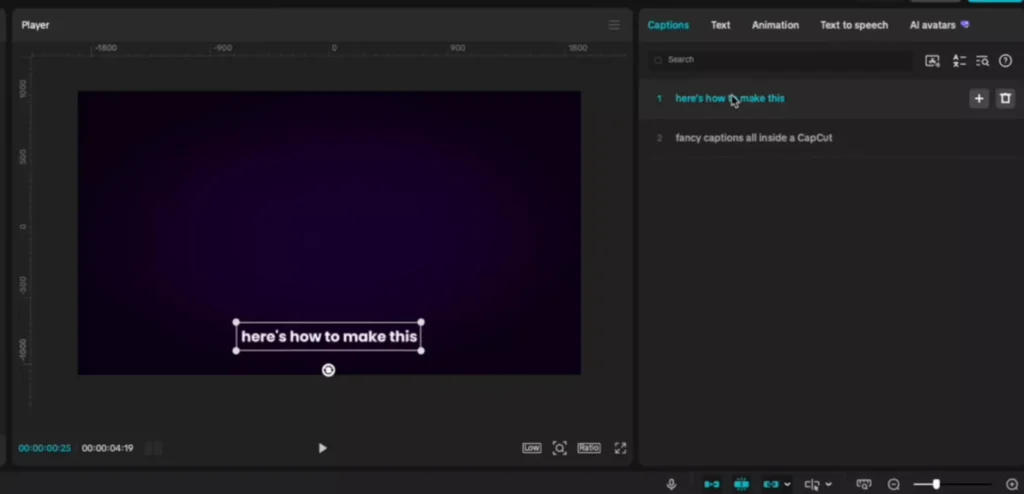
Why split? Each word becomes its own layer so you can control timing and animation per word. It takes a moment, but it’s the only way to get that tight, word-by-word motion.
Tips:
- Choose a font that’s bold and legible at small sizes.
- Keep punctuation attached to words so spacing stays consistent.
- Make sure your line length fits your frame at the final size.
This step takes time but makes animations precise.
Positioning and Animating the Captions
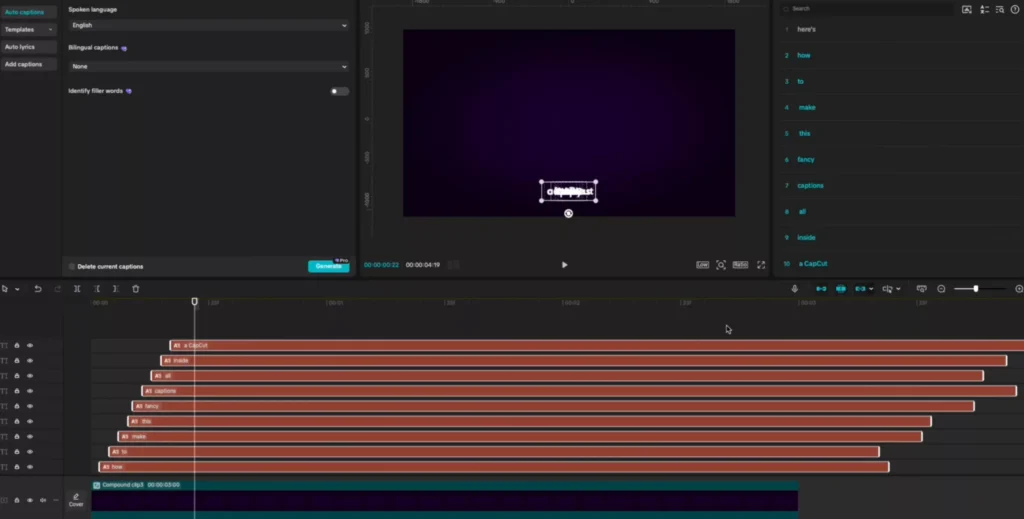
- Select all captions. On Mac, hold Command and click the first layer to deselect it. On Windows, hold Alt and click the first layer. Now nudge the rest up the stack with a small gap between each layer for staggered timing. Two frames works well, but choose what fits your pacing.
- With everything aligned in the stack, drag the group up and trim the end together. Position the playhead and hit S to cut. Delete the excess.
- To clean up the timeline, select the captions and press V to disable visibility. Enable one by one, align the first to a baseline, then place each next word right after it so they sit evenly.
- Group-select the aligned words, move the whole sentence to the bottom or wherever you want it, and resize for impact.
Quick reference:
| Action | Mac | Windows |
|---|---|---|
| Deselect first layer while multi-selecting | Command + click | Alt + click |
| Toggle visibility | V | V |
| Split at playhead | S | S |
For deeper text animation workflows, check this smooth text animations tutorial.
Applying Slide Animations and Bonuses
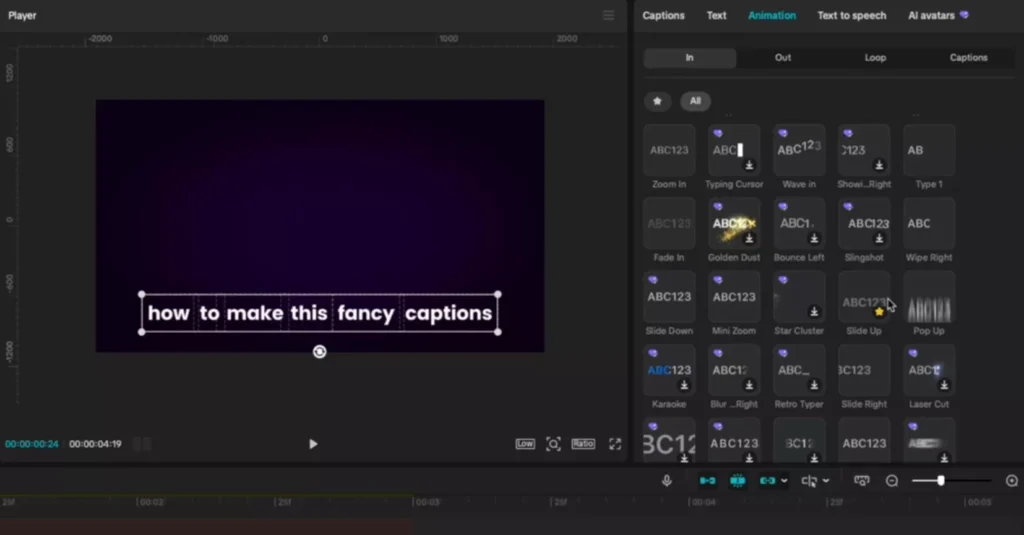
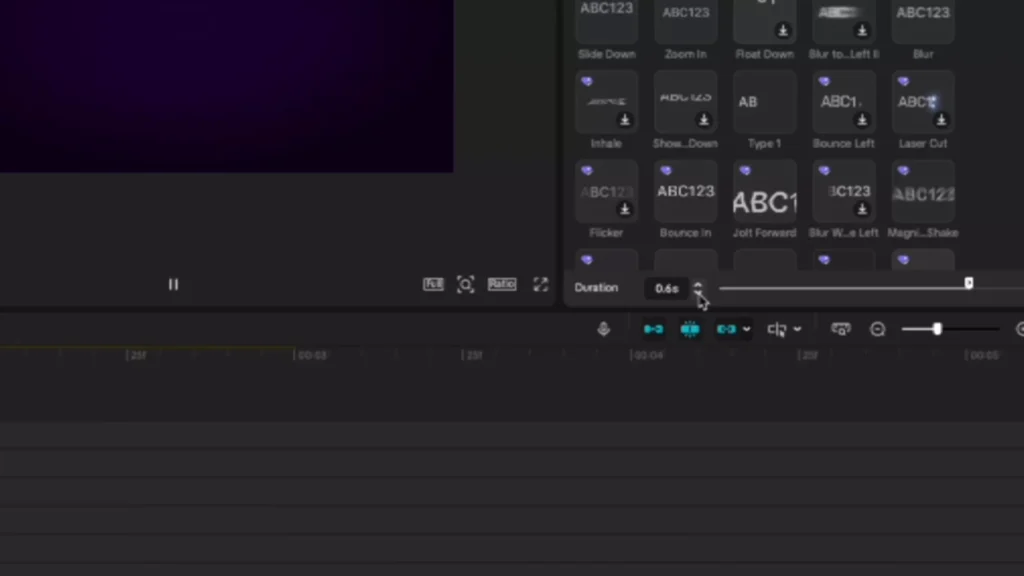
- Open Animation, search for Slide Up, and add it to Favorites. Apply Slide Up to your caption layers. For Slide Down, do the same with Slide Down and position your text near the top.
- To make words disappear cleanly, add an Out animation. Blur works well for a soft exit and blends nicely when the next word fades in.
- Set your animation speed to 0.6 seconds for a refined, premium feel.
One effect in, and your edit looks pro.
Building Custom Backgrounds and Textures from Scratch
Skip generic backgrounds. Build your own with color, masks, and texture inside CapCut. It’s fast, flexible, and matches any brand or vibe.
Setting Up Color Layers
- Add a Default Text layer. Stretch it to the length you need, remove the text, then max the font size so it fills the frame.
- In Background, set your first color, for example blue.
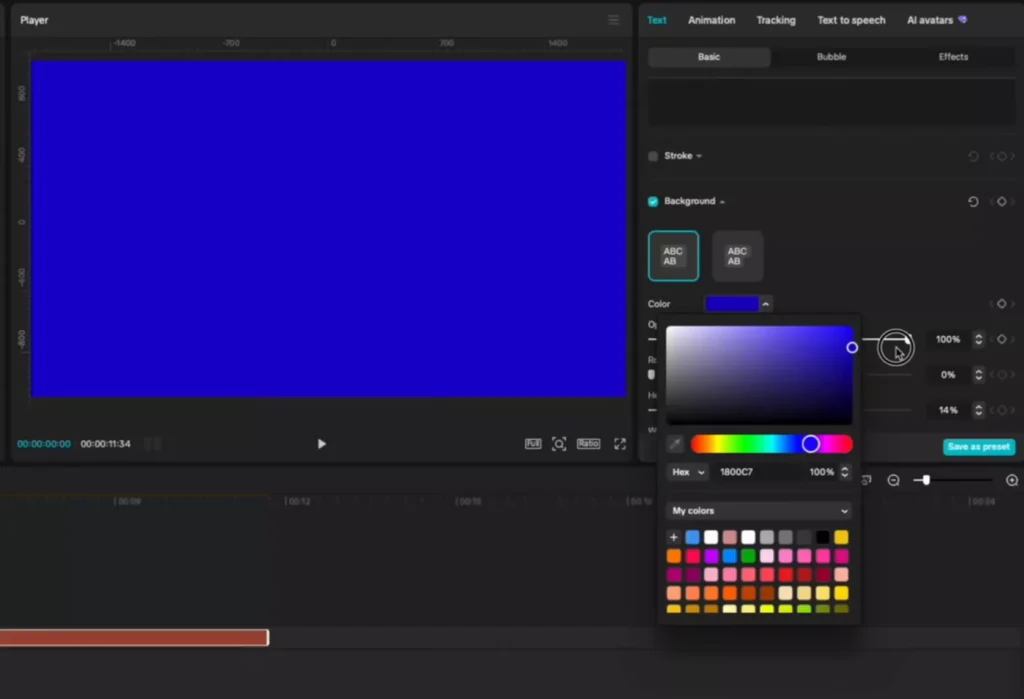
- Duplicate the layer, change the second one to black.
- Create a compound clip for each color layer separately.
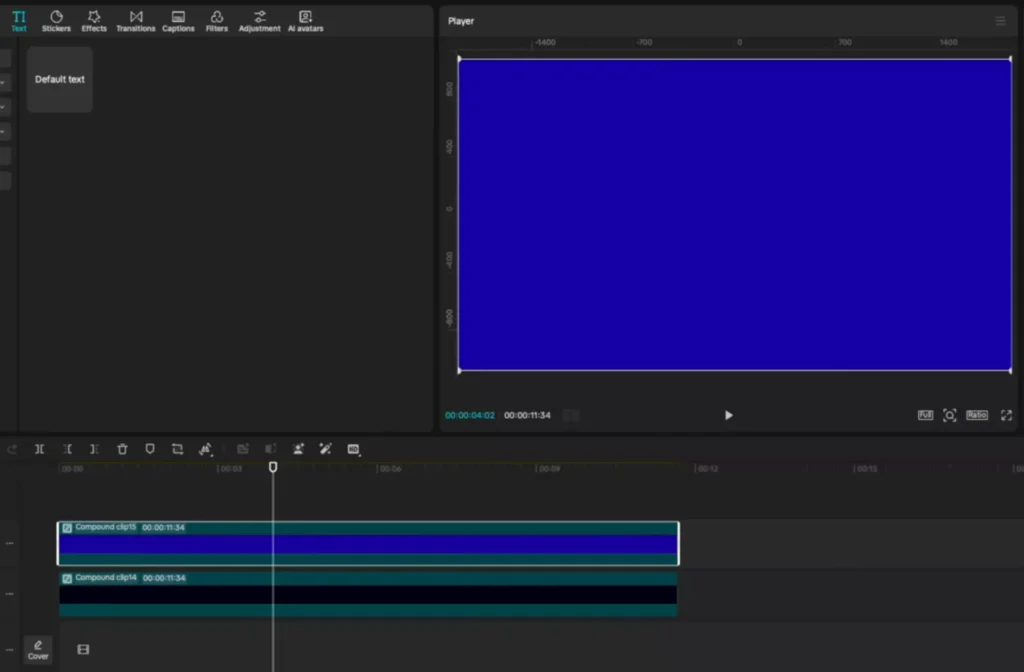
- Put the darker compound on a higher video layer (for example, layer 2) so it can mask over the lighter one.
Mix colors to match your video’s mood. Try complementary colors for strong contrast.
Mask options to try:
- Circle
- Film strip
- Split
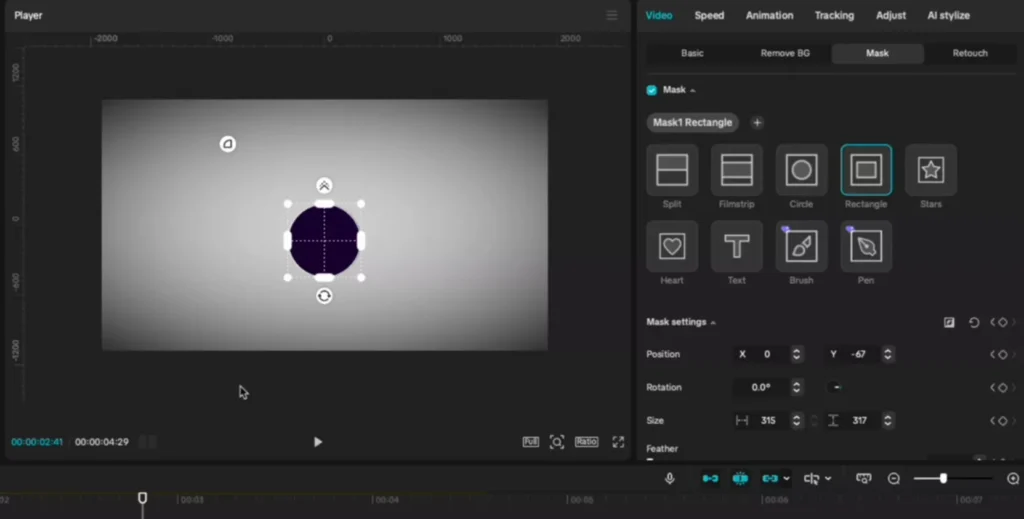
Applying Masks for Splits and Shapes
- Select the darker compound clip. Go to Mask and choose Circle or Split.
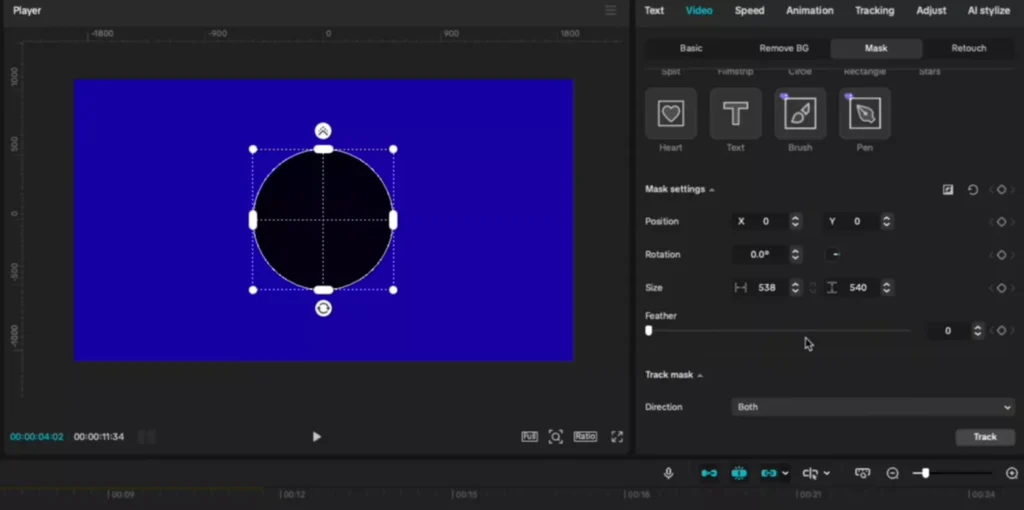
- Rotate the mask to place the dark section bottom and light section top, or any angle you like.
- Increase feather for a soft blend that looks cinematic.
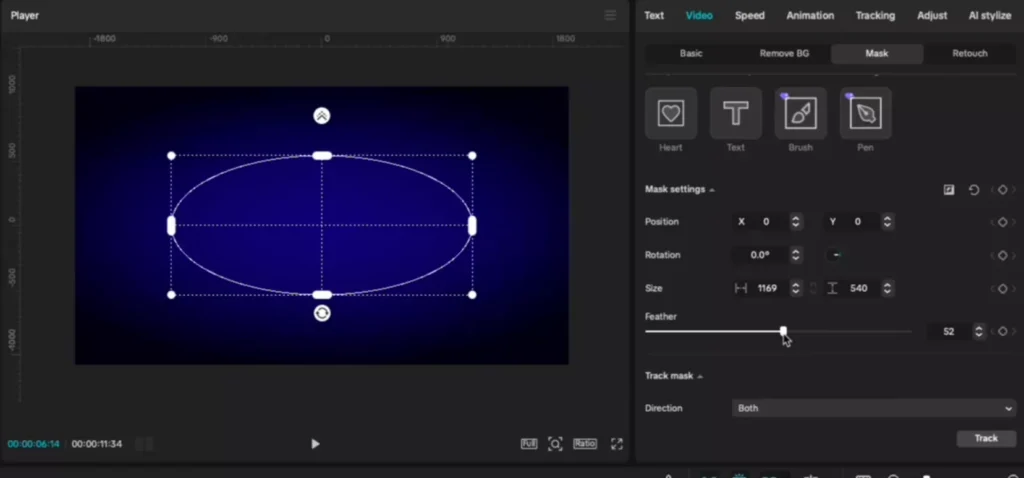
- Prefer a radial look? Use Circle, set Reverse, drag to scale, and feather until it feels smooth.
- When you like the layout, select both color layers and create another compound clip to keep things tidy.
Key tweak: adjust feather until the blend looks natural. Hard edges often look cheap. Soft edges feel designed.
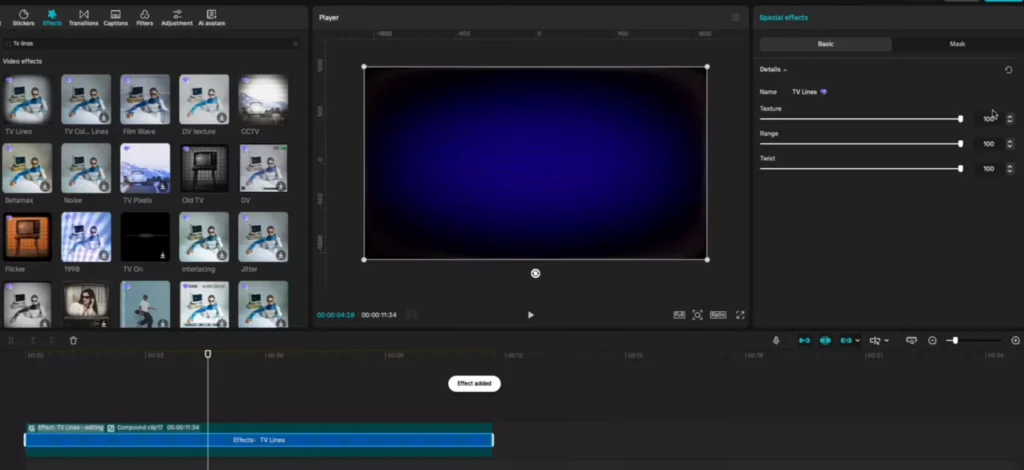
Adding Textures and Effects
Make the background feel tactile with subtle effects or overlays.
- Add the TV Lines effect to the compound clip. Reduce Range for a soft texture.
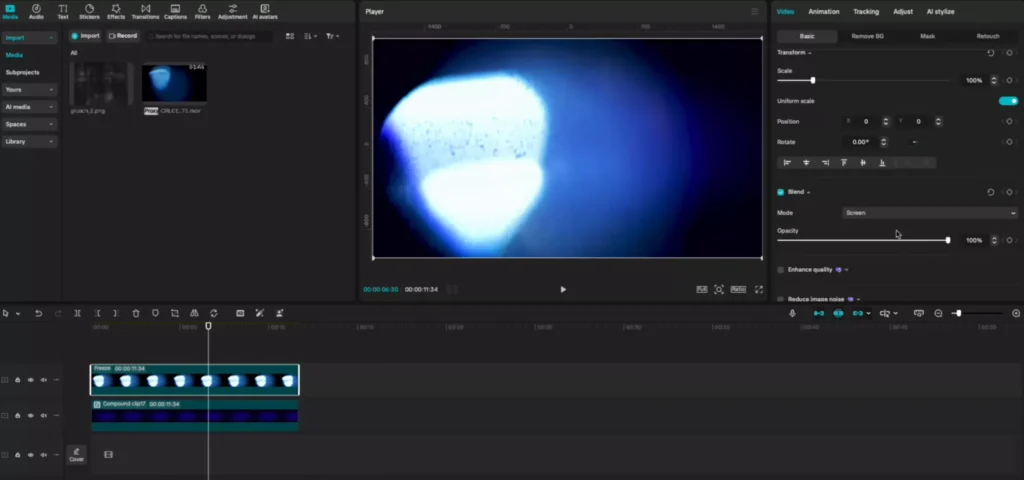
- For a more custom look, bring in assets like rings or lightning. Place on a track above your background.
- Find a nice frame, set the playhead, and use Freeze.
- Delete the extra parts and stretch the freeze frame.
- In Basic, set Blend to Screen and lower Opacity.
- Rotate or resize to taste.
Texture ideas:
- Lightning for energy
- Rings for motion design vibes
- Soft particles for cinematic haze
Color Tweaks and Motion Bonuses
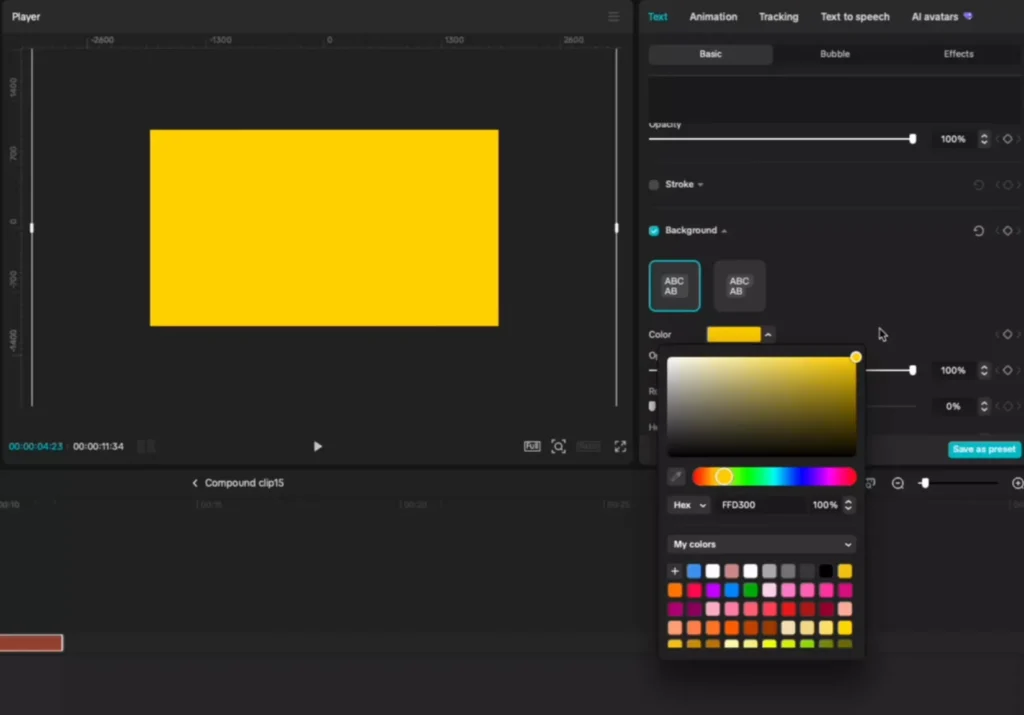
- Change colors anytime. Double-click the layer, choose a new color (for example, switch blue to yellow), then adjust the mask or opacity as needed.
- For advanced texture, use masks on the asset layer instead of blend modes to control where the texture shows.
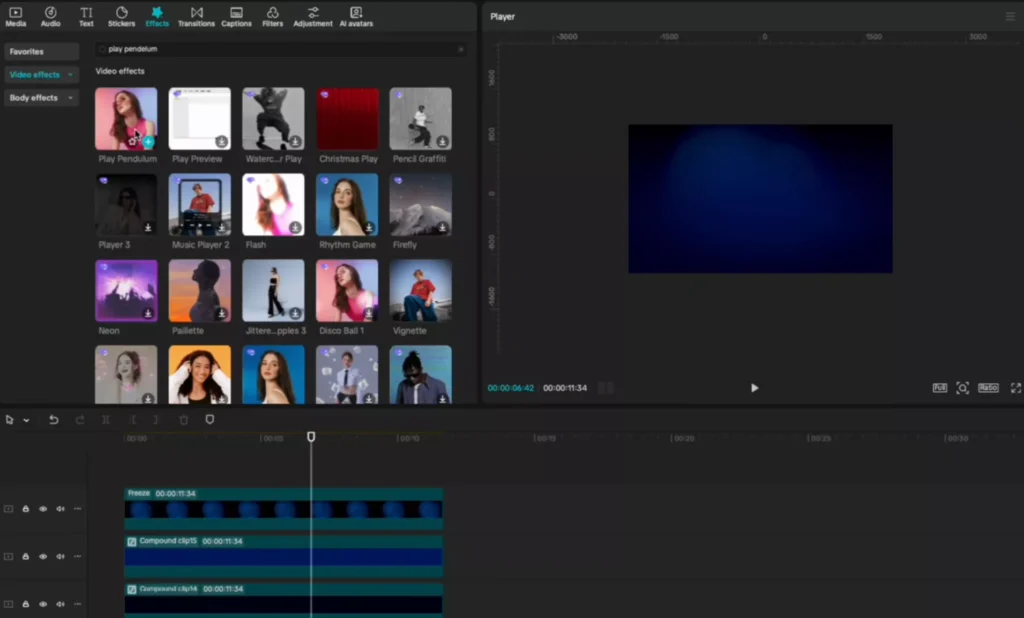
- Add motion with the Pendulum effect for a gentle swinging movement.
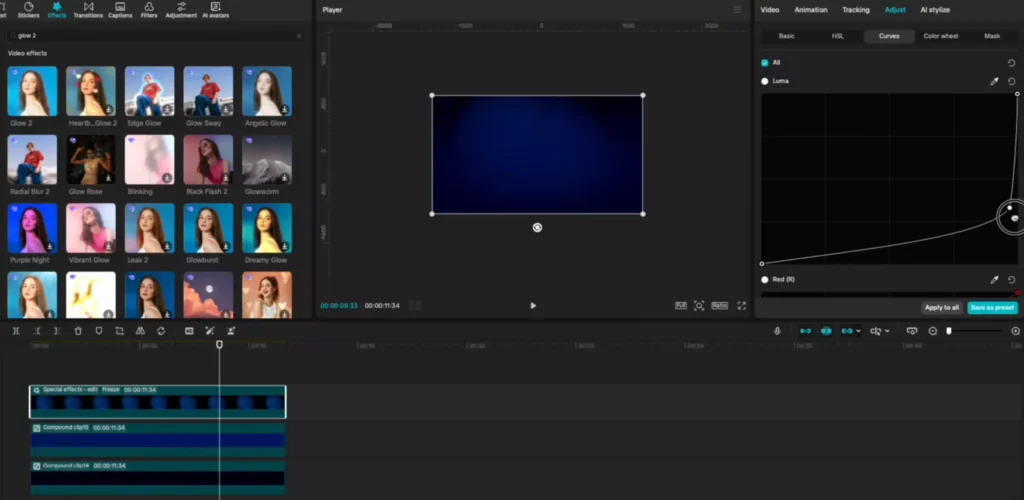
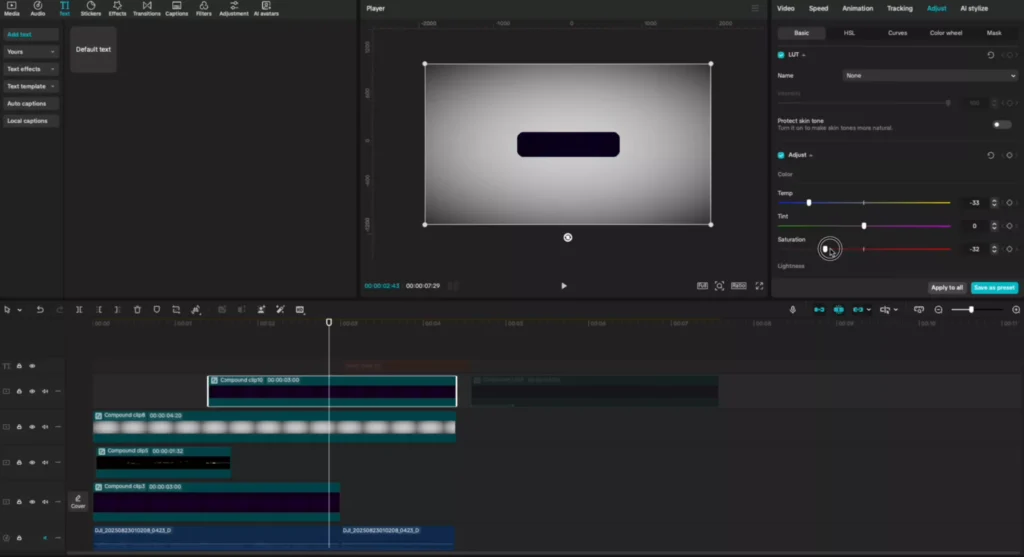
- Fine-tune color with Adjustments. Use Temperature, Exposure, Contrast, and Curves for tight control.
Play in CapCut after reading, experiment freely. If you want ready-to-use looks, explore these video editing asset packs for backgrounds and elements.
Crafting Motion Graphics with Shapes and Color Morphing
Shapes unlock a motion graphics look fast. With keyframes, you can morph color and shape smoothly.
Morphing Colors on Basic Shapes
- Start with a Default Text layer, remove the text, max the size, and set a Background color, for example green.
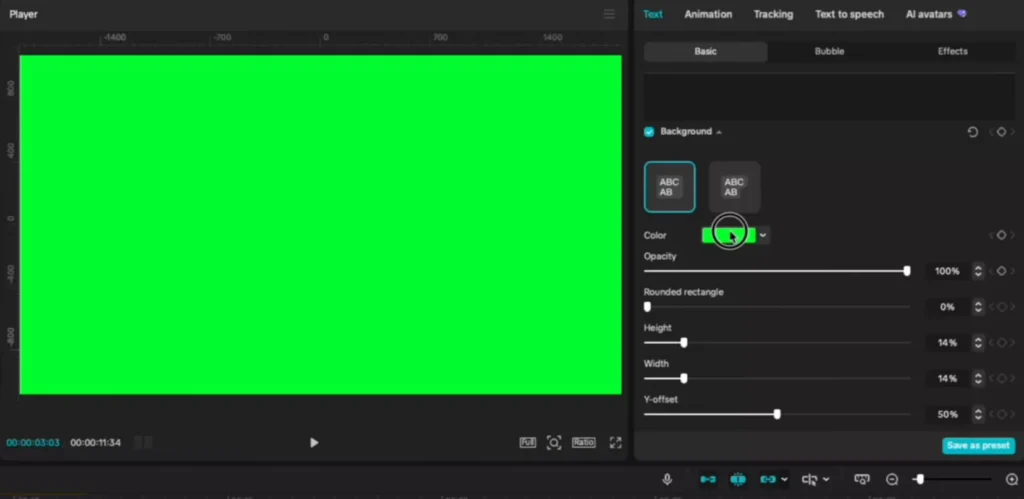
- Click the keyframe diamond next to Background.
- Move forward one frame, change the color to yellow or orange, then add another keyframe.
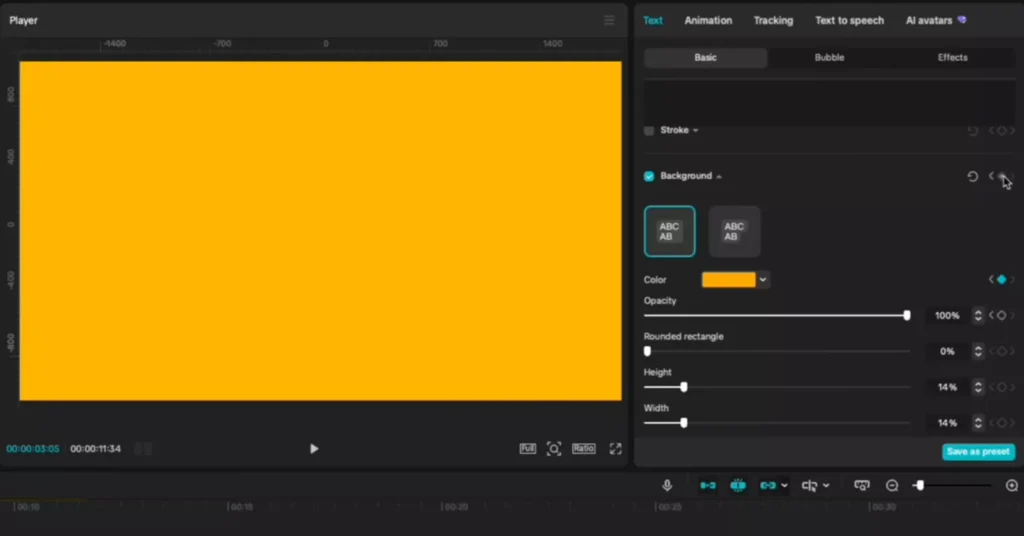
Small gaps create snappy color changes. Larger gaps blend colors over time. For instant morphs, keep it to one frame.
Visualize: Keyframe 1 (green) → Keyframe 2 (yellow) with a one-frame gap.
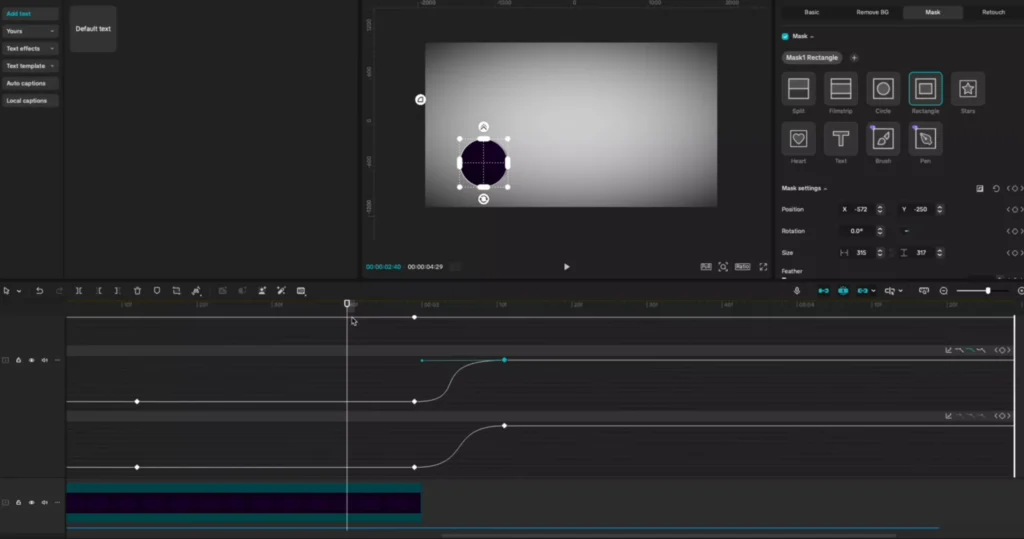
Building and Animating Custom Shapes
- Right-click the layer, create a compound clip.
- Go to Video, open Mask, and choose Rectangle.
- To start with a circle, keep the mask square with Round Corners set high.
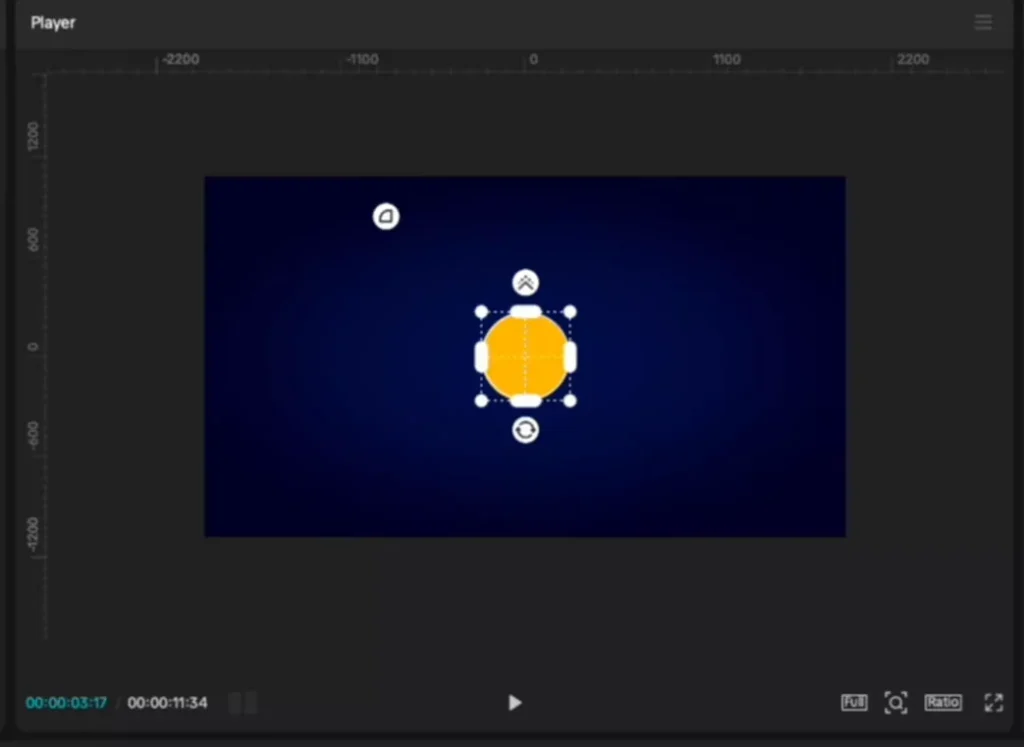
- Add a position keyframe, move a few frames forward, and drag the shape left or up.
- To morph from circle to rectangle, add another keyframe, move forward, then reduce Round Corners from near 100 to around 15. Adjust size as needed.
For smooth motion:
- Right-click the clip, choose Show Variable Speed Animations.
- Select a single keyframe and apply autocurve. Work one keyframe at a time.
- Try quad out on some moves for a fast start and soft end.
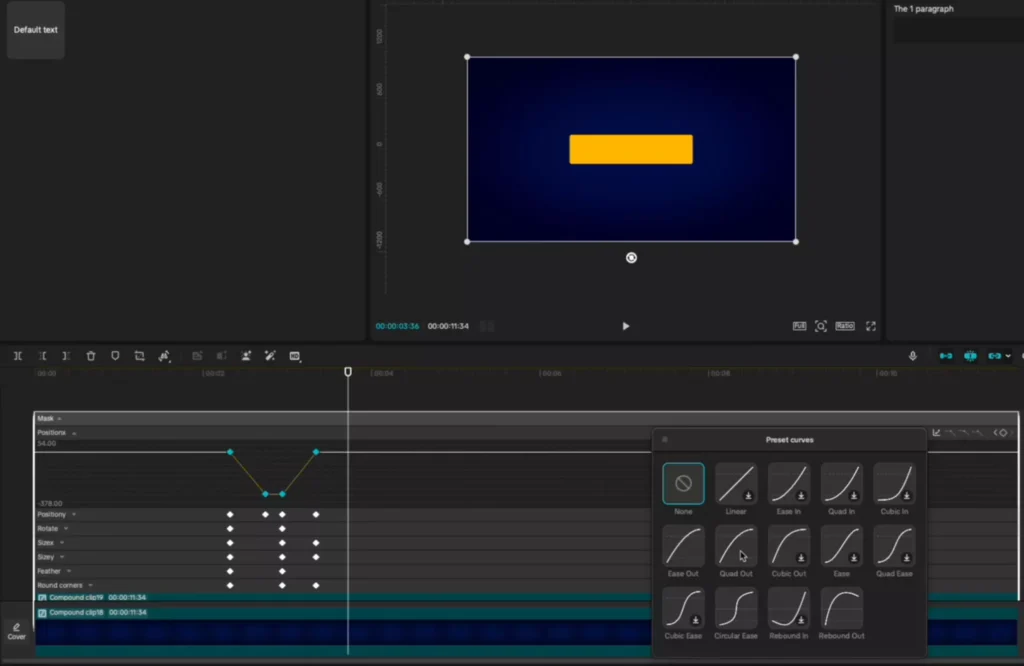
Select one keyframe at a time for autocurve.
Enhancing Shapes with Effects and Strokes
- Boost color with Adjustments. Increase saturation, nudge exposure, and balance contrast.
- Add Glow Too to give your shape a soft halo that feels polished.
- To create a stroke:
- Duplicate the shape layer.
- On the duplicate, go to Basic and scale it up a bit.
- Open Adjustments, then Curves, and push the curve up to brighten.
- Place the duplicate on a higher video layer.
- Apply a mask so only the edges show. This creates a clean outline.
Bonuses:
- Glow for edges
- Stroke for outlines
- Up to your creativity, tweak as needed
Designing Smooth Cinematic Transitions with Motion Graphics
Trade hard cuts for shape-driven transitions that feel intentional and smooth.
Creating Transition Backgrounds
- Build a white or purple background using the color layer method above. Create two color layers, compound them, then mask with Circle.
- Set Reverse to flip which side shows, then feather to taste.
- Once you like it, compound both layers so the background acts as a single piece.
Mask types to use:
- Circle for reveals
- Rectangle with rounded corners for bouncing shapes
Applying Masks for Shape-Based Transitions
- Place the playhead where you want the transition to hit.
- Add a film strip mask to the background compound clip and size it small.

- Keyframe the mask from small to large so it wipes over the frame. Time this to finish as your text finishes animating.
Match with text end for pro flow.
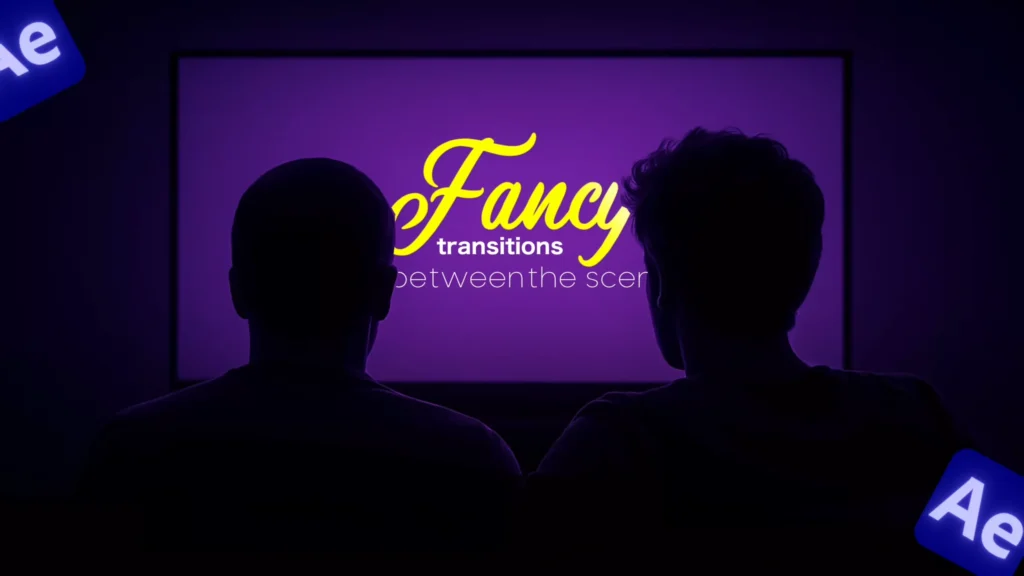
For more transition ideas, try this glare transition effects guide.
Smoothing and Bouncing Effects
- Right-click the clip, Show Variable Speed Animations, and apply autocurve to keyframes.
- Zoom in on the timeline to adjust curves. Pull the blue handles so the move starts fast and eases into the end.
- For a bouncing ball transition:
- Build a rounded rectangle mask set to 100 roundness so it reads like a ball.
- Keyframe the ball’s position as it bounces across the frame and into a new background.
- Apply autocurve to each keyframe for natural ease, then fine-tune spacing for the bounce rhythm.
Play with curves yourself, different videos need different speeds.
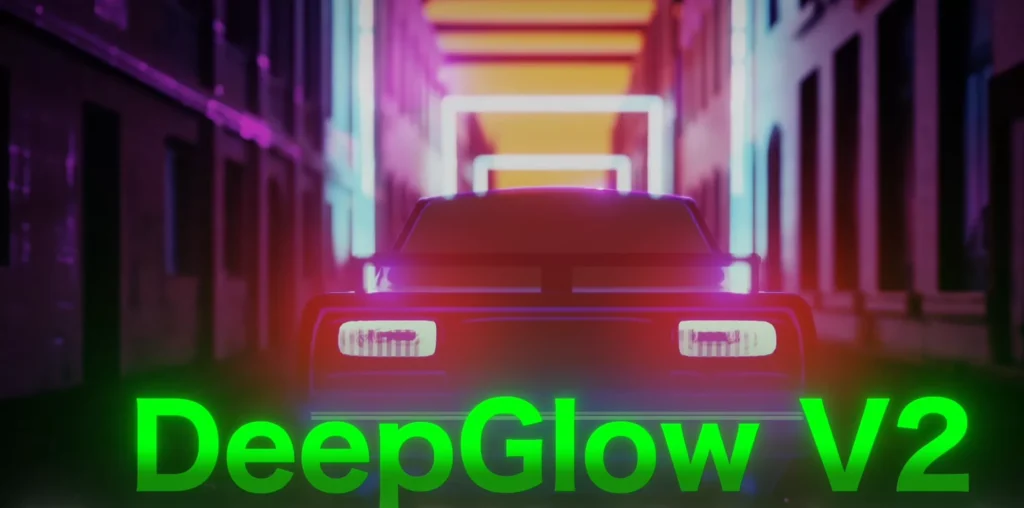
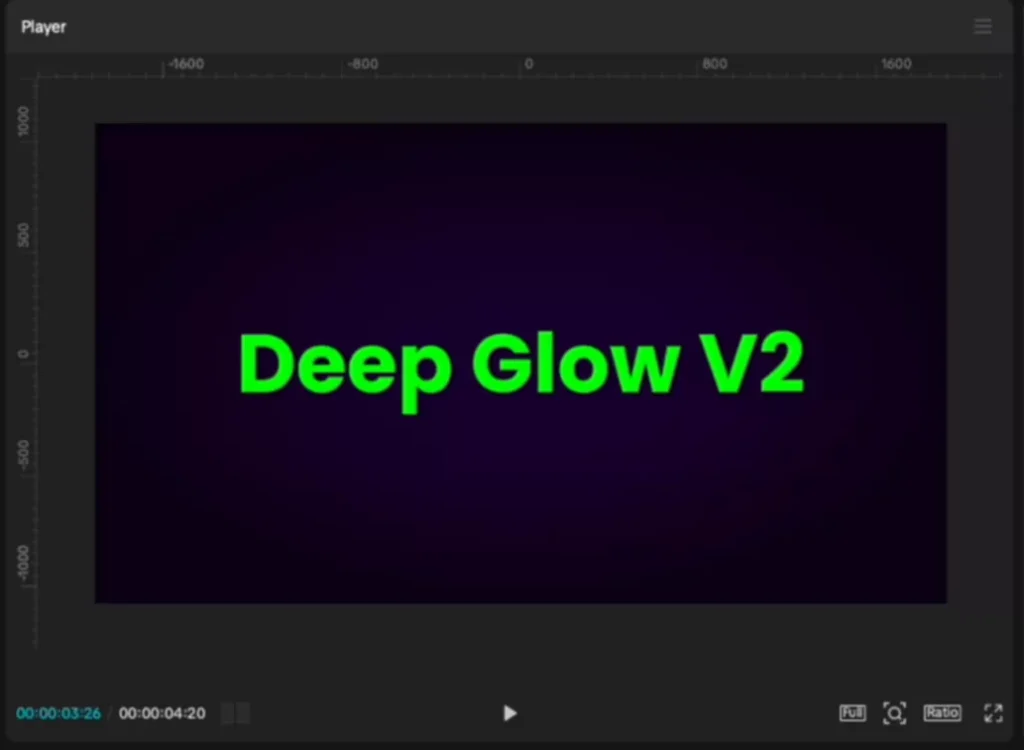
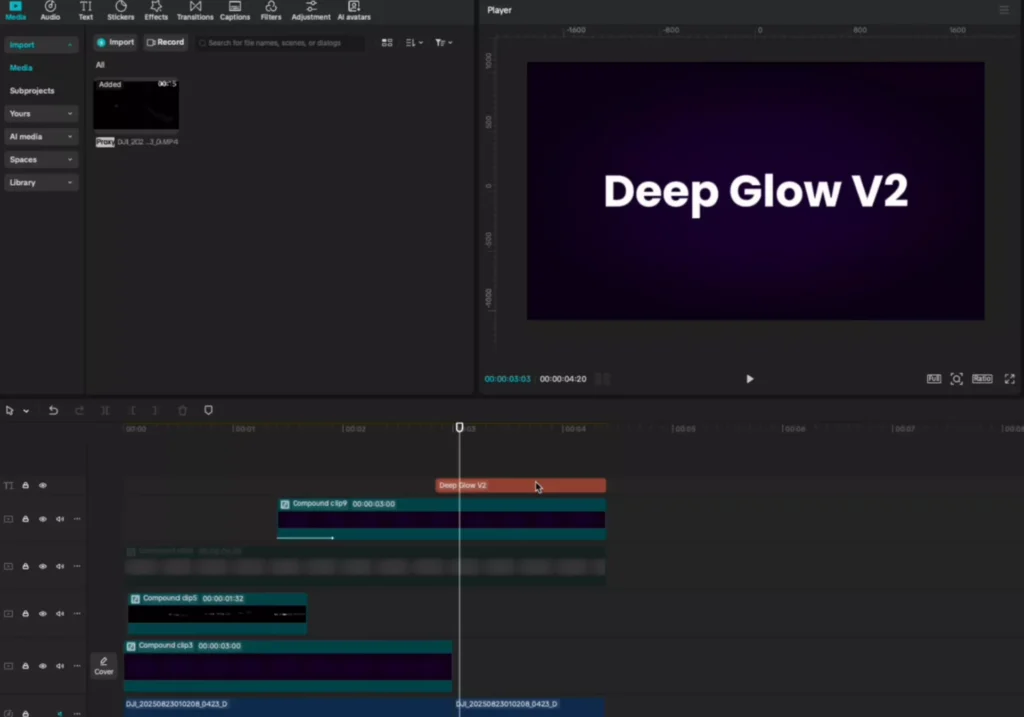
Recreating the Famous Deep Glow V2 Effect in CapCut
The AE Deep Glow V2 plugin costs $99. CapCut’s built-in glow can get you very close, and it renders quickly.
Applying the Glow Effect
- Select your text or icon.
- Right-click and create a compound clip. This step is required so the effect applies correctly.
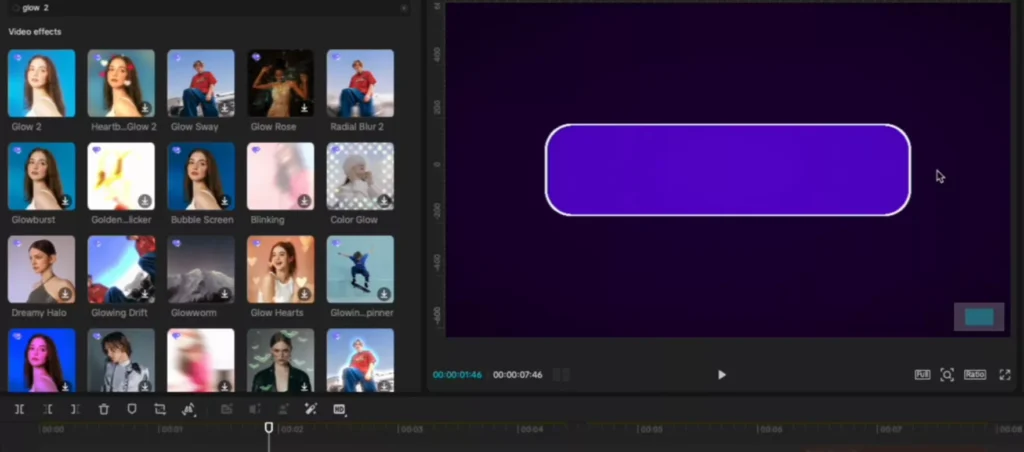
- Open Effects, search for “glow,” and add either Edge Glow or Glow Too to Favorites.
- Drag Glow Too onto the compound clip and tweak intensity, radius, and threshold.

Use it on text, icons, shapes, or overlays. It adds instant polish.
Tips for Best Results
- Use CapCut version 6.4.0 or later. Check in Settings if you don’t see the features above.
- Keep it tasteful. Too much glow makes your video hard to watch.
- Editors who’ve compared the two say CapCut’s glow looks very close to what you get in After Effects.
Extra tip: Apply to anything for instant polish.
Unlocking 10 More High-Quality Effects to Level Up
There are plenty more effects that can raise your edit quality fast. Explore bounces, light leaks, camera moves, and other motion accents. If you want to skip time-consuming builds, grab ready-to-use elements and stack them with the methods above.
Packs to explore:
- Basic Pack
- Premium Pack
- Master Pack
Check out the packs mentioned above to speed up your workflow with backgrounds, textures, and effects that plug into CapCut perfectly.
Conclusion
CapCut can produce work that feels like After Effects when you control text timing, build your own backgrounds, animate shapes with keyframes, and add shape-driven transitions.
The glow effect puts a clean finish on top. Start with one section from this guide and build from there. What effect are you adding to your next edit?