Imagine your raw video footage as a big block of clay. You have great ideas inside, but extra lumps make it messy. Trimming in CapCut lets you carve away the junk fast.
This step sets up clean clips for effects, transitions, and more. CapCut shines here with simple tools anyone can use. No fancy skills needed. You save time and end up with pro-looking videos. Let’s dive into the basics that pros rely on every day.
Section 1: Setting Up Your CapCut Workspace for Precision Cutting
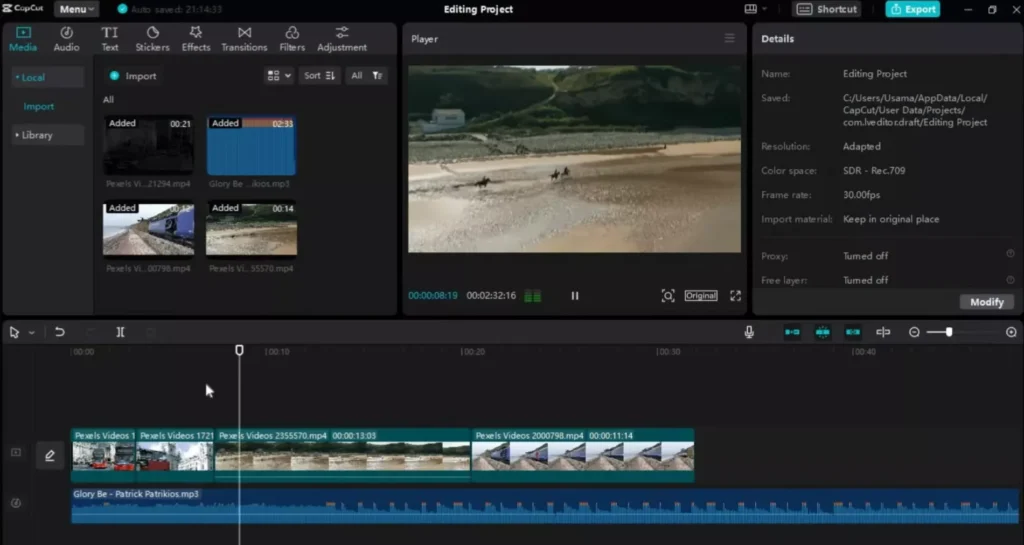
Accessing and Navigating the Existing Project
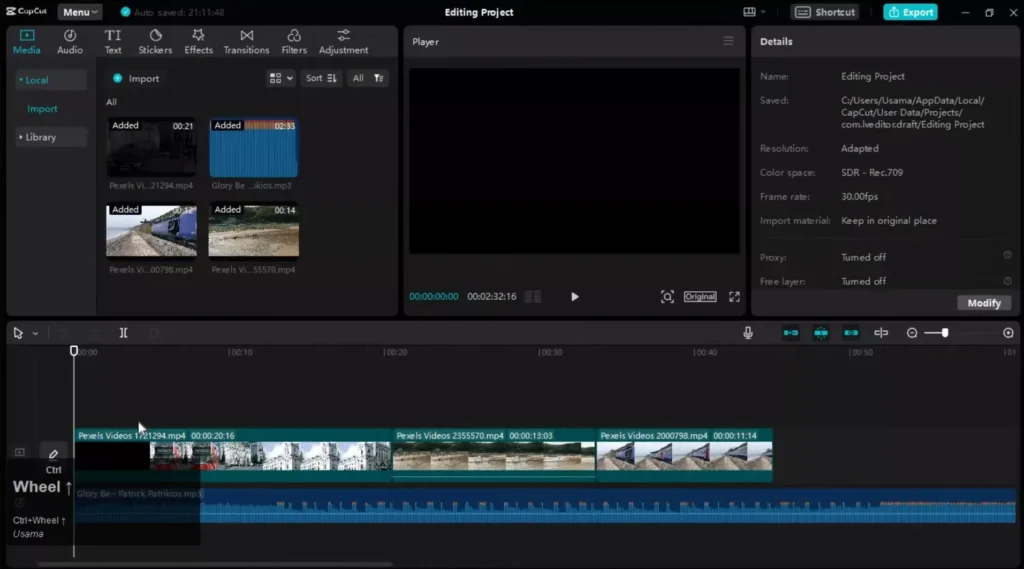
- Open CapCut on your device.
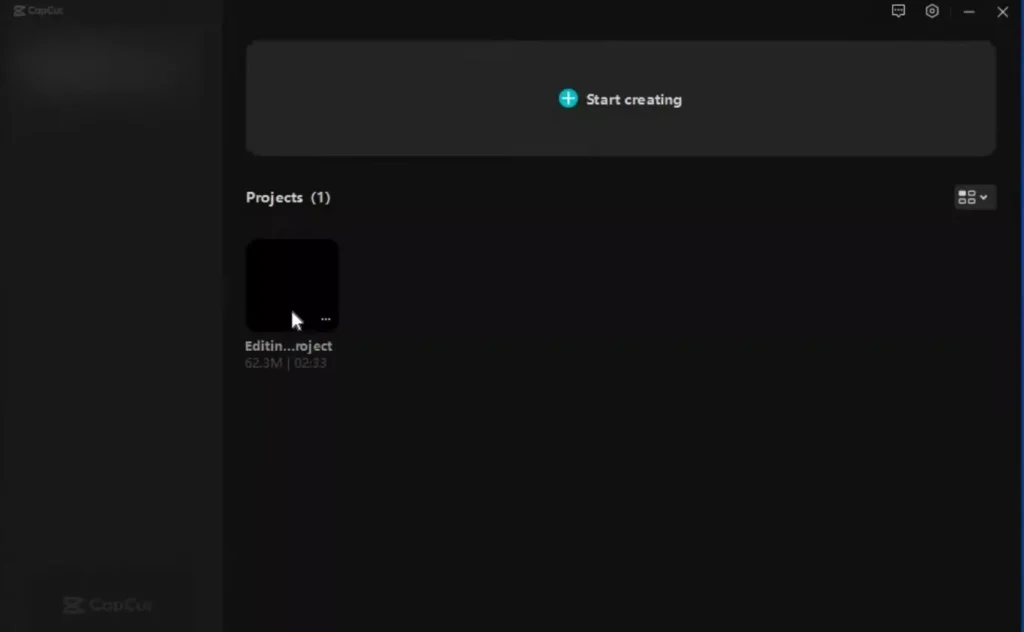
- Tap the project you worked on before.
- It loads right where you left off.
- That’s the auto-save magic at work.
- No lost progress.
- This feature saves hours on big edits.
- You jump straight into action.
Pick up your timeline. See all clips lined up. Play a bit to check flow. Auto-save means less worry about crashes. Pros love this reliability. It keeps your focus on cuts, not saving files.
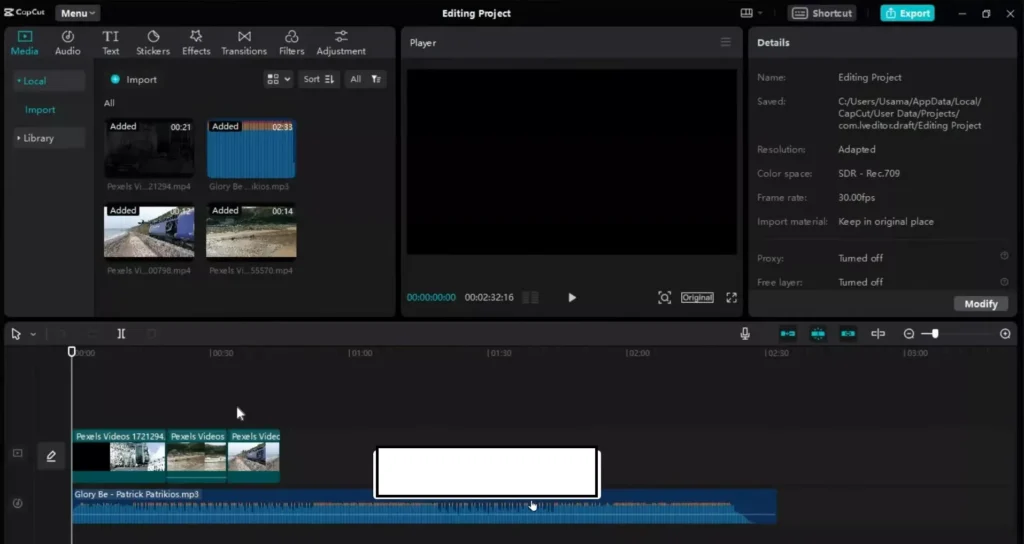
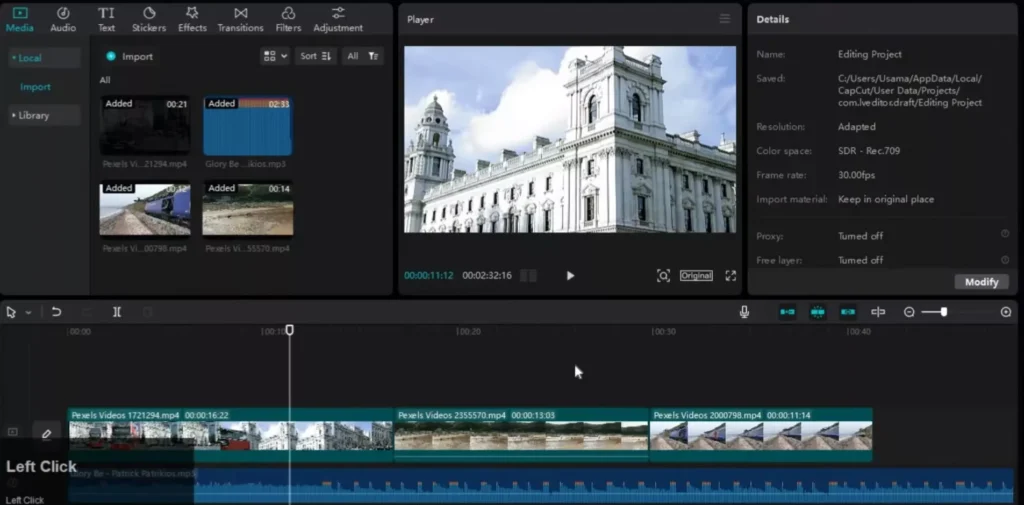
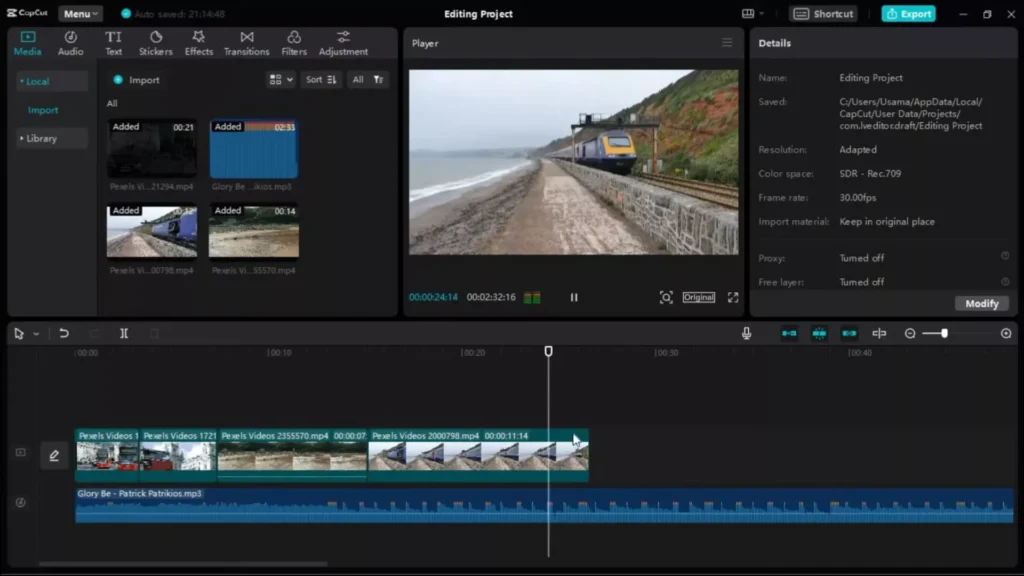
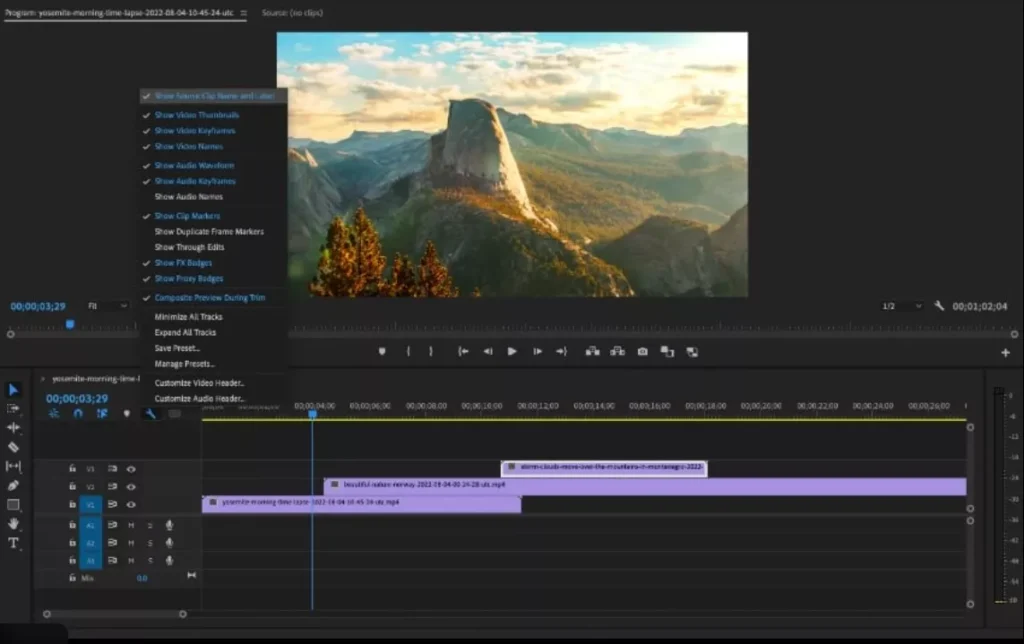
Optimizing Timeline Visibility: Zooming and Scaling
A cramped timeline leads to sloppy cuts. Zoom in for sharp control.
- Hold Control and scroll your mouse wheel up.
- The view expands.
- Scroll down to pull back.
- Simple fix for tiny details.
- Use the slider at the bottom too.
- Drag it left for wide shots.
- Slide right to zoom close.
- Both ways help spot exact frames.

Tip: Always zoom before big splits. It beats guessing where to cut. This setup makes precision easy. Your edits stay tight and on point.
Section 2: Core Methods for Splitting Video Clips
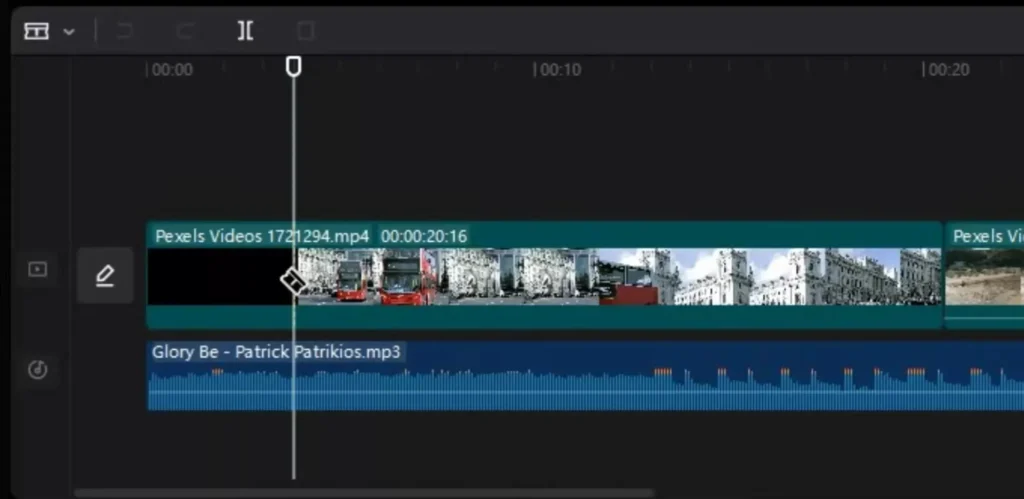
Utilizing the Visual Split Tool for Quick Edits
Spot the playhead on your first clip. Move it to the start point you want. Hit the Split button right there in the toolbar. Boom. It snaps clean to that spot. No hunting needed.
This tool grabs your cursor fast. Say goodbye to rough edges. Preview after. Does it flow? Adjust if not. Great for quick fixes on long shots.
Watch how it works on stock footage. Place playhead at a key moment. Click Split. Two clean pieces form. Pick the one you keep.
Accelerating Workflow with Keyboard Shortcuts
Shortcuts speed everything up. Press Ctrl + B. The clip splits at your playhead. No mouse clicks. Your hands fly across the keyboard.
Use this for back-to-back cuts. It feels like second nature after a few tries. Editing time drops in half.
- Move playhead.
- Hit Ctrl + B.
- Delete junk.
Practice on short clips first. Soon you’ll edit twice as fast. Shortcuts turn slow work into a breeze.
Trimming vs. Splitting: Understanding the Difference in Application
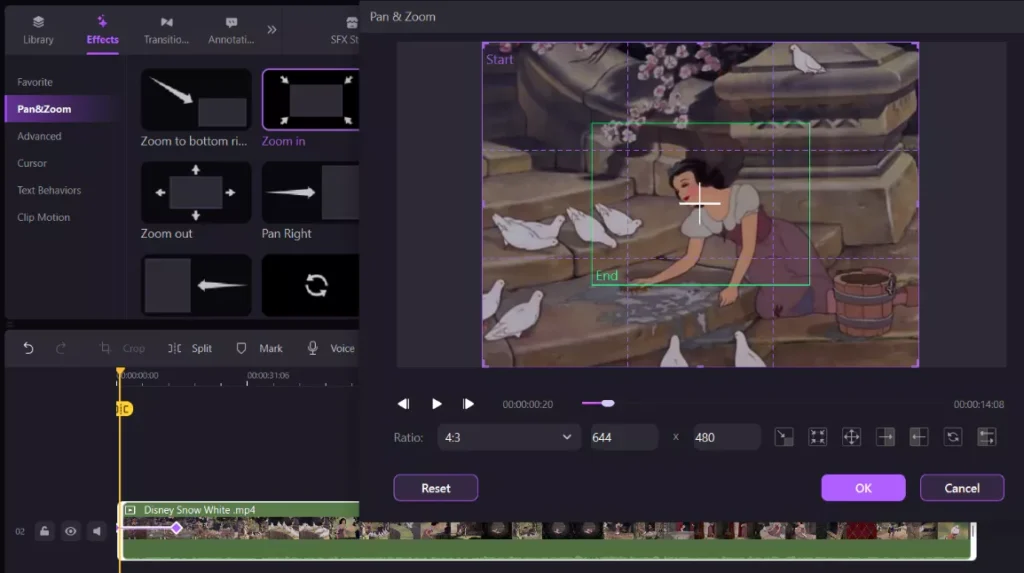
Splitting makes two clips from one. Great when you need an effect in the middle. Like starting a new scene with a zoom. Trim chops ends off without full splits.
Think of splitting like slicing bread. You get exact pieces. Trimming shaves the crust. Use split for inserts. Trim for simple shortenings.
Example: Long talking head? Split at pauses for reactions. Trim dead air at ends. Know when to use each. Your story stays punchy.
Section 3: Removing Unwanted Footage: Deleting and Refining Edits
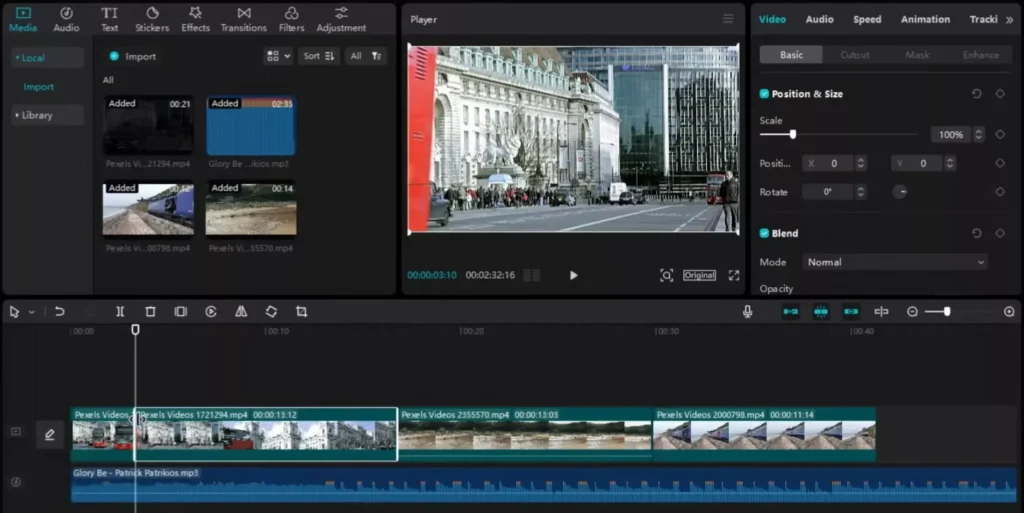
Deleting Excess Footage After the Initial Split
Split done? Select the bad part. It highlights in white. Hit Delete. Gone forever. Your timeline cleans up fast.
Start with the front junk. Split early. Delete the lead-in. Now your video kicks off strong. No slow builds.
Check the end too. Drag playhead. Split. Delete tail. Clean slate every time. Repeat across clips.
Iterative Trimming for Finalizing Clip Lengths
Play your clip back. Spot more extras? Split again. Delete. Rinse and repeat. Each pass sharpens the cut.
Aim for narrative flow. Does this bit push the story? Keep it. Dull stares? Cut. Previews guide you.
- Shorten walks to key steps.
- Trim silences under two seconds.
- Match beats in music.
This loop builds tight footage. Your final video hooks viewers quick.
Section 4: Applying Trimming Principles to Audio Tracks
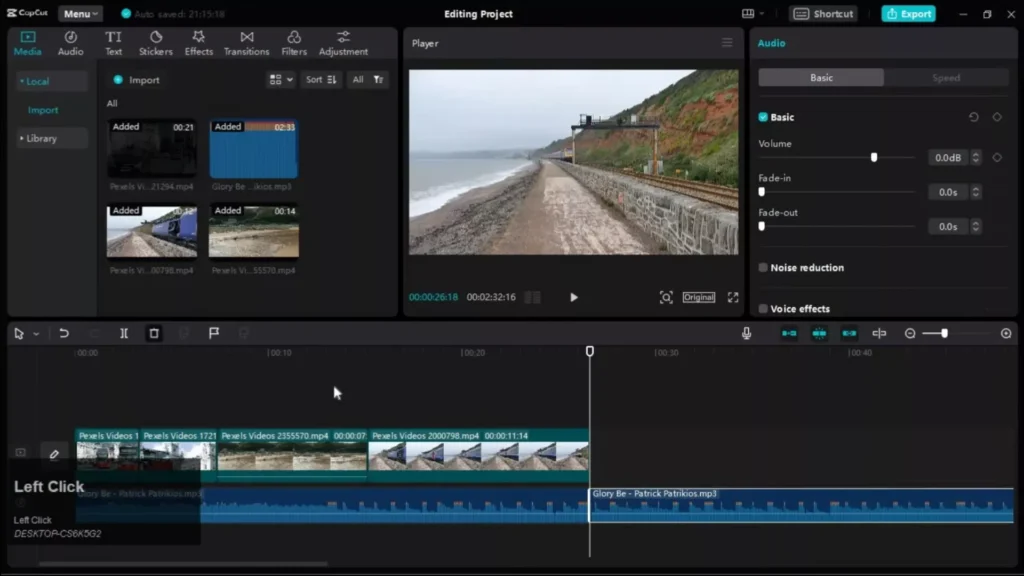
Synchronizing Audio Trimming with Video Edits
Video clean? Audio next.
Click the sound track below. It lights up. Playhead moves with video. Keep them in sync.
Loose audio drags videos down. Trim it tight to match visuals. No echo or early fades.
Select audio only. Timeline shows both layers. Edit without messing video.
Splitting and Deleting Extra Audio Segments
Move playhead to audio end. Ctrl + B splits it. Select extra. Delete. Clean cut.
Trailing hums or breaths? Gone. Leading claps? Sliced off. Sound matches picture perfect.
Test playback loud. Hear issues? Split more. Delete. Polish till crisp. Audio pros swear by this.
Section 5: Preparing for Advanced Editing: The Final Cut Status
Verifying All Segments Are Trimmed and Ready
Scan your timeline. All clips short and sweet? Video and audio tight? Play full run.
Spot gaps? Fill or cut more. Effects next? Your base is solid now.
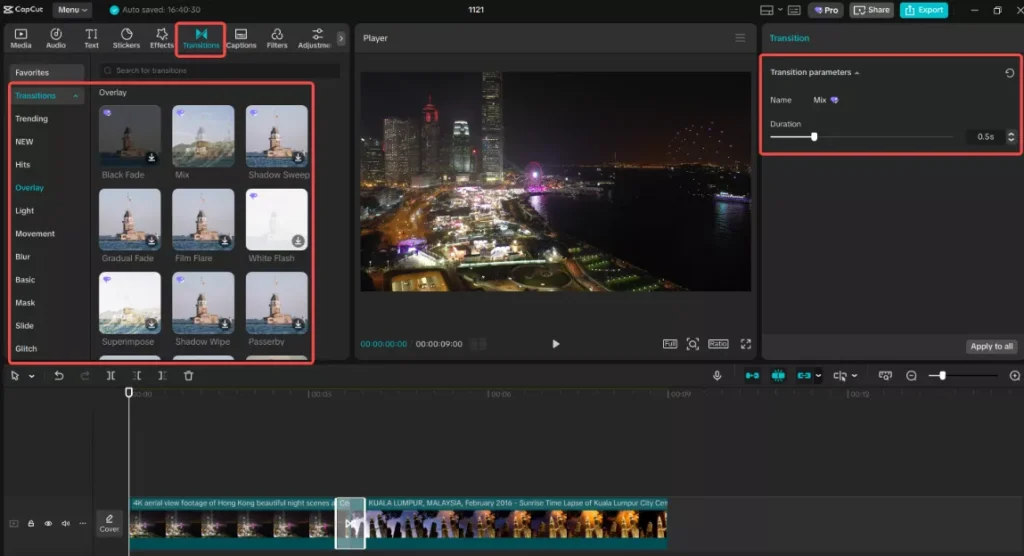
Stock footage demos show this. Trimmed clips wait for transitions. Ready for pro touches.
List your check:
- Starts punchy?
- Ends sharp?
- Audio synced?
- No dead space?
Green light means advance. You’ve nailed prep.
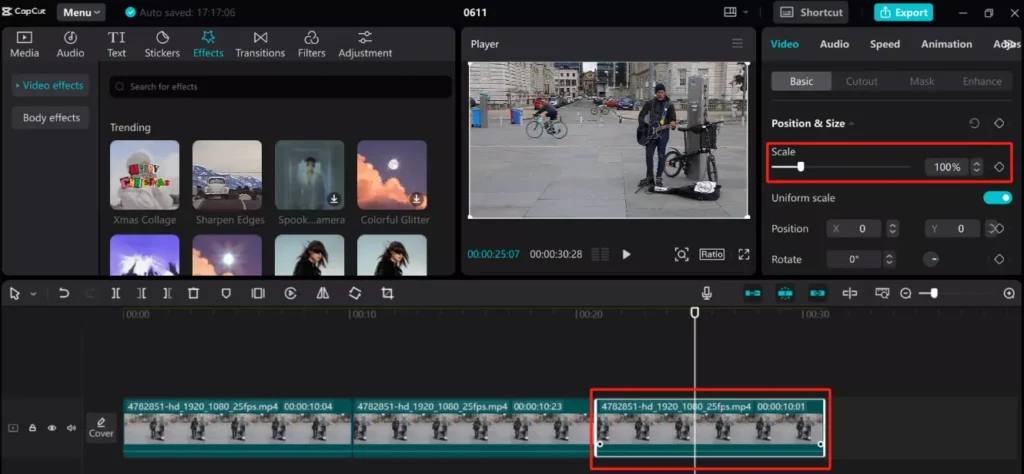
Section 6: Understanding Frame Accuracy & Timeline Precision
Trimming isn’t just about cutting roughly where something “looks right.” Professional editors cut on exact frames. That’s what separates clean edits from amateur ones.
Every video runs at a frame rate — usually 24fps, 30fps, or 60fps. That means each second contains that many individual images. When you zoom into your timeline in CapCut, you are working at the frame level.
Why this matters:
- Cutting mid-motion can feel jarring.
- Cutting between syllables sounds unnatural.
- Cutting one frame too late can expose awkward expressions.
To improve precision:
- Zoom in fully before splitting.
- Use arrow keys to nudge the playhead frame by frame.
- Watch the preview carefully before confirming a cut.
A single-frame adjustment can dramatically improve how smooth your edit feels.
Section 7: Ripple Editing & Gap Management
One common beginner mistake is leaving empty gaps between clips. These create awkward pauses and break pacing.
After deleting a segment, check your timeline carefully. If there’s space between clips, close it immediately.
Why gap management matters:
- It keeps your pacing tight.
- It prevents accidental black screens.
- It maintains rhythm in fast-paced content.
Best practice:
After every delete, glance at your timeline. If you see empty space, drag clips together or use ripple-style deletion if available.
Clean timelines create clean videos.
Section 8: Using Markers for Faster Editing
Instead of scrubbing endlessly to find moments to cut, use markers.
Markers act as visual bookmarks inside your timeline. You can:
- Mark strong dialogue points
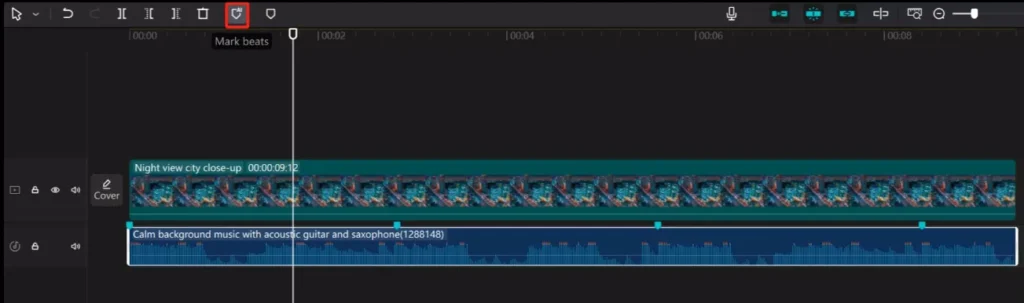
- Mark beat drops in music
- Mark transitions or scene changes
- Mark mistakes you want to remove
Pro workflow:
Play your footage once without cutting. Add markers wherever something important happens. Then go back and trim precisely at those marker points.
This two-pass method dramatically speeds up editing.
Section 9: Cutting to Music: Beat-Based Trimming
Music-driven edits are powerful — especially for short-form content.
To cut on beat:
- Zoom into the audio waveform.
- Look for visible spikes (these often represent drum hits or beat drops).
- Place your playhead exactly at that spike.
- Split and align your visual cut to that moment.
Why it works:
The human brain loves rhythm. When your cuts match the beat, the video feels intentional and satisfying.
For TikTok, Reels, or Shorts:
- Faster songs = tighter cuts.
- Slower cinematic tracks = longer shots.
Match your trimming speed to your music tempo.
Section 10: Avoiding Common Trimming Mistakes
Even experienced editors make trimming mistakes. Watch out for these:
- Cutting Too Tight
- If you remove all breathing room, dialogue feels rushed and unnatural.
- Leaving Dead Air
- Silences longer than 2 seconds often reduce retention.
- Overusing Jump Cuts
- Too many rapid cuts can feel chaotic.
- Ignoring Audio Edits
- Video may look clean, but sloppy audio ruins professionalism.
- Not Reviewing the Full Timeline
- Always play your full edit before exporting.
Fixing these mistakes alone can instantly elevate your videos.
Section 11: Keyboard Shortcuts Cheat Sheet
Speed matters. Here’s a quick reference:
- Split at Playhead → Ctrl + B
- Delete Selected Clip → Delete
- Zoom Timeline → Ctrl + Mouse Wheel
- Undo → Ctrl + Z
- Redo → Ctrl + Y
- Play / Pause → Spacebar
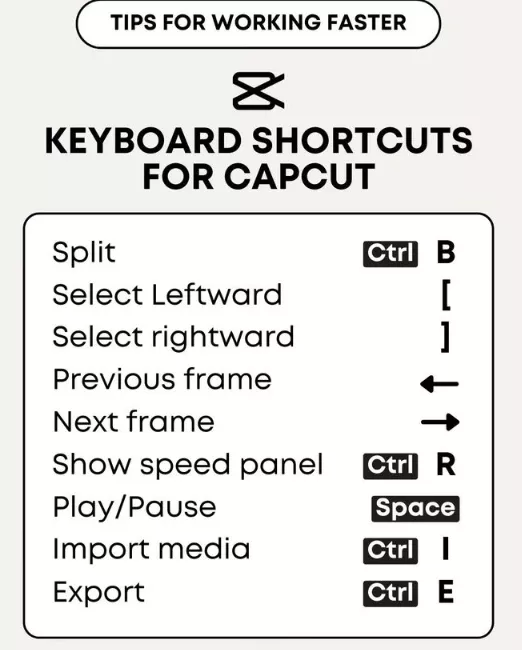
Mastering shortcuts reduces editing time dramatically.
Section 12: Trimming for Different Content Types
Different platforms require different trimming styles.
YouTube Talking Head
- Remove filler words (um, uh, like)
- Cut long pauses
- Keep pacing natural
TikTok / Reels
- Start with action immediately
- Remove all dead space
- Cut aggressively
Cinematic Edits
- Leave breathing room
- Cut on emotion, not just action
- Use longer transitions
The best editors adjust trimming style to platform and audience expectations.
Read Also: YouTube Storytelling with CapCut: Cinematic Editing Tips for Creators
Section 13: Preparing Trimmed Clips for Effects & Transitions
Clean trimming makes advanced editing easier.
Before adding effects:
- Make sure clips start and end cleanly.
- Leave 3–5 extra frames if you plan to add zoom effects.
- Confirm audio transitions are smooth.
- Remove unnecessary filler before adding captions.
Effects enhance footage — they don’t fix bad trimming.
Build a strong base first.
Section 14: Export Considerations After Trimming
Before exporting:
- Watch the full video once without stopping.
- Check for accidental gaps.
- Confirm audio sync.
- Ensure cuts don’t feel abrupt.
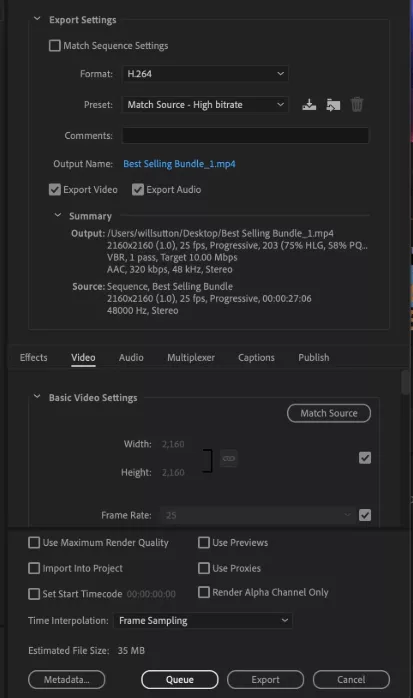
Export tips:
- Match resolution to platform (1080p is standard).
- Keep bitrate high enough to avoid compression artifacts.
- Preview on mobile if targeting social media.
The final check prevents embarrassing mistakes.
Section 15: Workflow Optimization for Large Projects
When editing longer projects, organization becomes critical.
Best practices:
- Name clips clearly.
- Color code different scenes.
- Duplicate your timeline before major revisions.
- Save versions periodically.
- Keep backup copies.
A clean workflow prevents chaos as projects grow.
Frequently Asked Questions
Can I trim without splitting the clip?
Yes. You can drag the beginning or end of a clip inward to shorten it without creating multiple segments.
What’s the difference between trim and split?
Trim shortens from the edges. Split divides one clip into two pieces.
How do I remove small mistakes quickly?
Zoom in, split before and after the mistake, delete the segment, and close the gap.
Why does my audio feel off after trimming?
You may have cut mid-syllable or left background noise. Zoom in and trim audio precisely.
Conclusion: Building a Solid Editing Foundation in CapCut
Trimming builds the base for killer videos. Master CapCut splits with tools and Ctrl + B. Zoom timelines for accuracy. Cut video and audio the same way.
Key wins:
- Save time with auto-save and shortcuts.
- Get precise with zoom and snaps.
- Repeat cuts for flow.
Practice on your next project. Clean footage leads to smooth edits. Share your results below. Download CapCut Pro now and trim away. Your best videos start here.