CapCut has quickly become a go-to video editing tool for creators who want powerful features in a user-friendly package. While the app offers a wide variety of preset transitions, sometimes you’ll find that a specific one — like the popular “Pull In” or “Pull Out” — may not be available or doesn’t work exactly how you want it to. But don’t worry, with a few keyframes and some creative zooming, you can recreate this effect manually.
In this post, we will cover:
- What the “Pull In” and “Pull Out” transitions are
- How to manually recreate them using keyframes in CapCut (PC version)
- Pro tips to make your transitions look smooth and cinematic
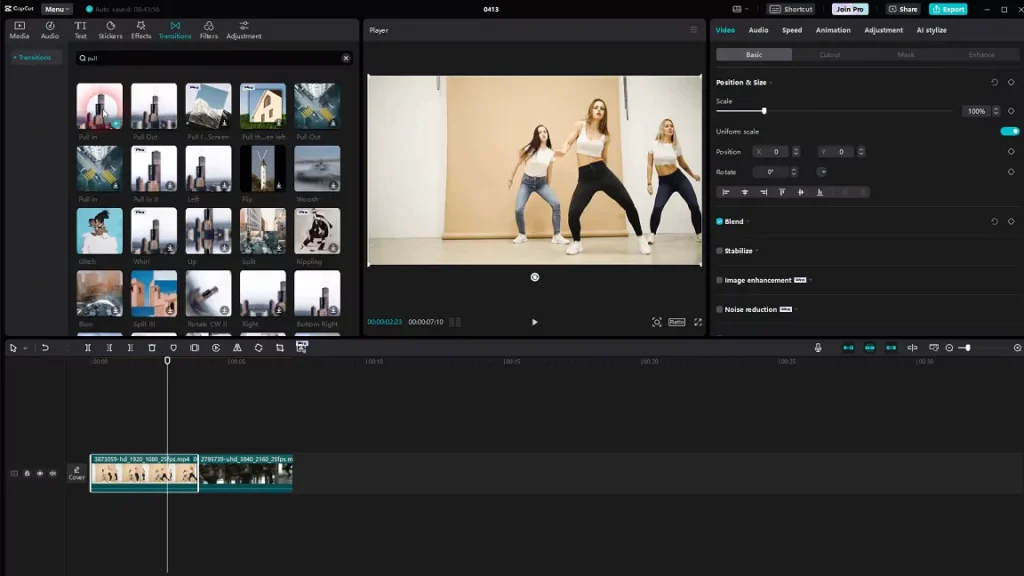
What are “Pull In” and “Pull Out” transitions?
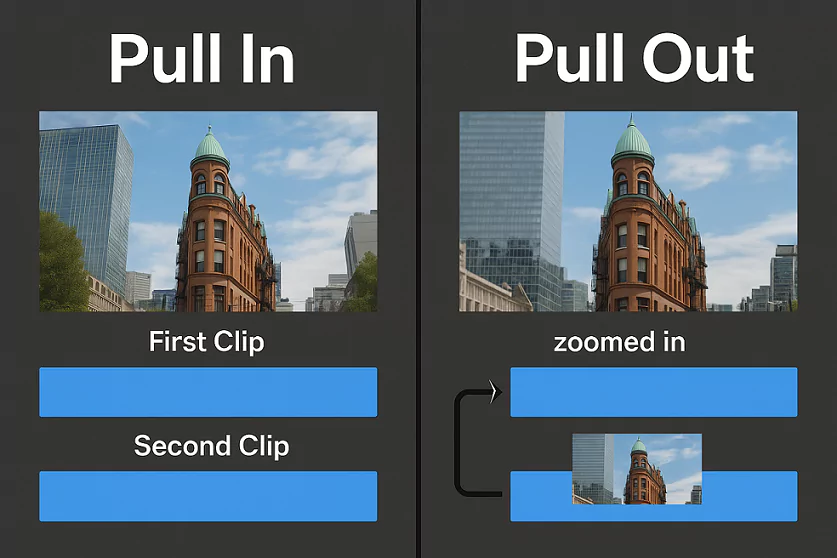
- Pull In: This transition zooms into the end of one clip and cuts to the beginning of the next clip that’s already zoomed in — making it feel like you are being pulled into the scene.
- Pull Out: The opposite — it starts zoomed in and zooms out to reveal the full scene or cut to the next shot zoomed out.
These transitions are great for:
- Creating dramatic emphasis
- Smooth scene connections
- Adding motion to otherwise static footage
How to manually recreate “Pull In” in CapCut (PC)
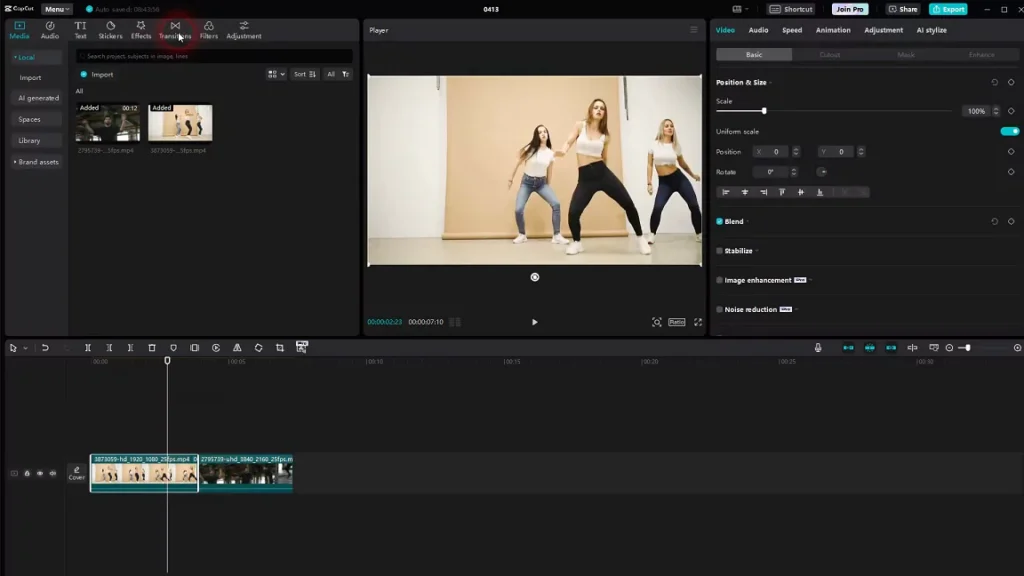
Step 1: Import your clips
Open CapCut and drag your two clips to the timeline, one after the other.
Step 2: Apply keyframes to the first clip
- Select the first clip.
- Go to the point a few frames before it ends.
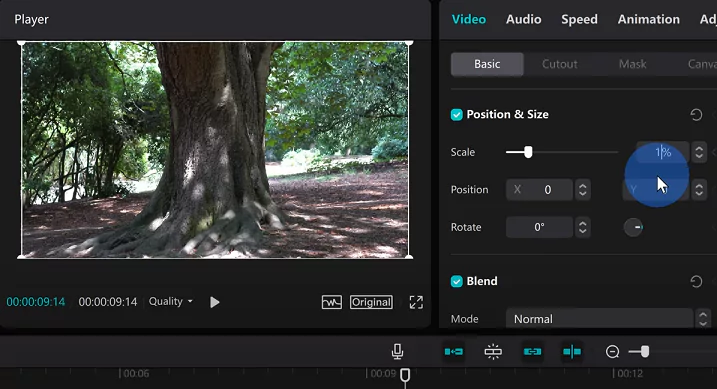
- Click the keyframe diamond icon near the scale/position controls.
- Leave the first keyframe at 100% scale (no zoom).
- Move the playhead to the last frame of the clip.
- Add another keyframe and increase the scale to 130%-150% (depending on how dramatic you want the zoom).
Step 3: Apply keyframes to the second clip
- Select the second clip.
- At the very first frame, add a keyframe and start it zoomed in (same zoom level as where the first clip ended).
- Move the playhead a few frames forward and add another keyframe to reset the scale back to 100%.
Optional:
- Add motion blur (if required).
- Slightly adjust position (X/Y) for dynamic framing.
How to recreate “Pull Out” in CapCut (PC)
It’s just the reverse!
- Start the first clip zoomed in with a keyframe.
- Gradually zoom out (keyframe back to 100%) toward the end.
- Begin the next clip at normal scale, or optionally zoom in again to match the dynamic.
Tips for better results:
- Use ease-in/ease-out if possible to smooth the animation.
- Don’t overdo the zoom — keep it subtle for a more professional look.
- Use sound effects or music beats to time your transitions for impact.
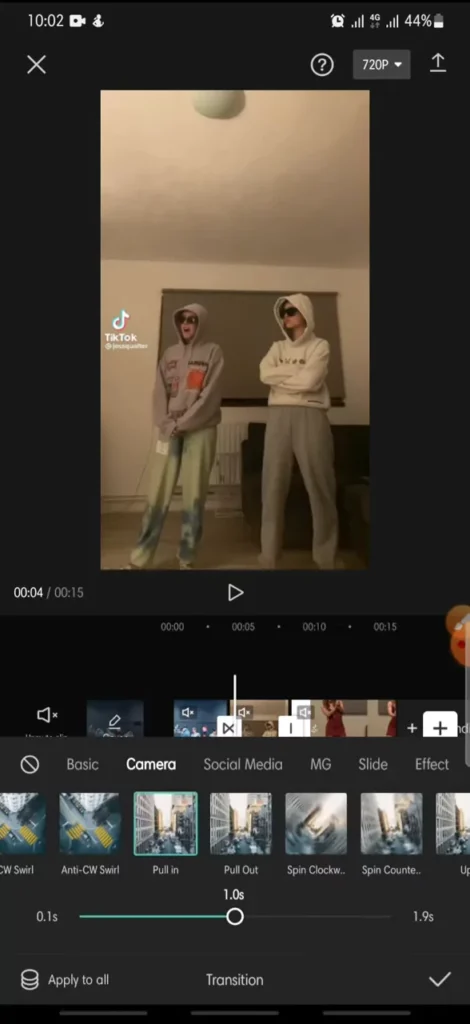
What about CapCut Mobile App?
While the mobile version doesn’t offer the same precise keyframe control as the PC version, you can still:
- Use the “Animation” > “Combo” section to find similar transitions.
- Add zoom animations manually under “In” and “Out” effects.

Here is a video guide on doing Pull In and Pull Out transition using CapCut mobile app:

“Pull In” / “Pull Out” effect using keyframes in CapCut PC:
Here’s a step-by-step guide on how to manually recreate the “Pull In” / “Pull Out” effect using keyframes in CapCut PC, which gives you full control over duration and style:
Mimic the “Pull In” (zoom-in) or “Pull Out” (zoom-out) transition without using the built-in transition—using keyframes instead.
Step-by-Step (CapCut PC):
Step 1: Import your two clips
- Open your project.
- Drag Clip A and Clip B onto the timeline, one after the other.
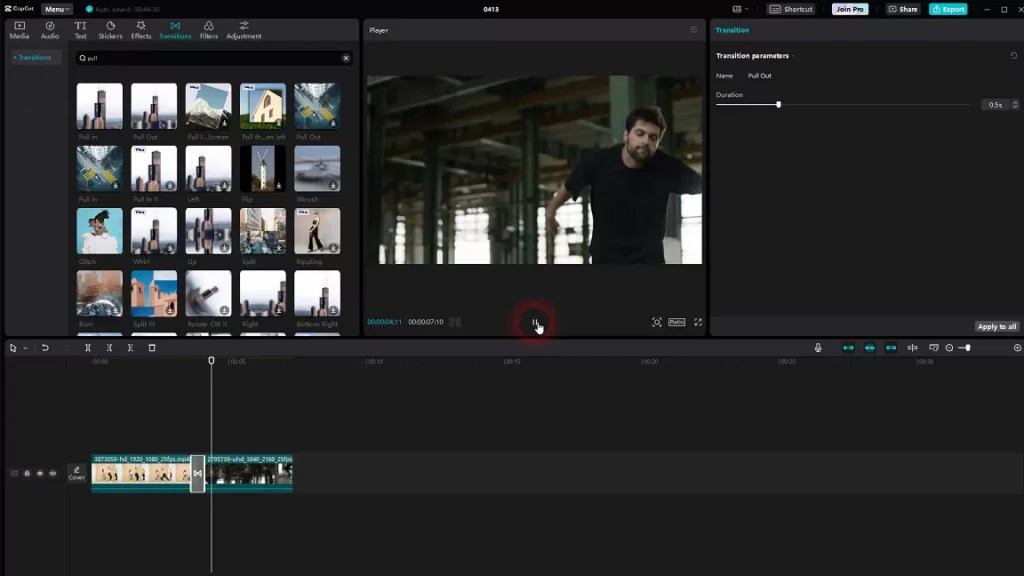
Step 2: Add overlap
If you want the transition to blend:
- Overlap the end of Clip A with the start of Clip B slightly (e.g. 0.5s–1s).
Step 3: Use keyframes on clip A
- Select Clip A.
- Move the playhead to a few frames before the end of Clip A (e.g. 0.5s before end).
- Open the “Basic” section in the right panel.
- Set your first keyframe at Scale = 100% and Position = center.
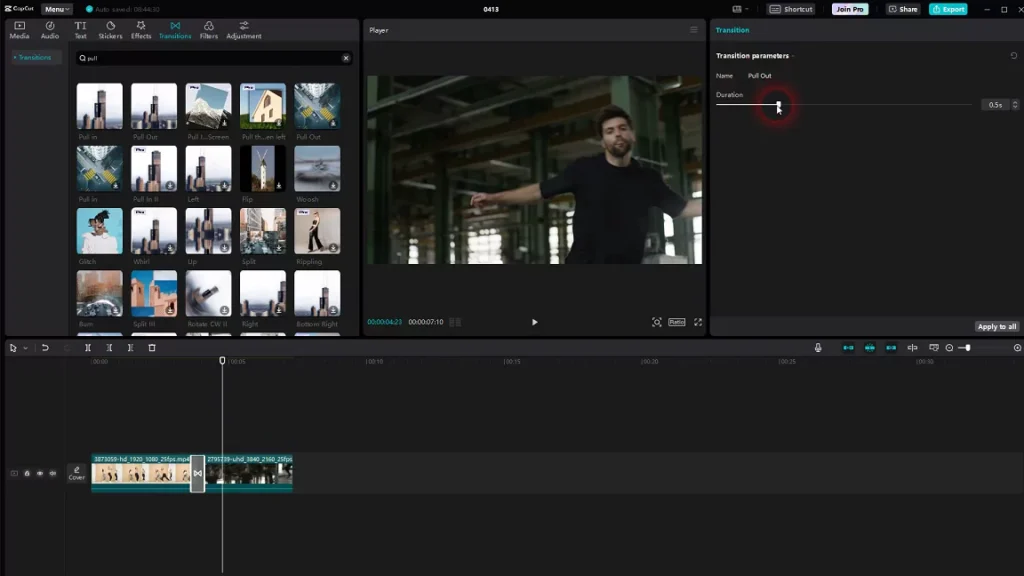
- Move to the end of Clip A.
- Add a second keyframe with Scale = 120% (or more) and adjust Position slightly if needed to simulate a pull-in (or pull-out with lower scale).
Step 4: Use keyframes on clip B
- Select Clip B.
- At the very beginning, add a keyframe with Scale = 120% (match Clip A’s ending scale).
- Move a few frames forward (e.g. 0.5s in), add a keyframe with Scale = 100%.
- You now have a smooth zoom effect from one clip to the next.
Tips:
- You can extend the duration of the effect by spacing out the keyframes more.
- For a pull-out effect, reverse the zoom direction (start bigger and end smaller).
- Use ease-in/out keyframe curves (if available) for smoother animation.
Here is a video guide on doing Pull In and Pull Out transition using CapCut mobile app:

Closing Thoughts
Once you get the hang of keyframes, the creative possibilities are endless. Pull In and Pull Out transitions are just the beginning. Try combining them with other effects like motion blur, overlays, or speed ramps to take your edits to the next level!