Lemmino is famous for his impressive storytelling and top-tier editing. His videos keep viewers hooked, even when they last over an hour. If you want to add that cinematic flare to your videos using a simple app like CapCut, you’re in the right place.
In this guide, you will learn how to mimic Lemmino’s style through two key editing techniques featured in his video, The Unbreakable Krypto’s Code. These steps are easy to follow and perfect whether you’re new or experienced. Get ready to boost your editing skills and make your videos look more professional.
Understanding Lemmino’s style and its power
Who is Lemmino?
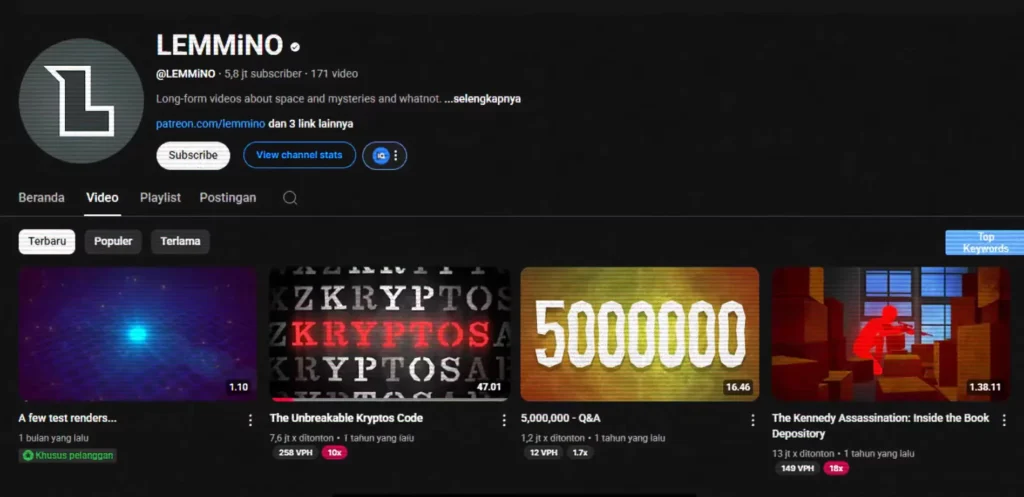
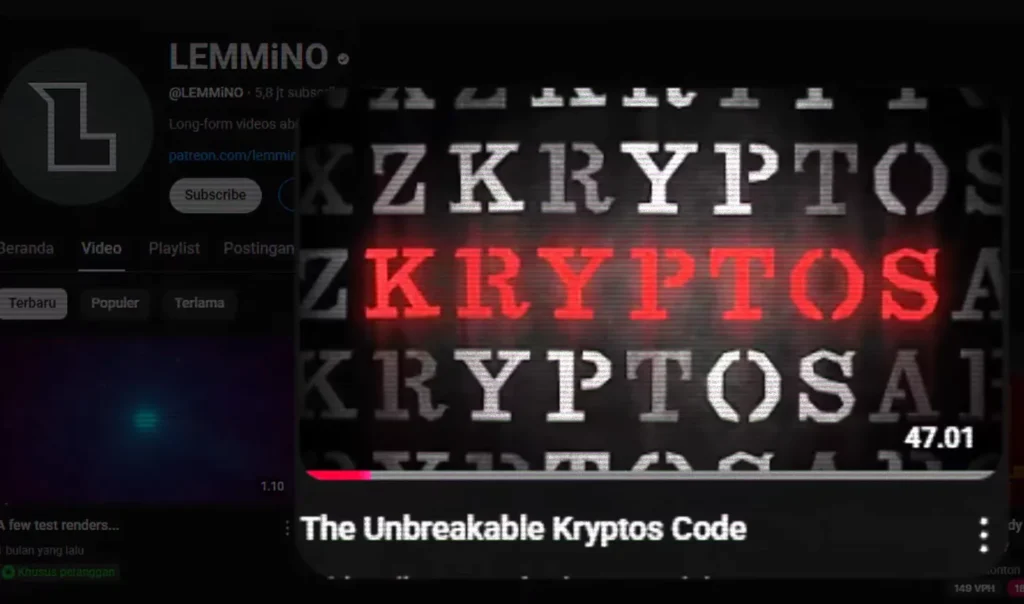
Lemmino (real name David Wångstedt) is a Swedish content creator and former musician known for his deeply researched documentary-style YouTube videos.
With over 5 million subscribers, he specializes in long-form content covering mysterious events, unsolved codes, and historical deep-dives. His editing style—cinematic, clean, and compelling—sets him apart from traditional documentary creators.
His video, “The Unbreakable Krypto’s Code”, is widely praised for its visual storytelling and pacing. Lemmino’s work is a great study reference for editors looking to balance complexity with clarity.
What makes Lemmino’s editing stand out?
Lemmino’s videos have strong pacing, cool visuals, and smooth transitions. His way of stacking effects keeps viewers interested even during long stories.
His editing style adds a cinematic feel that draws the audience deeper into the narrative. His use of contrast, color effects, and animations makes complex info easy to understand—plus, it looks really good.
Why should you try to reproduce his style?
Trying to recreate Lemmino’s editing techniques can expand your creative options. It helps you tell stories more clearly and keeps watchers engaged.
Even with simple software like CapCut, you can achieve professional-looking results. Practicing these techniques makes your content more captivating and memorable.
Preparing your assets and setup
Collect Your Materials
Start by gathering high-quality scans of newspapers, maps, and images. For map animations, Google Earth Studio is a great free tool. Export your sequences as images or videos, then enhance blurry or low-quality pictures with AI tools like ChatGPT—this step gives your project a sharp, realistic look.
Optimize Files for CapCut
Make sure all images are compatible with CapCut. Convert formats if needed (JPEG, PNG, MP4). Improve resolution with AI if necessary. Open CapCut and set your project to match your footage dimensions, usually 1920×1080 pixels for full HD. Organizing your assets into folders helps keep things tidy.
Tools You’ll Need (Free + Optional Paid)
To replicate Lemmino’s style in CapCut, here’s a quick checklist of tools and resources you’ll need:
| Tool | Purpose | Link |
|---|---|---|
| CapCut Desktop | Main editing software | CapCut PC |
| Google Earth Studio | Map animations | earth.google.com/studio |
| AI Image Enhancers | Upscale old scans/images | Let’s Enhance, Remini |
| Stock Fonts & Overlays | Add cinematic text and textures | DaFont, Pexels |
| ChatGPT or Photoshop | Image refining and enhancement | ChatGPT |
| OBS Studio (optional) | To screen-record or capture live edit sessions | obsproject.com |
Downloadable Templates & Assets
To speed up your editing process, you can use these pre-made assets:
- Newspaper Mask PNG – Transparent highlight for articles
- Vintage Texture Overlay – To mimic Lemmino’s background feel
- CapCut Project File (.cptpl) – Includes the layered newspaper + highlight effect
- Animated Line Map Overlay (.mp4) – For transitions between locations
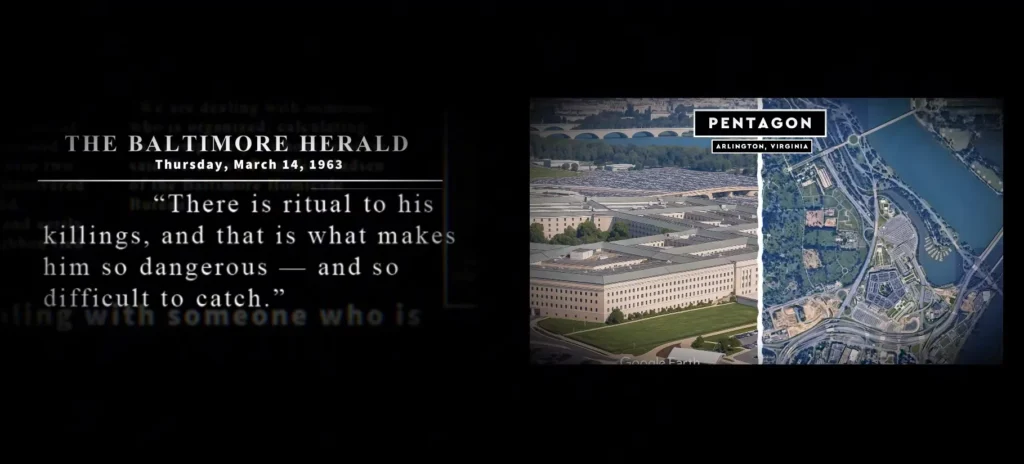
Recreating Lemmino’s First Scene: Highlighted Newspaper Paragraph
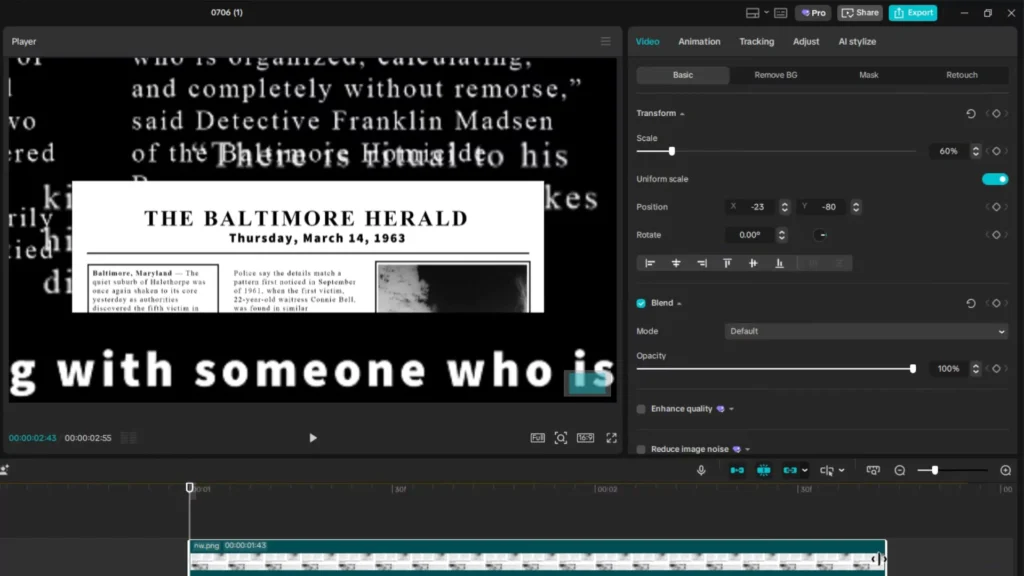
Step 1: Adding and Positioning the Newspaper
Import your newspaper scan into CapCut. Resize and move it so the paragraph you want to spotlight is centered. Use the scaling tool for perfect alignment. Precision here makes your final effect smooth.
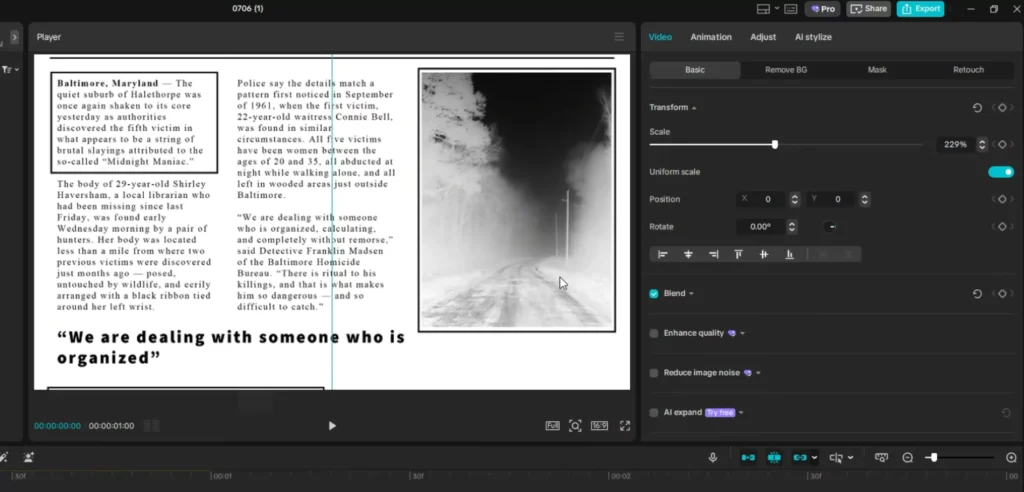
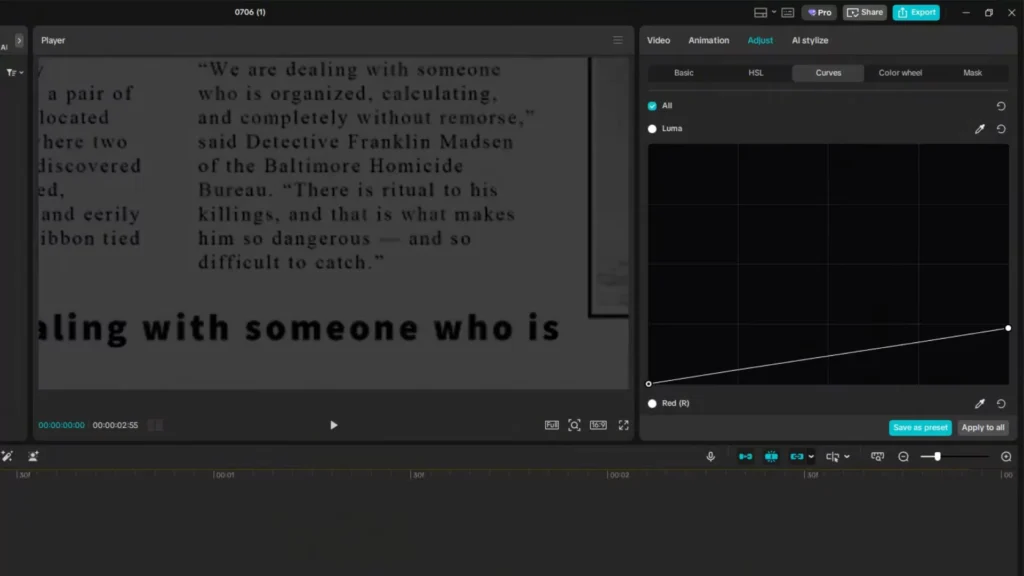
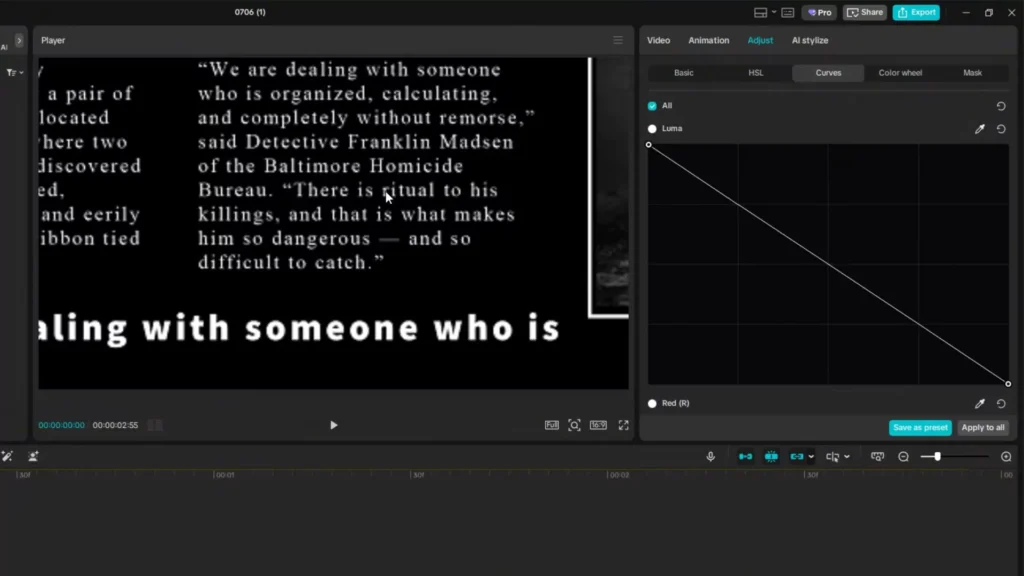
Step 2: Creating the Inverted Color Effect
Go to the adjustment menu and select curves. Flip the luminance curve upside down to invert black and white. This gives the newspaper a cool glitch-like vibe that catches the window’s attention.
Step 3: Animating the Newspaper with Keyframes
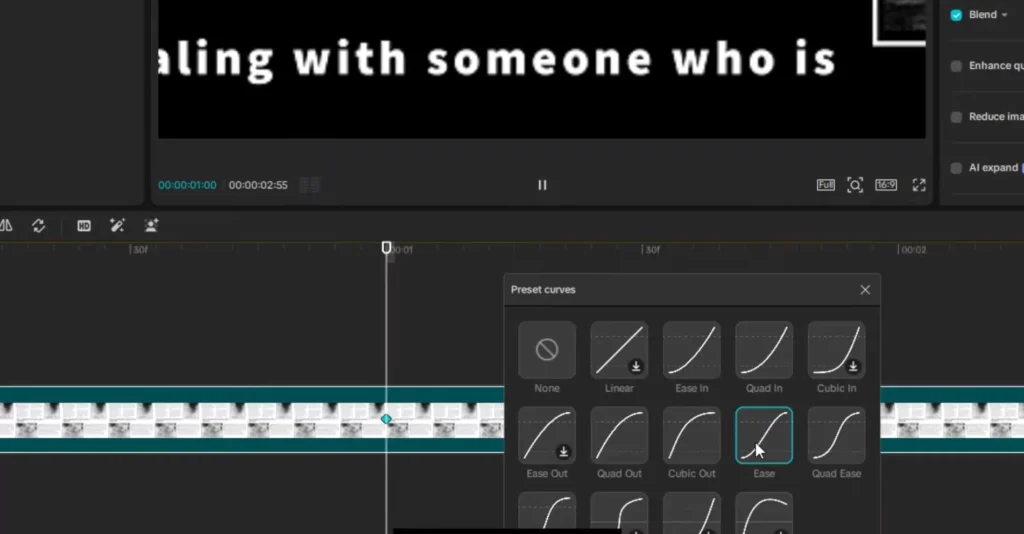
Set a keyframe at the start. Slightly move forward in time, then add another keyframe. Revert to the first keyframe and reposition it for a zoom-in or pan effect.
Make the motion smooth by right-clicking the second keyframe and choosing “ease.” This creates a natural, flowing movement.
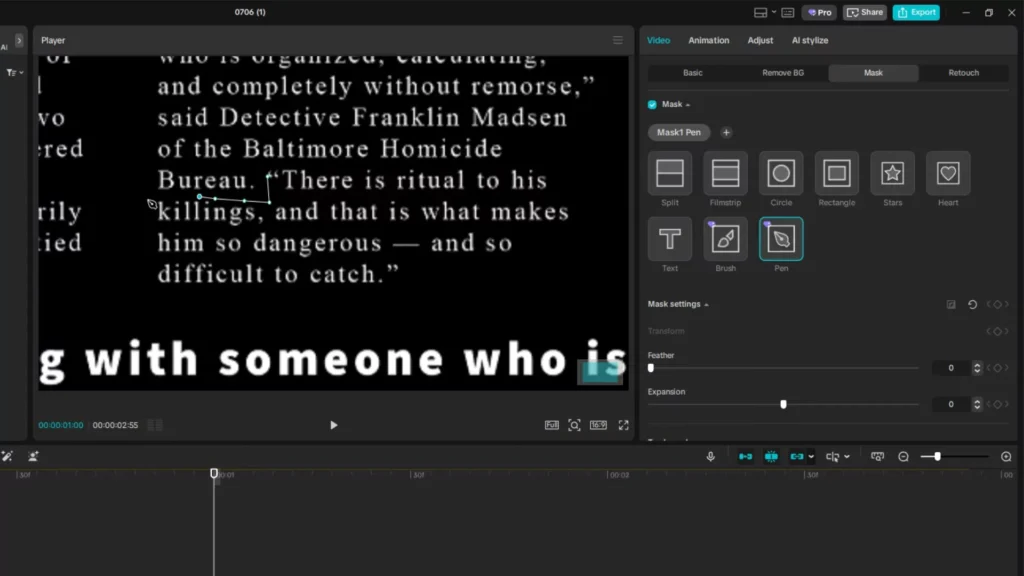
Step 4: Masking for Highlighting
Use the pen tool to trace around the paragraph you want to emphasize. Duplicate this layer—one mask for the highlighted text, the other for the rest.
Apply an inverse mask on the duplicate so only the paragraph shows. Set blending mode to “screen” to remove unwanted backgrounds.
Step 5: Cropping Logos or Extra Details
Sometimes a logo or part of the newspaper extends beyond view. Cropping is tricky in CapCut due to limit restrictions. Use the masking tool to crop a logo precisely. Repeat the color inversion and blending steps for consistency.
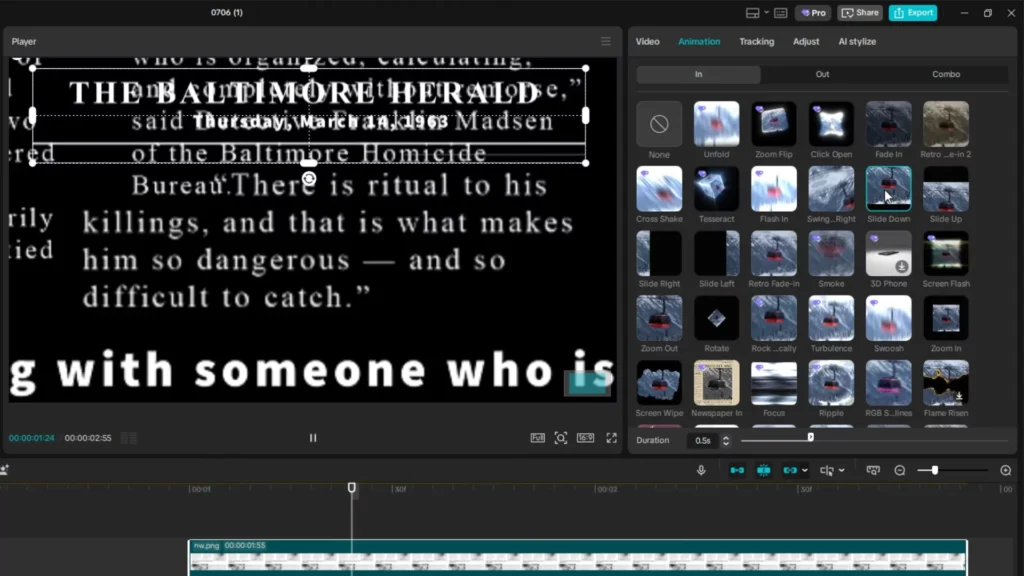
Step 6: Animating Text and Highlights
Position text layers with keyframes, sliding headers into view. For headers, add a slide-down animation and set it to 1 second.
Fade in overlays for highlighted passages, then adjust opacity for contrast. Carefully timing these animations is key to a seamless look.
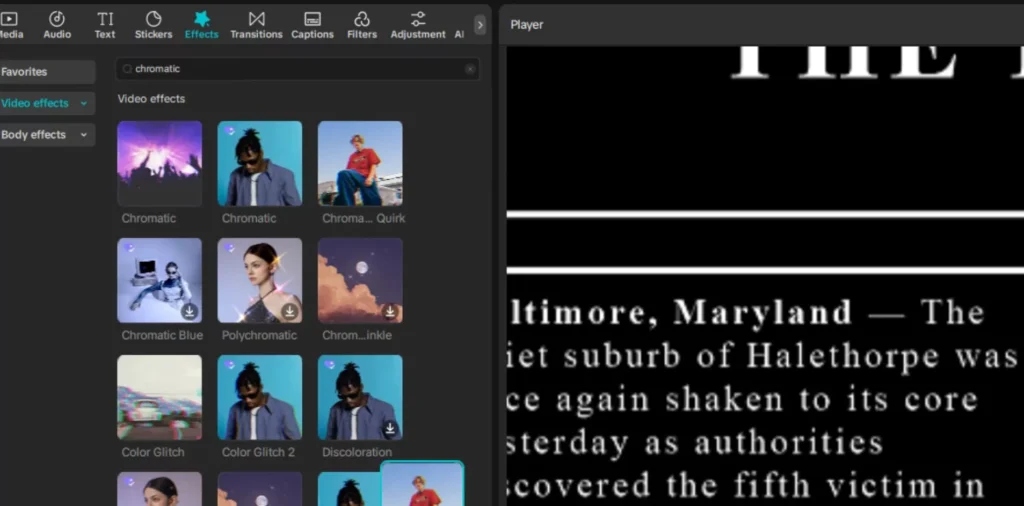
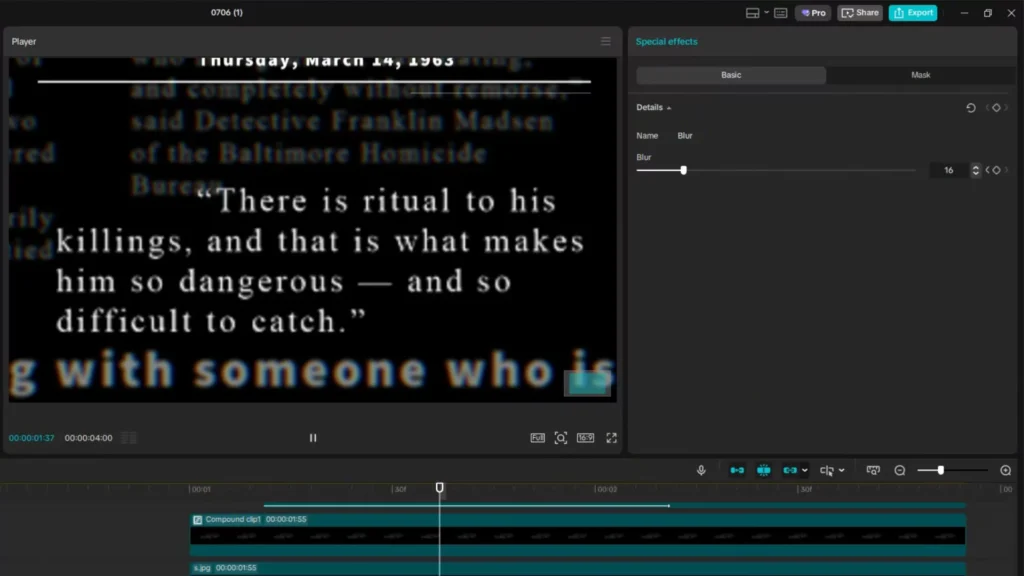
Step 7: Adding Effects and Finishing Touches
Introduce a chromatic aberration effect for a glitchy style. Adjust the lateral chromatic shift to around 56%. Add a blur where needed and animate it with keyframes for smooth transitions. Finish with a vignette overlay—darkening the edges for a cinematic focus.
Pro Tips: Use easing for natural motion, layer masks for complex effects, and experiment with blending modes to unlock unique visuals.
Recreating Lemmino’s Second Scene: Map Animation and Transitions
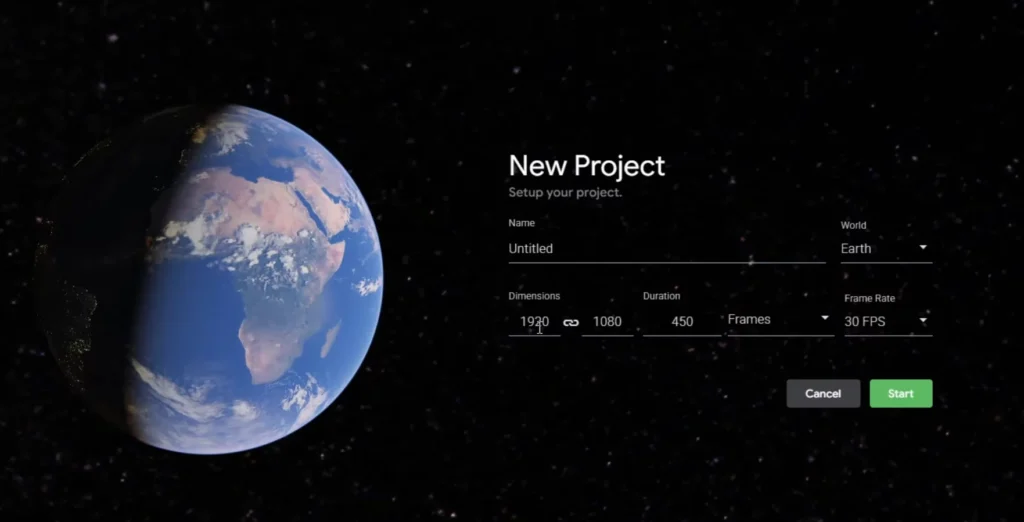
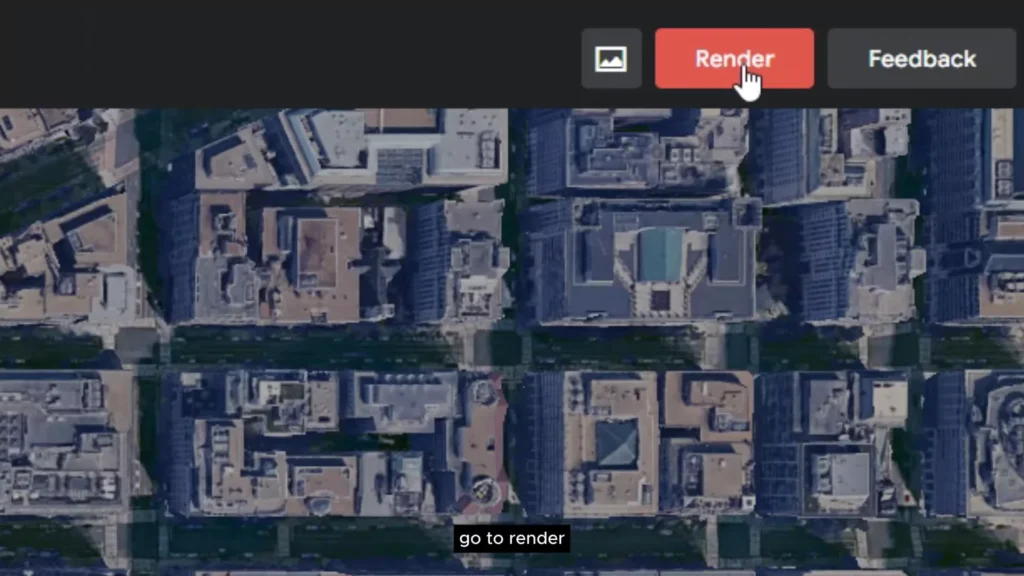
Step 1: Map Animation with Google Earth Studio
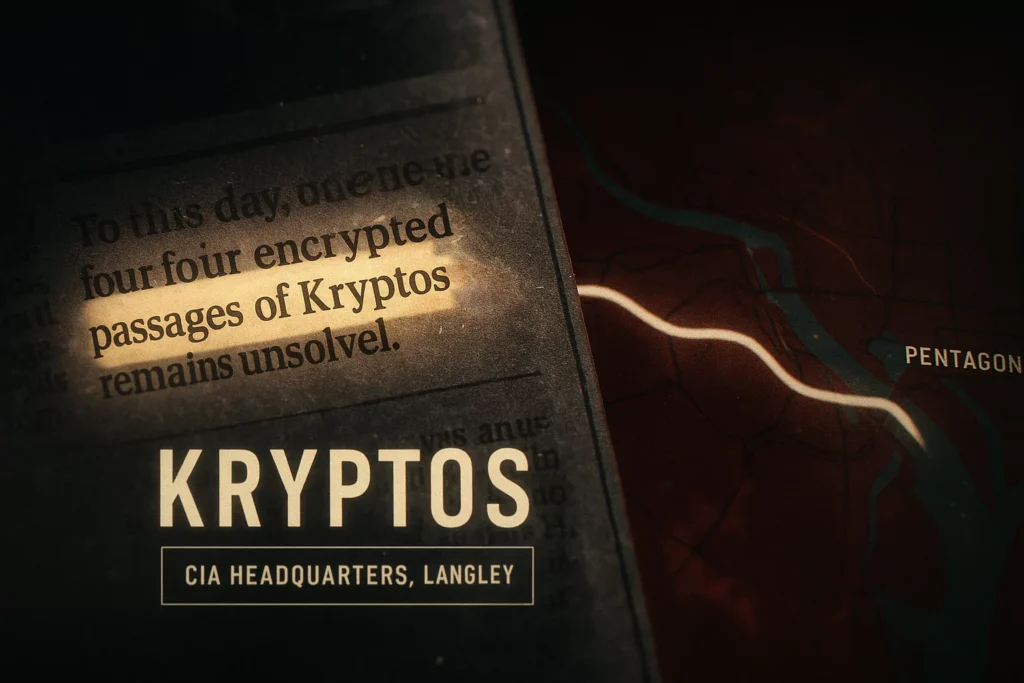
Open Google Earth Studio and set a portrait ratio (1080×1920). Pick your starting point, such as the Pentagon.
Use zoom controls to control camera movement—adding keyframes as you zoom in or out. Smooth motion comes from selecting “auto-ease” in the animation settings.
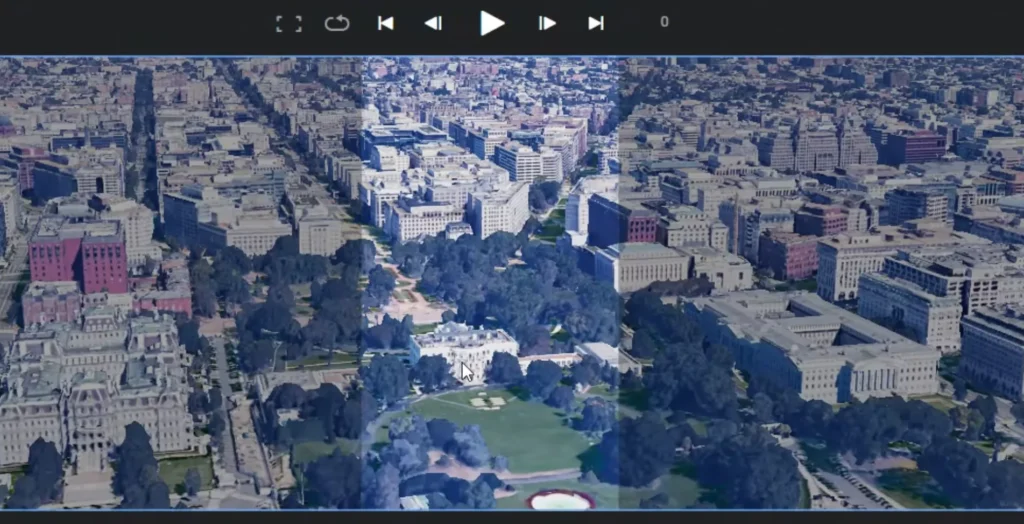
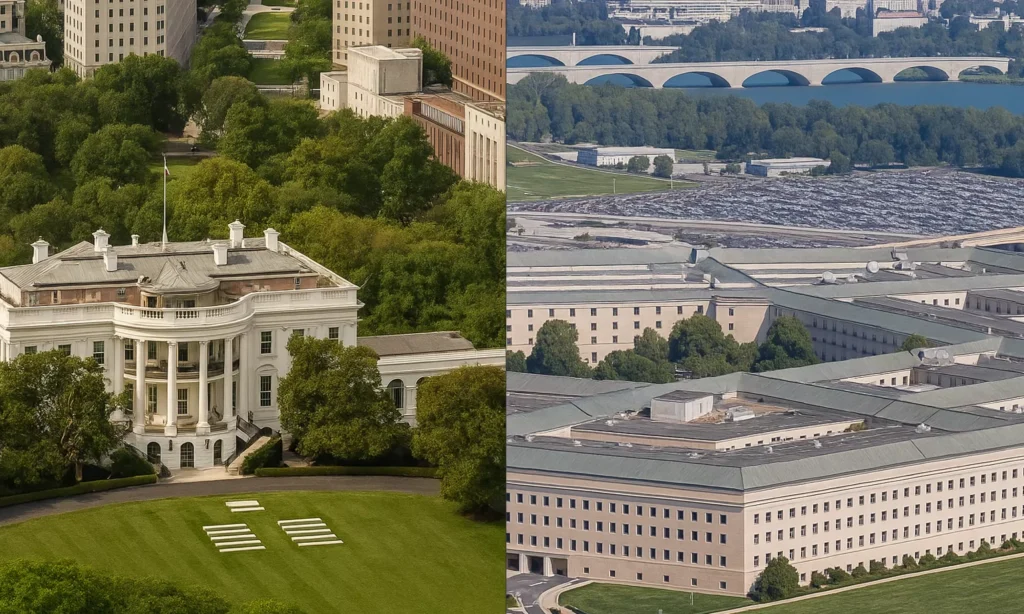
Step 2: Export and Enhance Your Map Sequences
Export your map animation as an image sequence. For better quality, upload these images to ChatGPT (or similar tools), and prompt it to sharpen and add details. This magical step makes your maps look more real and professional.
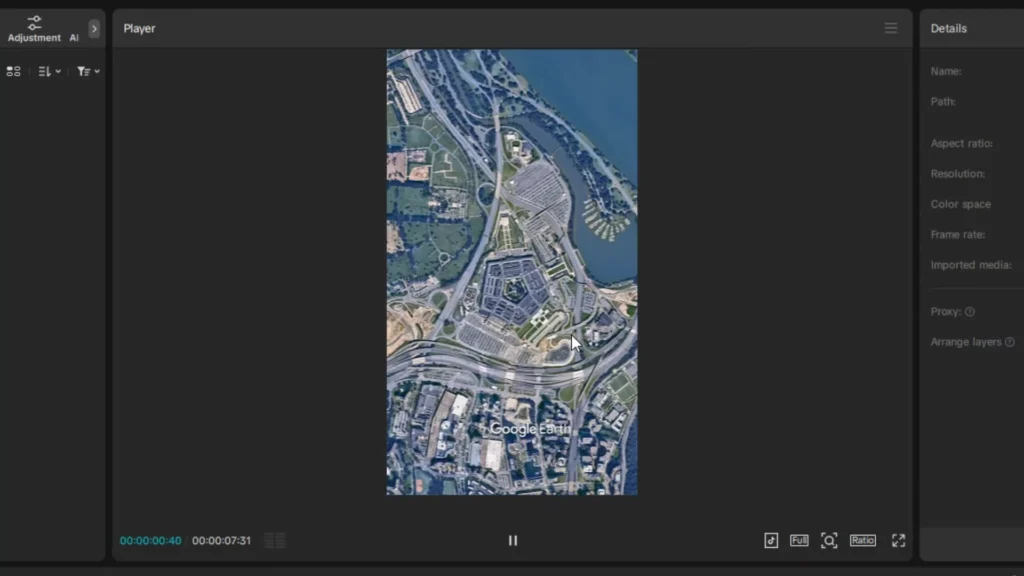
Step 3: Importing into CapCut
Load your image sequence into CapCut. Drag all images into the timeline, then create a compound clip for smooth playback. Adjust scale and position so the map sits correctly on the screen. Transitions between locations become more dynamic with simple zooms and small overlays.
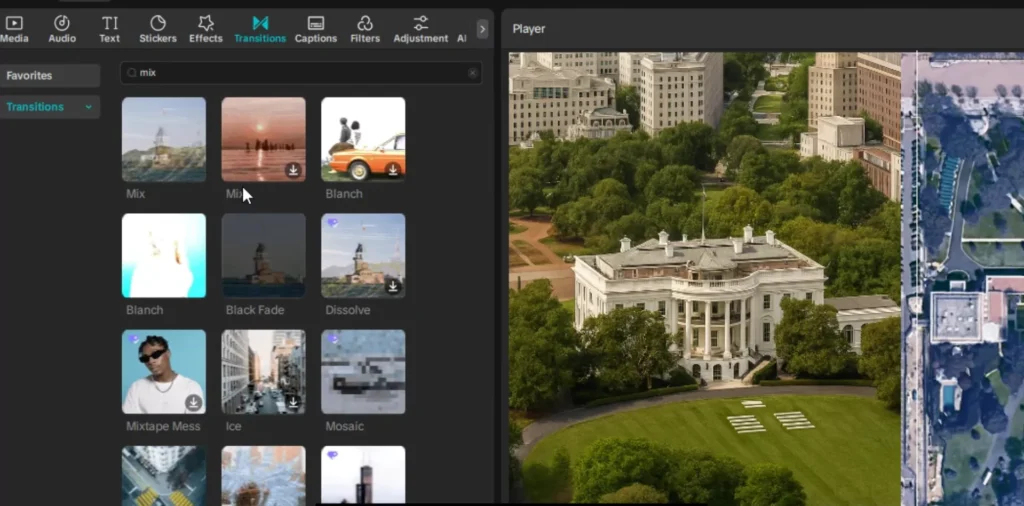
Step 4: Adding Transitions and Dynamic Elements
Use the “Mix” transition to smoothly switch between locations. Create an animated line overlay with blend mode set to “screen”—this makes a wiggly path that guides the viewer’s eye across the map. Fine-tune timing by trimming keyframes for perfect pacing.
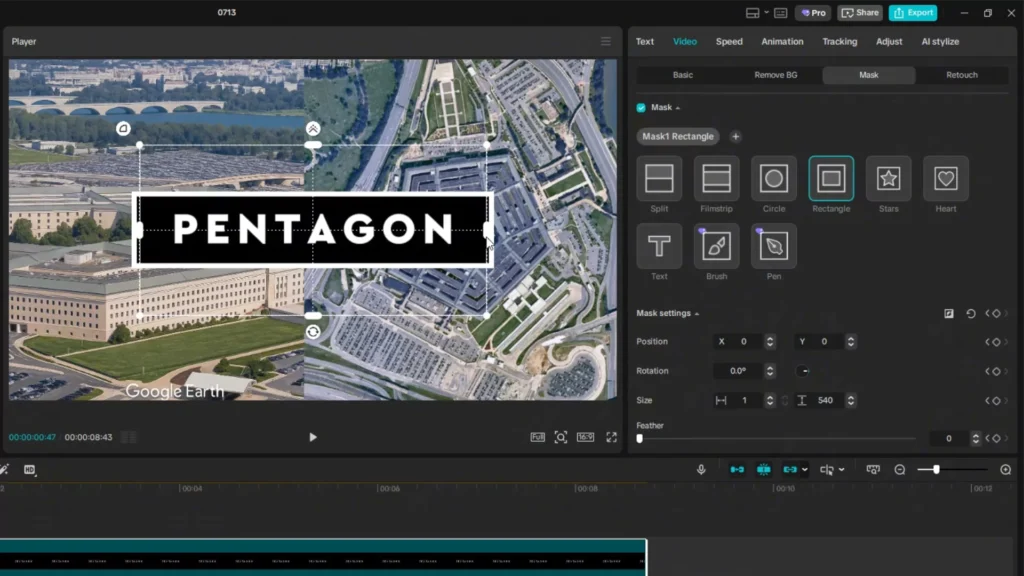
Step 5: Text Animations and Visual Effects
Design text boxes with masks. Use black overlays for background and white overlays for borders. Animate their appearance with rectangle masks—start with the text hidden, then reveal it using keyframes. Sync text animations precisely with map movements for storytelling clarity.
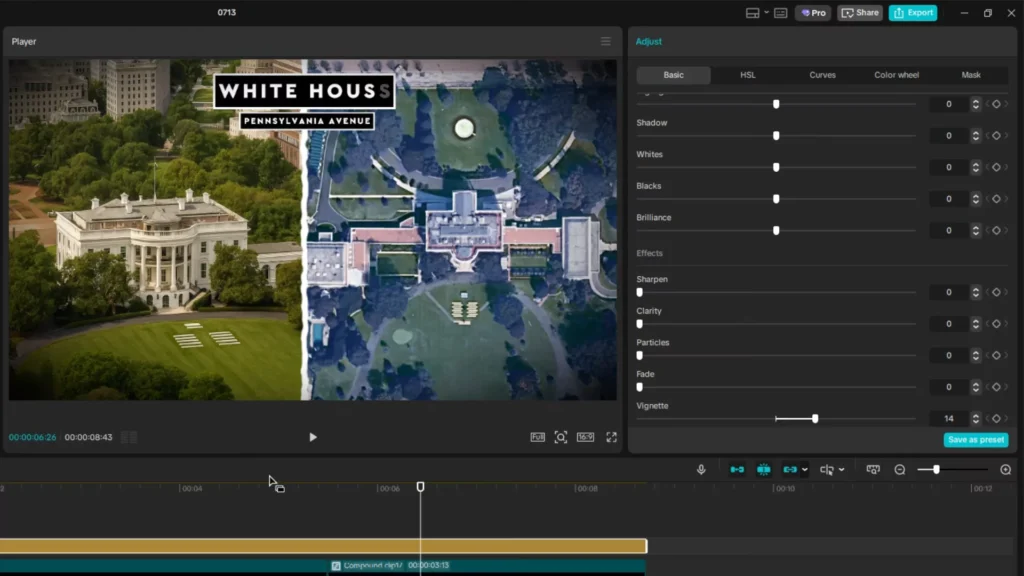
Step 6: Transition and Finish
Adjust the timing of your text slides using randomizer effects to make the scene feel organic. Finish with a vignette overlay to give your map scenes a cinematic look. Consistent color grading and pacing tie everything together.
Alternatives to CapCut and when to use them
While CapCut is beginner-friendly and powerful, it has some limitations. Here are some alternatives you might consider as you grow:
| Software | Best For | Pros | Cons |
|---|---|---|---|
| DaVinci Resolve | Color grading, pro-level cuts | Free & pro-grade tools | Steep learning curve |
| Adobe Premiere Pro | All-around editing | Industry-standard | Subscription required |
| VN Video Editor | Mobile + Desktop | Easy UI | Limited visual effects |
| KineMaster | On-the-go mobile editing | Fast edits | Watermark on free plan |
CapCut is ideal for quick, creative editing—especially if you’re on a budget.
Troubleshooting Common Issues
Having trouble replicating Lemmino’s effects? Here’s help:
Masks not working properly?
Double-check your layer order. The mask should be applied to a duplicate or top layer.
Newspaper scans too blurry?
Use Let’s Enhance or Remini AI to upscale. Even ChatGPT’s image tools can sharpen text-based images.
CapCut running slow or lagging?
Close background apps, reduce preview quality, and use proxy media for large files.
Curve effect missing?
Make sure you’re using the desktop version. Some effects are not available in mobile.
Can I do all this on CapCut Mobile?
Not all features like masking curves and custom keyframe easing are available on mobile. Use the desktop version for full control.
Are Lemmino-style effects copyrighted?
While the style can be mimicked, avoid directly copying assets or footage. Always use your own materials.
How long does it take to create one scene?
Depending on complexity, expect 20–60 minutes per detailed scene. With practice, this gets faster.
Final tips for achieving a cinematic look in CapCut
- Use external tools like Google Earth Studio to craft smooth map animations.
- Enhance visual quality with AI tools to fix or sharpen images.
- Timing is everything—longer or shorter keyframes change the mood.
- Layer multiple effects to create a rich, cinematic vibe.
- Practice combining masking, blend modes, and animations for unique results.
Related tutorials you might like
Boost your editing skills with these related guides:
- How to do Capcut 3D Zoom Effect – Detailed Guide
- Unlock the Power of Free AI Video Creation with CapCut’s New AI Video Maker
- How to Export High-Quality in CapCut for Free – 4K Videos
- Voice Changer Effects in CapCut – Complete Guide for Creators
Editors to follow for more inspiration
If you like Lemmino’s vibe, check out these YouTubers with a similar feel:
| Creator | Channel Link | Why They’re Great |
|---|---|---|
| ColdFusion | YouTube | Clean motion graphics and voiceovers |
| Johnny Harris | YouTube | Visual storytelling meets journalism |
| Real Stories | YouTube | Engaging docu-style content |
| Nerdwriter1 | YouTube | Artistic, analytical editing style |
Conclusion
Recreating Lemmino’s cinematic style in CapCut is entirely possible with some patience and practice. Focus on key effects like highlighted text, map animations, and glitch effects. Mastering these techniques adds a professional edge to your videos. Keep experimenting, and don’t be afraid to push your creativity further. Your next project could look truly cinematic—so go ahead, give it a try, and make videos that captivate every viewer.
Tried these Lemmino-style techniques? Share your edited video in the comments