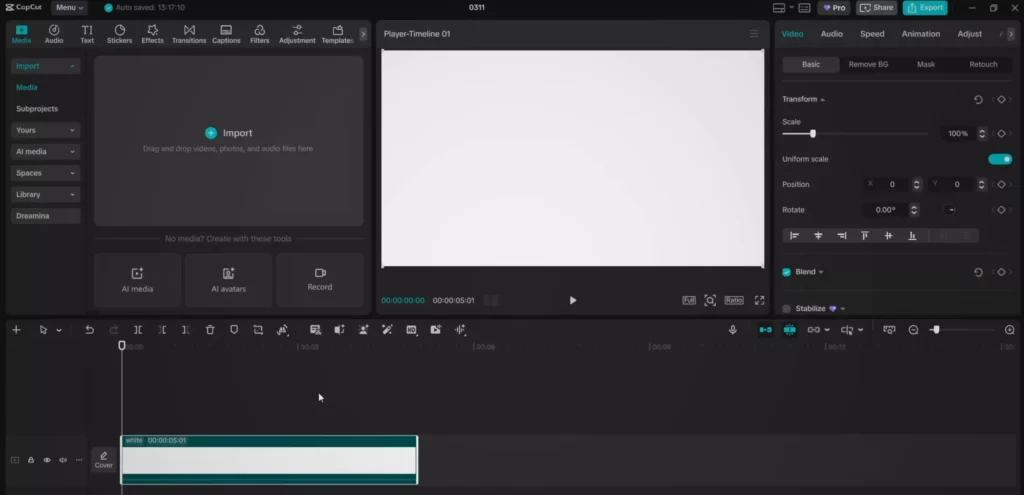
Editing videos in CapCut has a bit of a reputation.
A lot of people think it’s “cheap” or too basic—especially with so many advanced, paid tools out there. But that’s a huge misconception.
CapCut is only “beginner software” until you actually master it.
At the end of the day, it’s not about how expensive your tools are. It’s about how well you use them. And CapCut gives you everything you need—keyframes, masking, effects—to turn ideas into visuals that actually stand out.
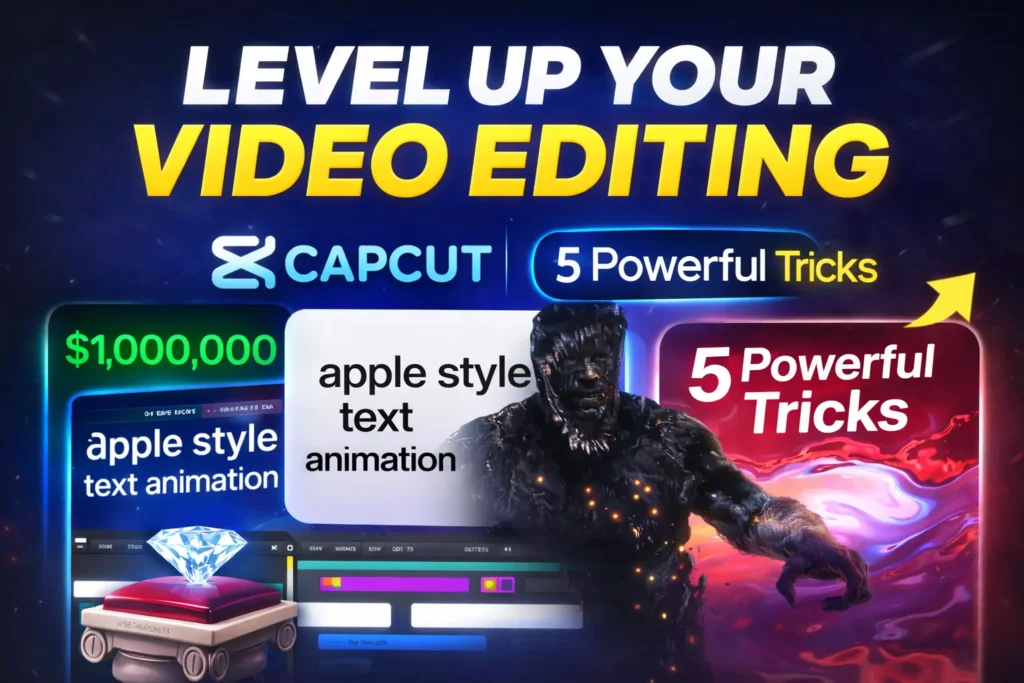
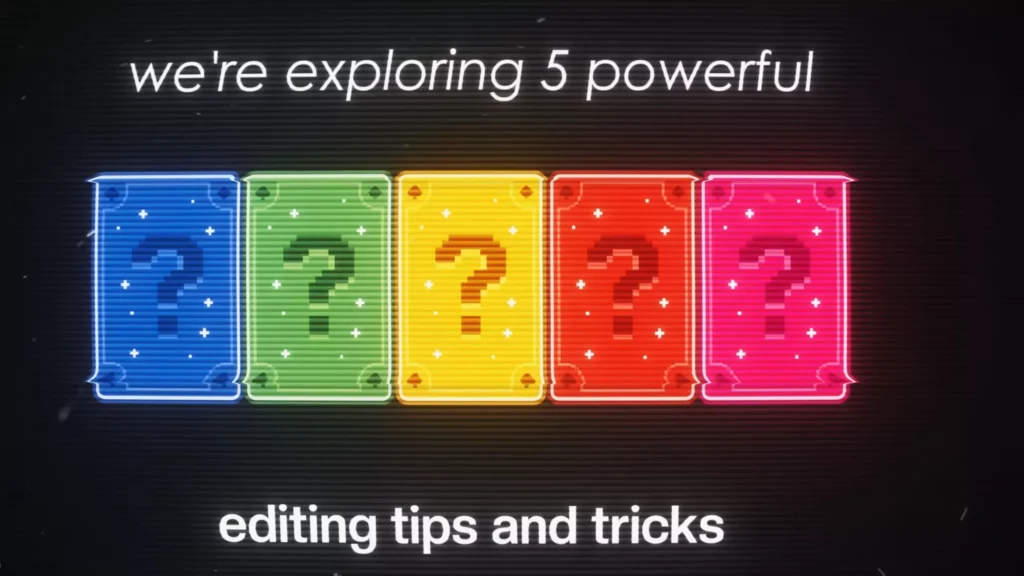
This is part two of leveling up your edits, and in this post, I will take you through five powerful editing techniques that can instantly elevate your content.
Read Also: 7 CapCut Effects to use in your Videos for Getting PRO Level Edits
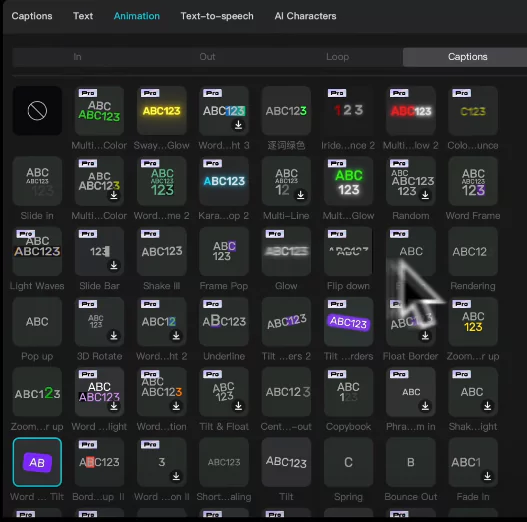
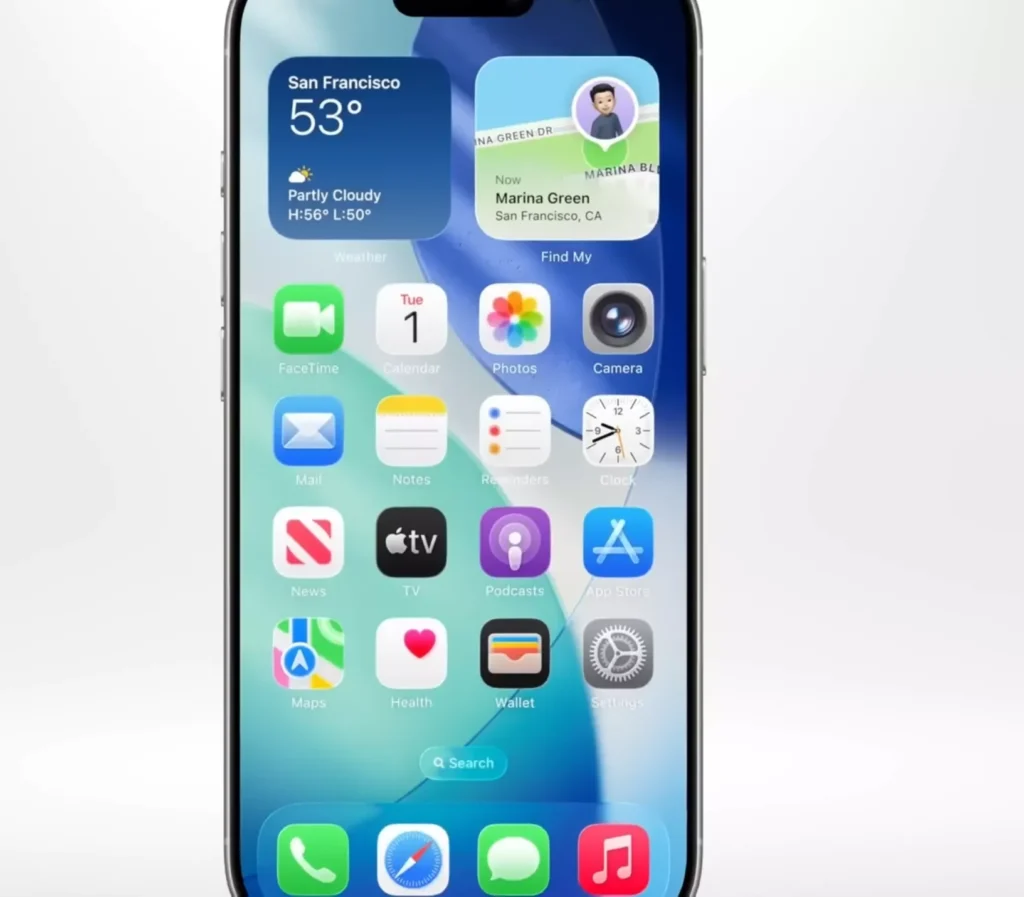
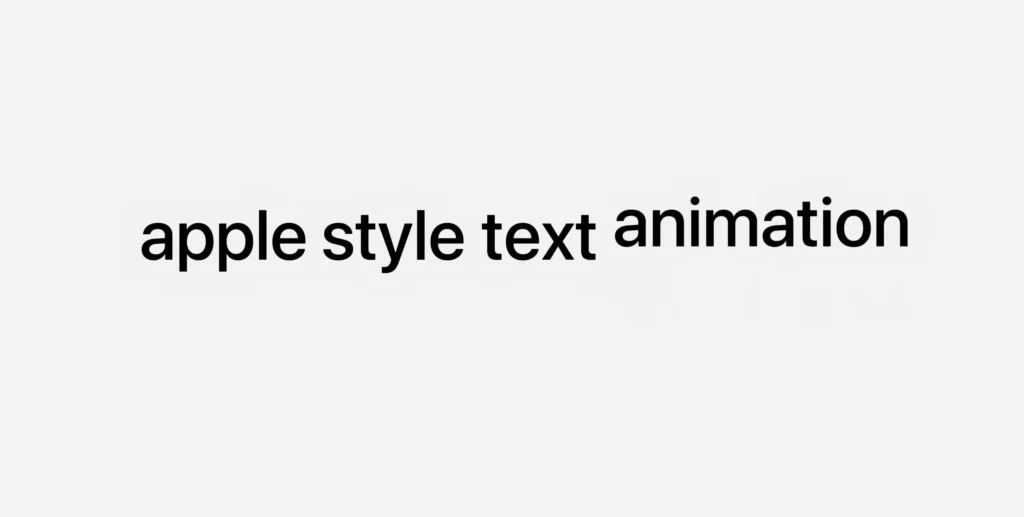
1. Apple-Style Text Animations
Apple’s design style is everywhere—and for good reason. It’s clean, minimal, and incredibly smooth.
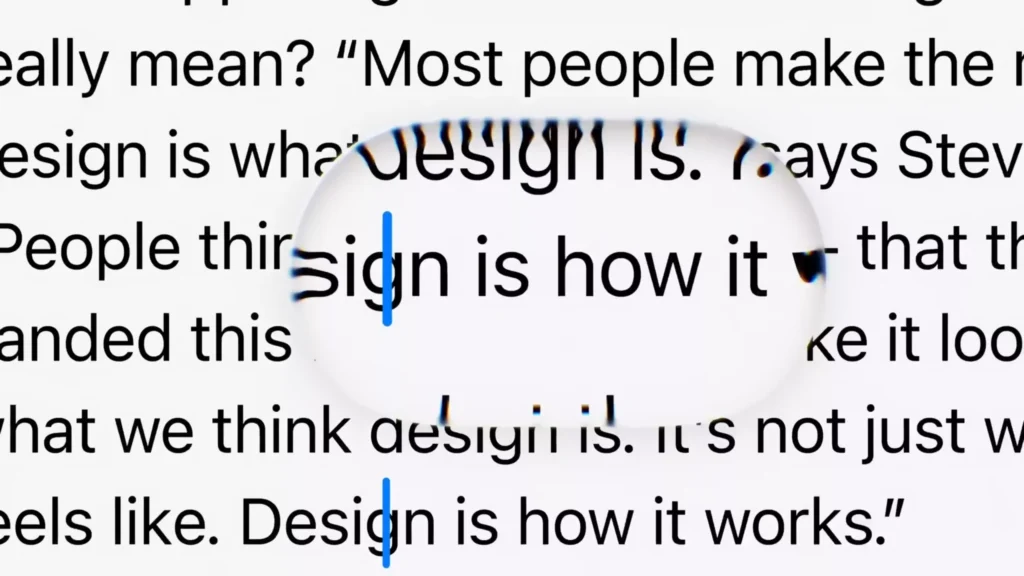
That same aesthetic works beautifully in video.
To recreate this style, there are two key elements:
1. Color:
Stick with a simple palette—white, black, and maybe one accent color.
2. Font:
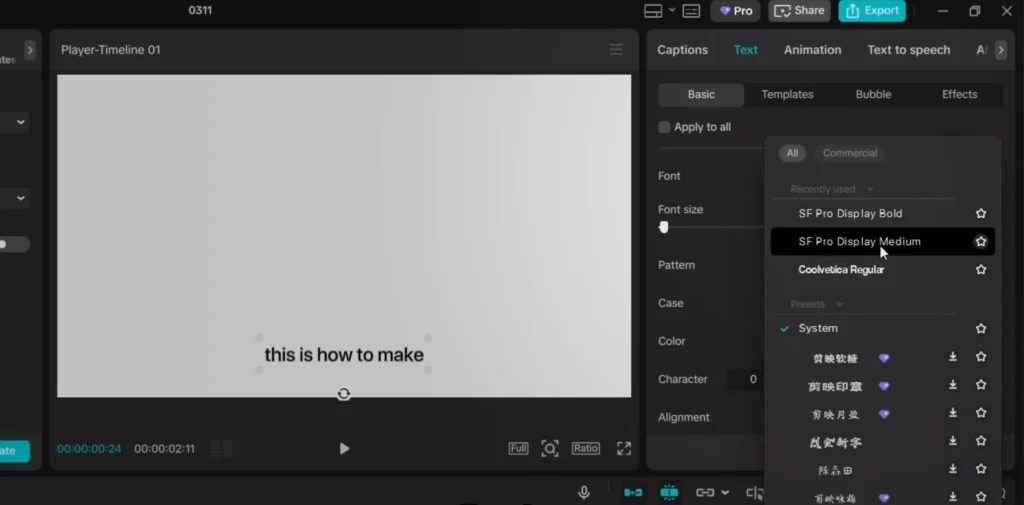
Apple uses SF Pro Display, which gives that clean, modern feel.

How to create it:
- Start with a white background
- Slightly reduce brightness in adjustments
- Add your text (or generate auto captions)
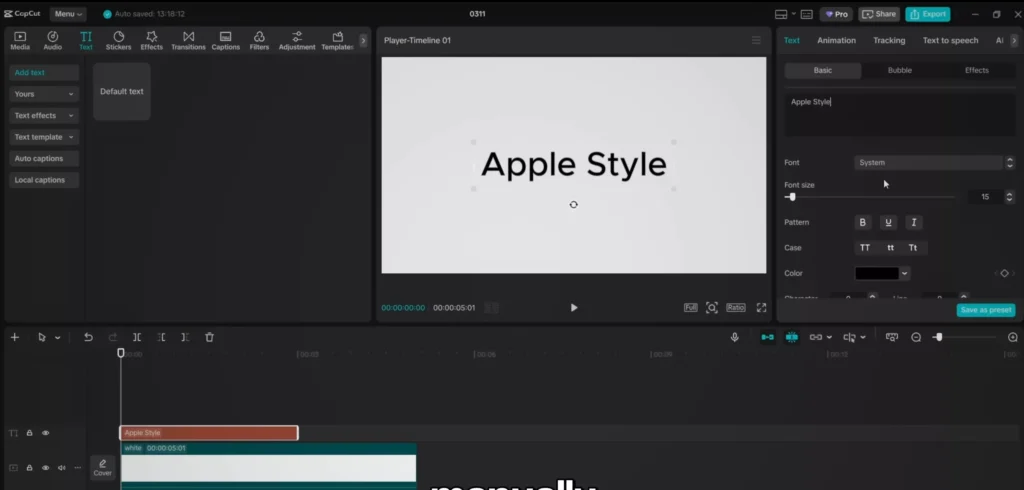
- Set text color to black and use a clean font like SF Pro Display
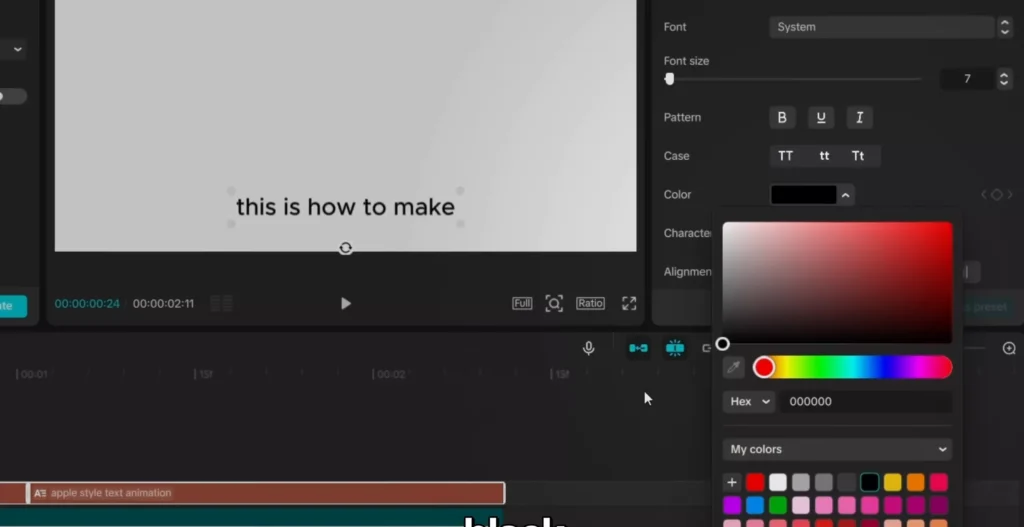
Now here’s where the magic happens:
- Duplicate your text layer
- Break the duplicated version into individual words (each on its own line)
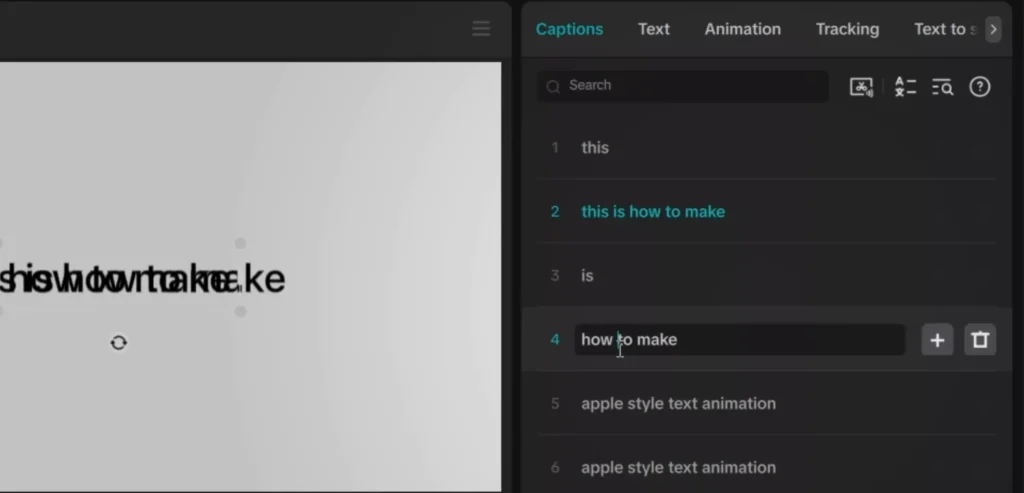
- Stack and align them properly
- Delete the original full-text layer
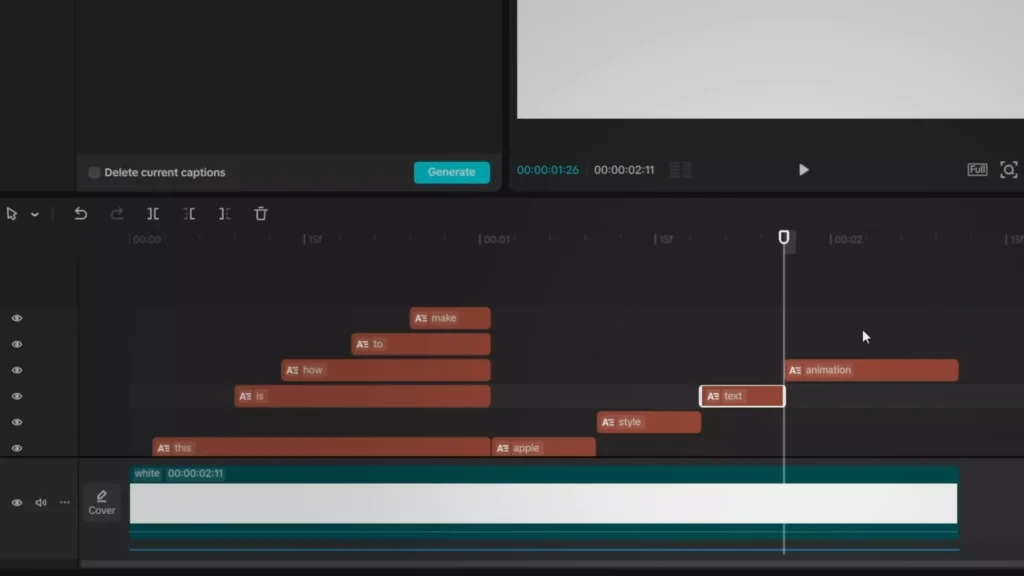
Then animate:
- Add keyframes to each word
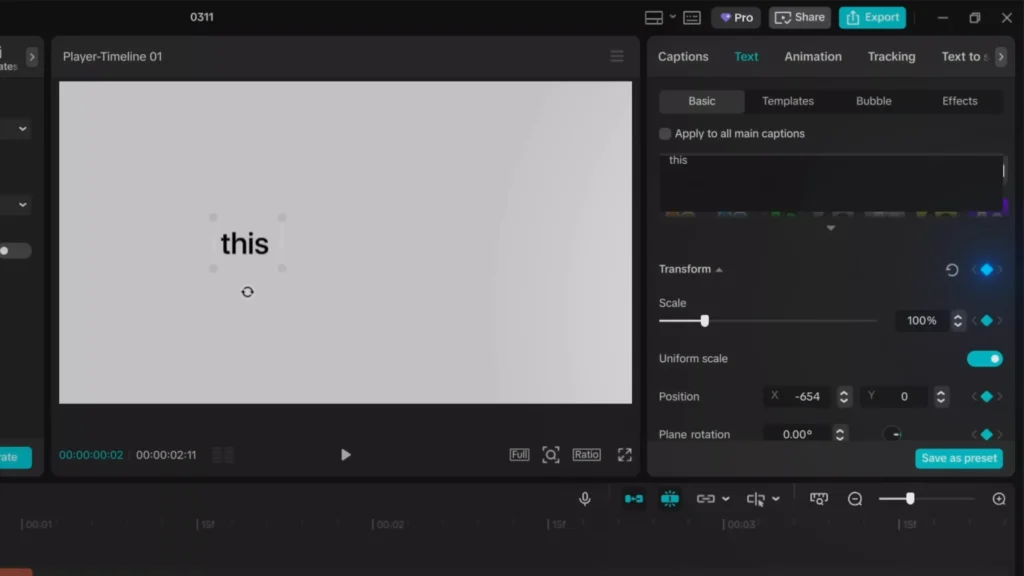
- Start slightly above the screen (negative Y position)
- Move it into place over a few frames
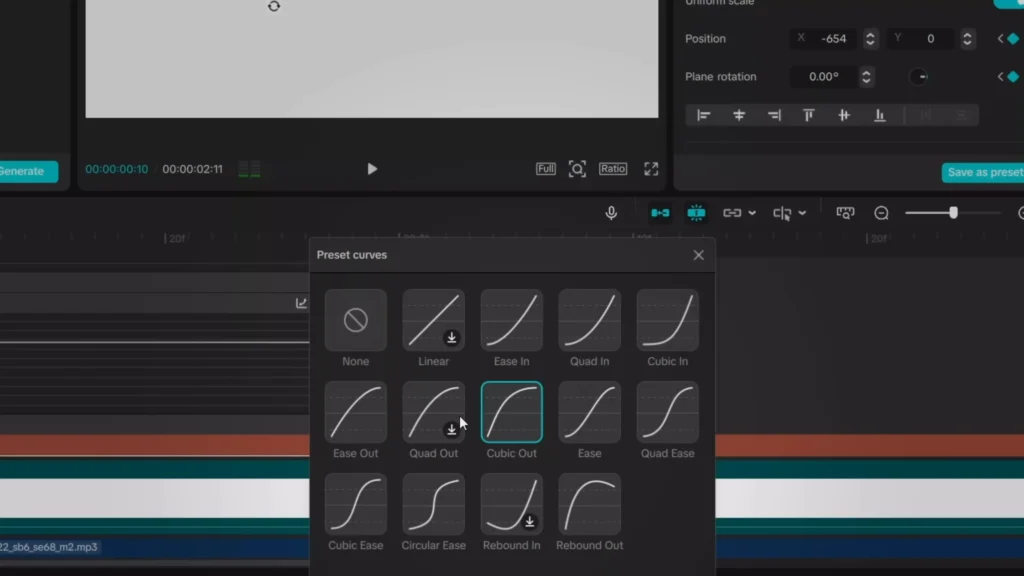
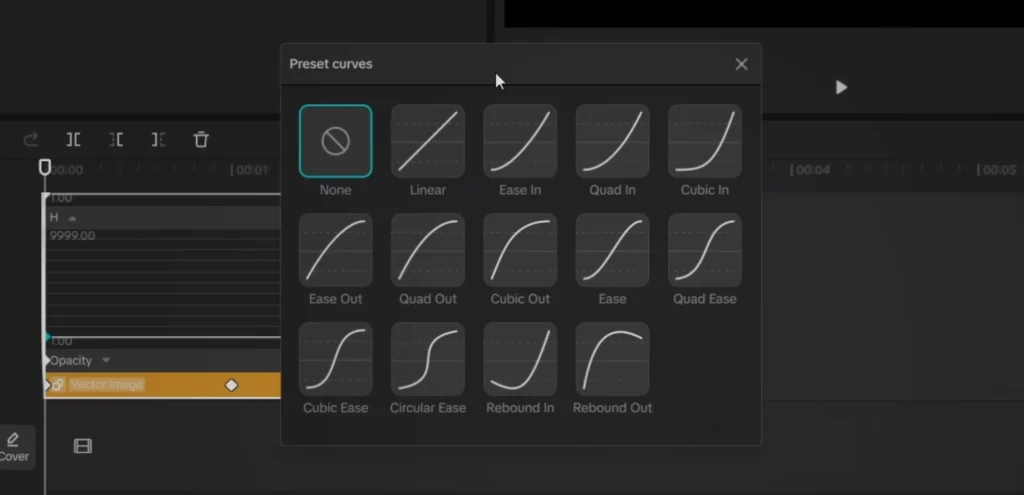
- Use easing curves (like cubic ease) for smooth motion
- Add a slight bounce using additional keyframes
- Finish with a subtle blur-in animation
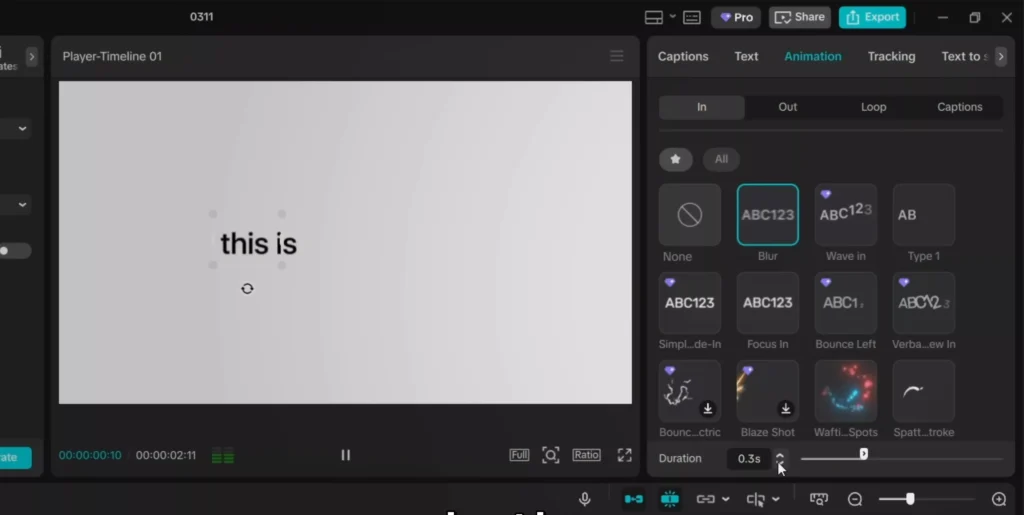
Repeat for each word, and you’ll get that smooth, premium Apple-style motion.
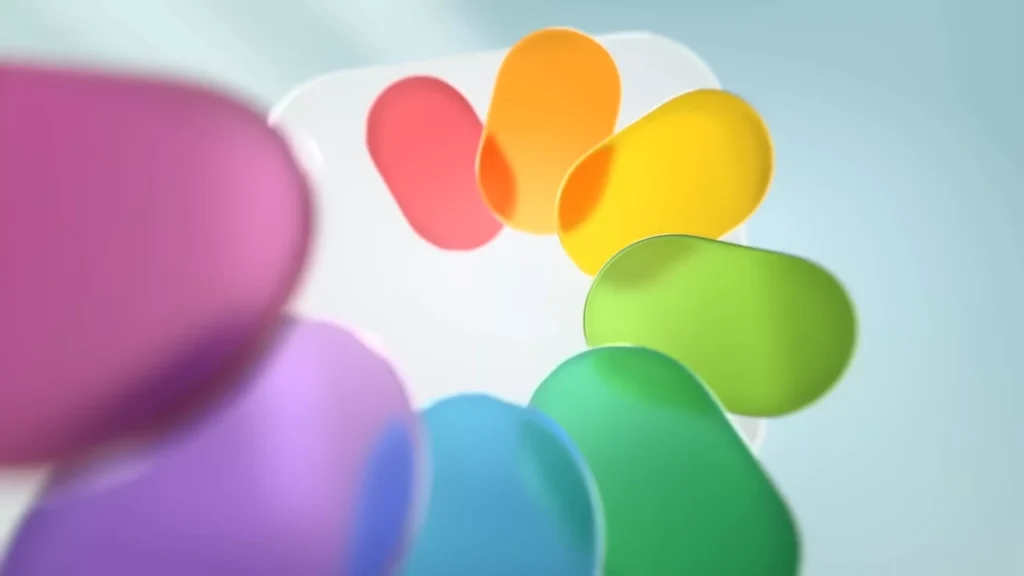
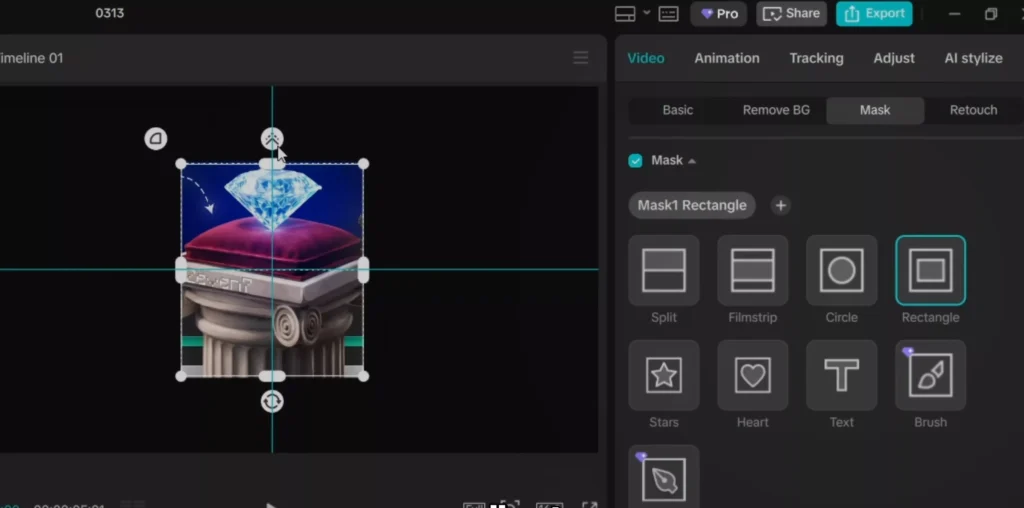
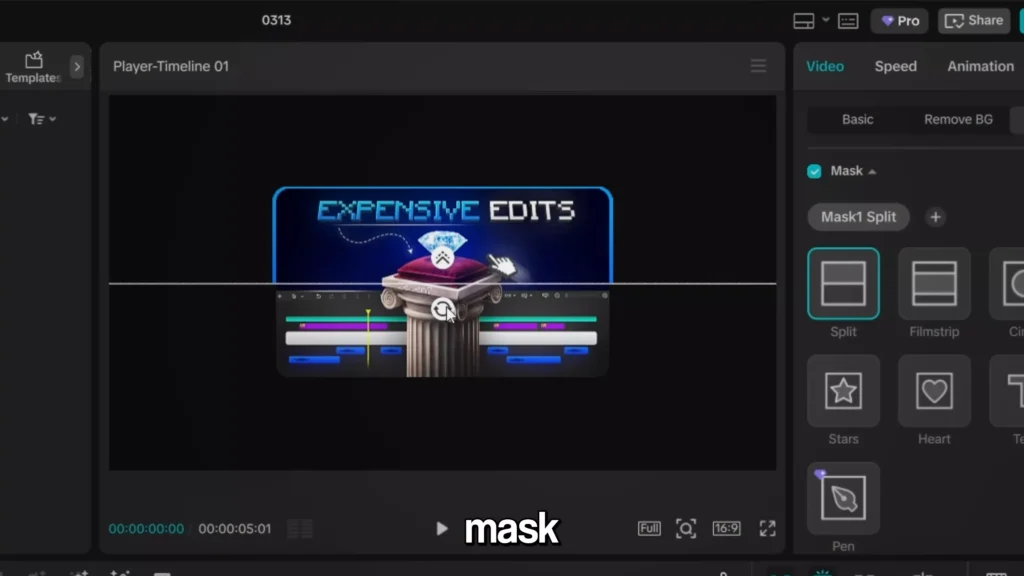
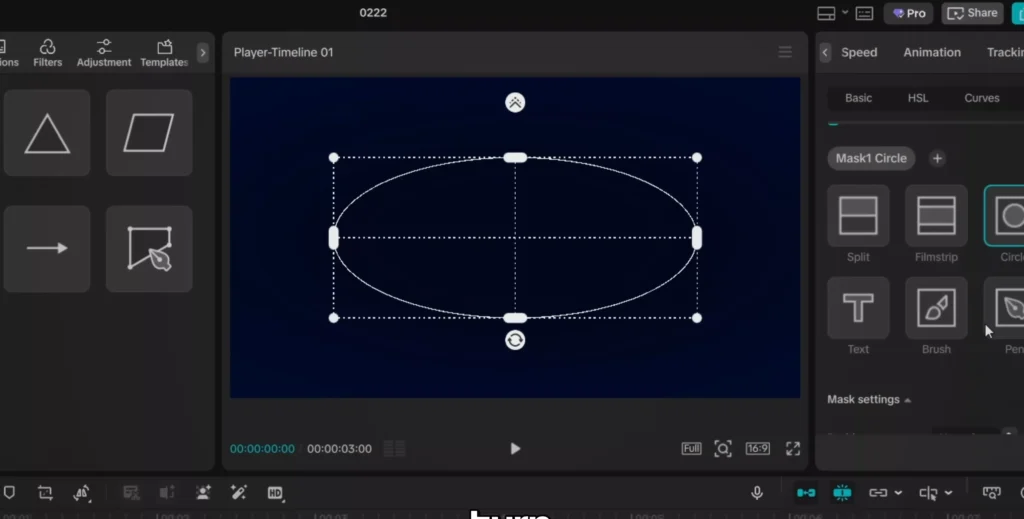
2. Glowing Outline Effect
If you want your visuals to pop instantly, this is one of the easiest ways to do it.
A glowing outline adds energy and movement—even to static images.
How it works:
- Add a dark background
- Place your image on top

- Apply a rectangle mask (with rounded corners if you want a cleaner look)
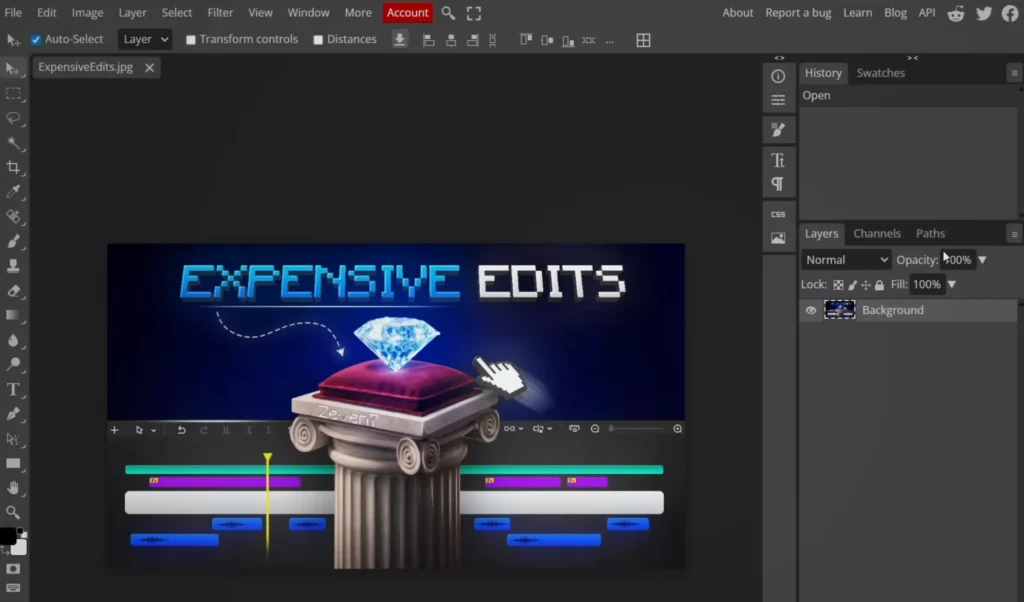
Since CapCut doesn’t have a built-in border tool, here’s a workaround:
- Open your image in a tool like Photoshop (or Photopea)
- Add a color overlay (or gradient)
- Export and bring it back into CapCut
Then:
- Place the colored version behind your original image
- Slightly scale it up to create a border
To animate it:
- Turn it into a compound clip
- Add a split mask
- Animate the mask rotation from start to finish
- Add feather for softness
- Optionally, apply a glow effect for extra punch
Now you’ve got a dynamic, moving outline that instantly makes your content feel more alive.
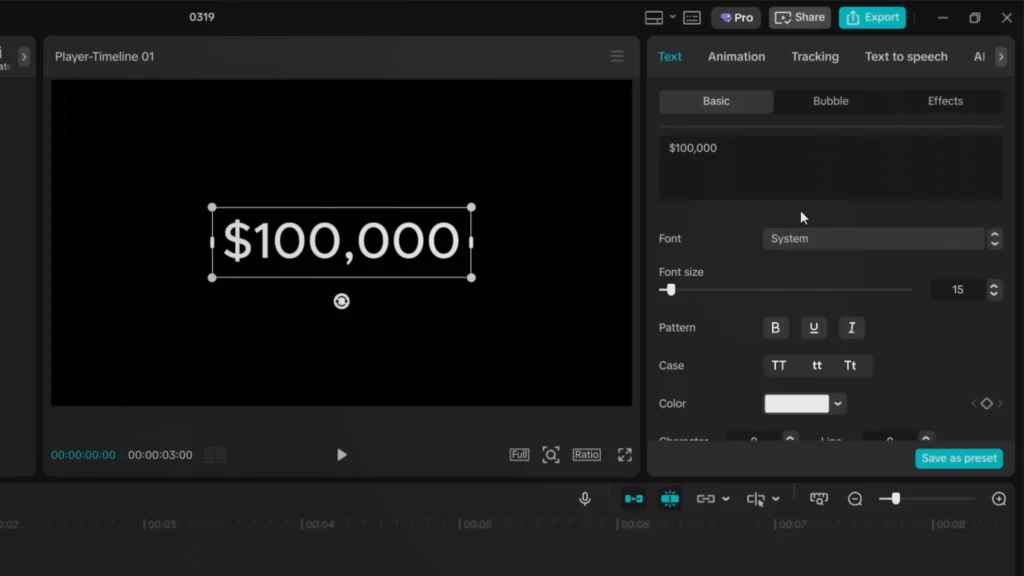
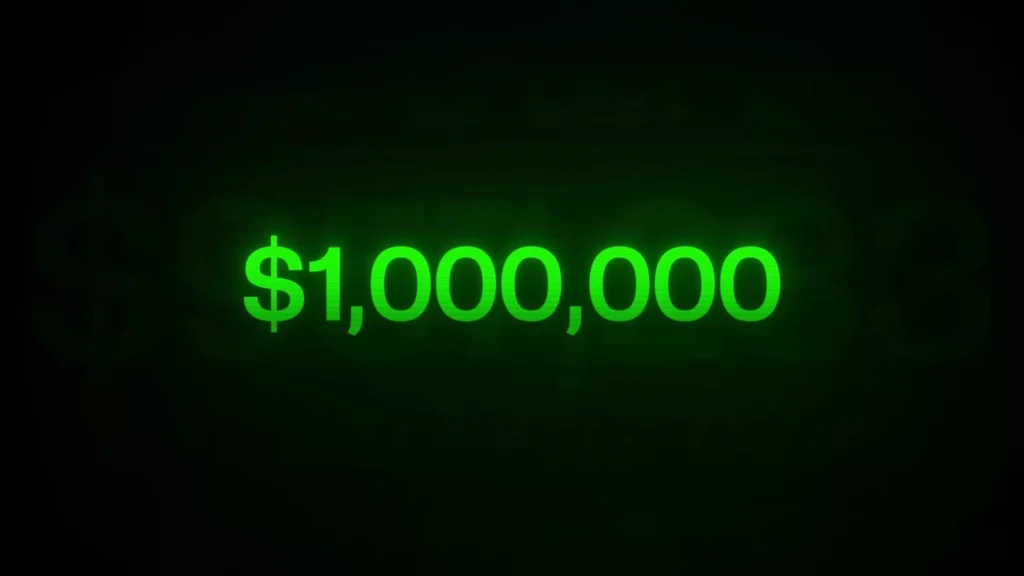
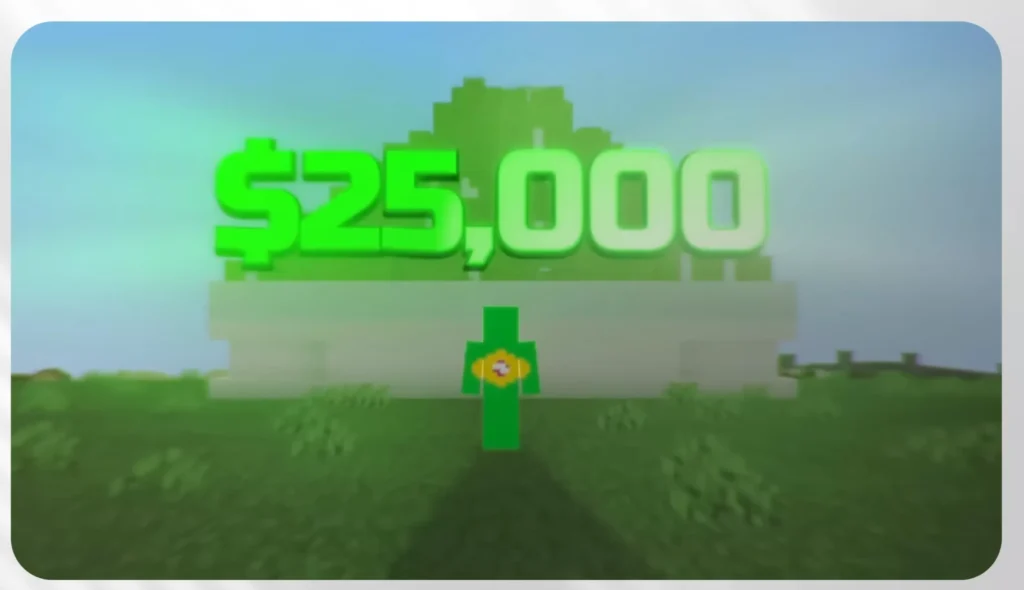
3. Counting Numbers Effect
This one is used by a lot of top creators—and it works because it taps into human psychology.
When numbers are changing, people want to see where they end.
That keeps viewers watching longer.
How to create it:
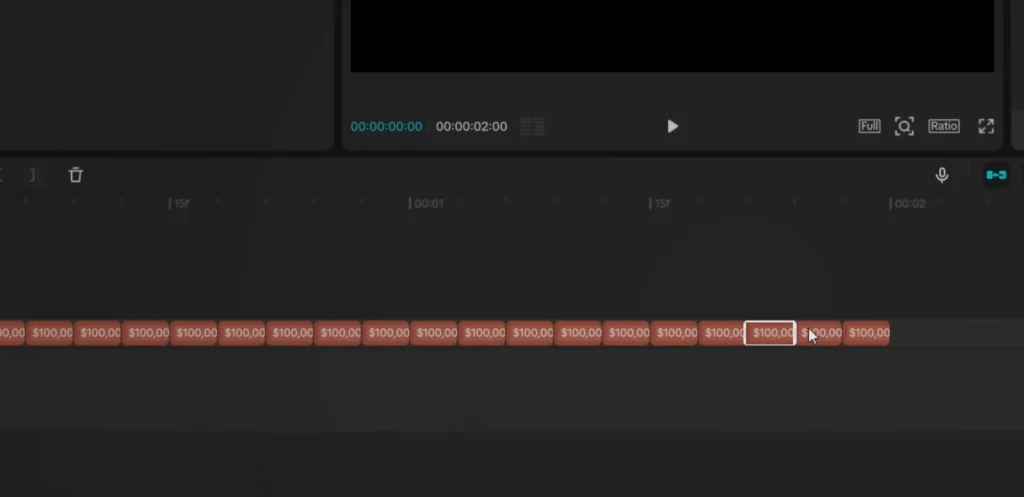
- Add a text layer with your starting number (e.g., 100,000)
- Move a few frames forward and duplicate it
- Repeat this process until you have about 2 seconds of clips
Then:
- Manually update each number so it gradually increases
- Keep changes small for smoother motion
Once done:
- Select all clips and create a compound clip
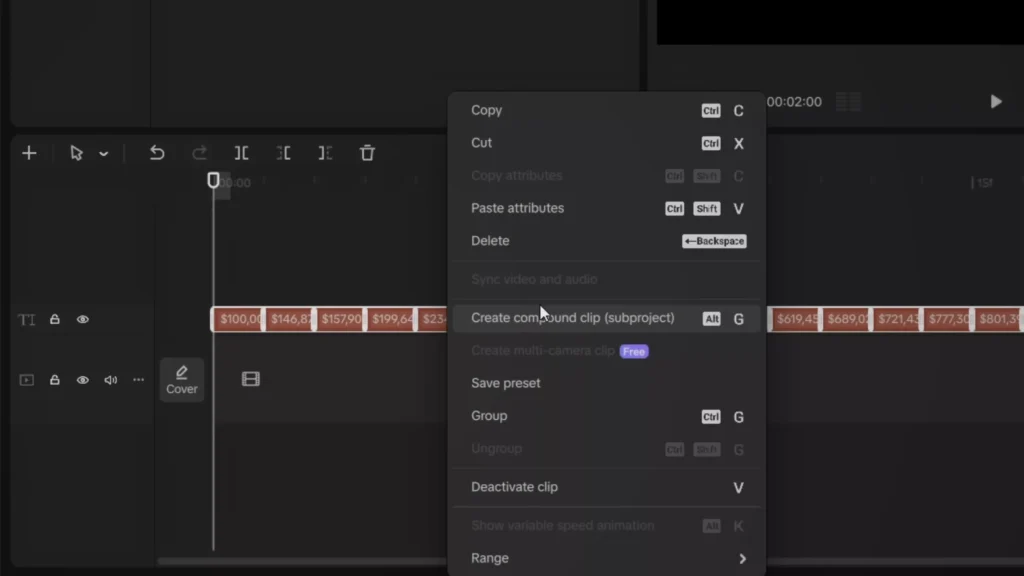
- Add motion blur (around 50)
That’s it—you now have a clean, fast-moving counter animation that boosts retention.
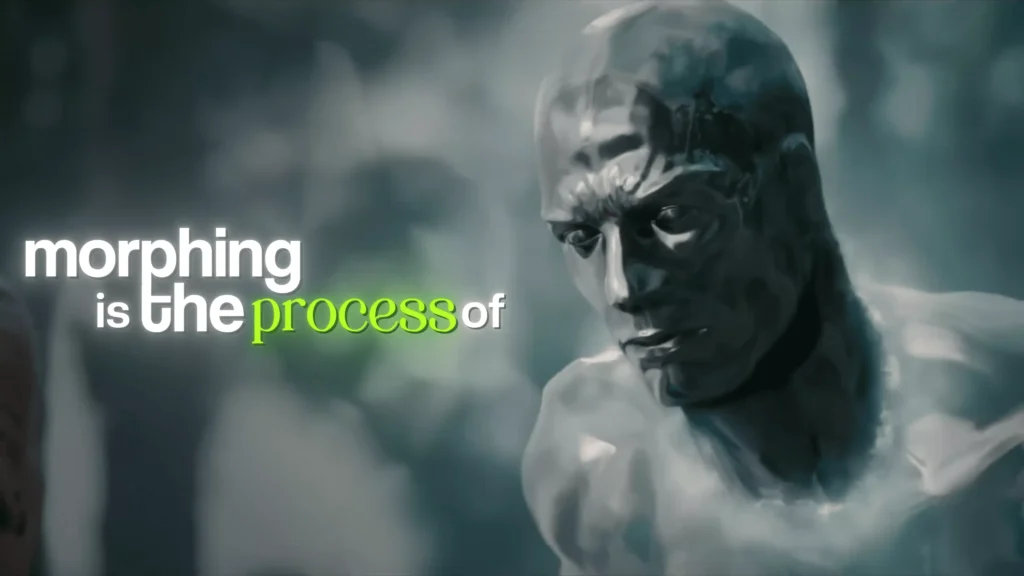
4. Morphing Effect
Morphing is one of the coolest techniques in motion design.
It’s the smooth transformation of one shape into another—and it looks incredibly satisfying when done right.
How to do it:
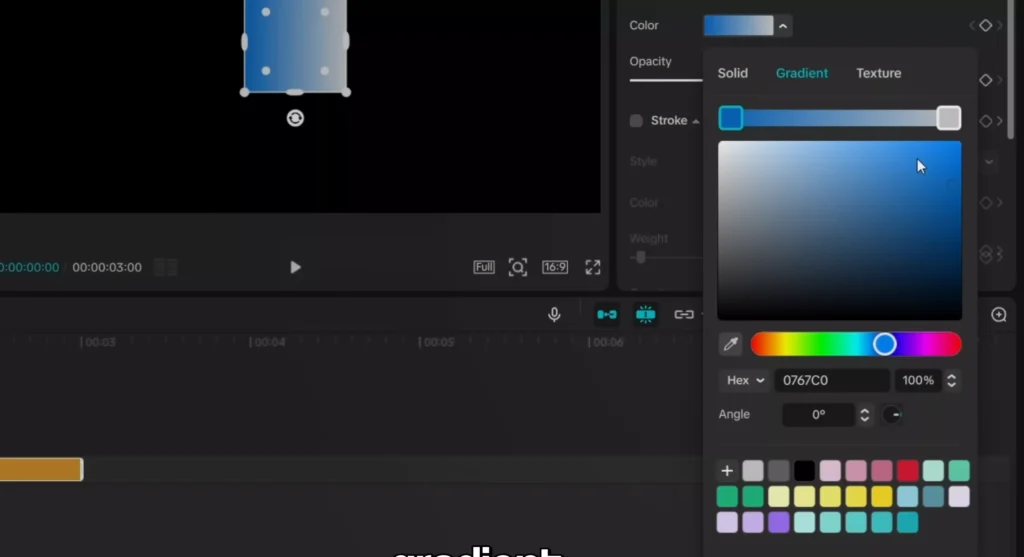
- Go to the shapes tool and add a square
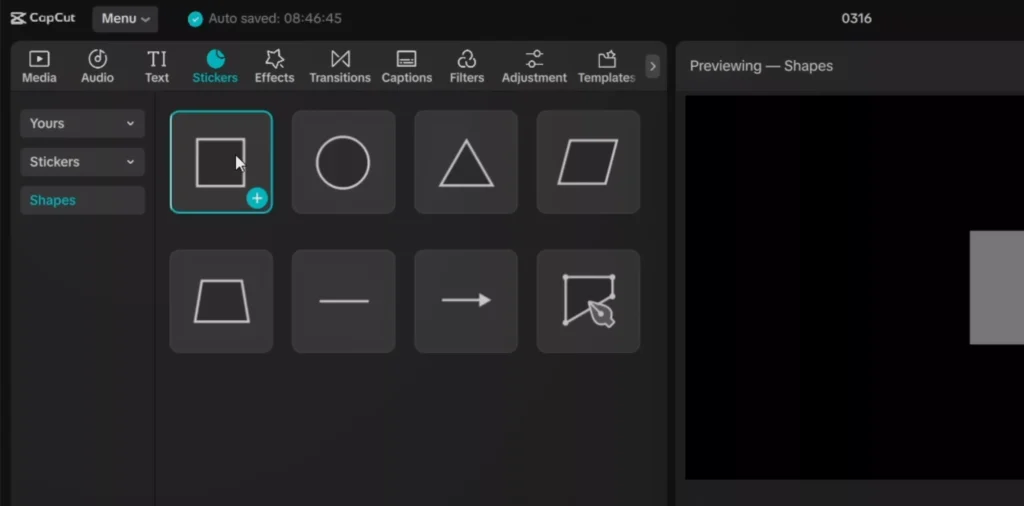
- Apply a color (solid, gradient, or texture)
Now animate:
- Add keyframes for transform and corner radius
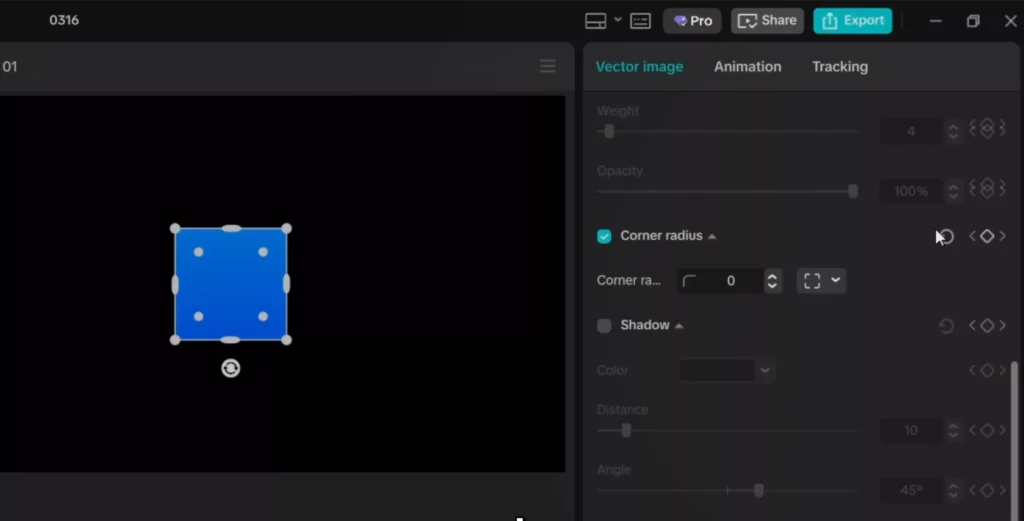
- Move forward in time
- Increase corner radius to turn the square into a circle
Because of the keyframes, the shape transitions smoothly.
You can also:
- Adjust speed using graph curves
- Morph into different shapes (not just circles)
- Sync the motion with your video
It’s simple, but it adds a very polished, motion-graphics feel.
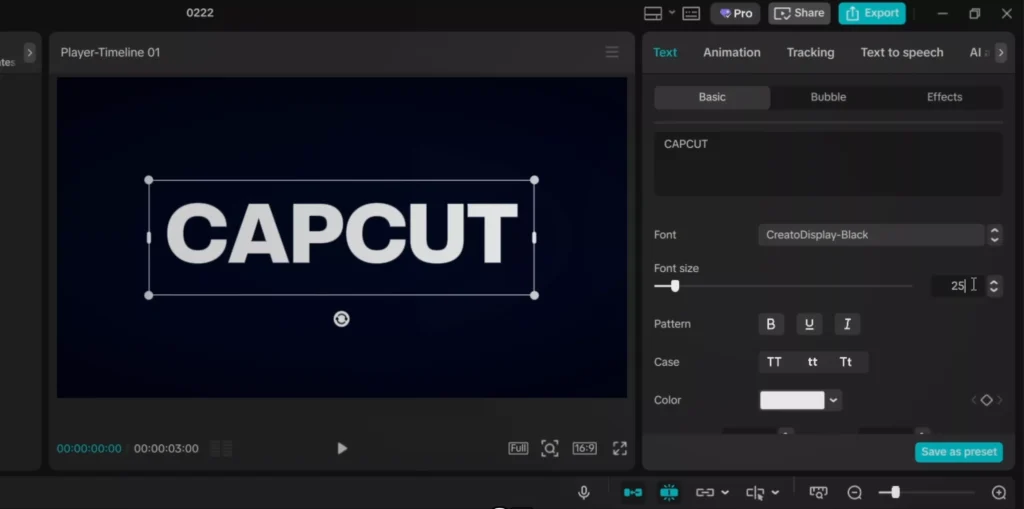
5. Liquid Text Effect
This is easily one of the most visually impressive effects on the list.
It creates the illusion that liquid is flowing through your text.
Step-by-step:
- Start with a full-screen shape as your background
- Darken it using exposure adjustments
- Add a circular mask and invert it for a clean base
Next:
- Add your text (bold font works best)
- Set text color (e.g., green)
- Add a stroke (blue works well for contrast)
Then:
- Create another full-screen shape (slightly lighter color)
- Convert it into a compound clip
- Use the pen tool to draw a wave shape

Now combine everything:
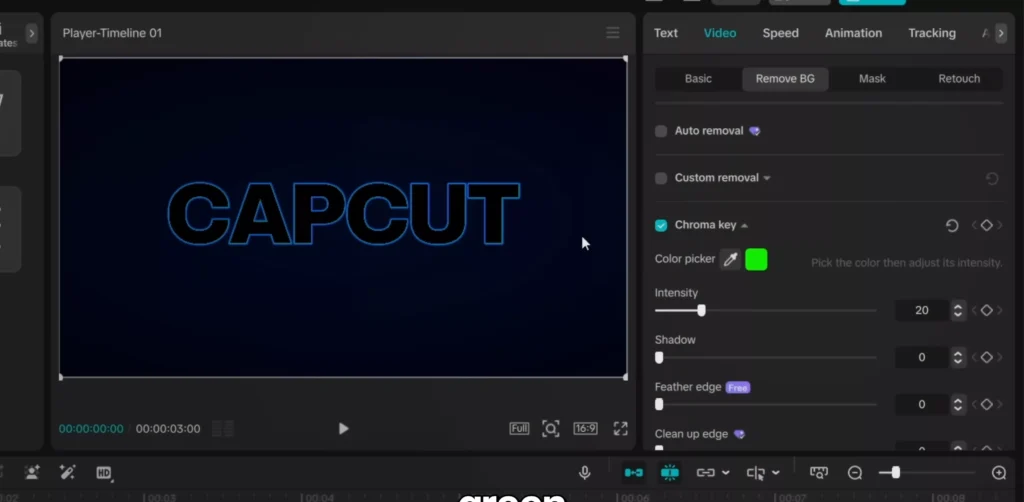
- Place the wave under your text layer
- Apply chroma key to remove the text color
- Align the wave so it flows through the text
Animate it:
- Add position keyframes to the wave
- Move it across the screen over time

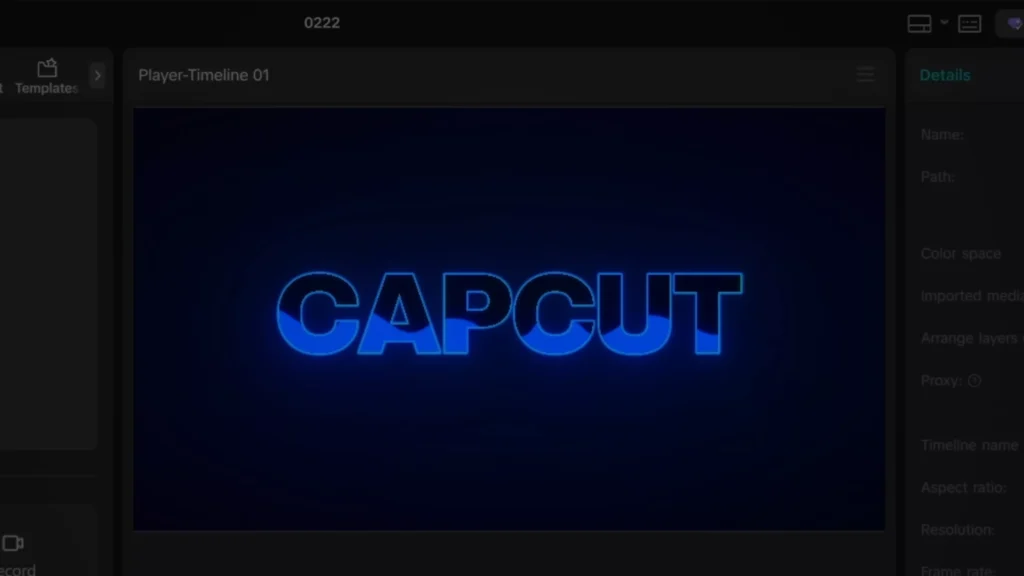
Finish with a glow effect, and you’ve got a smooth, liquid motion that looks high-end and unique.
Before You Start: Project Setup Tips
Before jumping into effects, take a minute to set up your project properly. It makes everything smoother later.
First, choose your resolution. If you’re creating content for social media, 1080p is more than enough. If you want extra flexibility for cropping or zooming, go with 4K.
Next, frame rate.
- 24 fps → more cinematic
- 30 fps → standard for most content
- 60 fps → smoother motion (great for fast edits)
Pick one and stay consistent.
Also, organize your clips before you start editing. It sounds simple, but it saves a lot of time. Keep your main footage, overlays, and audio separated so you’re not constantly searching through your timeline.
And finally—structure your timeline early. Roughly place your clips in order before adding effects. Effects should enhance your story, not build it from scratch.
Common Mistakes to Avoid
A lot of beginners make the same mistakes when trying to level up their edits. Avoid these, and your videos will instantly feel more polished.
- The first one is overusing effects. Just because you can add glow, blur, and motion everywhere doesn’t mean you should. When everything stands out, nothing stands out.
- Second, bad keyframe motion. Linear movement looks robotic. Always use easing curves to make motion feel natural.
- Another big one is inconsistent design. Mixing too many fonts, colors, or styles makes your video feel messy. Stick to a simple visual system and repeat it.
- And finally, ignoring motion blur. Even a small amount of motion blur can make your animations feel 10x smoother.
When to Use Each Effect
Knowing how to create effects is one thing. Knowing when to use them is what actually makes your edits better.
- Apple-style text animations work best for intros, hooks, or clean explainer content. They instantly give your video a modern, premium feel.
- Glowing outlines are great for highlighting something important—like a product, a thumbnail, or a key moment.
- Counting numbers are perfect for storytelling. Use them when showing growth, stats, or progress. They naturally keep viewers watching.
- Morphing works really well for transitions. Instead of hard cuts, you can smoothly move from one idea to the next.
- Liquid text is more of a highlight effect. Use it sparingly for big moments—like reveals or emphasis—so it keeps its impact.
How to Combine These Effects in One Video
Individually, these effects are powerful. But the real magic happens when you combine them properly.
Here’s a simple flow you can follow:
- Start with Apple-style text for your intro. Keep it clean and minimal to grab attention.
- As you move into your main content, use morphing transitions to connect different sections smoothly.
- If you’re sharing stats or progress, drop in the counting number effect to boost engagement.
- Use glowing outlines to highlight key visuals or moments you want viewers to focus on.
- And for your big moment—like a conclusion or reveal—use the liquid text effect to make it stand out.
The key is balance. Don’t stack everything at once. Space your effects so each one has room to breathe.
Speed vs Quality: How to Edit Faster
As you start improving your edits, one thing becomes clear—good editing can take time.
But there are ways to speed things up without sacrificing quality.
Reuse your work. If you create a good animation, save it and use it again. You don’t need to rebuild everything from scratch.
Copy and paste keyframes whenever possible. This alone can cut your editing time in half.
Use compound clips to group elements together. It keeps your timeline clean and easier to manage.
And learn a few basic shortcuts. Even simple ones like copy, paste, and split can make a big difference over time.
Editing faster isn’t about rushing—it’s about working smarter.
CapCut vs other Paid Software
A lot of people think you need expensive software to create professional edits.
That’s not really true.
CapCut is more than capable for most types of content—especially short-form videos. It’s fast, simple, and has all the core tools you need.
Paid tools like Adobe Premiere Pro or Final Cut Pro do offer more advanced control. They’re better for complex projects, heavy color grading, or high-end production work.
But for the majority of creators, CapCut is more than enough.
Again, it comes down to how you use the tools—not how much they cost.
Resources to make this easier…
To save time and make things easier, here are a few things you can prepare in advance:
- A list of randomized numbers for the counting effect
- A set of 2–3 fonts you consistently use
- A simple color palette for your edits
- Preset keyframe curves for smooth animations
Once you build your own small library like this, editing becomes much faster and more consistent.
Frequently Asked Questions (FAQ)
Is CapCut good enough for professional editing?
Yes—especially for short-form content and social media videos.
Does CapCut reduce video quality?
Not if you export with the right settings. Always use the highest resolution and bitrate available.
Can you use CapCut for YouTube videos?
Absolutely. Many creators use it for both short-form and long-form content.
What’s the best export setting?
1080p or 4K, with a high bitrate and consistent frame rate.
Real-World Use Cases
These techniques aren’t just for tutorials—they’re used everywhere.
You’ll see them in YouTube videos, Instagram reels, TikTok edits, and even client work.
- Apple-style text is common in tech and productivity content.
- Counting numbers are used in growth and storytelling videos.
- Glowing outlines show up in thumbnails and highlights.
- Morphing is used in transitions.
- And liquid text is often used for dramatic reveals.
Once you start noticing them, you’ll see these effects everywhere.
Final thoughts before you go…
- At the end of the day, you don’t need expensive software to create great edits.
- What matters is how you use what you have.
- Start simple. Focus on clean motion, good timing, and consistency.
- And most importantly—don’t try to use everything at once.
- Pick one or two effects from this post and try them in your next video. That’s how you actually improve.
I’ll see you in the next post.