If you are a content creator, you know that audio is just as important as the visuals. Whether you are editing a vlog, music video, or gaming clip, the right audio can make your video stand out.
Bass boosting is a great way to add depth and power to your audio, but how do you achieve this effect in CapCut, one of the most popular video editing apps?
In this guide, we will walk you through the process step by step and provide tips for getting the best sound quality.
Why Bass Boost?
Bass boosting enhances the low frequencies in your audio, adding warmth and punch. This effect is particularly useful in music videos, action sequences, or any content that benefits from a dynamic and immersive sound. Let’s explore how to bass boost in CapCut and get the best audio for your project.
Steps to Bass Boost in CapCut
1. Import your audio or video
- Open CapCut and create a New Project.
- Select the video or audio file you want to work with and tap Add.
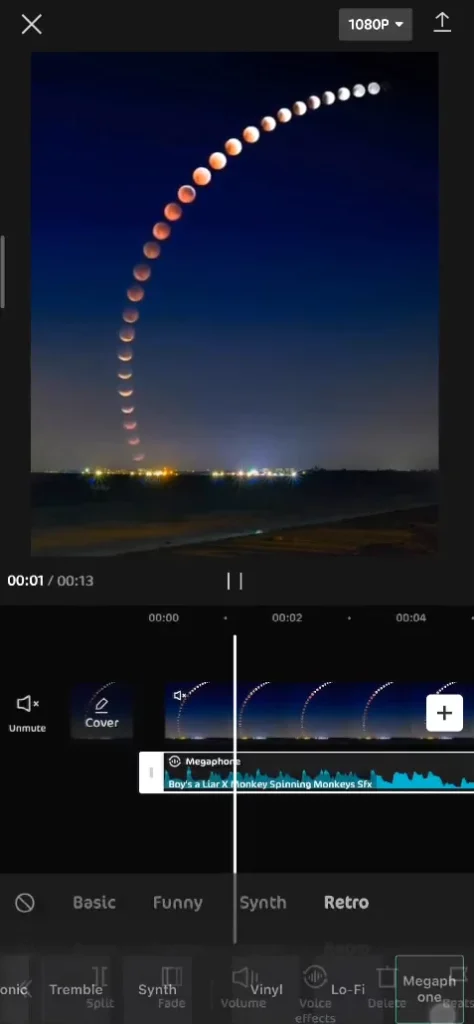
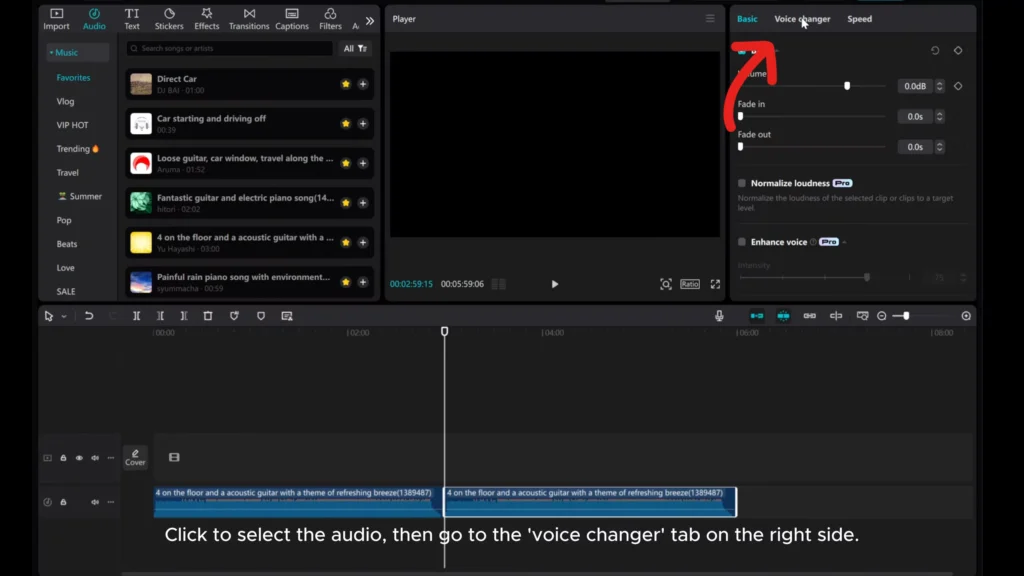
2. Access the audio editing tools
- Tap on the audio track in your timeline to bring up the editing options.
- In the toolbar at the bottom of the screen, you’ll see options like Volume, Speed, and Audio Effects.
3. Go to Audio Effects
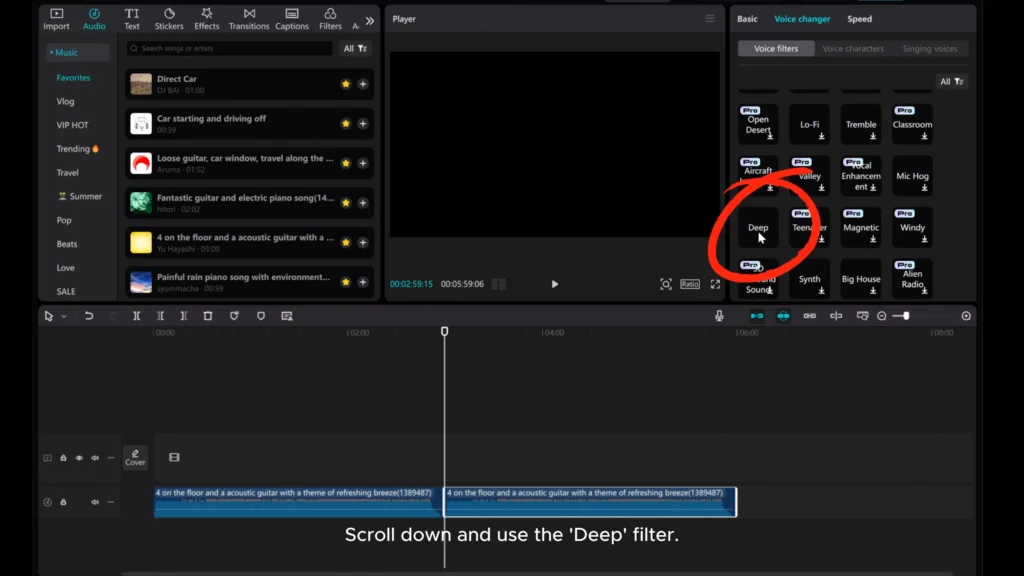
- Tap on Audio Effects to explore the available sound enhancements.
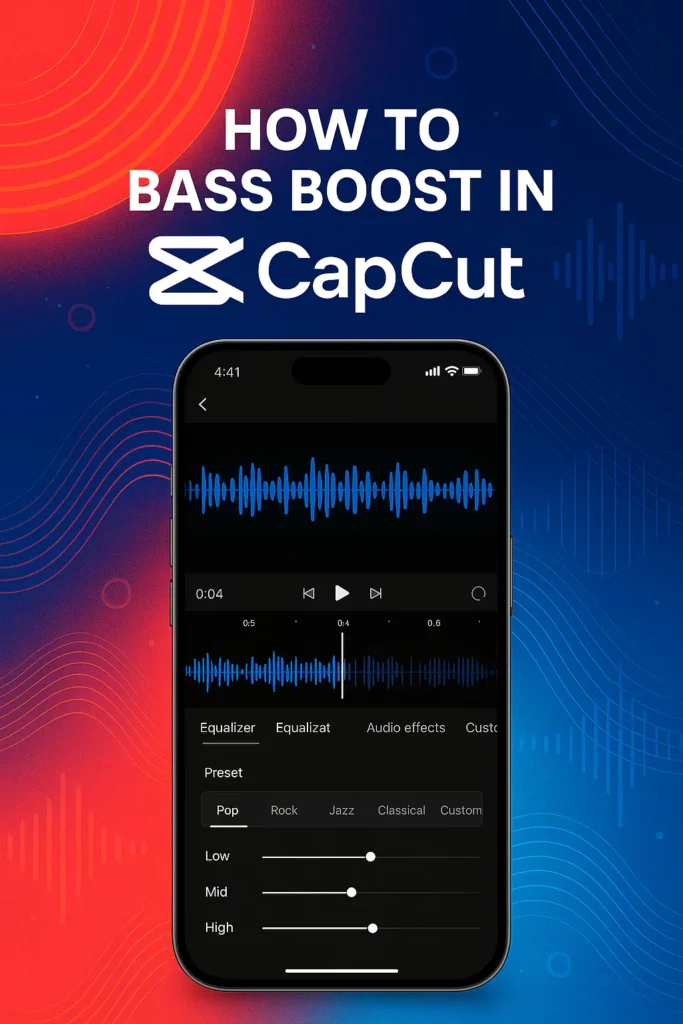
- CapCut doesn’t have a dedicated “bass boost” effect, but you can adjust the Equalizer settings to achieve a similar result.
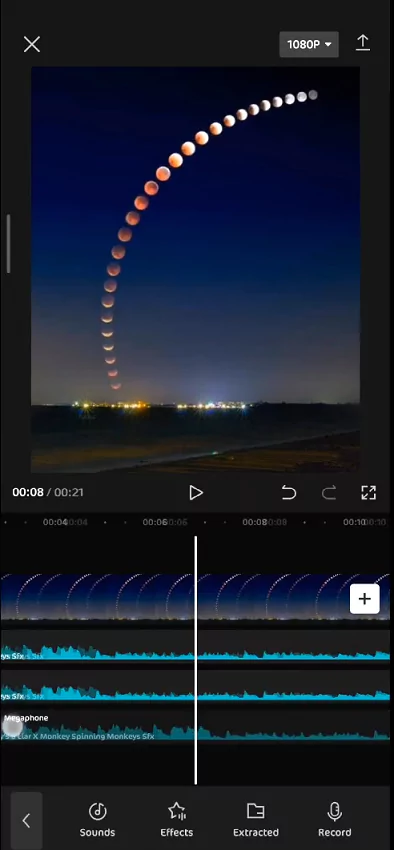
4. Adjust the Equalizer (EQ)
- Tap on Equalizer in the Audio Effects section.
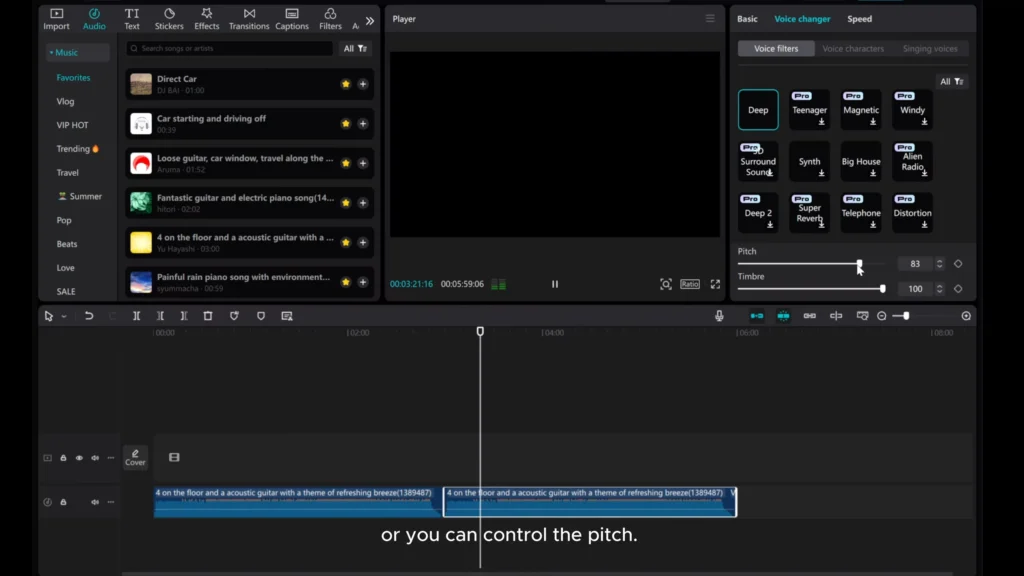
- You’ll see several preset EQ options (Pop, Rock, Jazz, etc.), but for bass boosting, select Custom.
- In the Custom EQ settings, focus on boosting the Low Frequencies (typically below 250Hz). These are the frequencies that give your audio its bass. Increase them to make the bass sound more powerful.
- Mid Frequencies (250Hz to 2kHz) control the body of the sound, while High Frequencies (above 2kHz) affect the clarity and brightness. Lowering the mids can help make the bass stand out more, while boosting the highs can add clarity to vocals or instruments.
5. Fine-Tune with volume and balance
- After adjusting the EQ, go back to the Volume settings and adjust the overall sound level.
- Use the Balance setting if needed to ensure the audio is evenly distributed across both channels (left and right).
6. Preview your audio
- Press Play to preview your bass-boosted audio.
- Make adjustments to the EQ or volume levels as necessary. It’s a good idea to preview the audio with headphones or external speakers to ensure the bass translates well.
7. Export your video
- Once you’re satisfied with the bass boost, tap Export to save your video. CapCut will process the video and export it in the resolution of your choice.
Here is a video guide for the same:

Steps for bass boosting audio in CapCut PC
Import your audio:
- Open CapCut on your PC.
- Click on the Import button to add your audio file to the project.
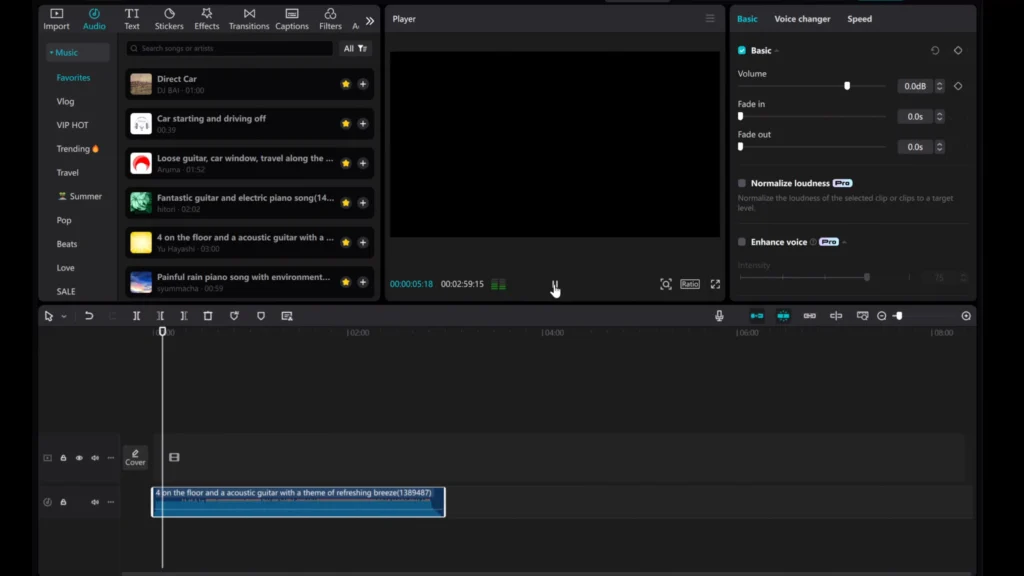
Add audio to timeline:
- Drag the imported audio file onto the timeline to begin editing.
Access audio settings:
- Click on the audio track in the timeline to select it.
- In the toolbar above, look for an option labeled “Audio” or “Volume” settings.
Adjust equalizer settings:
- Within the audio settings, locate the Equalizer or EQ option.
- Select a preset that emphasizes bass frequencies, such as “Bass Boost” or manually adjust the frequency sliders to enhance the lower frequencies.
Preview and Fine-Tune:
- Play back the audio to preview the changes.
- Adjust the EQ settings further if necessary to achieve the desired bass effect.
Export Your Project:
- Once satisfied with the audio, click on the Export button to save your project with the enhanced bass audio.

Here is a video guide for the same:

Additional Tips for Perfecting Your Bass Boost
Understanding the equalizer settings
- Low Frequencies (below 250Hz): These frequencies are the heart of your bass sound. Boosting these will give your audio more depth and make it sound fuller.
- Mid Frequencies (250Hz to 2kHz): These affect the warmth and body of the sound. Lowering these can help emphasize the bass.
- High Frequencies (above 2kHz): Boosting the highs can make vocals and instruments sound sharper, but too much boost can make your sound tinny.
Experiment with other audio effects
- Reverb: Add Reverb for more depth, especially in music videos or scenes where you want the sound to feel more expansive and atmospheric.
- Pitch Shift: For music, consider using Pitch Shift to complement your boosted bass by shifting the pitch of vocals or instruments up or down.
- Noise Reduction: If the bass boost causes background noise to become more noticeable, use Noise Reduction to clean up the audio and ensure a clear sound.
Use audio ducking for better clarity
- If your video has voiceovers or dialogues, use audio ducking to reduce the volume of background music during speech. This ensures the bass doesn’t overpower the spoken words, keeping your content clear and easy to understand.
Avoid common mistakes
- Distortion: Don’t overdo the bass. Excessive bass boosting can lead to distortion, especially on mobile devices with smaller speakers. Always check your audio on multiple devices (headphones, speakers, etc.) to ensure it sounds good everywhere.
- Volume Clipping: Be mindful of volume clipping, which happens when the audio exceeds the maximum level, causing distortion. CapCut will warn you if the volume is too high, so adjust the levels accordingly.
For advanced audio editing
- While CapCut is great for basic audio enhancements, more advanced tools like Audacity or Adobe Audition offer more detailed control over bass frequencies, which can be useful for professional audio design. Consider exporting your audio to these tools if you want to achieve a more refined bass boost effect.
Best Practices for Music Videos
- If you’re working on a music video, sync your bass boost with the beat drops or rhythm of the track to create a more impactful and dynamic experience. Matching the bass levels with the track’s beats can make the video feel more engaging.
CapCut for PC Users
- If you’re using CapCut on PC, you’ll notice that the interface might be slightly different, giving you more precise control over audio settings. Take advantage of the finer control on PC to tweak the bass and other audio effects for a polished result.
Sharing your settings
- If you want to share your bass-boosting settings with others or keep them for future reference, consider using CapCut’s screen recording feature. This will allow you to capture your process and settings for easy sharing.
Read Also: How to Fix CapCut’s “Super Bass” Problem
Final Thoughts
Bass boosting in CapCut is a simple yet effective way to enhance the audio of your videos. By adjusting the Equalizer settings and experimenting with different effects, you can achieve a powerful sound that complements your visuals. Remember, moderation is key—boosting the bass too much can cause distortion, so always preview your work on various devices and make adjustments accordingly.
Try out these tips on your next project and elevate your video’s sound to the next level!